


Your Apple Account is the key that opens the door to all of Apple’s services. You use it to sign into iCloud, where you manage email, calendars, contacts, and more. You use it for purchases from Apple on the iTunes Store, or on App Stores. And you also use it to sign into Messages and FaceTime, to communicate with friends, family, and co-workers.
Since this single combination of a user name and password is so important to users of Apple devices, managing your Apple Account is important. In this article, I’ll discuss how to access settings for your Apple Account, how your Apple Account uses two-factor authentication to protect access to your device, how to set up account recovery contacts and legacy contacts, how to change your Apple Account, and much more.
Note: in September 2024, Apple changed the name of this from Apple ID to Apple Account. Nothing else has changed in the way it works, but from iOS 18, iPadOS 18, and macOS Sequoia on, you’ll see the new name in the operating systems and on Apple’s website.
The importance of your Apple Account
As I mentioned above, your Apple Account is your key to Apple’s services. While you can use an Apple device without an Apple Account, you would be limited in what you can do with the device. You could use Google for your contacts, calendars, and emails; you could use an app other than Messages for text messages; you could store your files in the cloud using a different service than iCloud. But, at a minimum, you need to use an Apple Account to download and purchase apps from Apple’s App Stores.
If you do use Apple’s services, your Apple Account can help you get up and running with a new device in minutes. If you have an iPhone or iPad, and back it up to iCloud, you can sign into a new device with your Apple Account and download that backup, adding all the data and apps from your previous device, and you’ll be able to work with the new device as soon as all the data is downloaded.
What is an Apple Account?
An Apple Account is simple: it’s just an account that you access using an email address and password. But there is other information associated with it: your phone number, date of birth, payment methods, and more.
That simple Apple Account masks the complex authentication system used by Apple to ensure that, when when you access Apple services from a new device or web browser, you are who you say you are. This strong protection helps keep your data safe. (See How to Use Two-Factor Authentication for Your Apple Account and iCloud Account.) Apple’s authentication depends on a chain of trust that encompasses all the Apple devices you own, allowing any of them to authenticate other devices. (See The chain of trust in Apple’s devices.)
How to manage your Apple Account
Sign in at account.apple.com to manage your Apple Account. This page contains a number of sections, and loads the Sign-In and Security page first.

Here’s what you can do on this page:
Change your email address and phone numbers: you can choose which email addresses should be used for your Apple Account. By default, when you create an Apple Account using an Apple address, you can use an email account using @mac.com, @me.com, and @icloud.com. Depending on when you created your account, you may have access to some or all of these domains for your email address. See this Apple support document discussing these different domains. You can also add other email addresses here if you wish, and you can enter your phone number here, which is used for iMessage and FaceTime.
Account security: Here is where you set up two-factor authentication, trusted phone numbers, and trusted devices. See this article to learn about two-factor authentication and trusted devices, and read this article about trusted phone numbers.
Account recovery: Use this if you’ve forgotten your Apple Account password, and need help. This article tells you about recovery contacts, people you trust who can help you get back into your account, or help you recover your iCloud data.
Sign in with Apple: This lets you sign into apps, websites, and services using your Apple Account. See where you have used Sign in with Apple, and revoke access to any of these sites and services if you want.
Password: This is where you can change your password. This section tells you the date you last changed it. It’s not really important to change a password often, but it is more important to have a secure password. We discussed recipes for secure passwords in Episode 193 of the Intego Mac Podcast.
Notification Email: This is a second email address you can set so Apple can notify you if there are problems with your Apple Account.
Legacy Contact: Set up a legacy contact so, in the event of your death, your data will be available to someone. See this article to learn about legacy contacts.
App-specific passwords: Apps that access some of your iCloud data, such as email, contacts, or calendar apps, require an app-specific password. This is a password you generate here and enter into the app to authenticate it and allow it to access your iCloud data. You should only ever need to do this once as long as you use an app that requires this, though some updates may require a new app-specific password.

You can also revoke any app-specific passwords you have created from this section. (Don’t try to use the above password; I’ve already revoked it.)
Personal Information
Click Personal Information to change your name, birthday, country and region, or language.

Payment methods
In this section, you add credit cards or a PayPal account to use with your purchases in the App Store, iTunes Store, or other Apple services. The payment methods available depend on which country or region you are in.
Family Sharing
This section gives you some information about Family Sharing, which allows your purchases to be shared across your family. You set up family sharing on one of your Apple devices, and on the Apple Account website, you can see information about the members of your family group.
Devices
This section shows all the devices singed into your Apple Account. Depending on the device, you may see information such as whether it is backed up to iCloud, whether Find My is on, whether it is a trusted device, and whether it has Apple Pay set up (and, if so, which cards are being used). You’ll also find the device’s serial number, and other information about it.

If you find a device that isn’t yours – such as, perhaps, a device that you sold or gave away – you can remove it from your account. You can also remove cards from Apple Pay here. And you can click Open on iCloud.com in the Find My section to see where a device is.
You can see device information elsewhere: on a Mac, iPhone, or iPad in Settings > Apple Account.
Privacy
Finally, the Privacy section has several sub-sections:
Hide My Email: This feature lets you set up email aliases to use when registering with websites and apps. You can see your Hide My Email addresses and manage them here. See this article to learn all about Hide My Email.
Gender: Set your gender here, if you wish. Apple says they use this to “deliver more relevant ads to you in Apple products and services.”
iCloud Analytics: Apple says, “You can help Apple improve them by sharing privatized analytics from your devices and your iCloud account.” I don’t see why you would want to turn this on.
Your Data: This has a link to a Data and Privacy page, where you can deactivate or delete your Apple Account as well as learn how Apple stores and manages your data.
Messages from Apple: You can subscribe here to email announcements and newsletters.
You can manage a lot of the above on your devices: on a Mac, iPhone, or iPad, in Settings > Apple Account. But not everything is available there. You probably won’t need to go to your Apple Account page often, but it’s good to know what you can do when you need to make changes.
The above is the detailed content of How to Manage and Use Your Apple Account. For more information, please follow other related articles on the PHP Chinese website!

 How to Summarize Webpages in Safari for MacMay 09, 2025 am 10:47 AM
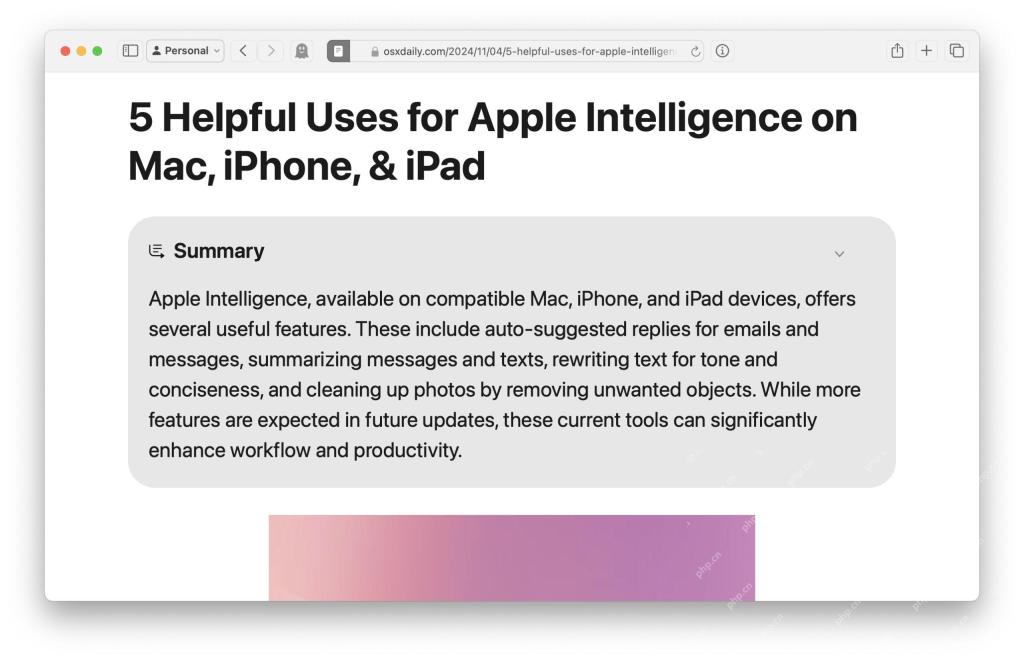
Safari browser's powerful web simplification feature: use Apple Intelligence to read efficiently! One of the built-in Apple Intelligence features of Safari browser is the web snippet feature. Whether the content of a web page is a long-lasting or a normal website, Apple Intelligence can quickly generate summary, helping you quickly understand web page content and save time. This feature is very convenient to use in Safari for Mac. How to use the web ssummary feature in Safari for Mac? If you are using an Apple Silicon Mac with MacOS Sequoia 15 or later
 How to Fix Spotlight Search Issues on MacOS SequoiaMay 09, 2025 am 10:36 AM
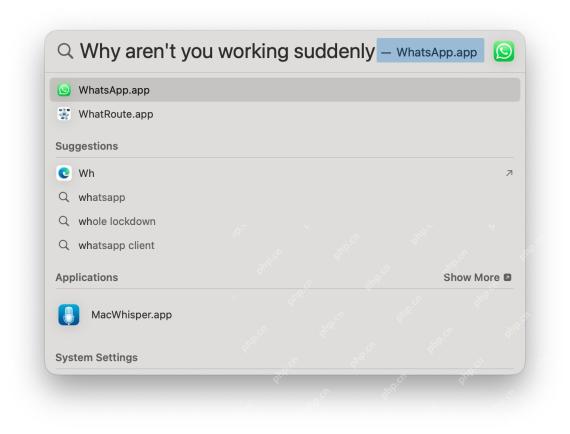
A fair number of Mac users have discovered that Spotlight Search is not working well in MacOS Sequoia, either missing files, apps, and sometimes not working at all to find any local file. For some users the issues with Spotlight happens right after t
 How to Customize Safari on Mac? How to Personalize It on MacBook Air/Pro?May 09, 2025 am 10:35 AM
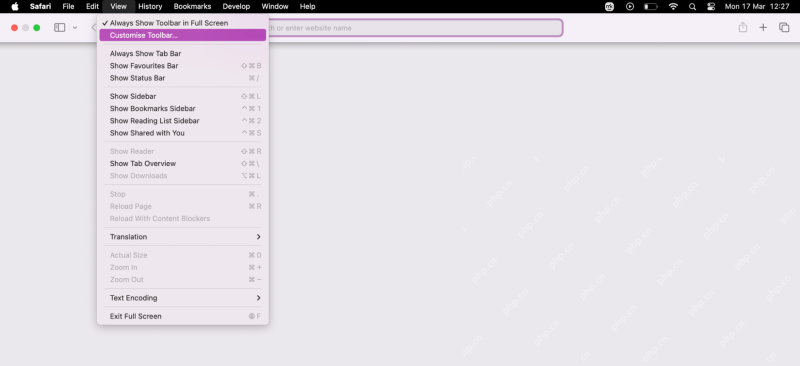
Personalize Your Safari Experience on MacBook: A Comprehensive Guide You can easily customize Safari on your MacBook to enhance your browsing experience. This guide provides a step-by-step approach to personalize various aspects of Safari, from the t
![How to Silence Notifications on iPhone? [Mute Messages & Apps on iOS]](https://img.php.cn/upload/article/001/242/473/174675709271104.jpg?x-oss-process=image/resize,p_40) How to Silence Notifications on iPhone? [Mute Messages & Apps on iOS]May 09, 2025 am 10:18 AM
How to Silence Notifications on iPhone? [Mute Messages & Apps on iOS]May 09, 2025 am 10:18 AMSilence iPhone Notifications: 6 Ways to Find Your Peace Need a break from the constant buzz of iPhone notifications? This guide offers six methods to silence your iPhone, from quick toggles to scheduled quiet time. Let's dive in! 1. Focus Mode: The
 How to Record Calls on iPhoneMay 09, 2025 am 10:15 AM
The new iPhone call recording function added in iOS 18.1 and above makes recording easier than ever! Just tap the recording button on the screen to start recording. This button is on the same screen as the speaker, mute and hang up buttons, making it convenient and fast. After the recording starts, the system will automatically play the prompt tone to inform both parties that the recording is being recorded, but it is best to confirm it verbally to show respect. Say goodbye to the past tedious recording methods, such as using a three-party call to transfer to a voice mail or recording with a Mac computer. Call content recorded on iPhone will be automatically saved in the memo app and saved with the title "Call with (Contact Name or Phone Number)" so that you can listen back, view voice to text records at any time, and add
 RC of MacOS Sequoia 15.2, iOS 18.2, iPadOS 18.2, Released for TestingMay 09, 2025 am 09:55 AM
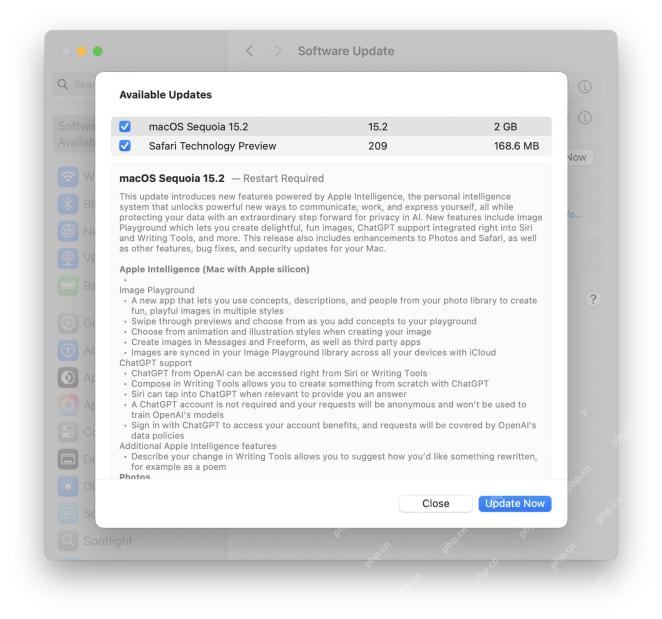
Apple released the iOS 18.2, MacOS Sequoia 15.2, and iPadOS 18.2 version candidates (RC) for all users participating in the Apple Systems Software Beta Test Program. The RC version is usually the final version of the Beta version before its public release, which indicates that the official version of iOS 18.2, iPadOS 18.2 and MacOS Sequoia 15.2 will be released soon. In addition to regular bug fixes and security enhancements, these upcoming software updates focus on bringing new Apple Intelligence features to compatible devices, including Imag
 MacOS Sequoia 15.1.1 with Security Fixes Available NowMay 09, 2025 am 09:40 AM
Apple released the macOS Sequoia 15.1.1 update, a small software update that mainly contains important Mac security fixes. This update does not contain any new features, but fixes multiple security vulnerabilities that are being actively exploited, so it is highly recommended that you install this important update on your Apple device. In addition, Apple has released iOS 18.1.1 for iPhone, iPadOS 18.1.1, visionOS 2.1.1, and iOS 17.7.2 and iPadOS 17.7.2, all of which include the same security patches. How to download and install mac
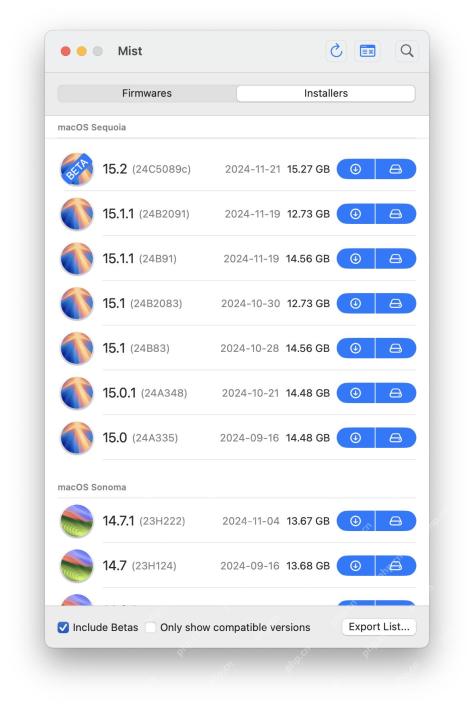 Mist Makes Downloading MacOS Installers & Firmwares EasyMay 09, 2025 am 09:37 AM
Mist: A powerful tool for easy downloading of macOS installers and firmware Many Mac users, IT staff and system administrators like to keep abreast of macOS installation programs, including current and previous versions of macOS system software. Additionally, many advanced Mac users and IT professionals need to access macOS IPSW firmware files at any time to restore Apple Silicon Macs, use them for virtual machines, and even for deployment, troubleshooting, or simple reconfiguration and setup of your Mac. This is where the free Mist tool comes into play, it makes it very easy to download any available macOS IPSW firmware file or any version of macOS installer. Although we maintain it


Hot AI Tools

Undresser.AI Undress
AI-powered app for creating realistic nude photos

AI Clothes Remover
Online AI tool for removing clothes from photos.

Undress AI Tool
Undress images for free

Clothoff.io
AI clothes remover

Video Face Swap
Swap faces in any video effortlessly with our completely free AI face swap tool!

Hot Article
Hot Tools

SublimeText3 English version
Recommended: Win version, supports code prompts!

SAP NetWeaver Server Adapter for Eclipse
Integrate Eclipse with SAP NetWeaver application server.

WebStorm Mac version
Useful JavaScript development tools

MinGW - Minimalist GNU for Windows
This project is in the process of being migrated to osdn.net/projects/mingw, you can continue to follow us there. MinGW: A native Windows port of the GNU Compiler Collection (GCC), freely distributable import libraries and header files for building native Windows applications; includes extensions to the MSVC runtime to support C99 functionality. All MinGW software can run on 64-bit Windows platforms.

SublimeText3 Linux new version
SublimeText3 Linux latest version

