
 System TutorialWindows SeriesHow to delete WPS network disk in win10 How to delete WPS network disk in win10
How to delete WPS network disk in win10 How to delete WPS network disk in win10

The problem of how to completely delete the WPS network disk has troubled many computer users. This article is carefully compiled by PHP editor Xiaoxin and will provide detailed step-by-step guidance on how to use software or registry to delete WPS network disk. If you have been troubled by this problem, please continue reading this article and follow our step-by-step tutorial to easily solve your troubles.
How to delete WPS network disk in win10
Method 1:
1. Right-click the WPS network disk icon in the taskbar below and select "Settings" in the upper options Open.

2. Click "WPS Network Disk" on the left in the interface, find the "Show WPS Network Disk Entry on My Computer" option, and change the Just turn the switch on.

Method 2:
1. Shortcut key "win R", enter "regedit" in the run window, and press Enter to open.

2. After entering the new interface, enter "Computer HEKY_CURRENT_USERSoftwareMicrosoftWindowsCurrentVersionExplorer" into the address bar above and press Enter to locate it.
3. Open the "Desktop" folder, expand the "NameSpace" folder, right-click the file below it, and select "Delete".

4. Finally, find "MyComputer" and "delete" the files under the "NameSpace" folder.

The above is the detailed content of How to delete WPS network disk in win10 How to delete WPS network disk in win10. For more information, please follow other related articles on the PHP Chinese website!

 How to Make Windows 11 Shut Down ShortcutApr 29, 2025 am 10:22 AM
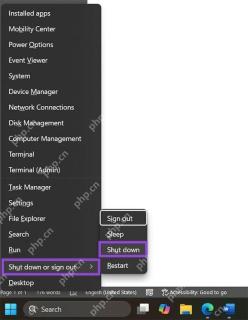
When your PC malfunctions and refuses to shut down normally, a Windows 11 shutdown shortcut can be a lifesaver. While the default shortcut ("Win X," then "U" twice) isn't always reliable, there are alternatives. Default Shutdown

 The Best Password Managers of 2025Apr 29, 2025 am 03:05 AM
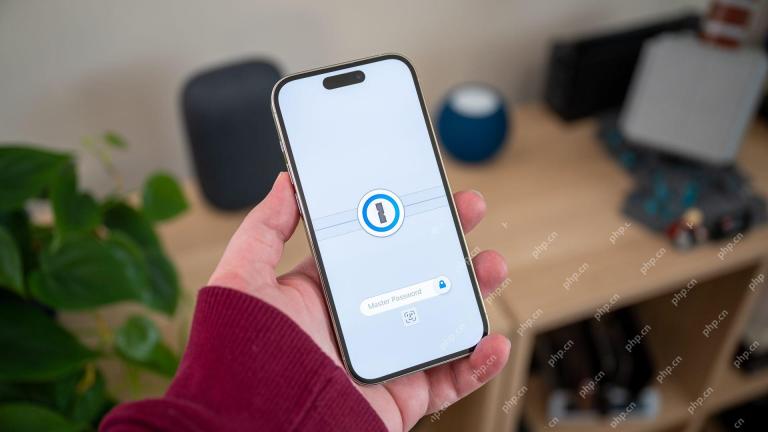
This article reviews six password managers, comparing their features and strengths. Each manager is highlighted with an image and a concise summary of its pros and cons. 1Password: Best overall. Excellent multi-platform performance, intuitive i
 How to Reset All Network Settings in Windows 11Apr 29, 2025 am 03:04 AM
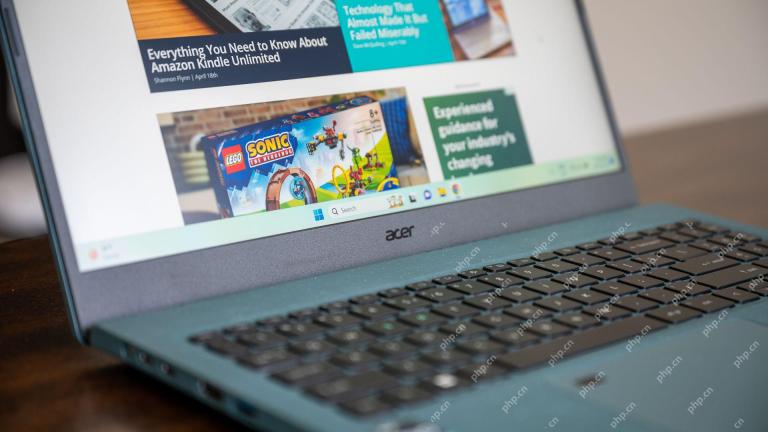
Resolving Windows 11 Wi-Fi Connectivity Issues Through Network Reset Experiencing Wi-Fi or internet connectivity problems on your Windows 11 PC? Resetting your network settings can often resolve these issues. This guide details the process and what
 7 Open Source Apps for Windows You Should Be UsingApr 29, 2025 am 03:02 AM
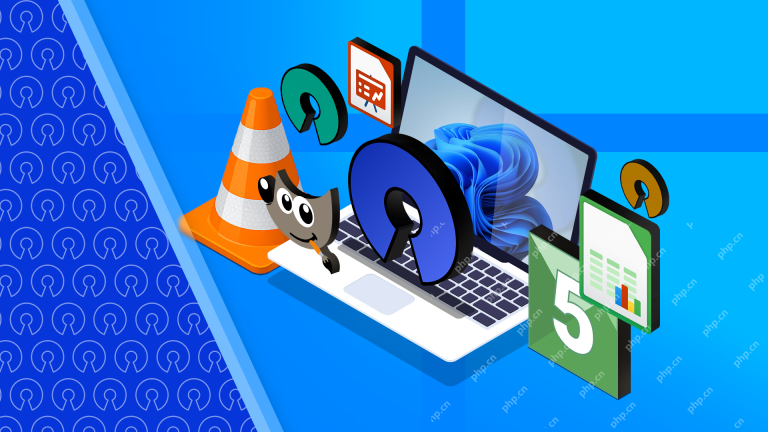
This article highlights ten excellent open-source applications that offer robust functionality without the cost or privacy compromises of commercial alternatives. Let's explore these powerful tools: Notepad : A Superior Text Editor: A significan
 How I Troubleshoot Windows Using Command PromptApr 29, 2025 am 12:55 AM
Command Prompt: Your Secret Weapon for Troubleshooting Windows Issues Since I started using Windows, I've rarely gone a month without encountering some sort of problem. My go-to solution? The often-overlooked Command Prompt. While initially intimid
 6 Windows Warnings You Shouldn't OverlookApr 29, 2025 am 12:53 AM
Windows System Warning: Six Signals Not to Be Neglected Many people find Windows notifications very annoying and often turn them off without watching them. But ignoring all notifications can backfire. Some warnings may prompt serious problems in the system and delayed handling may endanger the safety of the equipment. Here are some warnings you must not ignore. Notification of insufficient disk space When your system drive (usually a C disk) has insufficient storage space, a "Insufficient Disk Space" warning will appear. Windows requires free space to handle tasks such as saving temporary files, installing updates, and managing virtual memory. Insufficient space can cause the system to slow down, freeze or even crash. Important security updates may also fail to install. Given that this can seriously affect performance and stability
 How to Run Old Software in Compatibility Mode on Windows 11Apr 28, 2025 am 09:22 AM
Resolve App Compatibility Issues in Windows 11 with Compatibility Mode Is an application refusing to launch or behave as expected on your Windows 11 system? Windows 11's compatibility mode can often resolve these issues. This guide explains how to u


Hot AI Tools

Undresser.AI Undress
AI-powered app for creating realistic nude photos

AI Clothes Remover
Online AI tool for removing clothes from photos.

Undress AI Tool
Undress images for free

Clothoff.io
AI clothes remover

Video Face Swap
Swap faces in any video effortlessly with our completely free AI face swap tool!

Hot Article
Hot Tools

Zend Studio 13.0.1
Powerful PHP integrated development environment

WebStorm Mac version
Useful JavaScript development tools

SAP NetWeaver Server Adapter for Eclipse
Integrate Eclipse with SAP NetWeaver application server.

Safe Exam Browser
Safe Exam Browser is a secure browser environment for taking online exams securely. This software turns any computer into a secure workstation. It controls access to any utility and prevents students from using unauthorized resources.

mPDF
mPDF is a PHP library that can generate PDF files from UTF-8 encoded HTML. The original author, Ian Back, wrote mPDF to output PDF files "on the fly" from his website and handle different languages. It is slower than original scripts like HTML2FPDF and produces larger files when using Unicode fonts, but supports CSS styles etc. and has a lot of enhancements. Supports almost all languages, including RTL (Arabic and Hebrew) and CJK (Chinese, Japanese and Korean). Supports nested block-level elements (such as P, DIV),

