
 System TutorialWindows SeriesHow to make the win10 taskbar transparent_Introduction to how to make the win10 taskbar transparent
Want to know how to customize your Windows 10 taskbar to better suit your aesthetic preferences? PHP editor Zimo has prepared a detailed guide for you and will guide you step by step through the setup process. This article will not only explain how to make the taskbar transparent, but will also cover other customization options to help you create a personalized experience.
Introduction to how to make the win10 taskbar transparent
1. We can directly set it according to the transparency effect function in the system settings, but this method can only set 50% transparency!
2. Open the computer's run function through the [Win+R] shortcut key, then enter [regedit] and click OK to open the computer's registry editor!

3. Open HKEY_LOCAL_MACHINESOFTWAREMicrosoftWindowsCurrentVersionExplorerAdvanced in the opened registry editor. Finally, click on the Advanced that opens.

4. Right-click in the blank space on the right and select New → DWORD (32-bit) value.
5. After creating this value, the system will ask you to rename this value. The name of this value is UseOLEDTaskbarTransparency.
6. After naming, double-click to open the value and set the numerical data to 1. Then click OK and close Registry Editor. Then restart the computer and the computer taskbar will become more transparent!

The above is the detailed content of How to make the win10 taskbar transparent_Introduction to how to make the win10 taskbar transparent. For more information, please follow other related articles on the PHP Chinese website!

 6 Hidden Features of VLC Media Player That You Should Be UsingApr 11, 2025 am 06:08 AM
Unlock the Hidden Power of VLC Media Player: Beyond Basic Playback VLC Media Player, a free and open-source media player, offers more than just basic audio and video playback. This article highlights some of its lesser-known, yet incredibly useful f
 Framework's Laptop 12 Pre-orders Start Today, But Not in the USApr 11, 2025 am 06:02 AM
Framework's highly anticipated Framework Laptop 12 is now available for pre-order (except in the US). This compact, repairable laptop aims to redefine the entry-level market. However, US customers face a delay due to tariff adjustments, resulting in
 Microsoft Might Finally Fix Windows 11's Start MenuApr 10, 2025 pm 12:07 PM
Windows 11's Start Menu Gets a Much-Needed Overhaul Microsoft's Windows 11 Start menu, initially criticized for its less-than-intuitive app access, is undergoing a significant redesign. Early testing reveals a vastly improved user experience. The up
 Stop Buying Cheap Laptops, Save Money By Doing This InsteadApr 10, 2025 pm 12:06 PM
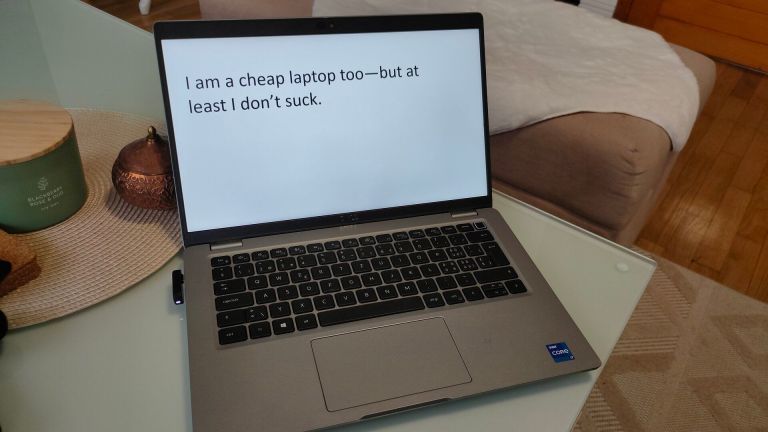
Buying a cheap laptop might seem appealing, especially for students or those on a tight budget. However, bargain-basement laptops, typically priced under $150, often come with significant drawbacks that outweigh the initial cost savings. This artic
 4 Ways to See Previews of Files Without Opening Them on Windows 11Apr 10, 2025 pm 12:02 PM
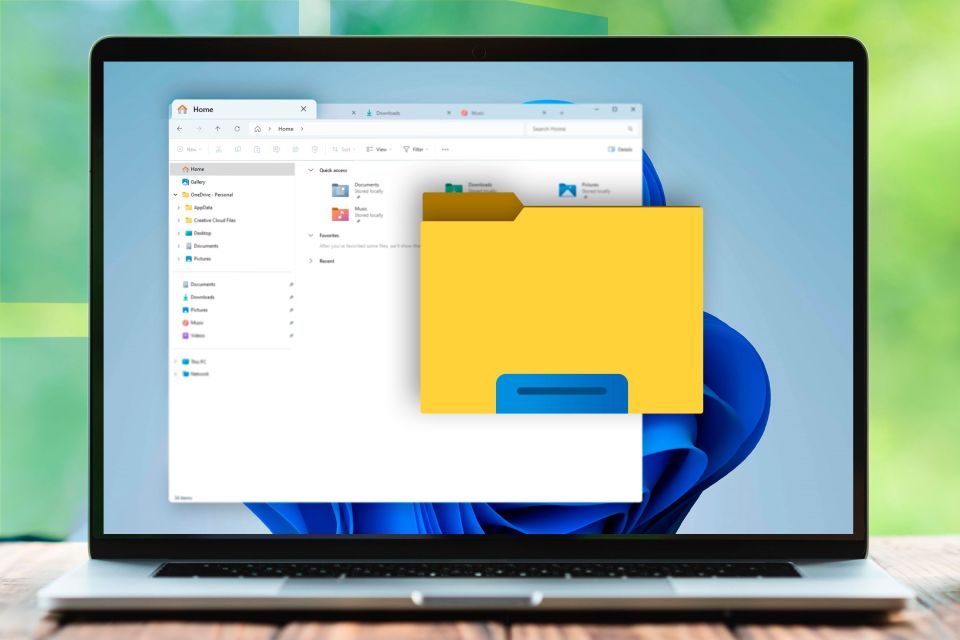
Quickly preview files in Windows 11 without opening them! This guide outlines several methods to view file contents directly within File Explorer. Method 1: Using the Preview Pane in File Explorer Windows 11's File Explorer includes a built-in previ
 This ASUS ROG Ultrawide Curved Monitor Is $250 Off TodayApr 09, 2025 am 06:09 AM
ASUS ROG Swift PG34WCDM 34-inch ultra-wide OLED esports monitor: All-time low-price promotion! Original price $999, current price $750, save $249! This ASUS ROG Swift PG34WCDM 34-inch ultra-wide OLED gaming monitor has a 240Hz refresh rate, 0.03ms response time and amazing color accuracy. 3440x1440 resolution and 800R curvature bring a better gaming experience. Amazon now priced at $750: Asus has made a big cut on its stunning 39-inch ultra-wide 800R curved OLED esports display, enjoying a 25% discount, making it much lower than other high-end displays. This 39
 FreeDOS 1.3 Has Arrived, Still Runs MS-DOS Games and AppsApr 09, 2025 am 06:06 AM
Related News ###### MS-DOS 4.0 of 1988 is now open source Microsoft Disk Operating System (MS-DOS for short) was the operating system of early personal computers and the basic framework of early Microsoft Windows versions. Some older versions have been released as open source software over the past few years, giving us a better understanding of the history of early computing, and the code for MS-DOS 4.0, which is now released in 1988, has also been published. Thankfully, its compatibility with MS-DOS games and applications should still be near perfect. This includes Wolfenstein 3D
 This 16-inch ASUS Gaming Laptop Is $400 Off TodayApr 09, 2025 am 06:05 AM
ASUS TUF Gaming A16 16-inch gaming laptop special offer! Original price $1100, current price $700, save $400! This 16-inch gaming laptop is equipped with an AMD Ryzen 7 7735HS processor, 16GB of memory, a Radeon RX7700S graphics card and a 512GB SSD. Best Buy costs $700 If you're looking for an affordable high-performance gaming laptop, this Asus TUF Gaming A16 is perhaps the perfect choice for you. It is currently being promoted and the price is only $700, saving $400 from the original price. The Asus TUF Gaming series has many gaming laptops


Hot AI Tools

Undresser.AI Undress
AI-powered app for creating realistic nude photos

AI Clothes Remover
Online AI tool for removing clothes from photos.

Undress AI Tool
Undress images for free

Clothoff.io
AI clothes remover

AI Hentai Generator
Generate AI Hentai for free.

Hot Article
Hot Tools

SublimeText3 Linux new version
SublimeText3 Linux latest version

Zend Studio 13.0.1
Powerful PHP integrated development environment

SublimeText3 Chinese version
Chinese version, very easy to use

VSCode Windows 64-bit Download
A free and powerful IDE editor launched by Microsoft

mPDF
mPDF is a PHP library that can generate PDF files from UTF-8 encoded HTML. The original author, Ian Back, wrote mPDF to output PDF files "on the fly" from his website and handle different languages. It is slower than original scripts like HTML2FPDF and produces larger files when using Unicode fonts, but supports CSS styles etc. and has a lot of enhancements. Supports almost all languages, including RTL (Arabic and Hebrew) and CJK (Chinese, Japanese and Korean). Supports nested block-level elements (such as P, DIV),

