Home >Software Tutorial >Computer Software >How to use tables to split pictures in ppt How to use tables to split pictures in ppt
How to use tables to split pictures in ppt How to use tables to split pictures in ppt
- PHPzOriginal
- 2024-08-26 17:39:41453browse
When designing slides, how to use tables to split pictures has been confusing many users. PHP editor Yuzai learned that this method can solve this trouble of yours. This article will introduce in detail the specific steps of using WPS PPT table to split pictures, and provide you with a simple and easy solution. Read on below for a detailed guide on table splitting images to take your slide design to the next level.
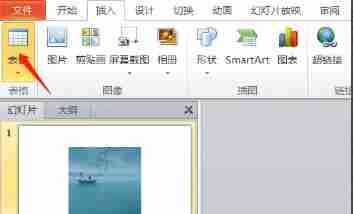
1. Create a new slide in PPT, insert pictures - insert tables, and set the tables and pictures to the same size.
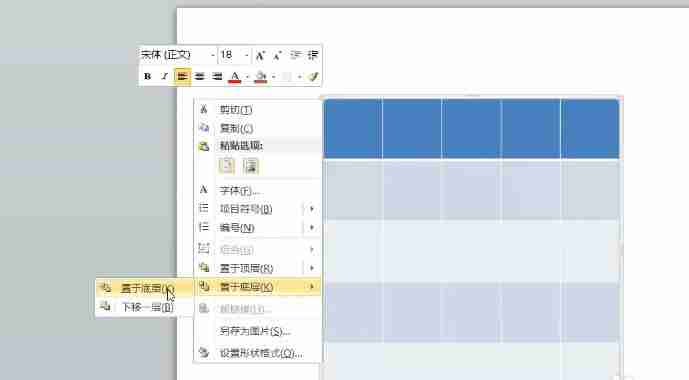
2. Select the table - Send to Back - Ctrl+X to cut the image.
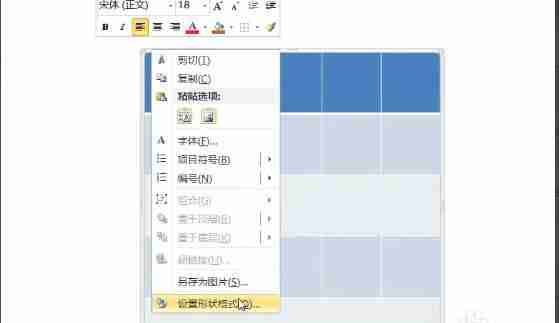
3. Click the table, right-click and select Format Image Shape. Select Picture or Texture Fill in the pop-up menu bar, then select Clipboard, and check Tile the picture into texture.
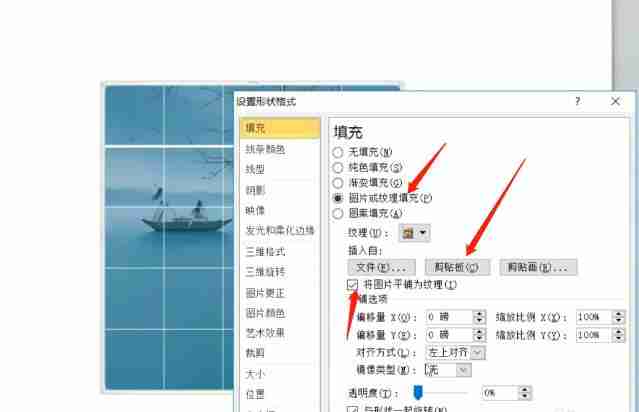
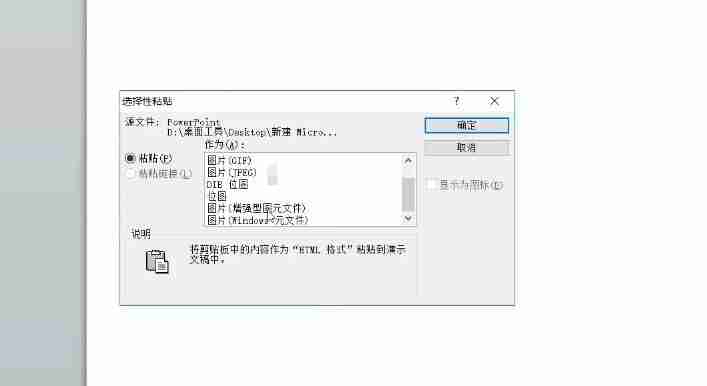
4. Select the table, shortcut key Ctrl+X Cut - shortcut key Ctrl+Alt+V, pop up the Paste Special menu bar, select the picture (enhanced metafile).

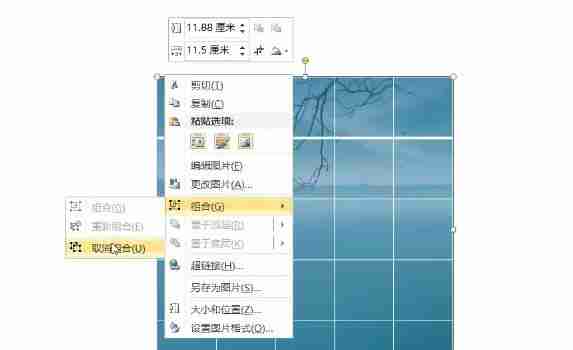
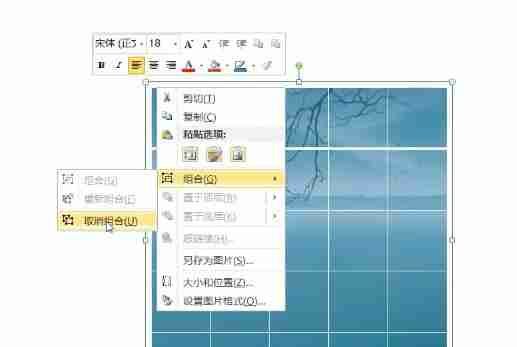
5. Cancel the combination by two consecutive operations.
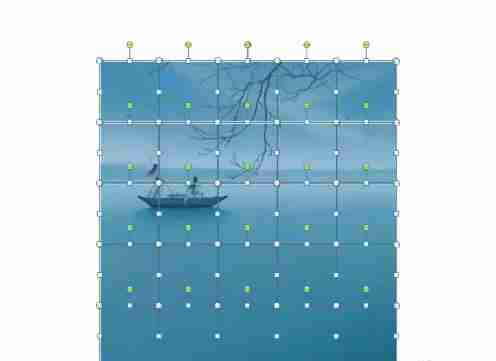
6. Delete the grid lines and the picture is successfully divided into many small pieces.

The above is the detailed content of How to use tables to split pictures in ppt How to use tables to split pictures in ppt. For more information, please follow other related articles on the PHP Chinese website!

