
Home >Computer Tutorials >Troubleshooting >How to cancel automatic deletion of theme pictures in Win10
How to cancel automatic deletion of theme pictures in Win10

- WBOYWBOYWBOYWBOYWBOYWBOYWBOYWBOYWBOYWBOYWBOYWBOYWBOriginal
- 2024-08-24 18:33:21787browse
When using Windows 10 system, many users found that their theme pictures were deleted inexplicably, which caused trouble in daily use. In response to this problem, PHP editor Yuzai specially compiled a detailed guide to help users solve the problem of automatically deleting theme images in Win10. This article will take a closer look at what causes this problem and provide a series of practical solutions. If you are struggling with the above problems, you may wish to continue reading this article to find the best solution.
Operation method:
1. Use the "win+R" shortcut key to start running, enter "control" and press Enter to open.
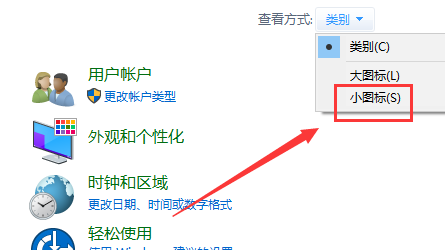
2. After entering the control panel interface, switch the "View Mode" in the upper right corner to "Small Icons".
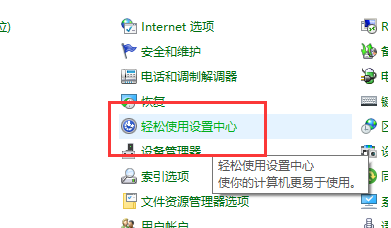
3. Then click on the "Ease of Access Settings Center" option.
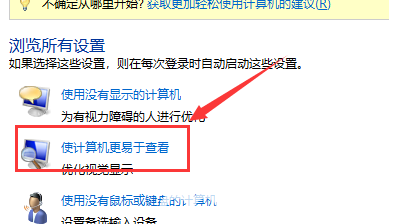
4. Then click "Make the computer easier to view".
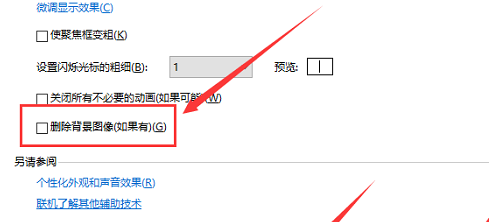
5. Then find the "Delete background image" and finally uncheck the small box.
The above is the detailed content of How to cancel automatic deletion of theme pictures in Win10. For more information, please follow other related articles on the PHP Chinese website!