
Home >Software Tutorial >Computer Software >How to set up trust file in 360 Security Guard 360 Security Guard trust file setting tutorial
How to set up trust file in 360 Security Guard 360 Security Guard trust file setting tutorial

- 王林Original
- 2024-08-20 12:44:381082browse
Question: How to set up 360 Security Guard trust file? Many users use 360 Security Guard to protect their computers, but do not know how to set up trust files, resulting in the software being blocked when launching the software. Intro: PHP editor Baicao will explain in detail the steps to set up 360 Security Guard trust files in this software tutorial to help you use the required files safely.
1. Click to open 360 Security Guard on your computer and enter the software homepage.

2. Click the [Trojan Killing] function on the 360 Security Guard page.

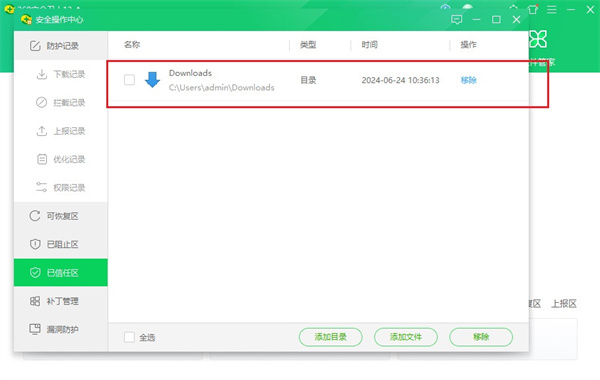
3. Click the [Trust Zone] in the lower left corner of the Trojan killing page.

4. Click Add Directory in the lower left corner of the trust zone page.

5. Select the directory you want to trust in the page that opens. After adding it, all files in the directory will be trusted.

6. You can also choose to add files for the need to trust a single file.

7. After the addition is completed, you can see the added resources in the trust zone, and they will not be blocked next time you use them.
The above is the detailed content of How to set up trust file in 360 Security Guard 360 Security Guard trust file setting tutorial. For more information, please follow other related articles on the PHP Chinese website!