


If you want to allow your PC to be found on the network by other PC and devices, you can set the network to private. Otherwise, set it as public. In this article, we show you how to change your Network type into Private or Public for Ethernet connections in Windows 10.
- Part 1: Set your network as private or public
- Part 2: Change network type from private to public
Part 1: To set your network as private or public in Windows 10, here's how:
Step 1: Go to Settings app in Windows 10.
Step 2: In the Settings app, click Network & Internet option.

Step 3: If you use an Ethernet cable to connect to a network, select Ethernet in the column on the left. Then, click the name of the active network connection on the right.

Step 4: Turn this on for private networks. ( See the following screenshot )

Step 5: When done, close the Settings app to check whether you have successfully set your network as private by opening Network and Sharing Center. In the network and the sharing center, you can see the actual location of private network connection, just under its name.

Step 6: Similarly, to turn this off for public networks. Please repeat the above three steps, such as Step 1, Step 2, Step 3. Then the new window will be opened, just click this On button, and it will automatically become Off button. ( See the following screenshot )

Step 7: After finished, close the Settings app. Launch Network and Sharing Center to check whether your network has been set as public. In the network and the sharing center, you can see the actual location of public network connection, just under its name.

Tips: Or when you have set your network by switching on or switching off for Ethernet connections, you can also go back to this NETWORK & INTERNET window to select the Network and Sharing Center option to check if the network has been changed into private or public. ( See the picture below )

Part 2: To change network type from private to public, here's how:
- Way 1: Change network type from private to public in Registry Editor
- Way 2: Change network type from private to public in Local Group Policy Editor
- Way 3: Change network type from private to public in Windows PowerShell
Way 1: Change network type from private to public in Registry Editor
Step 1: Launch Registry Editor in Windows 10.
Step 2: In Registry Editor window, navigate to the following command line:
HKEY_LOCAL_MACHINESOFTWAREMicrosoftWindows NTCurrentVersionNetworkListProfiles
Step 3: Click the key under Profiles. Right-click Category to choose Modify option in right side.

Step 4: Change Category Value data can be 0 for Public network, 1 for Private network and 2for Domain network. In Value data dialog box, type 0 and click OK button to change network type from private to public. Launch Network and Sharing Center to find the network type that has been set as Public network.

Way 2: Change network type from private to public in Local Group Policy Editor
Step 1: Open Local Group Policy Editor in Windows 10.
Step 2: In Local Group Policy Editor window, navigate to Computer ConfigurationWindows SettingsSecurity SettingsNetwork List Manager Policies. When navigates to Network List Manager Policies, double-click Unidentified Networks.

Step 3: In Unidentified Networks Properties, choose Public and click OK button.

Step 4: Go to Network and Sharing Center, you will see the network type is changed into Public network.
Way 3: Change network type from private to public in Windows PowerShell
Step 1: Run PowerShell as administrator in Windows 10.
Step 2: In Windows PowerShell window, copy and paste Get-NetConnectionProfile, press enter.
Step 3: Input Set-NetConnectionProfile -Name "Network" -NetworkCategory Public, press enter.

Step 4: Open Network and Sharing Center, you will find the network type is displayed into Public network.
Note: If you want to change the network type from public to private, just need to type the command line below:
Set-NetConnectionProfile -Name "Network" -NetworkCategory private
The above is the detailed content of How to Change Your Windows 10 Network Type into Private or Public. For more information, please follow other related articles on the PHP Chinese website!

 win11 activation key permanent 2025Mar 18, 2025 pm 05:57 PM
Article discusses sources for a permanent Windows 11 key valid until 2025, legal issues, and risks of using unofficial keys. Advises caution and legality.
 win11 activation key permanent 2024Mar 18, 2025 pm 05:56 PM
Article discusses reliable sources for permanent Windows 11 activation keys in 2024, legal implications of third-party keys, and risks of using unofficial keys.
 Acer PD163Q Dual Portable Monitor Review: I Really Wanted to Love ThisMar 18, 2025 am 03:04 AM
The Acer PD163Q Dual Portable Monitor: A Connectivity Nightmare I had high hopes for the Acer PD163Q. The concept of dual portable displays, conveniently connecting via a single cable, was incredibly appealing. Unfortunately, this alluring idea quic
 Top 3 Windows 11 Gaming Features That Outshine Windows 10Mar 16, 2025 am 12:17 AM
Upgrade to Windows 11: Enhance Your PC Gaming Experience Windows 11 offers exciting new gaming features that significantly improve your PC gaming experience. This upgrade is worth considering for any PC gamer moving from Windows 10. Auto HDR: Eleva
 Mozilla Thunderbird 136 Is Here, Switching to Monthly Updates by DefaultMar 07, 2025 am 01:19 AM
Firefox 136 and Thunderbird 136: Enhanced Security and Performance The latest releases of Firefox and Thunderbird bring significant improvements in video playback smoothness, browsing security, and overall user experience. Let's delve into the key u
 The Best Monitor Light Bars of 2025Mar 08, 2025 am 03:02 AM
Reduce eye strain and brighten your workspace with a monitor light bar! These handy gadgets adjust brightness and color temperature, some even offering auto-dimming. This updated review (03/04/2025) highlights top picks across various needs. BenQ
 How to Create a Dynamic Table of Contents in ExcelMar 24, 2025 am 08:01 AM
A table of contents is a total game-changer when working with large files – it keeps everything organized and easy to navigate. Unfortunately, unlike Word, Microsoft Excel doesn’t have a simple “Table of Contents” button that adds t
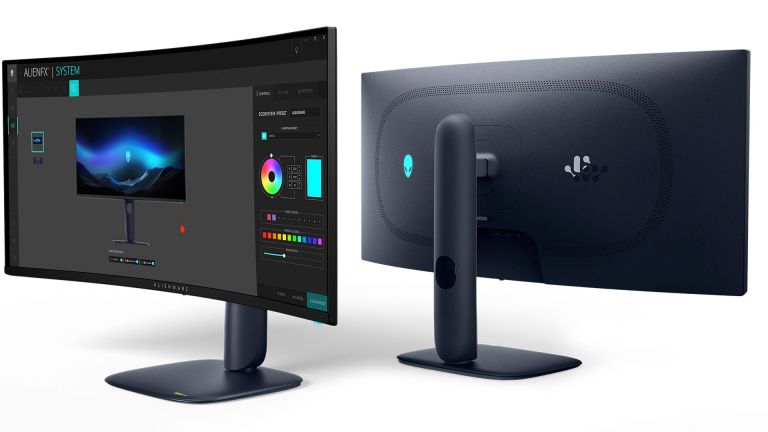 This Wild Ultra-Wide Alienware Monitor is $300 Off TodayMar 13, 2025 pm 12:21 PM
Alienware AW3225QF: The best curved 4K display, is it worth buying? The Alienware AW3225QF is known as the best curved 4K display, and its powerful performance is unquestionable. The fast response time, stunning HDR effects and unlimited contrast, coupled with excellent color performance, are the advantages of this monitor. Although it is mainly aimed at gamers, if you can accept the shortcomings of OLED, it is also suitable for office workers who pursue high efficiency. Widescreen monitors are not only loved by gamers, but also favored by users who value productivity improvement. They are great for work and enhance anyone’s desktop experience. This Alienware monitor is usually expensive, but is currently enjoying it


Hot AI Tools

Undresser.AI Undress
AI-powered app for creating realistic nude photos

AI Clothes Remover
Online AI tool for removing clothes from photos.

Undress AI Tool
Undress images for free

Clothoff.io
AI clothes remover

AI Hentai Generator
Generate AI Hentai for free.

Hot Article
Hot Tools

MinGW - Minimalist GNU for Windows
This project is in the process of being migrated to osdn.net/projects/mingw, you can continue to follow us there. MinGW: A native Windows port of the GNU Compiler Collection (GCC), freely distributable import libraries and header files for building native Windows applications; includes extensions to the MSVC runtime to support C99 functionality. All MinGW software can run on 64-bit Windows platforms.

DVWA
Damn Vulnerable Web App (DVWA) is a PHP/MySQL web application that is very vulnerable. Its main goals are to be an aid for security professionals to test their skills and tools in a legal environment, to help web developers better understand the process of securing web applications, and to help teachers/students teach/learn in a classroom environment Web application security. The goal of DVWA is to practice some of the most common web vulnerabilities through a simple and straightforward interface, with varying degrees of difficulty. Please note that this software

Notepad++7.3.1
Easy-to-use and free code editor

SublimeText3 Mac version
God-level code editing software (SublimeText3)

Atom editor mac version download
The most popular open source editor

