
Home >Software Tutorial >Computer Software >How to reinstall realtek high definition audio manager
How to reinstall realtek high definition audio manager

- WBOYWBOYWBOYWBOYWBOYWBOYWBOYWBOYWBOYWBOYWBOYWBOYWBOriginal
- 2024-07-22 11:37:41743browse
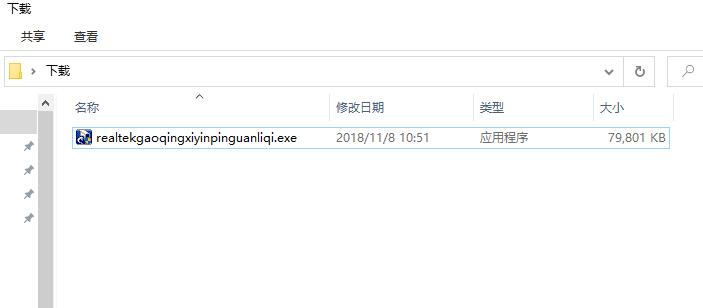
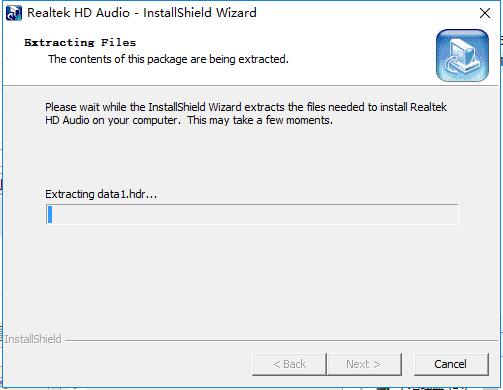
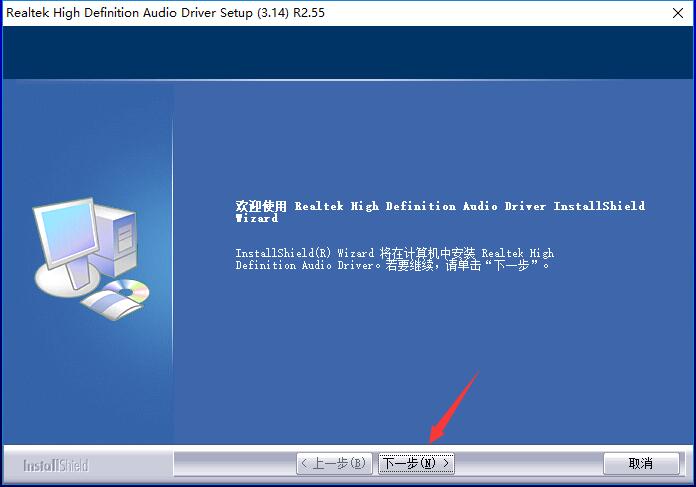
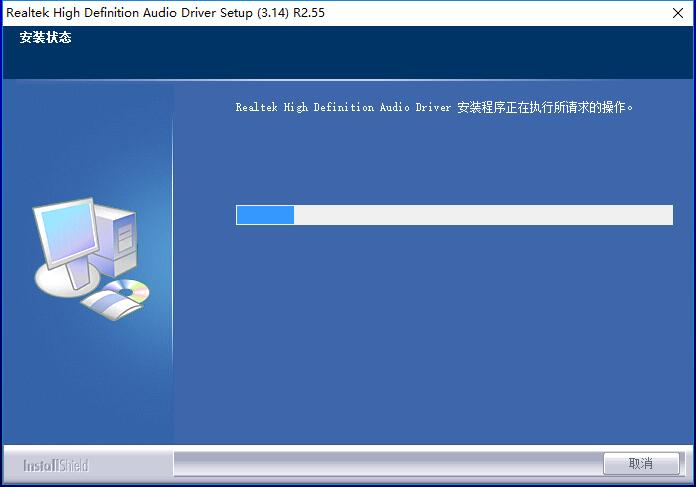
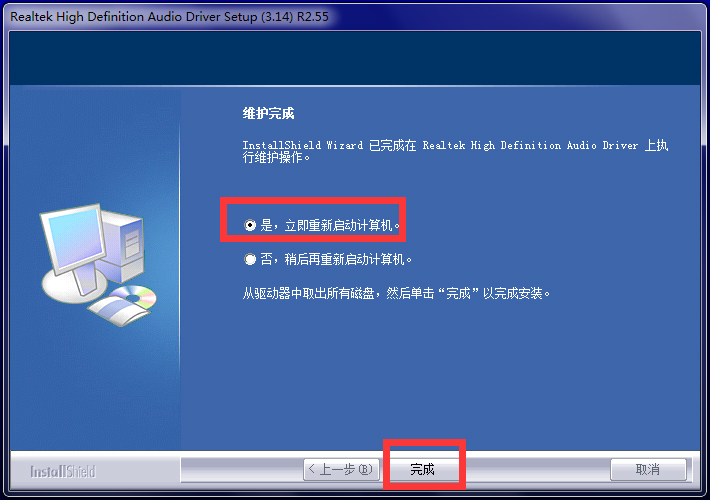
Some users have deleted the realtek high-definition audio manager because they installed a third-party sound adjustment tool. After using it for a while, they still find the realtek high-definition audio manager useful and want to reinstall the realtek high-definition audio manager. How to do this? The method is not difficult, let’s take a look below. Step 1: We first download the installation package of the software and double-click to open it.
The above is the detailed content of How to reinstall realtek high definition audio manager. For more information, please follow other related articles on the PHP Chinese website!
Statement:
The content of this article is voluntarily contributed by netizens, and the copyright belongs to the original author. This site does not assume corresponding legal responsibility. If you find any content suspected of plagiarism or infringement, please contact admin@php.cn
Previous article:How to translate web pages in Google Chrome? Tutorial on how to translate web pages in Google ChromeNext article:How to translate web pages in Google Chrome? Tutorial on how to translate web pages in Google Chrome