Home >Software Tutorial >Computer Software >How to create a poster with interspersed text in Photoshop_Tutorial on how to create a poster with interspersed text in Photoshop
How to create a poster with interspersed text in Photoshop_Tutorial on how to create a poster with interspersed text in Photoshop
- PHPzOriginal
- 2024-06-08 22:23:07714browse
Nowadays, poster designs with text interspersed are all the rage, and they attract the eye with eye-catching visual effects. If you want to DIY a poster like this but don’t know where to start, then this article is good news for you. PHP editor Xinyi will bring you a detailed Photoshop production guide, from selecting fonts to adding images, taking you step by step to appreciate the secrets of making text-interspersed posters.
1. Open the image, Ctrl+J to copy one layer.

2. Type the required text.

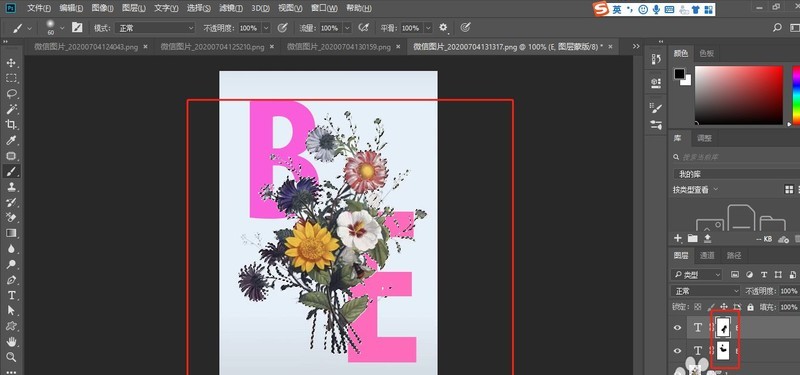
3. Add a layer mask to each text.

4. Cut out the material.

5. Hold down the Ctrl key and click on the material thumbnail to bring up the selection.

6. Then click on the mask respectively, and use a black brush to paint the part you want to intersperse.

The above is the detailed content of How to create a poster with interspersed text in Photoshop_Tutorial on how to create a poster with interspersed text in Photoshop. For more information, please follow other related articles on the PHP Chinese website!

