Home >Software Tutorial >Computer Software >How to create a Tai Chi diagram in Photoshop_How to create a Tai Chi diagram in Photoshop
How to create a Tai Chi diagram in Photoshop_How to create a Tai Chi diagram in Photoshop
- WBOYWBOYWBOYWBOYWBOYWBOYWBOYWBOYWBOYWBOYWBOYWBOYWBOriginal
- 2024-06-03 21:57:291308browse
How to create a classic Tai Chi diagram in Photoshop? PHP editor Strawberry will answer this question for you today. The Tai Chi Diagram is an important symbol in Taoist culture. The black and white fishes complement each other, symbolizing the balance of yin and yang in the universe. This article will introduce in detail the specific steps of using Photoshop to create Tai Chi diagrams to help everyone master this practical skill.
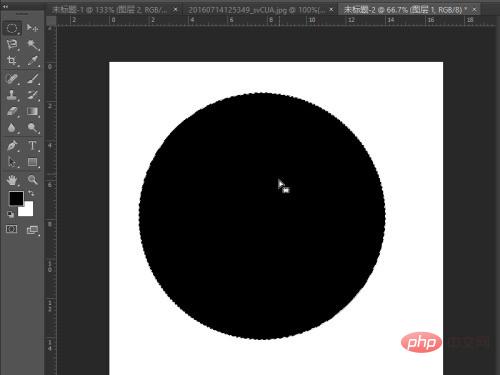
1. First open photoshop and use the ellipse tool to draw a perfect circle.

2. Then use the reference line to find the center of the two small circles on the positive edge, and then draw the two small circles.

3. Finally, in order to display it more clearly, fill the background color with cyan, fill the upper half of the large perfect circle with white, and fill the lower half with black. Fill the circle with one black and one white, and finally draw the smallest circle with the opposite color to the next largest circle. At this point, we have used Photoshop to make a Tai Chi diagram.

The above is the detailed content of How to create a Tai Chi diagram in Photoshop_How to create a Tai Chi diagram in Photoshop. For more information, please follow other related articles on the PHP Chinese website!

