Home >Software Tutorial >Computer Software >How to deal with the problem that the copied elements in Revit are not the selected elevation floors
How to deal with the problem that the copied elements in Revit are not the selected elevation floors
- WBOYWBOYWBOYWBOYWBOYWBOYWBOYWBOYWBOYWBOYWBOYWBOYWBOriginal
- 2024-06-01 10:41:11359browse
When copying elements in Revit, you may encounter such a problem: the copied elements are not located at the level floor you selected. This can significantly impact your workflow and lead to modeling errors. PHP editor Xigua will introduce you to the specific reasons for this problem and provide detailed solutions. Continue reading below to learn how to improve your Revit modeling efficiency by ensuring that copied elements are always at the correct level floor.
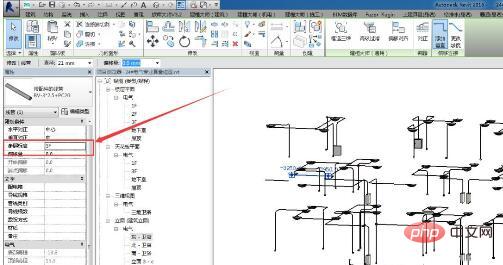
First check whether the reference elevation of the selected element is correct; for example, if you draw a pipe on one layer, its reference elevation should also correspond to one layer. Select the element in its attribute bar [Restrictions Find [Reference Elevation] under 】 to see if it is consistent with the elevation floor where the element is located.

Some graphics elements are placed based on the main body. There is no reference to the elevation. If there is a main body that can be placed in the copied floor, it can be copied. If the attached main body cannot be found, it will be copied. Can't be copied.

When the element you copy is offset in elevation, check whether the elevation of the floor where the element is located is consistent with the reference elevation.
The above is the detailed content of How to deal with the problem that the copied elements in Revit are not the selected elevation floors. For more information, please follow other related articles on the PHP Chinese website!

