Home >Web Front-end >JS Tutorial >Non-jQuery implementation of photos scattered on the table, click to enlarge the LightBox effect_javascript skills
Non-jQuery implementation of photos scattered on the table, click to enlarge the LightBox effect_javascript skills
- WBOYWBOYWBOYWBOYWBOYWBOYWBOYWBOYWBOYWBOYWBOYWBOYWBOriginal
- 2016-05-16 16:29:431660browse
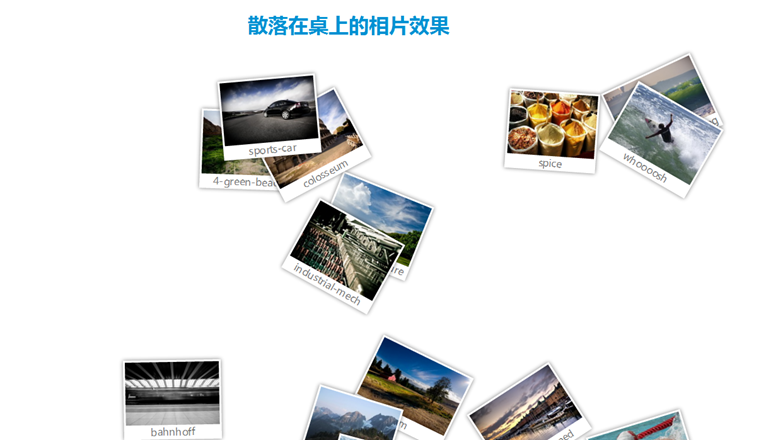
The rendering is as follows


Demo addresshttp://xueduany.github.io/KitJs/KitJs/demo/Lightbox-Gallery/demo.html
The implementation principle is very simple, the basic html is as follows

blue-green-nature

2-breast-stroke

farm

bahnhoff
…
First define a tablecloth, that is, div id="gallery"
Then arrange a vertical column of photo albums in order, div class="item", and wrap the pictures with an a link inside
Next, we need to achieve the dispersion effect of the photo,
Copy code
The code is as follows:
$k(function() {
$k('.item', $k('#gallery')).each(function() {$k(this).css({
top : $kit.math.rand($k('#gallery').innerHeight()) 'px',left : $kit.math.rand($k('#gallery').innerWidth()) 'px',
'-webkit-transform' : 'rotate(' $kit.math.rand(-40, 40) 'deg)'});
Here $k is the writing method of kit, which is similar to jQuery’s $. The API is exactly the same. The meaning of this code is to find the divs of all items, set them to absolute positioning, use the tablecloth height and width, generate random numbers, and arrange them. For css3, use css3's unique rotation effect'rotate attribute to rotate a certain angle
At this time, the photos began to spread out, achieving the effect of Figure 1. Next we will do the LightBox effect,
$k(function() {
$k('.item', $k('#gallery')).each(function() {
$k(this).css({
top : $kit.math.rand($k('#gallery').innerHeight()) 'px',
left : $kit.math.rand($k('#gallery').innerWidth()) 'px',
'-webkit-transform' : 'rotate(' $kit.math.rand(-40, 40) 'deg)'
});
}).pushStack('a.kitLightBox').each(function() {
new $kit.ui.LightBox({
el : this
}).init();
});
});
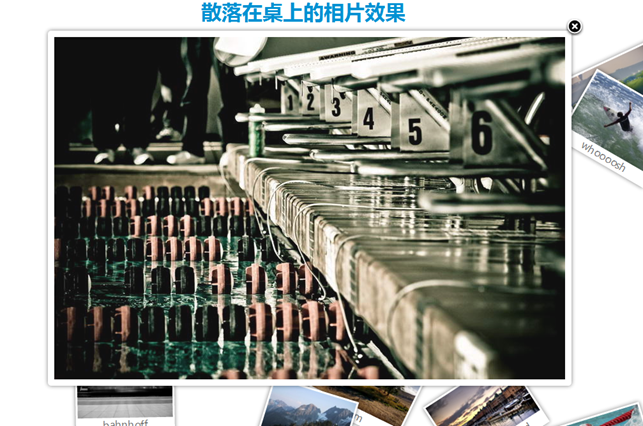
The complete code is as above. For the a link of each image, use the lightbox UI widget of kitjs to instantiate it. The obtained effect can be clicked and the image will be opened as a large image with animation effect. ^_^Wish you all a happy use!
LightBox source code https://github.com/xueduany/KitJs/blob/master/KitJs/src/js/widget/LightBox/lightbox.js
Photo scatter effect source code https://github.com/xueduany/KitJs/blob/master/KitJs/demo/Lightbox-Gallery/demo.html
This article is based on the KITJS framework. If you don’t know it very well, then in the following article, we will introduce this great js framework in detail.
Related articles
See more- An in-depth analysis of the Bootstrap list group component
- Detailed explanation of JavaScript function currying
- Complete example of JS password generation and strength detection (with demo source code download)
- Angularjs integrates WeChat UI (weui)
- How to quickly switch between Traditional Chinese and Simplified Chinese with JavaScript and the trick for websites to support switching between Simplified and Traditional Chinese_javascript skills

