Heim >Web-Frontend >H5-Tutorial >Verwenden Sie Canvas, um die Methode zum Laden kleiner Bälle auf dem Baidu Tieba-Client zu imitieren
Verwenden Sie Canvas, um die Methode zum Laden kleiner Bälle auf dem Baidu Tieba-Client zu imitieren
- 不言Original
- 2018-07-03 10:50:291873Durchsuche
Dieser Artikel führt Sie hauptsächlich in die Implementierungsmethode der Verwendung von Canvas zur Nachahmung des Baidu Tieba-Client-Ladeballs ein. Der detaillierte Beispielcode wird im Artikel als Referenz und zum Lernen angegeben Es kommt allen zugute. Freunde, die es brauchen, können zusammenkommen und lernen.
Vorwort
Ich habe kürzlich zwei interessante Demos gesehen, die Darstellungen sind wie folgt:
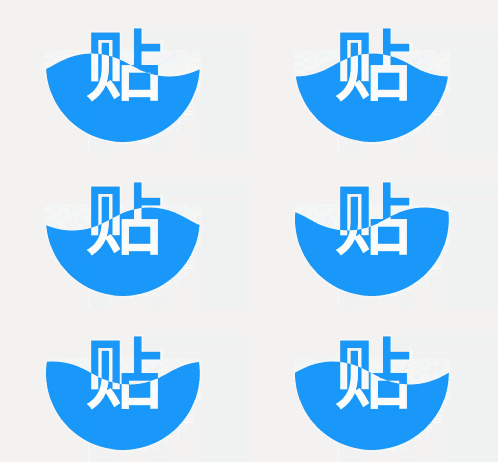
Ich habe die freie Zeit am Wochenende genutzt, um es mit H5 Canvas nachzuahmen. In diesem Artikel wird nur das erste Rendering implementiert.
Das ist der Effekt, den ich erzielt habe:
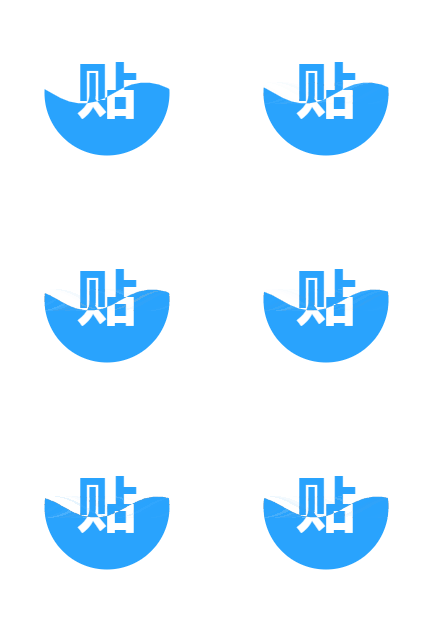
Prinzip der Umsetzung
Das Umsetzungsprinzip basiert auf dem Artikel im Kurzbuch und wird hier nicht wiederholt. Lassen Sie uns diesen Effekt nun Schritt für Schritt erzielen.
Schritt 0: Zeichnen Sie einen Kreis
Der Quellcode lautet wie folgt:
Der Laufeffekt ist wie folgt:
<!DOCTYPE html>
<html>
<head>
<meta charset="UTF-8">
<title>百度贴吧客户端Loading小球</title>
<style>
canvas {
border: 1px solid #ccc;
}
</style>
</head>
<body>
<canvas id="canvas" width="500" height="500"></canvas>
<script>
var canvas = document.getElementById('canvas')
var ctx = canvas.getContext('2d')
canvas.width = 500
canvas.height = 500
var grid = canvas.width / 4
var cx = canvas.width / 2 // 圆中心点 x 坐标
var cy = canvas.height / 2 // 圆中心点 y 坐标
function circle() {
ctx.beginPath()
ctx.arc(cx, cy, grid / 2, 0, 2 * Math.PI)
}
circle()
ctx.stroke()
</script>
</body>
</html>
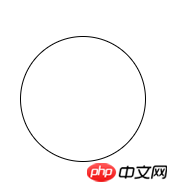
Diese Demo beinhaltet nur die einfachste Verwendung von Canvas.
Schritt 1: Zeichnen Sie das blaue Wort „Post“
Zeichnen Sie mit ctx.fillText ein blaues Wort „Post“ in die Mitte des Kreises. Der Text ist fett und horizontal zentriert.
Der Code lautet wie folgt:
function text(fillStyle) {
    var fontSize = size / 250 * 120
    ctx.font = 'bold ' + fontSize + 'px Arial'
    ctx.textAlign = 'center'
    ctx.fillStyle = fillStyle
    ctx.fillText('贴', cx, cy + fontSize * 0.3)
}

text('#29a3fe')
Der Effekt ist wie folgt:
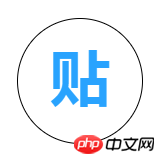
Nein. Schritt 2: Blaue Wellen zeichnen
var waveSize = size / 6 // 波浪大小
var x = 0 // 波浪位置偏移大小

function curve() {
    ctx.beginPath()
    ctx.moveTo(cx - size + x + size / 2, cy)
    ctx.quadraticCurveTo(cx - size + size / 4 + x + size / 2, cy - waveSize, cx - size + size / 2 + x + size / 2, cy)
    ctx.quadraticCurveTo(cx - size + size * 3 / 4 + x + size / 2, cy + waveSize, cx - size + size + x + size / 2, cy)

    ctx.quadraticCurveTo(cx + size / 4 + x + size / 2, cy - waveSize, cx + size / 2 + x + size / 2, cy)
    ctx.quadraticCurveTo(cx + size * 3 / 4 + x + size / 2, cy + waveSize, cx + size + x + size / 2, cy)
    ctx.lineTo(cx + size + x + size / 2, canvas.height)
    ctx.lineTo(cx - size + x + size / 2, canvas.height)
    ctx.lineTo(cx - size + x + size / 2, cy)
    ctx.closePath()
}

ctx.fillStyle = '#29a3fe'
curve()
ctx.fill()
Der Effekt ist wie folgt:
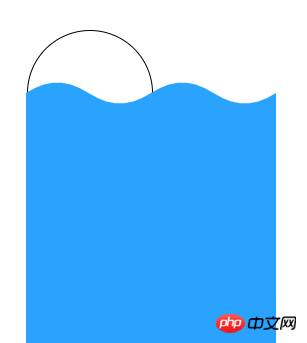
Schritt 3: Zeichnen Sie das weiße Wort „Stick“
curve()
ctx.clip()
text('#f00')
Der erste Codesatzcurve() wird erstellt ein wellenförmiger Pfad, und der Unterschied im dritten Schritt besteht darin, dass hier nicht der Füllpfad ctx.fill(), sondern der Beschneidungspfad ctx.clip() verwendet wird. In diesem Fall kann der später gezeichnete Pfad (einschließlich Text) nur angezeigt werden innerhalb des Clipping-Bereichs.
Um es von der Hintergrundfarbe zu unterscheiden, habe ich das Wort „Beitrag“ in Rot geändert.
Der Effekt ist wie folgt:
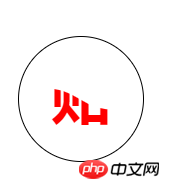
Schritt 4: Bewegte Wellen zeichnen
function loop(){
    ctx.clearRect(0, 0, canvas.width, canvas.height)

    x -= 1.5
    x = x % size

    ctx.save()

    circle()
    ctx.stroke()

    ctx.fillStyle = '#29a3fe'
    curve()
    ctx.fill()

    ctx.restore()

    requestAnimationFrame(loop)
}
loop()
Der Effekt ist wie folgt:
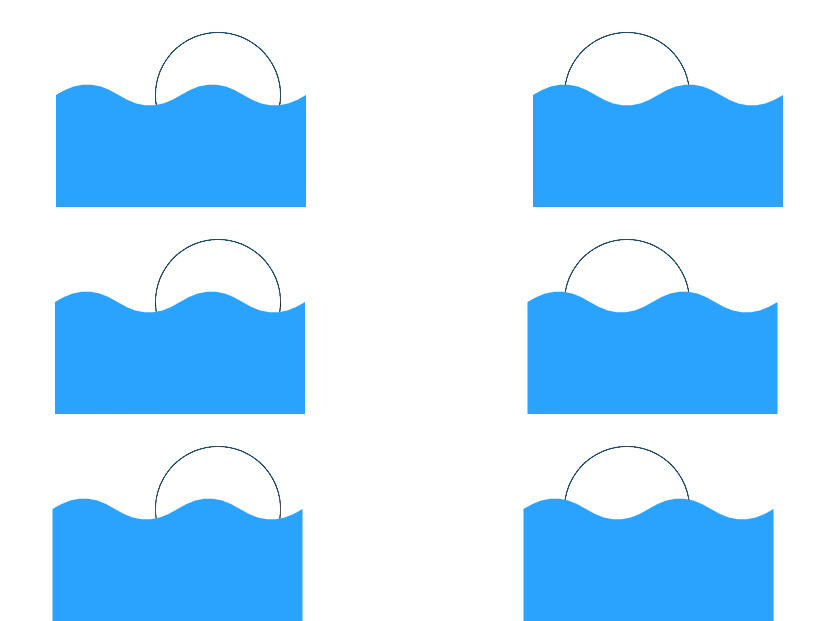
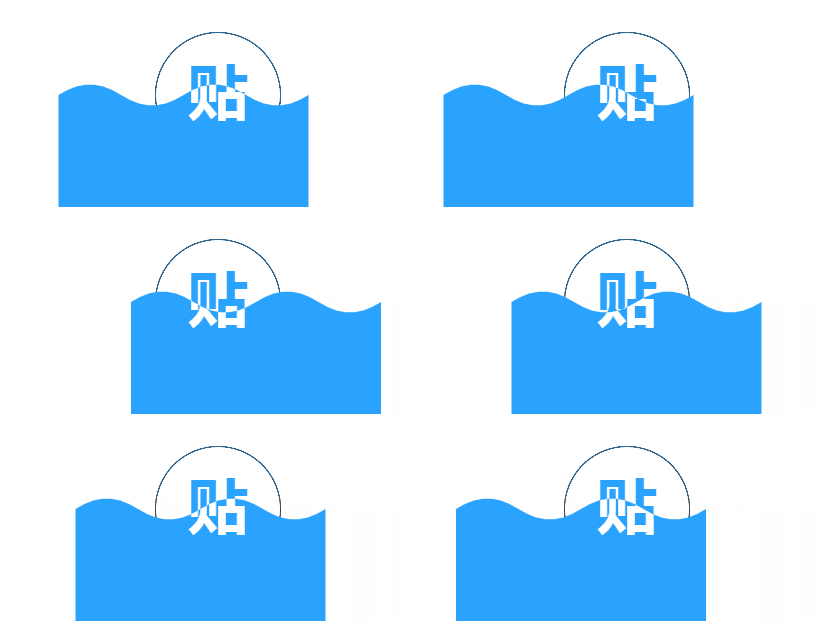
Schritt 5: Den bisherigen Inhalt integrieren
Der Effekt ist wie folgt:
Schritt 6: Runde Form ausschneiden
Schritt Null platzieren:
circle()
ctx.stroke()
Ändern zu:
circle()
ctx.clip()
Auf diese Weise können Sie die äußere Form des Kreises ausschneiden, und schon sind Sie fertig Erledigt.
Abschließend ist der vollständige Quellcode beigefügt:
<!DOCTYPE html>
<html lang="en">
<head>
<meta charset="UTF-8">
<title>Title</title>
<style>
html,
body {
height: 100%;
}
canvas {
border: 1px solid #ccc;
}
</style>
</head>
<body>
<canvas id="canvas" width="500" height="500"></canvas>
<script>
var canvas = document.getElementById('canvas')
var ctx = canvas.getContext('2d')
canvas.width = 500
canvas.height = 500
var size = canvas.width / 4 // 圆的大小
var cx = canvas.width / 2 // 圆中心点 x 坐标
var cy = canvas.height / 2 // 圆中心点 y 坐标
var waveSize = size / 6 // 波浪大小
var x = 0 // 波浪位置偏移大小
function circle() {
ctx.beginPath()
ctx.arc(cx, cy, size / 2, 0, 2 * Math.PI)
}
function curve() {
ctx.beginPath()
ctx.moveTo(cx - size + x + size / 2, cy)
ctx.quadraticCurveTo(cx - size + size / 4 + x + size / 2, cy - waveSize, cx - size + size / 2 + x + size / 2, cy)
ctx.quadraticCurveTo(cx - size + size * 3 / 4 + x + size / 2, cy + waveSize, cx - size + size + x + size / 2, cy)
ctx.quadraticCurveTo(cx + size / 4 + x + size / 2, cy - waveSize, cx + size / 2 + x + size / 2, cy)
ctx.quadraticCurveTo(cx + size * 3 / 4 + x + size / 2, cy + waveSize, cx + size + x + size / 2, cy)
ctx.lineTo(cx + size + x + size / 2, canvas.height)
ctx.lineTo(cx - size + x + size / 2, canvas.height)
ctx.lineTo(cx - size + x + size / 2, cy)
ctx.closePath()
}
function text(fillStyle) {
var fontSize = size / 250 * 120
ctx.font = 'bold ' + fontSize + 'px Arial'
ctx.textAlign = 'center'
ctx.fillStyle = fillStyle
ctx.fillText('贴', cx, cy + fontSize * 0.3)
}
function loop(){
ctx.clearRect(0, 0, canvas.width, canvas.height)
x -= 1.5
x = x % size
ctx.save()
circle()
ctx.clip()
text('#29a3fe')
ctx.fillStyle = '#29a3fe'
curve()
ctx.fill()
curve()
ctx.clip()
text('#fff')
ctx.restore()
requestAnimationFrame(loop)
}
loop()
</script>
</body>
</html>
Das Obige ist der gesamte Inhalt dieses Artikels Weitere Informationen finden Sie auf der chinesischen PHP-Website.
Verwandte Empfehlungen:
html5 verwendet html2canvas, um Browser-Screenshots zu implementieren
So zeichnen Sie einen fünfzackigen Stern mit HTML5 Leinwand
html5 verwendet Leinwand, um den Flammeneffekt zu erzielen, der dem Cursor folgt
Das obige ist der detaillierte Inhalt vonVerwenden Sie Canvas, um die Methode zum Laden kleiner Bälle auf dem Baidu Tieba-Client zu imitieren. Für weitere Informationen folgen Sie bitte anderen verwandten Artikeln auf der PHP chinesischen Website!
In Verbindung stehende Artikel
Mehr sehen- Das Vollbild-Bildlauf-Plug-in AlloyTouch erstellt in 30 Sekunden eine flüssige H5-Seite
- Tatsächlicher HTML5-Kampf und Analyse von Touch-Ereignissen (Touchstart, Touchmove und Touchend)
- Ausführliche Erläuterung der Beispiele für Bildzeichnungen in HTML5 Canvas 9
- Reguläre Ausdrücke und neue HTML5-Elemente
- So kombinieren Sie NodeJS und HTML5, um mehrere Dateien per Drag-and-Drop auf den Server hochzuladen

