本节课讲解HTML、CSS的标签选择器的使用。不同标签和属性的使用方法及作用更是与网站页面紧密关联。
实例
<!DOCTYPE html>	<!-- 声明文档类型 -->
<html lang="en">
<head>	<!-- 双标签--网页头部 -->
	<meta content="text/html" charset="UTF-8">	<!-- 单标签--当前页面编码,不添加部分浏览器乱码 -->
	<title>PHP中文网--第一节课</title><!-- 当前页面标题 -->
	<link rel="stylesheet" type="text/css" href="static/style.css">	<!-- 外联样式引入 -->
	<link rel="icon" type="image/x-icon" href="images/favicon.ico"><!-- 图片图标引入 -->

	<style type="text/css">	/*双标签--内联样式*/

		body{
			background: RGB(240,243,239);
		}
			/*  #id选择器*/
			#id{
				width: 100%;
				height: 90px;
				background: black;
				}
			/*  #id1选择器*/
			#id1{
				width: 100px;
				height: 100px;
				background: RGB(222,81,69);
				}
			/*  #id1选择器*/
			#id2{
				width: 100px;
				height: 100px;
				background: #000;
				}
			/*  .class类选择器*/
			.class1{
				width: 100px;
				height: 150px;
				background: green;
				}
			/*  .class类选择器*/
			.class2{
				width: 100px;
				height: 150px;
				background: yellow;
			}
			/*设置所有a标签字体颜色*/
			a{color:RGB(249,36,114);}
		div img{height: 80px;}
		div [href="http://www.php.cn"]{background:RGB(242,21,21);color: #ffffff} /*属性选择器*/
	</style>
</head>
<body>
	<div id="id">
		<img src="http://www.php.cn/static/images/logo.png" alt="PHP中文网">	<!-- 引入图片 -->
		<a href="http://www.php.cn">PHP中文网</a>
		<a href="http://www.taobao.com">淘宝</a>
		<a href="http://www.baidu.com">百度</a>
		<a href="http://www.jd.com">京东</a>
	</div>
	<div id="id1"></div>
	<div id="id2"></div>
	<div class="class1"></div>
	<div class="class2"></div>
	<a href="http://www.php.cn">PHP中文网</a>
	<a href="http://www.taobao.com">淘宝</a>
	<a href="http://www.baidu.com">百度</a>
	<a href="http://www.jd.com">京东</a>
</body>
</html>
运行实例 »
点击 "运行实例" 按钮查看在线实例
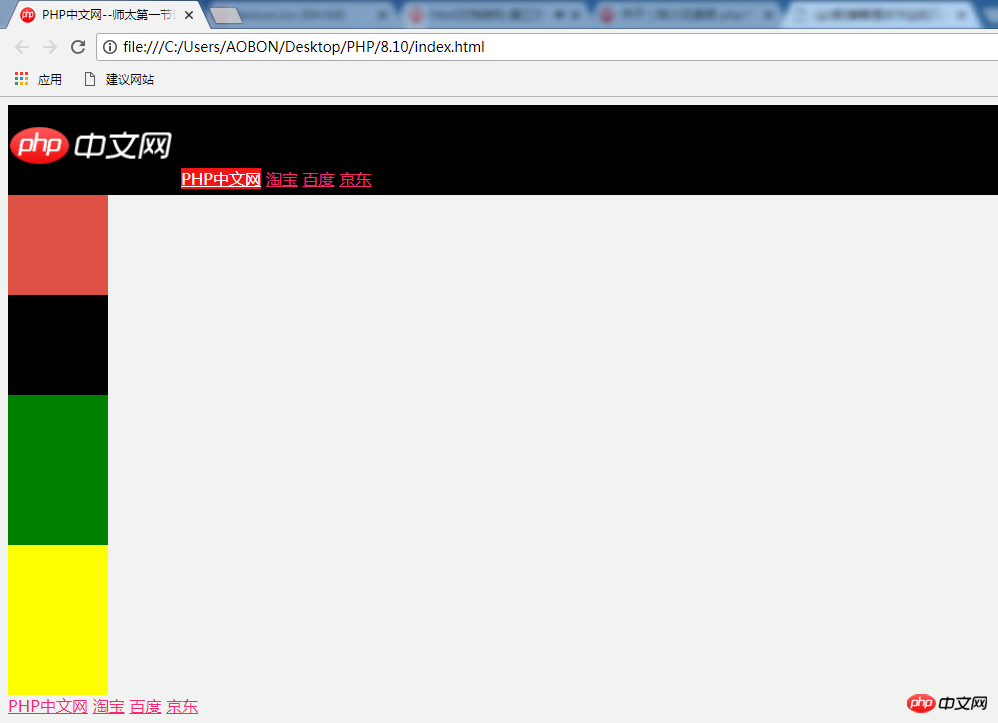
第三、结果预览图

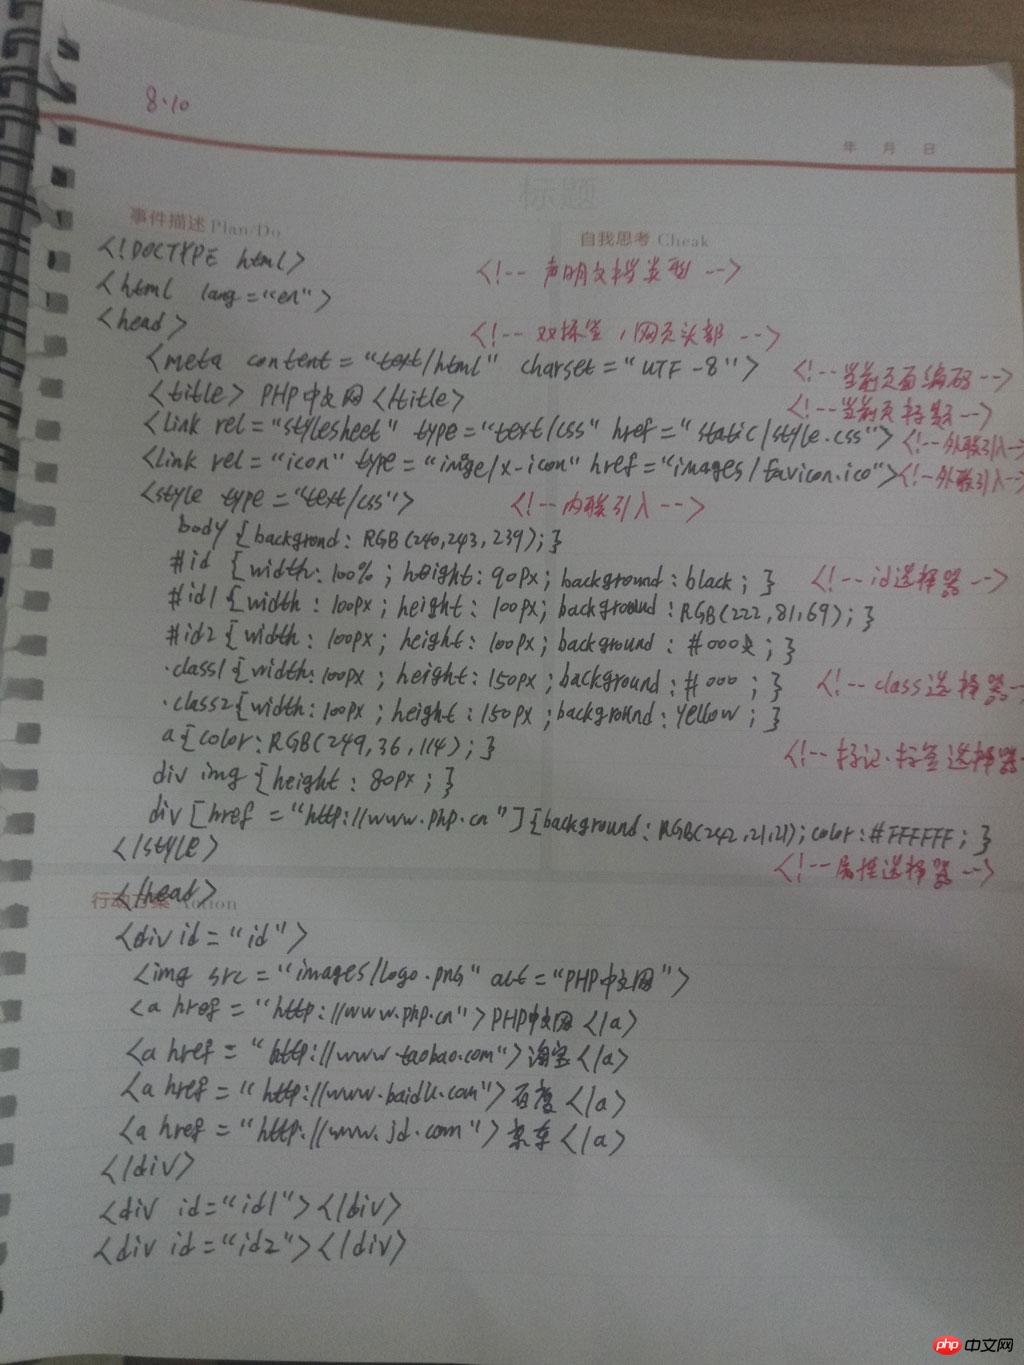
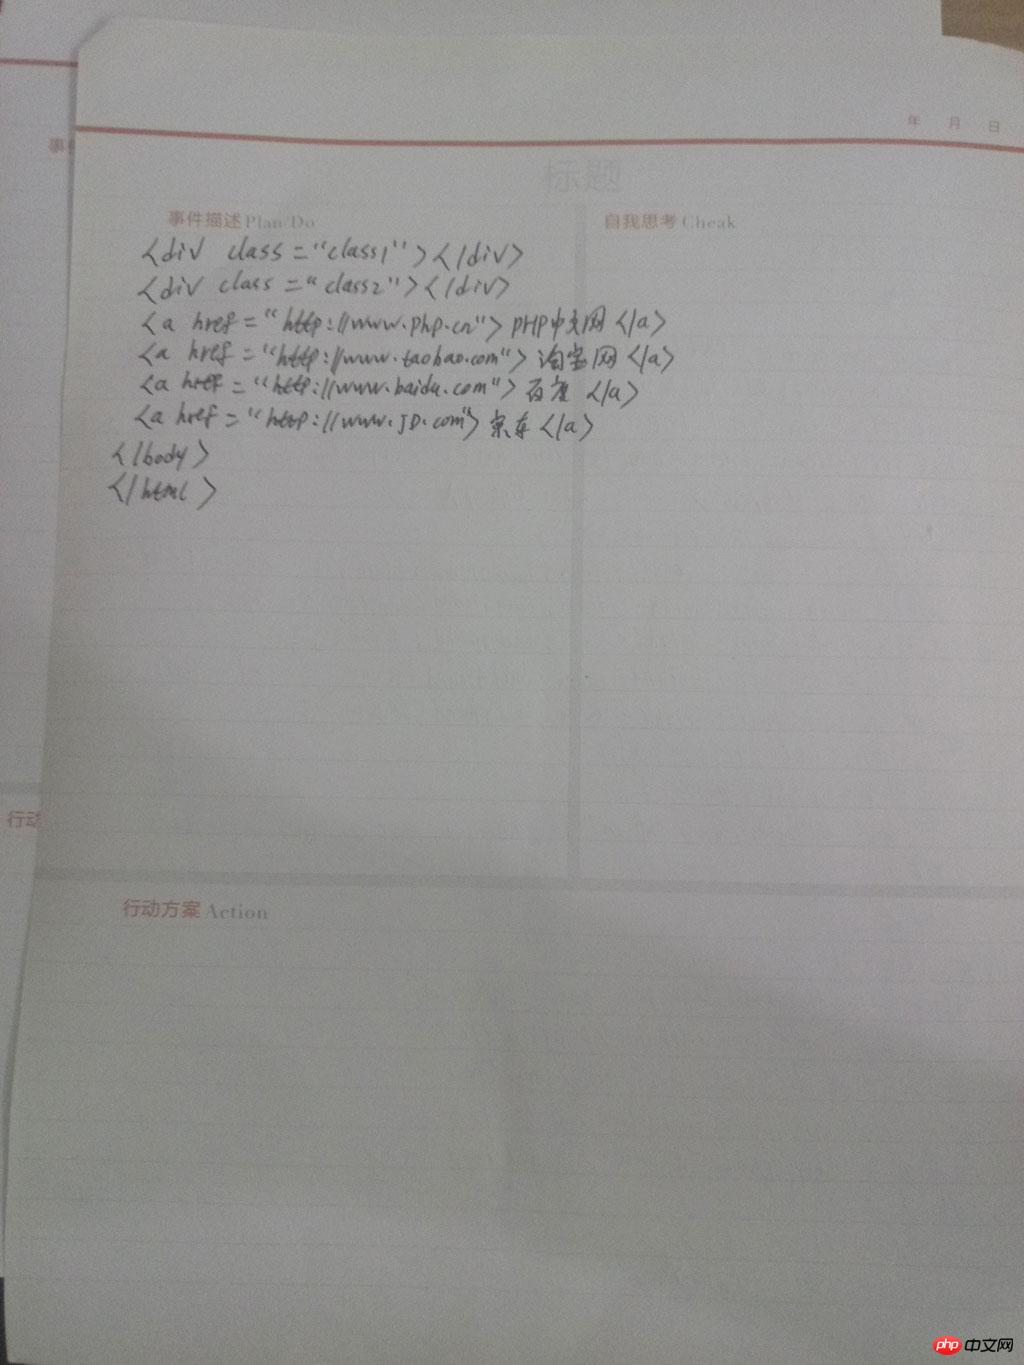
第四、手抄代码图片


第五、总结评论
一、<DOCTYPE html> 除html类型外,还有xml 、xhtml。(声明文档类型)
二、HTML中选择器区别
body{} 指的是标记选择器 标签选择器
#box{} #指的是id选择器
.main{} .表示class选择器 类选择器(类名选择器的优先级要低于ID选择器)
a[]{} 表示属性选择器
div a{} 表示派生选择器
三、<head>中常用的标签:
<title> 定义网页文档标题
<meta> 定义网页信息,如文档编码:utf-8
<link>链接外部文件
1. 链接样式表 <link rel=“stylesheet” type=“text/css” href=“路径”>
2. 链接缩略图标<link rel = “shotcut-icon” type=“image/x-icon” href =“路径”>
rel 定义文档与文件的关系 type 文件类型 href 文件路径
<style> 定义内部样式
四、<body>中常用的标签:
<a> 定义超链接

