微信网页授权登录的流程
作用:获取当前用户的昵称、头像信息
步骤:
(注意:使用ngrok时,如果再次开启会换域名,要重新配置域名,并调用自定义菜单,来更新域名)
1 第一步:用户同意授权,获取code
2 第二步:通过code换取网页授权access_token
3 第三步:刷新access_token(如果需要)
4 第四步:拉取用户信息(需scope为 snsapi_userinfo)
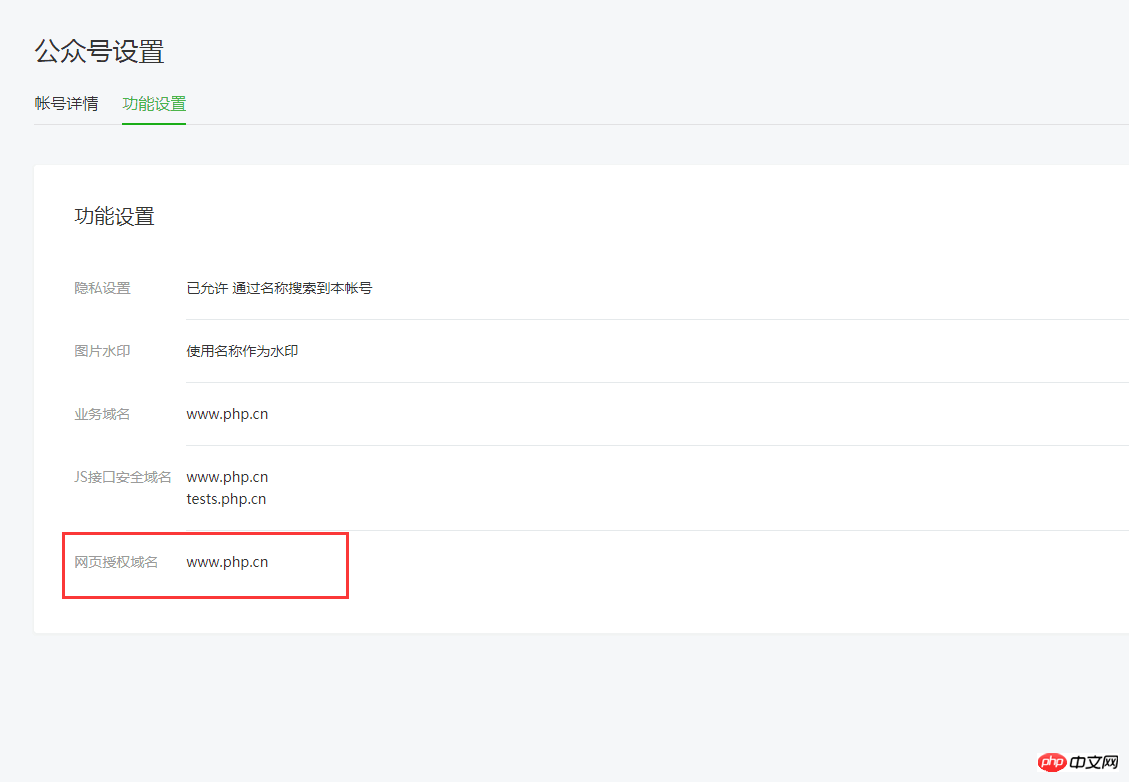
配置域名:

测试号配置域名:

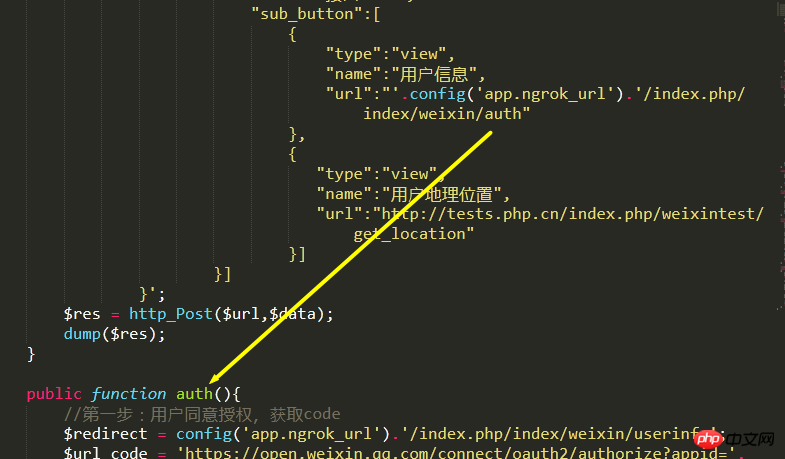
自定义菜单(换域名后记得更新):
实例
    // 自定义菜单
    // 1、必须是公众号
    // 2、添加白名单
    public function custom_menu(){
        $access_token = $this->model->access_token();
        if(!$access_token){
            exit('access_token获取失败');
        }
        $url = 'https://api.weixin.qq.com/cgi-bin/menu/create?access_token='.$access_token;
        //$url = 'https://api.weixin.qq.com/cgi-bin/menu/delete?access_token='.$access_token;
        $data = '{
                    "button":[
                        {
                            "type":"view",
                            "name":"首页",
                            "url":"http://m.php.cn/"
                        },
                        {
                            "type":"view",
                            "name":"视频教程",
                            "url":"http://m.php.cn/course.html"
                        },
                        {
                            "name":"接口demo",
                            "sub_button":[
                                {
                                    "type":"view",
                                    "name":"用户信息",
                                    "url":"'.config('app.ngrok_url').'/index.php/index/weixin/auth"
                                },
                                {
                                   "type":"view",
                                   "name":"用户地理位置",
                                   "url":"http://tests.php.cn/index.php/weixintest/get_location.html"
                                }]
                        }]
                }';
        $res = http_Post($url,$data);
        dump($res);
    }
运行实例 »
点击 "运行实例" 按钮查看在线实例
按钮触发授权:

控制器中代码:
实例
    // 微信网页授权
    public function auth(){
        //第一步:用户同意授权,获取code
        $redirect = config('app.ngrok_url').'/index.php/index/weixin/userinfo';
        $url_code = 'https://open.weixin.qq.com/connect/oauth2/authorize?appid='.config('app.appid').'&redirect_uri='.urlEncode($redirect).'&response_type=code&scope=snsapi_userinfo&state=STATE#wechat_redirect';
        header('Location:'.$url_code);
        exit;
    }

    // 显示用户信息
    public function userinfo(){
        // 获取code
        $code = input('get.code');

        // 第二步:通过code换取网页授权access_token
        $res = $this->model->auth_access_token($code,false);
        $auth_access_token = $res['access_token'];
        $openid = $res['openid'];
        // 第三步:拉取用户信息(需scope为 snsapi_userinfo)
        $userinfo = $this->model->get_userinfo($auth_access_token,$openid);
        dump($userinfo);
    }
运行实例 »
点击 "运行实例" 按钮查看在线实例
模型中代码:
实例
    // 网页授权access_token
    public function auth_access_token($code){
        $appid = config('app.appid');
        $appsecret = config('app.appsecret');
        $url = 'https://api.weixin.qq.com/sns/oauth2/access_token?appid='.$appid.'&secret='.$appsecret.'&code='.$code.'&grant_type=authorization_code';
        $res = http_get($url);
        $res = json_decode($res,true);
        if(!isset($res['access_token'])){
            return false;
        }
        return $res;
    }

    // 拉取用户信息
    public function get_userinfo($auth_access_token,$openid){
        $url = 'https://api.weixin.qq.com/sns/userinfo?access_token='.$auth_access_token.'&openid='.$openid.'&lang=zh_CN';
        $res = http_get($url);
        $res = json_decode($res,true);
        return $res;
    }
运行实例 »
点击 "运行实例" 按钮查看在线实例