JSON二个函数:
样式代码:
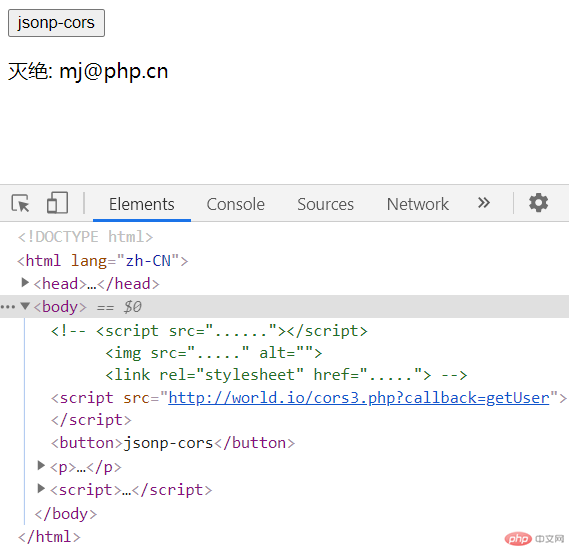
JSON.stringify(data,replacer,space):将js数据转为jsonJSON.parse(str,reviver),将json转为js对象json其实不是数据类型,只是一个具有特殊格式的字符串而已会对json格式字符串的特殊操作,主要通过后面二个参数 第二个参数支持数组 和 函数。
<script> //1.将js数据转为json console.log(JSON.stringify(3.14), typeof JSON.stringify(3.14)); console.log(JSON.stringify("php.cn"), typeof JSON.stringify("php.cn")); console.log(JSON.stringify(true), typeof JSON.stringify(true)); console.log(JSON.stringify(null), typeof JSON.stringify(null)); //array, object console.log( JSON.stringify({ x: "a", y: "b" }), //json对象的属性必须加双引号,字符串也必须加双引号 typeof JSON.stringify({ x: "a", y: "b" }) ); console.log(JSON.stringify([1, 2, 3]), typeof JSON.stringify([1, 2, 3])); console.log(JSON.stringify({ a: 1, b: 2, c: 3 })); //数组 console.log(JSON.stringify({ a: 1, b: 2, c: 3 }, ["a", "b"])); console.log( //函数 JSON.stringify({ a: 1, b: 2, c: 3 }, (k, v) => { if (v < 2) return undefined; //将需要过滤掉的数据直接返回undefined return v; }) ); console.log(JSON.stringify({ a: 1, b: 2, c: 3 }, null, 2)); //第三个参数,用来格式化输出的json字符串 console.log(JSON.stringify({ a: 1, b: 2, c: 3 }, null, "****")); let obj = JSON.parse(`{"a":1,"b":2,"c":3}`); console.log(obj, typeof obj); //2.将json转为js对象 console.log(obj.a, obj.b, obj.c); obj = JSON.parse(`{"a":1,"b":2,"c":3}`, (k, v) => { //第二个参数可以对json的数据进行处理后再返回 if (k === "") return v; //json对象是由内向外解析 return v * 2; }); console.log(obj);</script>
效果预览:
get请求:
样式代码:
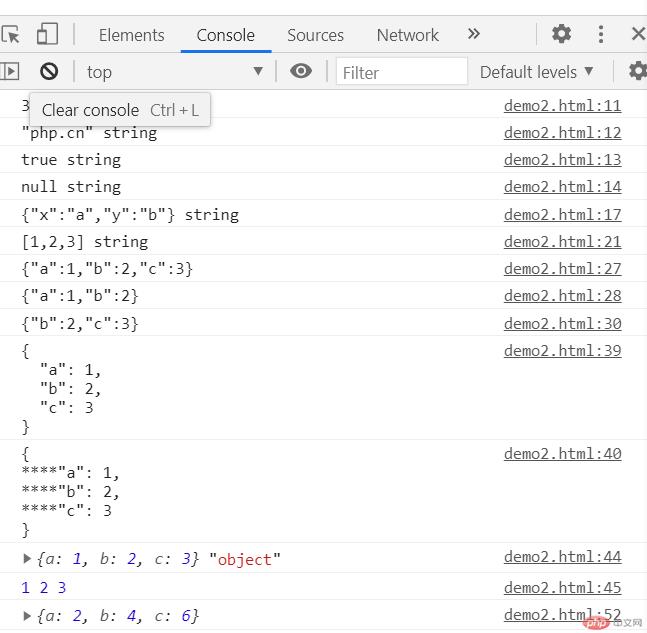
<title>ajax-get</title><body> <button>ajax-get</button> <p></p> <script> const btn = document.querySelector("button"); btn.onclick = () => { const xhr = new XMLHttpRequest(); //1. 创建xhr 对象 xhr.open("get", "test1.php?id=3"); //2. 配置xhr 参数 xhr.responseType = "json"; xhr.onload = () => { //3. 处理xhr 响应: console.log(xhr.response); // 成功 let user = `${xhr.response.name} // dom:将响应结果渲染到页面 (${xhr.response.email})`; document.querySelector("p").innerHTML = user; }; xhr.onerror = () => console.log("Error"); // 失败 xhr.send(null); // 4. f发送xhr请求 }; </script></body>
php代码:
<?php$users = [ // 以二维数组模拟数据表信息 ['id'=>1, 'name'=>'天蓬','email'=>'tp@php.cn','password' => md5('123456')], ['id'=>2, 'name'=>'灭绝','email'=>'mj@php.cn','password' => md5('abc123')], ['id'=>3, 'name'=>'西门','email'=>'xm@php.cn','password' => md5('abc888')],];$id = $_GET['id']; // 查询条件$key = array_search($id,array_column($users,'id')); // 在id组成的数组中查询是否存在指定的id,并返回对应的键名echo json_encode($users[$key]); // 根据键名返回指定的用户信息
效果预览:
post请求:
样式代码:
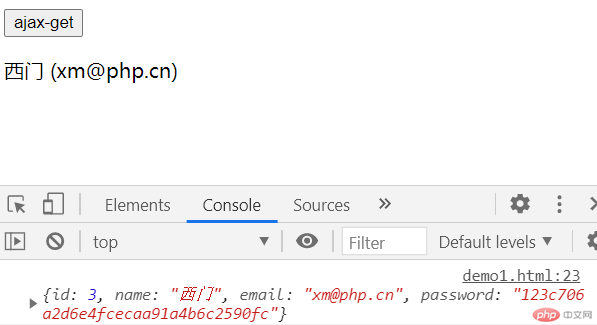
<title>ajax-post</title><style> .login { width: 20em; border: 1px solid; padding: 0 1em 1em; background-color: lightblue; margin: 2em auto; display: grid; place-items: center; } .login form { display: grid; grid-template-columns: 3em 1fr; gap: 1em 0; } .login form button, //按钮与提示信息显示在第二列 .tips { grid-area: auto / 2; }</style><body> <div class="login"> <h3>用户登录</h3> <form action="" onsubmit="return false"> <label for="email">邮箱:</label> <input type="email" name="email" id="email" /> <label for="password">密码:</label> <input type="password" name="password" id="password" /> <button>提交</button> <span class="tips"></span> </form> </div> <script> const form = document.querySelector(".login form"); const btn = document.querySelector(".login button"); const tips = document.querySelector(".tips"); console.log(form, btn, tips); btn.onclick = (ev) => { ev.preventDefault(); //禁用默认行为 const xhr = new XMLHttpRequest(); // 1. 创建 xhr 对象: xhr.open("post", "test2.php"); // 2. 配置 xhr 参数: xhr.onload = () => (tips.innerHTML = xhr.response); // 3. 处理 xhr 响应 xhr.send(new FormData(form)); // 4. 发送 xhr 请求: }; </script></body>
php代码:
<?php$users = [ // 使用二维数组模拟用户数据表信息 ['id'=>1, 'name'=>'天蓬','email'=>'tp@php.cn','password' => md5('123456')], ['id'=>2, 'name'=>'灭绝','email'=>'mj@php.cn','password' => md5('abc123')], ['id'=>3, 'name'=>'西门','email'=>'xm@php.cn','password' => md5('abc888')],];$email = $_POST['email']; // 将通过post获取的数据保存到临时变量中$password = md5($_POST['password']);// 使用数组过滤器查询是否存在指定的用户并返回结果$res = array_filter($users,function($user) use ($email,$password){ return $user['email'] === $email && $user['password'] === $password;});echo count($res) === 1 ? '验证成功' : '验证失败'; // 将结果做为请求响应返回到前端
效果预览:
跨域的原理:
cors: 跨域资源共享,同源策略: 为请求的安全,浏览器禁止通过脚本发起一个跨域的请求、只允许通过脚本发起基于同源的请求同源指: 协议相同,域名/主机名相同,端口相同http://www.abc.com http / https://www.abc.com https 协议不同https://www.a.com / https://www.b.com 主机不同也叫域名不同https://a.cn.8080 / https://a.cn.9090 端口不同
cors:
get-cors演示代码:
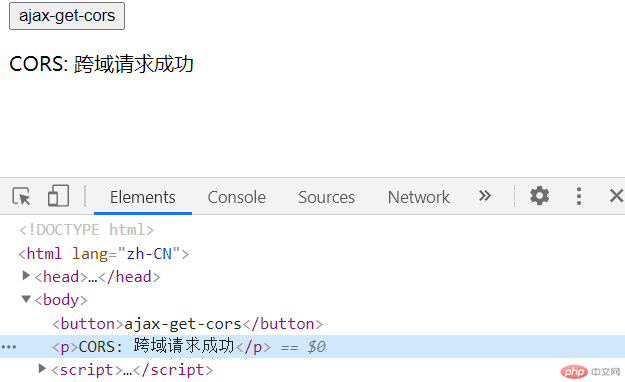
<body> <button>ajax-get-cors</button> <p></p> <script> const btn = document.querySelector("button"); btn.onclick = (ev) => { const xhr = new XMLHttpRequest(); //1.创建xhr对象: xhr.open("get", "http://world.io/cors1.php"); //2.配置xhr参数: xhr.onload = () => //3.处理xhr响应: (document.querySelector("p").innerHTML = xhr.response); xhr.send(null); //4.发送xhr请求: }; </script></body>
引入php代码:
<?phpheader('Access-Control-Allow-Origin: *'); //*: 任何来源echo 'CORS: 跨域请求成功';
效果预览:
post-cors演示代码:
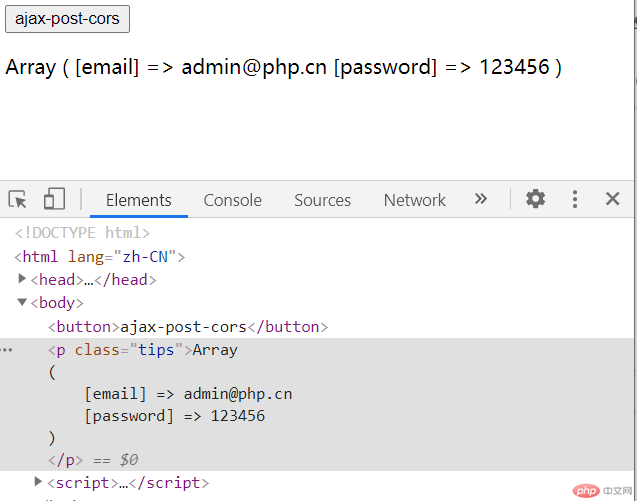
<body> <button>ajax-post-cors</button> <p class="tips"></p> <script> const btn = document.querySelector("button"); //cors: 跨域资源共享 const tips = document.querySelector(".tips"); btn.onclick = (ev) => { const xhr = new XMLHttpRequest(); //创建对象 xhr.open("post", "http://world.io/cors2.php");: //配置参数 xhr.onload = () => (tips.innerHTML = xhr.response); //处理响应 let formData = new FormData(); //发送请求 formData.append("email", "admin@php.cn"); formData.append("password", "123456"); xhr.send(formData ); }; </script> </body>
引入外部php代码:
<?phpheader('Access-Control-Allow-Origin: *'); // 在服务器端开启跨域许可, *: 任何来源print_r($_POST); // 返回前端post提交的数据
效果预览:
jonp
jsonp: JSON with padding (将json填充进来)jsonp 看上去与 json 很像,是的jsonp: 只是将json数据包含在一个函数调用中jsonp:callback({"id":1,"name":"admin"})jsonp: 包括二部分: 回调函数 + json数组回调函数: 请求接收到响应时回调的函数,可动态设置回调参数: 做为参数传递能函数的json数据jsonp 巧妙的利用了script标签发起的请求不受跨域限制的特征将跨域请求的url做为script的src属性值,实现不需要服务器授权的跨域请求,jsonp只能完成 get 请求
样式代码:
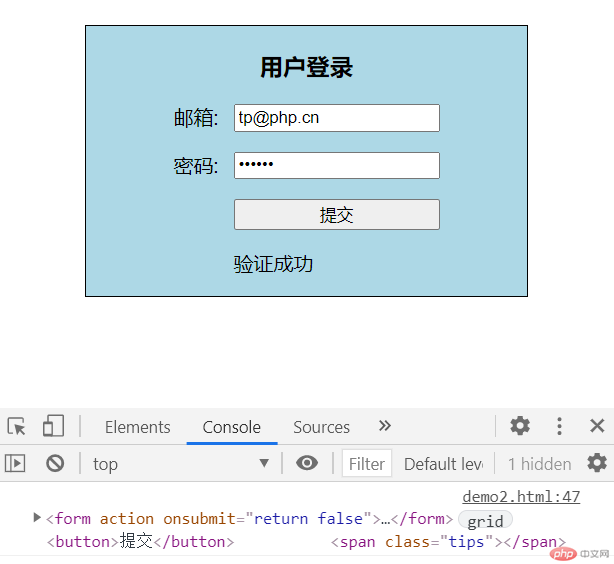
<body> <button>jsonp-cors</button> <p></p> <script> function getUser(data) { //1.jsonp原理 console.log(data); let user = data.name + ": " + data.email; document.querySelector("p").innerHTML = user; } const btn = document.querySelector("button"); btn.onclick = () => { let script = //1.动态生成一个允许跨域请求的html元素 document.createElement("script"); script.src = "http://world.io/cors3.php?callback=getUser"; //2.将跨域请求的url添加到src属性上 document.body.insertBefore(script, document.body.firstElementChild); //3.将script挂载到页面中 }; </script></body>
外部php代码:
<?php//jsonp 不需要传授给前,只要返回一个使用json作为参数的函数调用语句就可以,将前端需要的数据以json格式放到这个函数的参数中就行了$callback = $_GET['callback']; //必须要知道前端js要调用 的函数名称$data = '{ "name": "天蓬","email": "tp@php.cn" }'; //服务器中需要返回的数据$data = '{ "name": "灭绝","email": "mj@php.cn" }';//调用: 在后端生成一条js函数调用语句: getUser({ name: "天蓬","email": "tp@php.cn" });echo $callback . '(' .$data. ')';
效果预览:
