浮动的简单演示
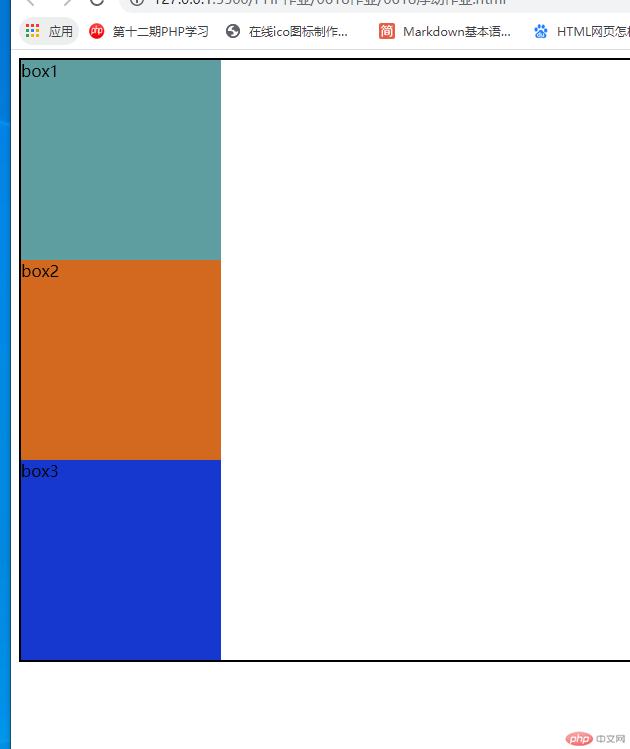
浮动前

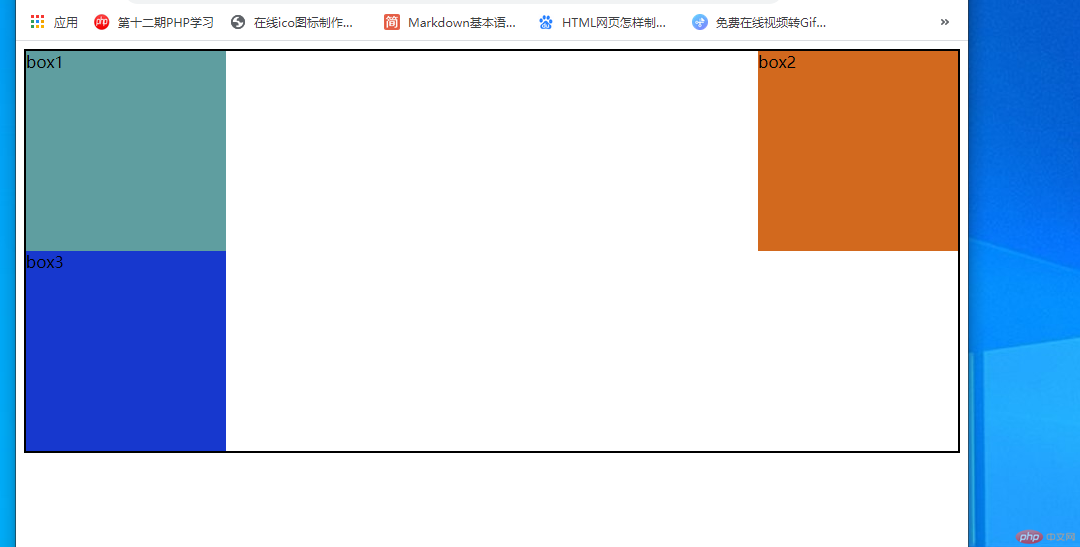
浮动后

<!DOCTYPE html><html lang="en"><head><meta charset="UTF-8" /><meta name="viewport" content="width=device-width, initial-scale=1.0" /><title>浮动的基本特征</title><style>/* 设置内容区的边框 */body {border: 2px solid;}/* 设置盒子的宽高 */.box {width: 200px;height: 200px;}/* 设置盒子背景色并左浮动 */.box1 {background-color: cadetblue;float: left;}/* 设置盒子背景色并右浮动 */.box2 {background-color: chocolate;float: right;}/* 设置盒子背景色并清除前面元素的浮动影响 */.box3 {background-color: rgb(23, 56, 206);clear: both;}</style></head><body><div class="box box1">box1</div><div class="box box2">box2</div><div class="box box3">box3</div></body></html>
浮动塌陷的解决方案
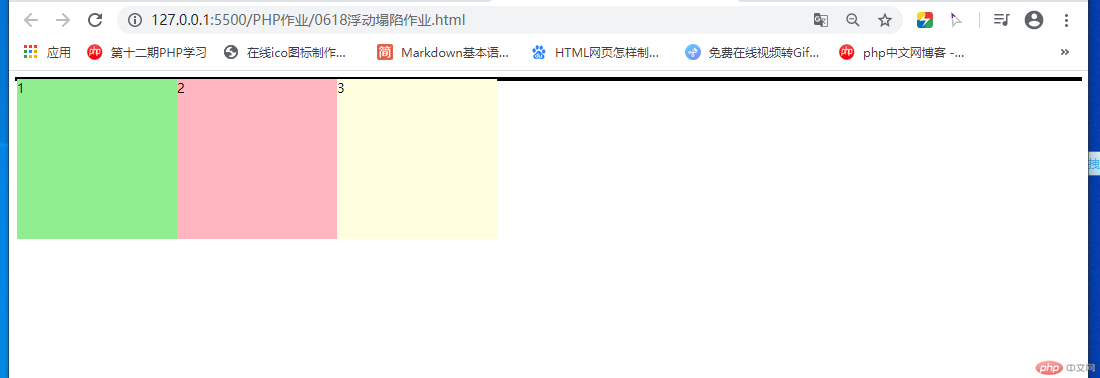
发生浮动塌陷

解决浮动塌陷

<!DOCTYPE html><html lang="en"><head><meta charset="UTF-8" /><meta name="viewport" content="width=device-width, initial-scale=1.0" /><title>浮动塌陷</title><style>/* 设置边框线 */.container {border: 2px solid;}/* 设置盒子的大小 */.item {width: 200px;height: 200px;}/* 设置第一个盒子的背景色 */.item:first-of-type {background-color: lightgreen;}/* 设置第二个盒子的背景色 */.item:nth-of-type(2) {background-color: lightpink;}/* 设置第三个盒子的背景色 */.item:nth-of-type(3) {background-color: lightyellow;}/* 设置盒子的浮动属性 */.item {float: left;}/* 浮动塌陷解决方案 *//* 1.设置外层的高度(不能自适应,如果盒子调整高度,父级也需调整 )*//* .container {height: 200px;} *//* 2.使父级也浮动(如有多级,则需每个父级都需设置,因为浮动有连导效应 )*//* .container {float: left;} *//* 3.在子元素中加入一个盒子专门清除浮动(加入后可能会导致一些地方的渲染错误) *//* .btn {clear: both;} *//* 4.利用伪元素添加一个专门清除浮动的元素 *//* .container::after {content: "";display: block;clear: both;} *//* 5.最简单的解决方案,用到BFC(块级格式化上下文) */.container {overflow: hidden;}</style></head><body><div class="container"><div class="item">1</div><div class="item">2</div><div class="item">3</div><!-- <div class="btn"></div> --></div></body></html>
三列布局的实现

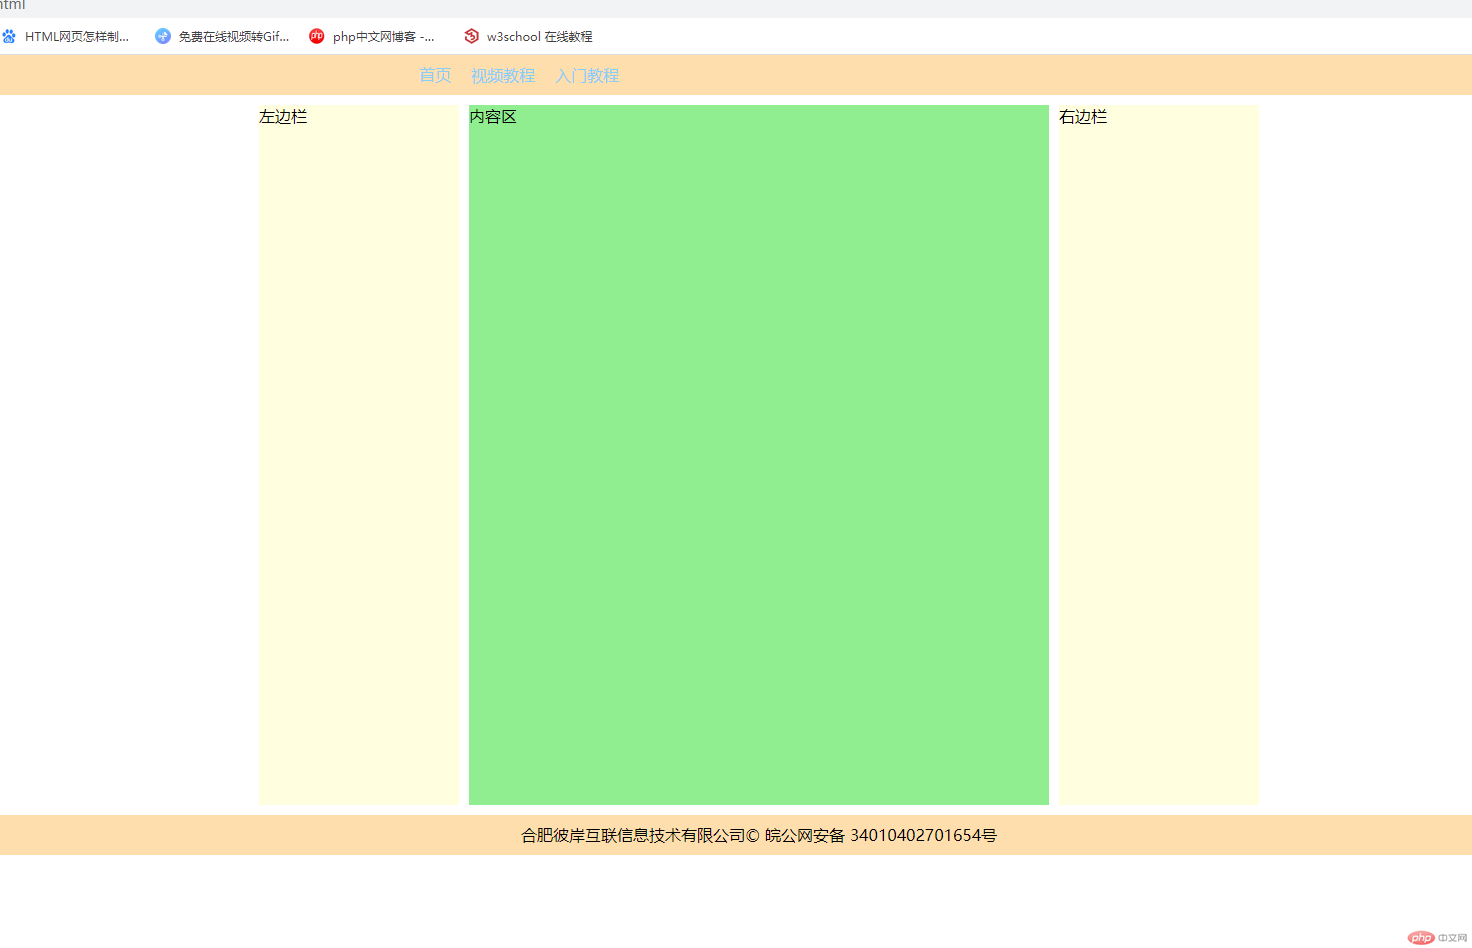
使用定位方式
<!DOCTYPE html><html lang="en"><head><meta charset="UTF-8" /><meta name="viewport" content="width=device-width, initial-scale=1.0" /><title>用定位实现三列布局</title><style>/* 样式初始化 */* {padding: 0;margin: 0;box-sizing: border-box;}/* 隐藏li前面的小黑点 */li {list-style: none;}/* 隐藏a标签的下划线,并设置字体 */a {text-decoration: none;color: lightskyblue;}/* 设置鼠标悬停时的背景色 */li:hover {background-color: yellowgreen;}/* 设置页眉和页脚的宽度,背景色和行高 */.header,.footer {background-color: navajowhite;height: 40px;line-height: 40px;text-align: center;}/* 设置页眉,页脚的内容区的宽度并居中 */.content {width: 700px;margin: auto;}/* 设置li进行左浮动排列,和左右外边距 */ul > li {float: left;margin: 0 10px;}/* 设置页面内容区的宽高,,水平居中,定位父级 */.container {width: 1000px;min-height: 700px;margin: 10px auto;position: relative;}/* 设置左边栏的宽高,背景色,用绝对定位使其定位在左边 */.left {min-height: 700px;width: 200px;background-color: lightyellow;position: absolute;left: 0;top: 0;}/* 设置右边栏的宽高,背景色,用绝对定位使其定位在右边 */.right {min-height: 700px;width: 200px;background-color: lightyellow;position: absolute;right: 0;top: 0;}/* 设置内容区的宽高,背景色,用绝对定位使其定位在中间 */.main {background-color: lightgreen;min-height: 700px;width: 580px;position: absolute;left: 210px;top: 0;}</style></head><body><!-- 页眉 --><div class="header"><!-- 页眉的内容区 --><div class="content"><ul><li><a href="">首页</a></li><li><a href="">视频教程</a></li><li><a href="">入门教程</a></li></ul></div></div><!-- 页面的内容区 --><div class="container"><div class="left">左边栏</div><div class="main">内容区</div><div class="right">右边栏</div></div><!-- 页脚 --><div class="footer"><!-- 页脚的内容区 --><div class="content"><p>合肥彼岸互联信息技术有限公司© 皖公网安备 34010402701654号</p></div></div></body></html>
使用浮动方式(css中内容区代码进行更改)
.container {/* background-color: lightskyblue; */width: 1000px;min-height: 700px;margin: 10px auto;overflow: hidden;}/* 设置左边栏的宽高,背景色,用左浮动使其定位在左边 */.left {min-height: 700px;width: 200px;background-color: lightyellow;float: left;}/* 设置右边栏的宽高,背景色,用右浮动使其定位在右边 */.right {min-height: 700px;width: 200px;background-color: lightyellow;float: right;}/* 设置内容区的宽高,背景色,用左浮动使其定位在中间 */.main {background-color: lightgreen;min-height: 700px;width: 580px;float: left;margin-left: 10px;}
总结
1.对于定位加深了理解
2.知道了浮动后会产生什么后果,并知晓应该如何解决
3.圣杯布局和grid布局多进行手动练习和理解

