* 默写盒模型的全部属性,并准确说出他们的应用场景
width:宽度 height:高度 background:背景 padding:内边距 border:边框 margin:外边距
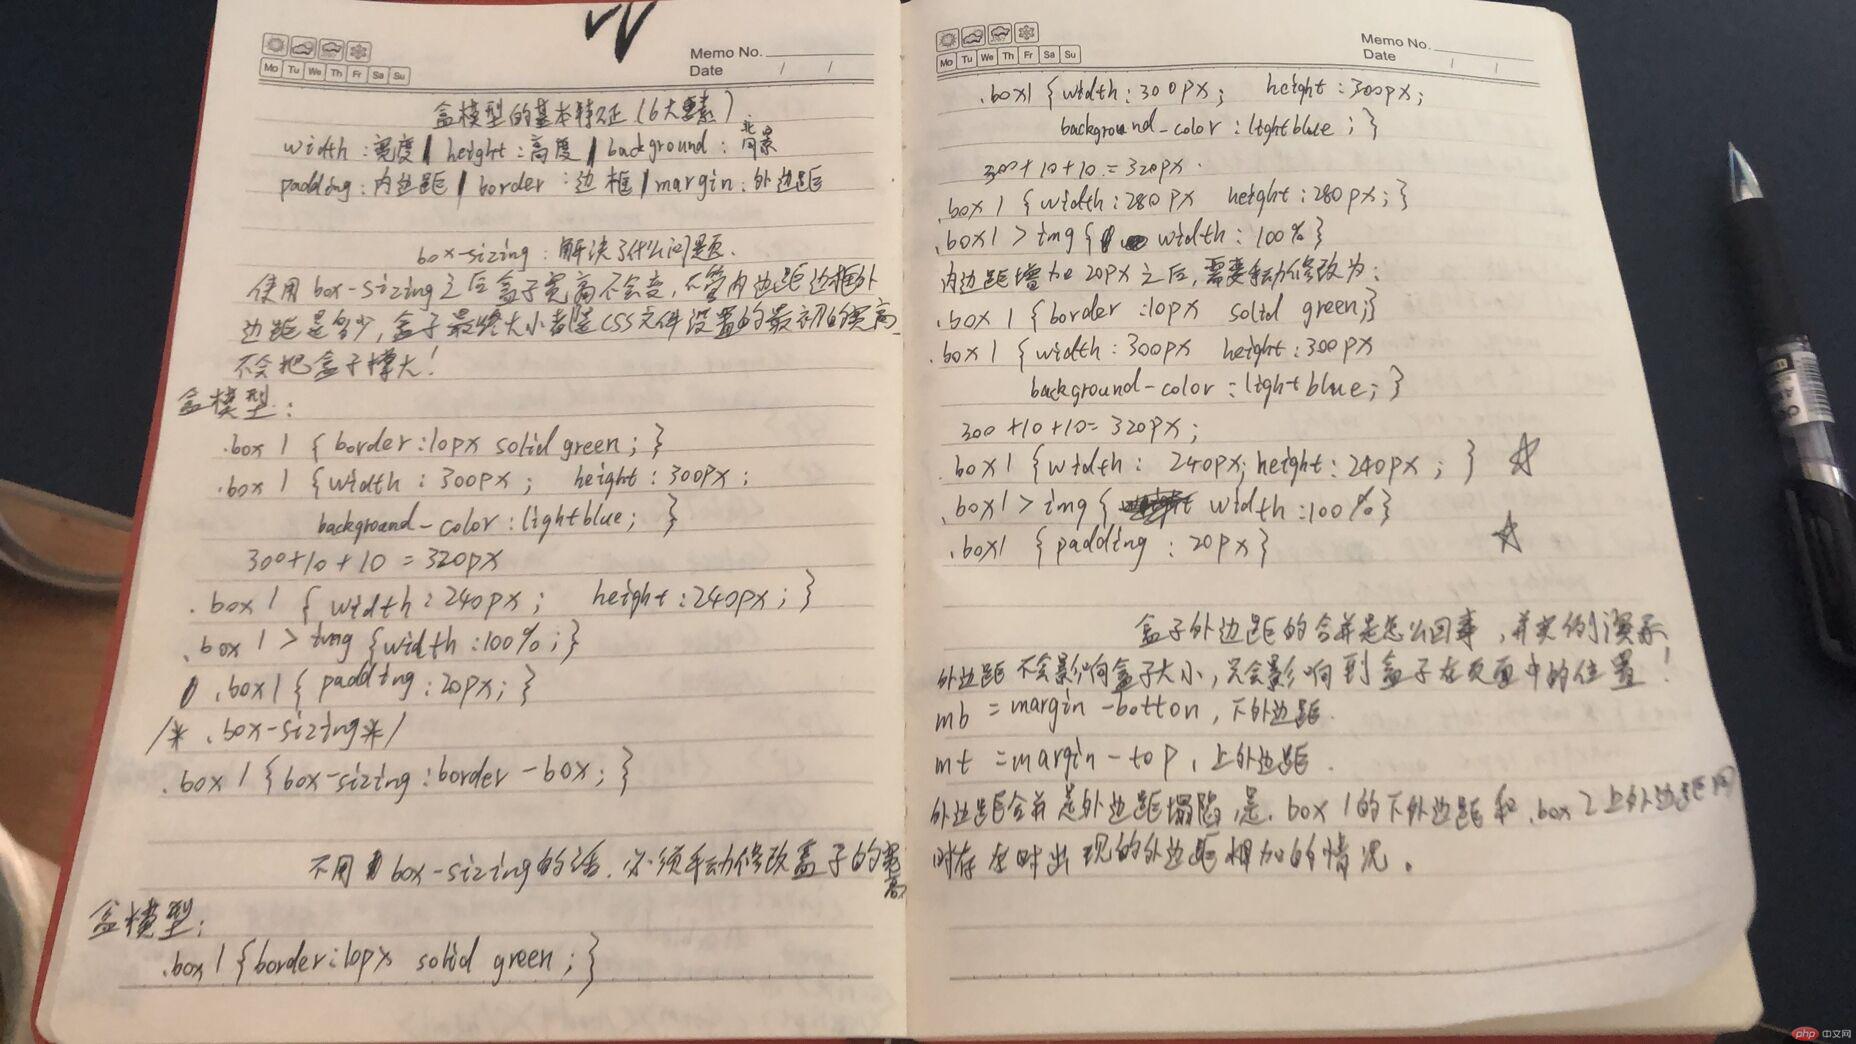
* `box-sizing`: 解决了什么问题, 不用它应该如何处理
使用box-sizing:使用box-sizing之后,盒子宽高不会改变,不管内边距边框外边距是多少,盒子最终大小都是css文件设置的最初的宽高。不会把盒子大小撑大!
/*盒模型*/
.box1 {
border: 10px solid green;
}
.box1{
width: 300px;
/*width: 300px;*/
height: 300px;
background-color: lightblue;
}
/*!*300+10+10=320px*!*/
/*.box1{*/
/* width: 240px;*/
/* height: 240px;*/
/*}*/
.box1>img{
width: 100%;
}
/*.box1{*/
/* padding: 20px;*/
/*}*/
/*box-sizing*/
.box1{
box-sizing: border-box;
}
不用box-sizing的话,要手动修改盒子的宽高:
/*盒模型*/
.box1 {
border: 10px solid green;
}
.box1{
width: 300px;
/*width: 300px;*/
height: 300px;
background-color: lightblue;
}
/*300+10+10=320px*/
.box1{
width: 280px;
height: 280px;
}
.box1>img{
width: 100%;
}
内边距增加20px之后:需要手动修改为
/*盒模型*/
.box1 {
border: 10px solid green;
}
.box1{
width: 300px;
/*width: 300px;*/
height: 300px;
background-color: lightblue;
}
/*300+10+10=320px*/
.box1{
width: 240px;
height: 240px;
}
.box1>img{
width: 100%;
}
.box1{
padding: 20px;
}
-------------------------
* 盒子外边距之的合并是怎么回事,并实例演示
外边距不会影响盒子大小,只会影响到盒子在页面中的位置!
mb=margin-bottom,下外边距
mt-margin-top,上外边距
外边距合并是外边距塌陷,是.box1的下外边距和.box2上外边距同时存在时出现的外边距相加的情况
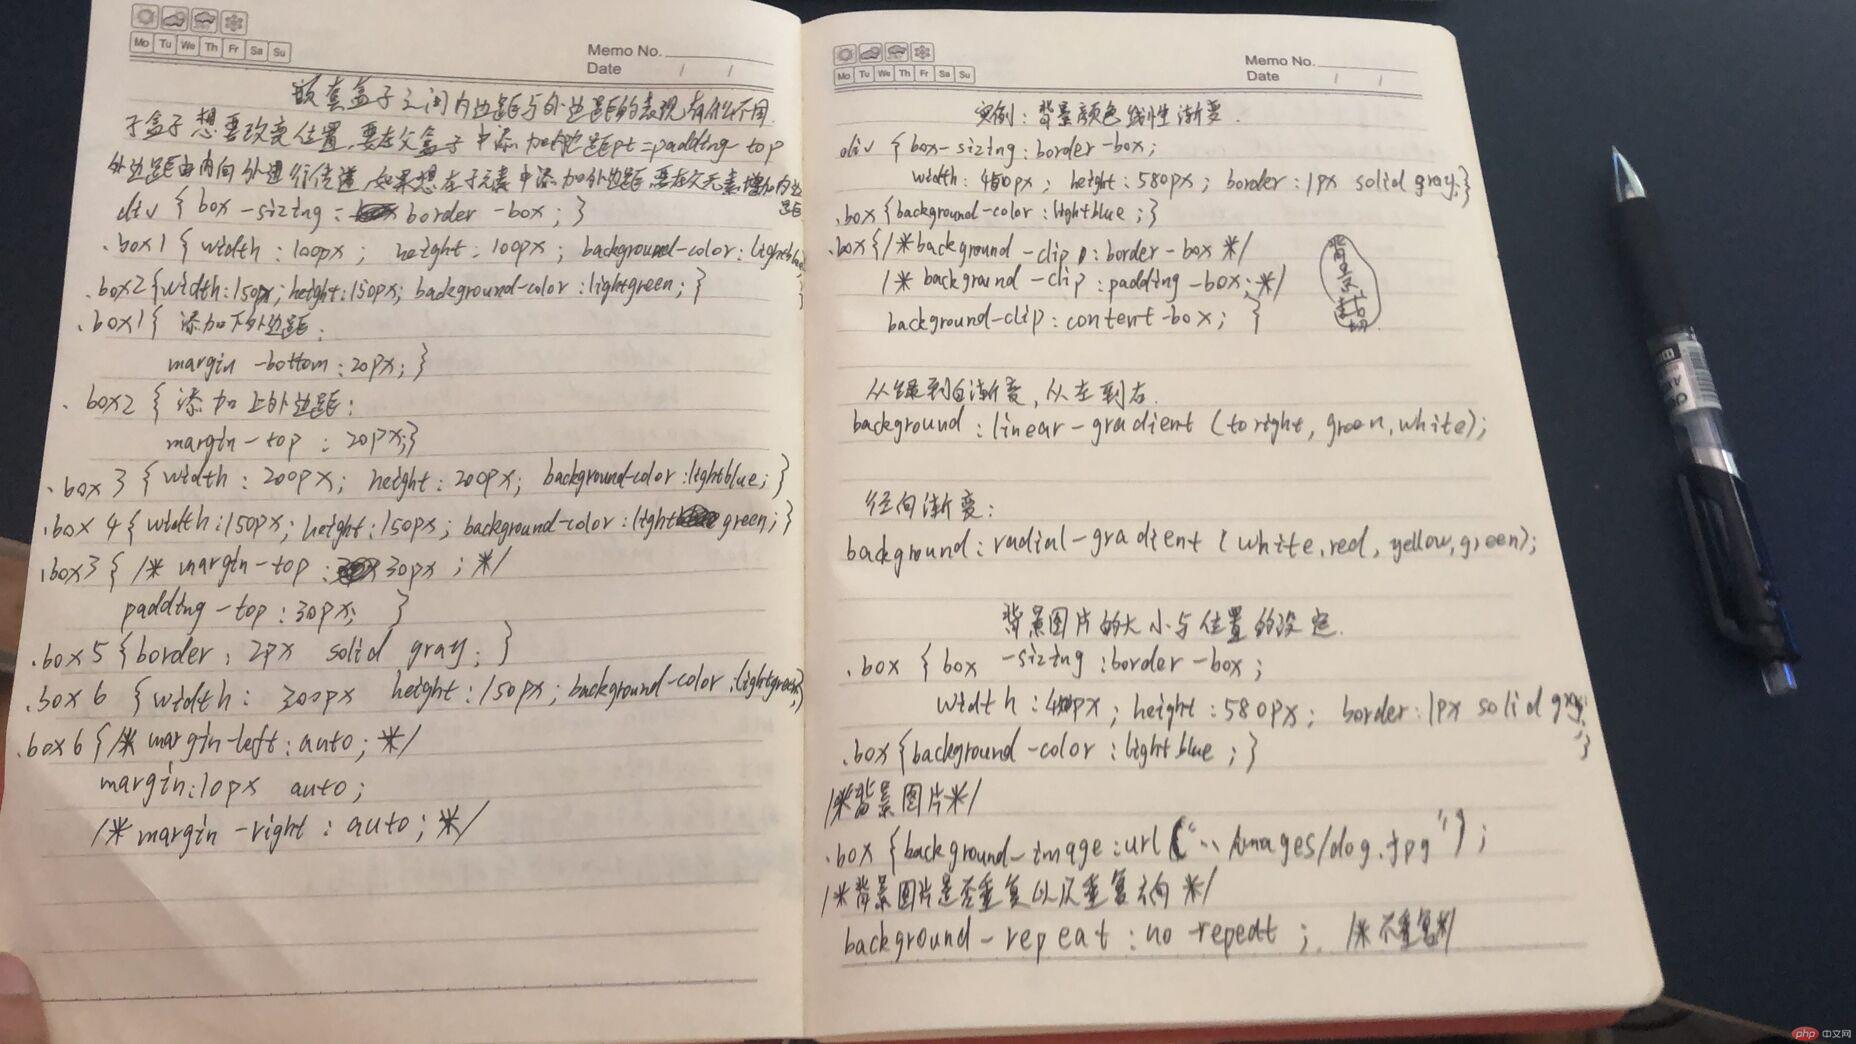
* 嵌套盒子之间内边距与外边距的表现有何不同, 如何处理
子盒子想要改变位置,要在父盒子中添加内边距pt=padding-top
外边距由内向外进行传递,如果想在子元素中添加外边距,要在父元素中添加内边距
div{
box-sizing: border-box;
}
.box1{
width: 100px;
height: 100px;
background-color: lightblue;
}
.box2{
width: 150px;
height: 150px;
background-color: lightgreen;
}
.box1{
/*添加下外边距*/
margin-bottom: 20px;
}
/*添加上外边距*/
.box2{
margin-top: 30px;
}
.box3{
width: 200px;
height: 200px;
background-color: lightblue;
}
.box4{
width: 150px;
height: 150px;
background-color: lightgreen;
}
.box3{
/*margin-top: 30px;*/
padding-top: 30px;
}
.box5{
border: 2px solid gray;
}
.box6 {
width: 300px;
height: 150px;
background-color: lightgreen;
}
.box6{
/*margin-left: auto;*/
margin: 10px auto;
/*margin-right: auto;*/
}
* 实例演示: 背景颜色的线性渐变的
{
box-sizing: border-box;
width: 450px;
height: 580px;
border: 1px solid gray;
}
.box{
background-color: lightblue;
}
/*背景裁切*/
.box{
/*background-clip: border-box;*/
/*background-clip: padding-box;*/
background-clip: content-box;
}
/*背景色的渐变*/
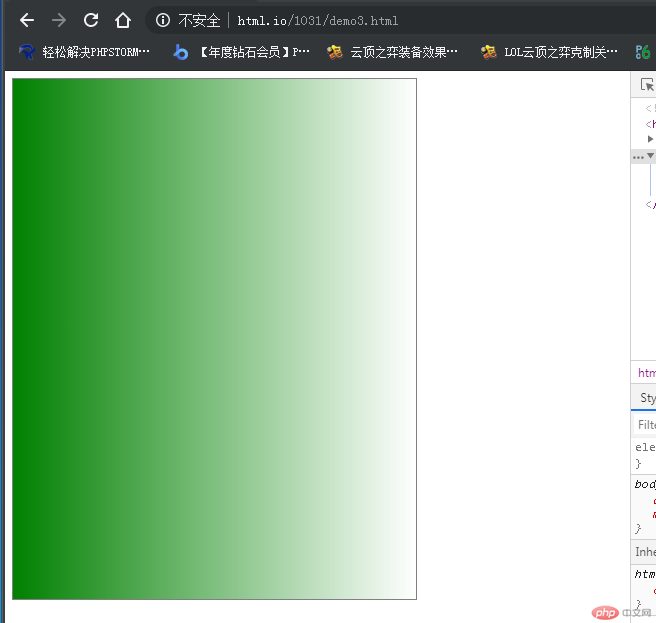 .box{
.box{
/*从绿到白渐变,从左到右*/
/*background: linear-gradient( to right,green,white);*/
/*向右下方渐变*/
/*background: linear-gradient(to right bottom,green,white);*/
/*角度渐变*/
/*background: linear-gradient(30deg,green,white);*/
/*连续渐变 */
background: linear-gradient(red,green,white,blue);
}
/*径向渐变*/
.box{
/*background: radial-gradient(white,red,yellow,greenyellow);*/
/*background: radial-gradient(100px 100px,white,red,yellow,greenyellow);*/
background: radial-gradient(at left top,white,red,yellow,greenyellow);
}
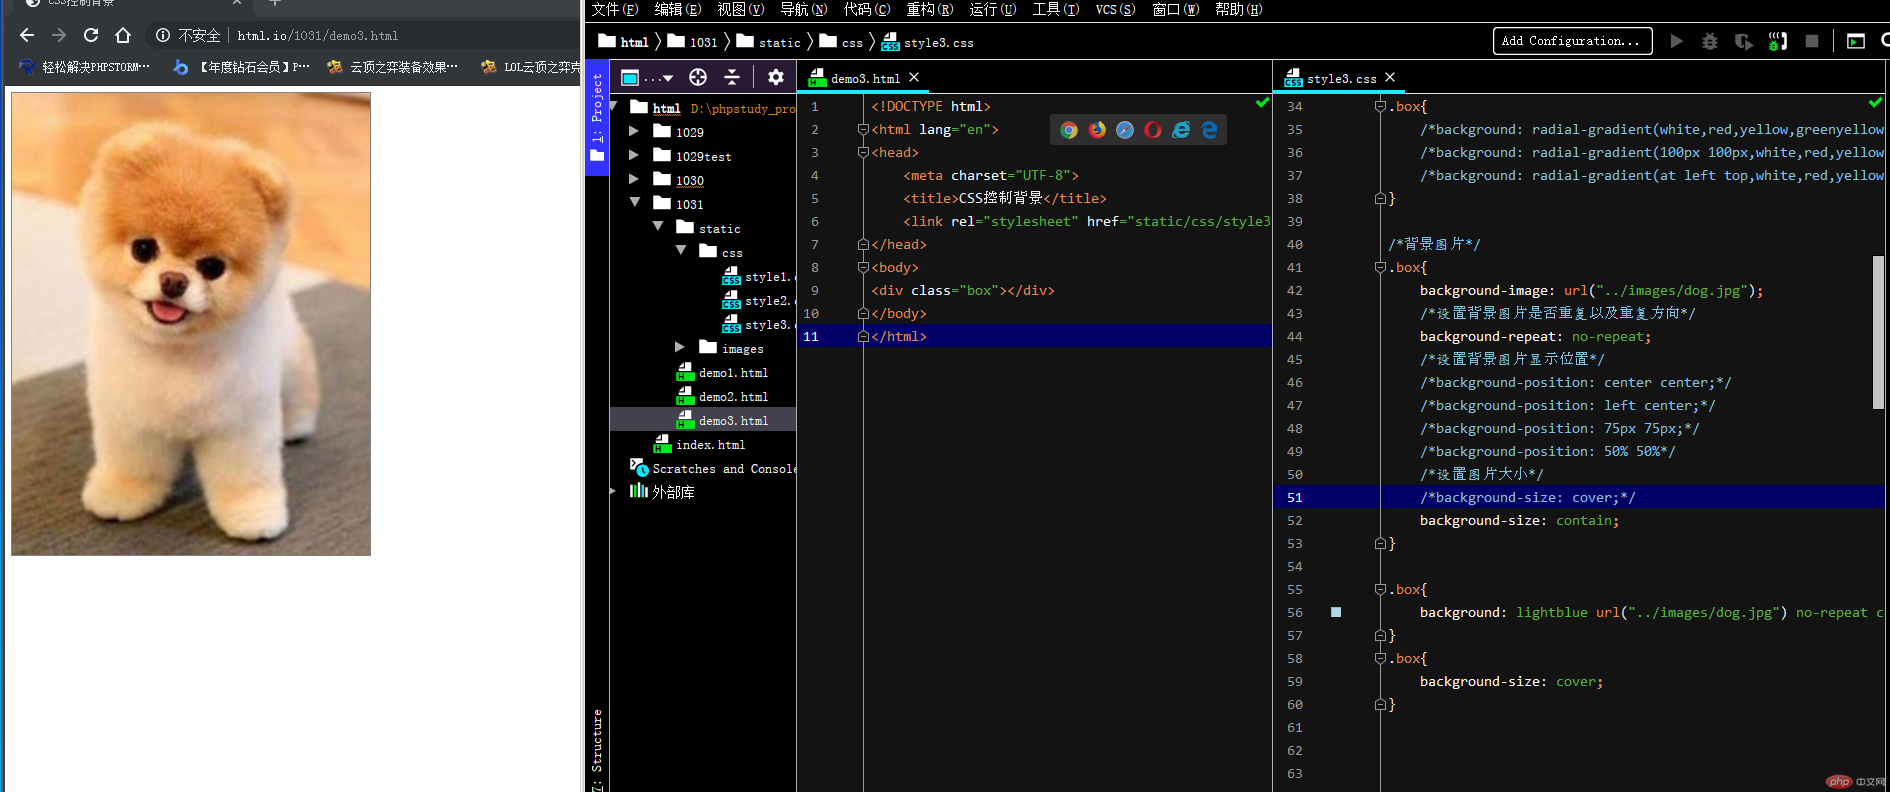
* 例演示: 背景图片的大小与位置的设定
.box{
box-sizing: border-box;
width: 450px;
height: 580px;
border: 1px solid gray;
}
.box{
background-color: lightblue;
}
.box{
/*background-clip: border-box;*/
/*background-clip: padding-box;*/
background-clip: content-box;
}
.box{
}
/*背景色的渐变*/
.box{
/*从绿到白渐变,从左到右*/
background: linear-gradient( to right,green,white);
/*向右下方渐变*/
/*background: linear-gradient(to right bottom,green,white);*/
/*角度渐变*/
/*background: linear-gradient(30deg,green,white);*/
/*连续渐变 */
/*background: linear-gradient(red,green,white,blue);*/
}
/*径向渐变*/
.box{
/*background: radial-gradient(white,red,yellow,greenyellow);*/
/*background: radial-gradient(100px 100px,white,red,yellow,greenyellow);*/
/*background: radial-gradient(at left top,white,red,yellow,greenyellow);*/
}
/*背景图片*/
.box{
background-image: url("../images/dog.jpg");
/*设置背景图片是否重复以及重复方向*/
background-repeat: no-repeat;
/*设置背景图片显示位置*/
/*background-position: center center;*/
/*background-position: left center;*/
/*background-position: 75px 75px;*/
/*background-position: 50% 50%*/
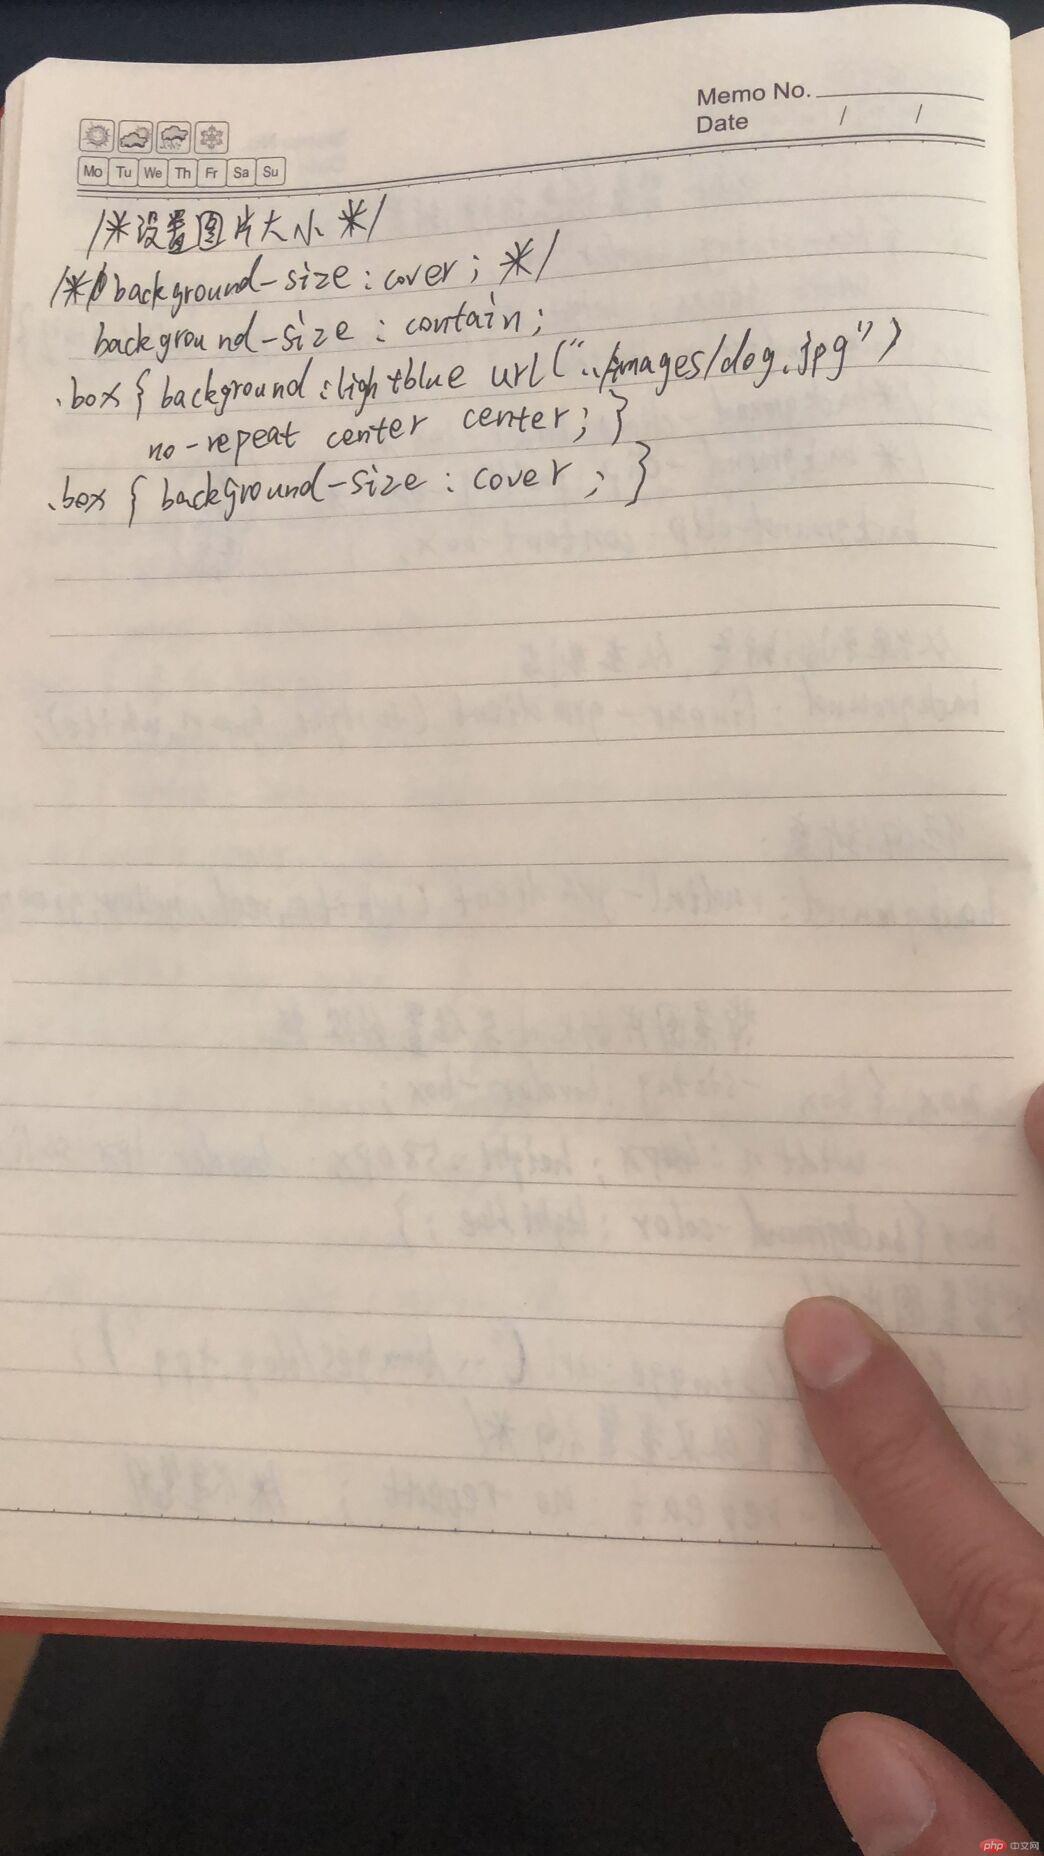
/*设置图片大小*/
/*background-size: cover;*/
background-size: contain;
}
.box{
background: lightblue url("../images/dog.jpg") no-repeat center center ;
}
.box{
background-size: cover;
}
