Java使用HttpUtils怎么实现发送HTTP请求
- 王林转载
- 2023-06-14 20:06:351780浏览
目录
第一部分:简单总结HTTP请求常用配置
第二部分:使用JavaLib的HttpUtils
第三部分:分享HttpUtils是如何封装的
HTTP请求,在日常开发中,还是比较常见的,今天给大家分享HttpUtils如何使用。
阅读本文,你将收获:
简单总结HTTP请求常用配置;
JavaLib中HttpUtils如何使用;
如何封装HTTP请求工具类。
第一部分:简单总结HTTP请求常用配置
大家好,在 Java 开发中,经常遇到需要调用第三方提供的接口服务,常见的形式是 HTTP + JSON,下面,就对 http 请求常见的设置,做一个说明
http提供多种请求方式,以满足我们日常需要,先按请求方式来做说明:
GET
POST
PUT
PATCH
DELETE
在 RESTful API 开发中,我们可以根据这些请求方式设计我们的API接口。举例:
GET:获取资源
POST:提交资源
PUT:更新完整资源
PATCH:更新部分资源
DELETE:删除资源
参数格式
form表单
json
其他
超时时间设置
第二部分:使用JavaLib的HttpUtils
简单的get请求
System.out.println(HttpUtils.get("https://www.baidu.com"));响应结果:
<!DOCTYPE html><!--STATUS OK--><html> <head><meta http-equiv=content-type content=text/html;charset=utf-8><meta http-equiv=X-UA-Compatible content=IE=Edge><meta content=always name=referrer><link rel=stylesheet type=text/css href=https://ss1.bdstatic.com/5eN1bjq8AAUYm2zgoY3K/r/www/cache/bdorz/baidu.min.css><title>百度一下,你就知道</title></head> <body link=#0000cc> <div id=wrapper> <div id=head> <div class=head_wrapper> <div class=s_form> <div class=s_form_wrapper> <div id=lg> <img hidefocus=true src=//www.baidu.com/img/bd_logo1.png width=270 height=129> </div> <form id=form name=f action=//www.baidu.com/s class=fm> <input type=hidden name=bdorz_come value=1> <input type=hidden name=ie value=utf-8> <input type=hidden name=f value=8> <input type=hidden name=rsv_bp value=1> <input type=hidden name=rsv_idx value=1> <input type=hidden name=tn value=baidu><span class="bg s_ipt_wr"><input id=kw name=wd class=s_ipt value maxlength=255 autocomplete=off autofocus=autofocus></span><span class="bg s_btn_wr"><input type=submit id=su value=百度一下 class="bg s_btn" autofocus></span> </form> </div> </div> <div id=u1> <a href=http://news.baidu.com name=tj_trnews class=mnav>新闻</a> <a href=https://www.hao123.com name=tj_trhao123 class=mnav>hao123</a> <a href=http://map.baidu.com name=tj_trmap class=mnav>地图</a> <a href=http://v.baidu.com name=tj_trvideo class=mnav>视频</a> <a href=http://tieba.baidu.com name=tj_trtieba class=mnav>贴吧</a> <noscript> <a href=http://www.baidu.com/bdorz/login.gif?login&tpl=mn&u=http%3A%2F%2Fwww.baidu.com%2f%3fbdorz_come%3d1 name=tj_login class=lb>登录</a> </noscript> <script>document.write('<a href="http://www.baidu.com/bdorz/login.gif?login&tpl=mn&u='+ encodeURIComponent(window.location.href+ (window.location.search === "" ? "?" : "&")+ "bdorz_come=1")+ '" name="tj_login" class="lb">登录</a>'); </script> <a href=//www.baidu.com/more/ name=tj_briicon class=bri >更多产品</a> </div> </div> </div> <div id=ftCon> <div id=ftConw> <p id=lh> <a href=http://home.baidu.com>关于百度</a> <a href=http://ir.baidu.com>About Baidu</a> </p> <p id=cp>©2017 Baidu <a href=http://www.baidu.com/duty/>使用百度前必读</a> <a href=http://jianyi.baidu.com/ class=cp-feedback>意见反馈</a> 京ICP证030173号 <img src=//www.baidu.com/img/gs.gif> </p> </div> </div> </div> </body> </html>
通过简单尝试,证明两点:
一是,这个还是可以使用的;二是,原来使用如此简单。
如果要你手写一个http请求,或许你脑海里一篇空白,会去搜索各种资料。
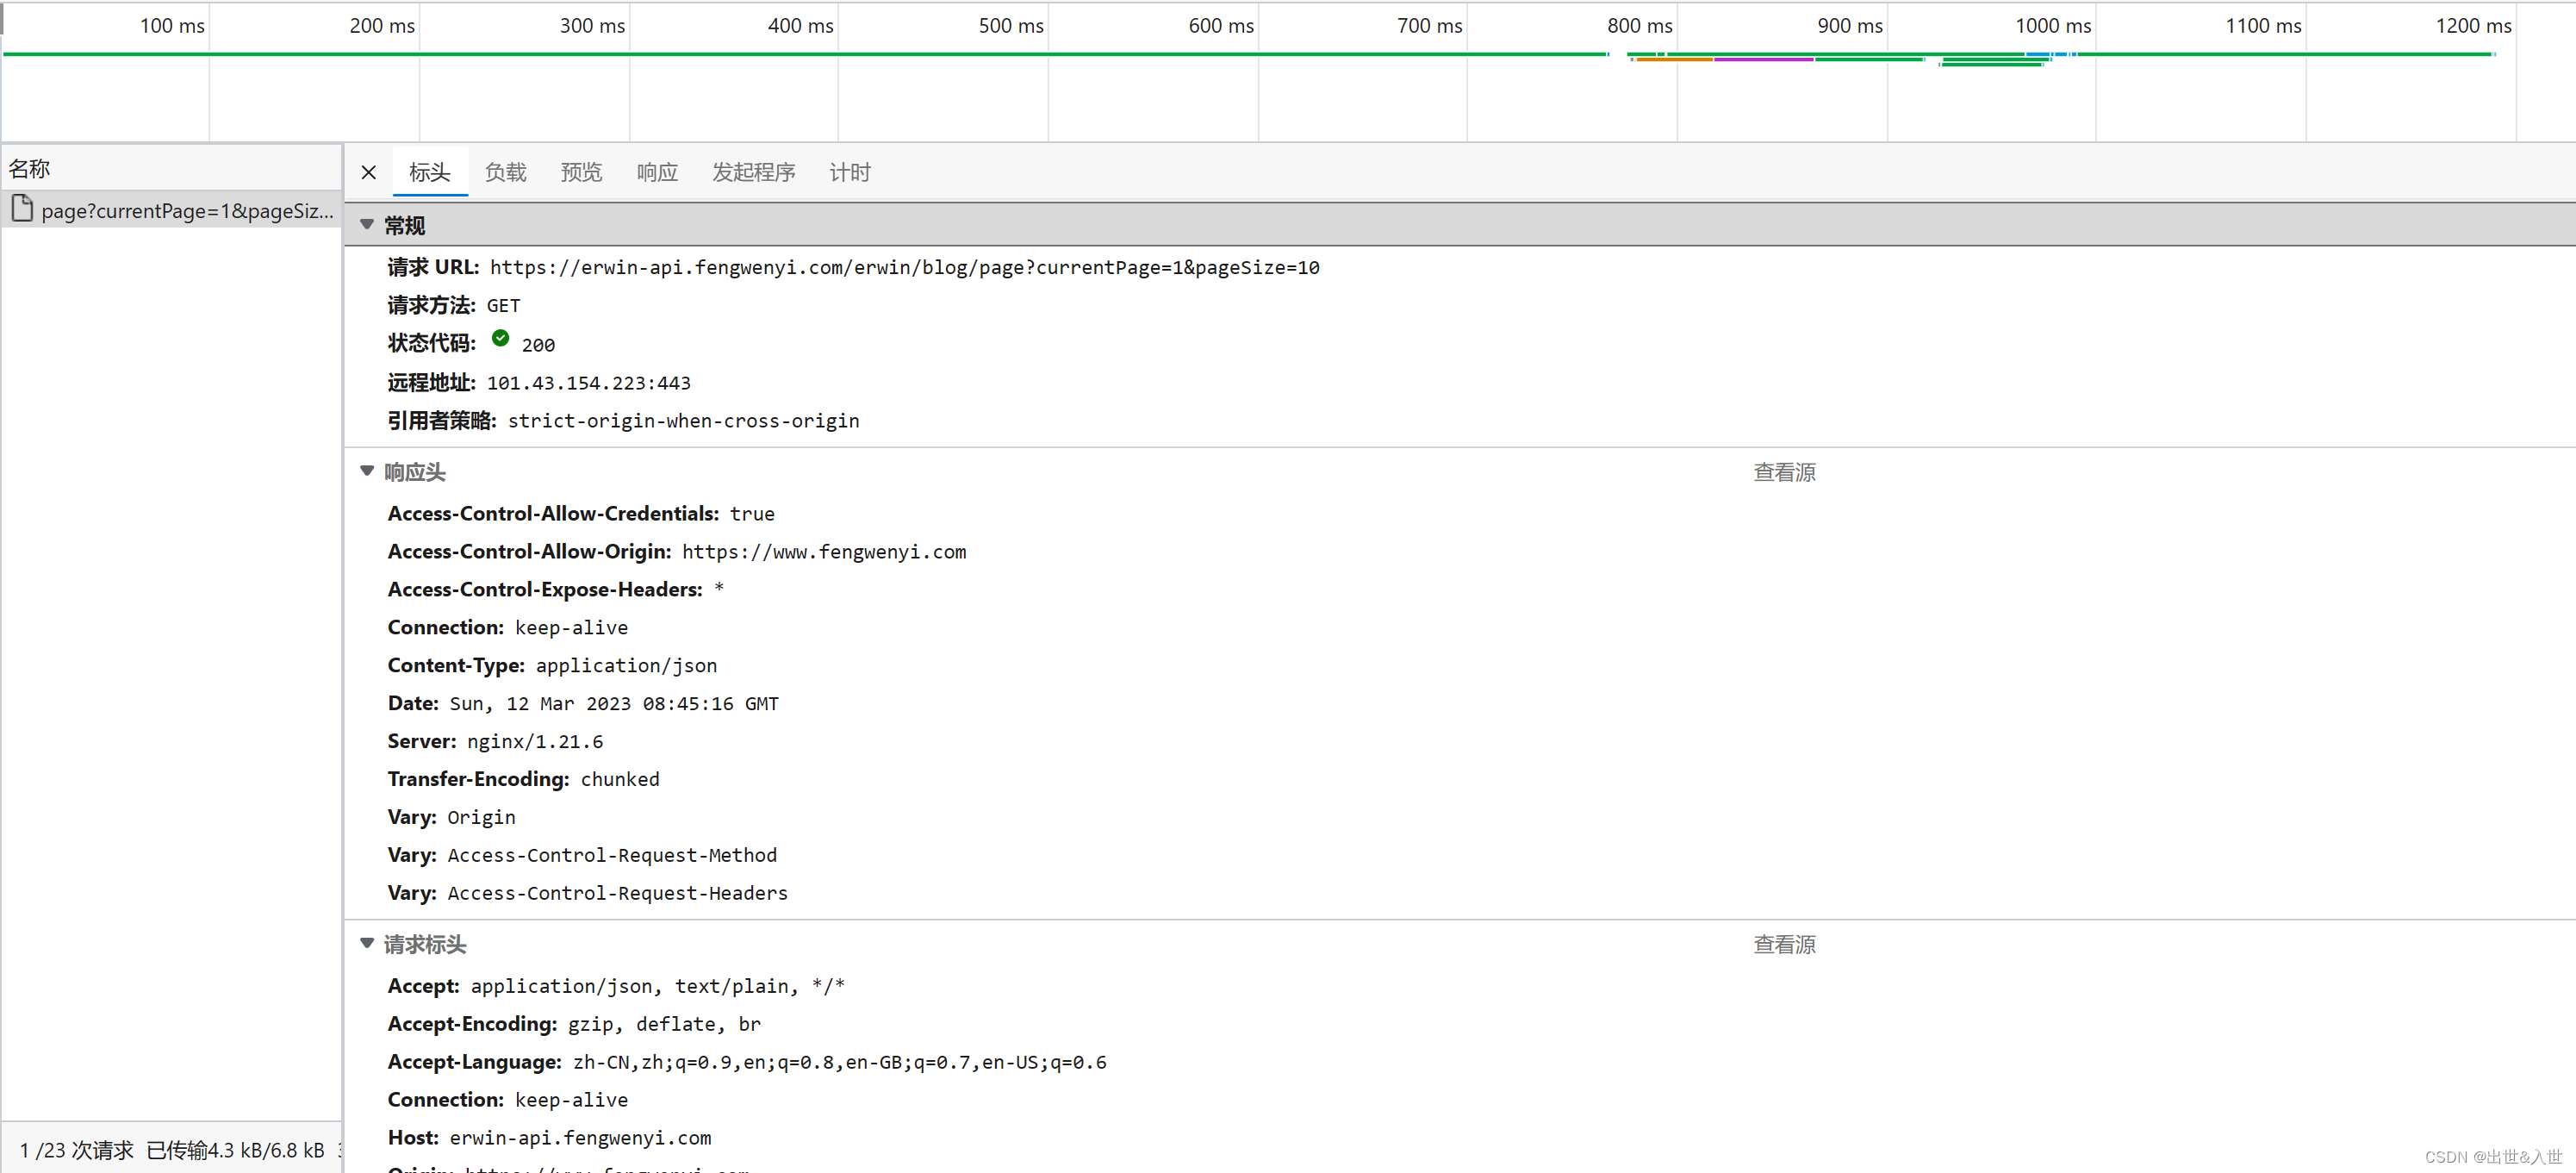
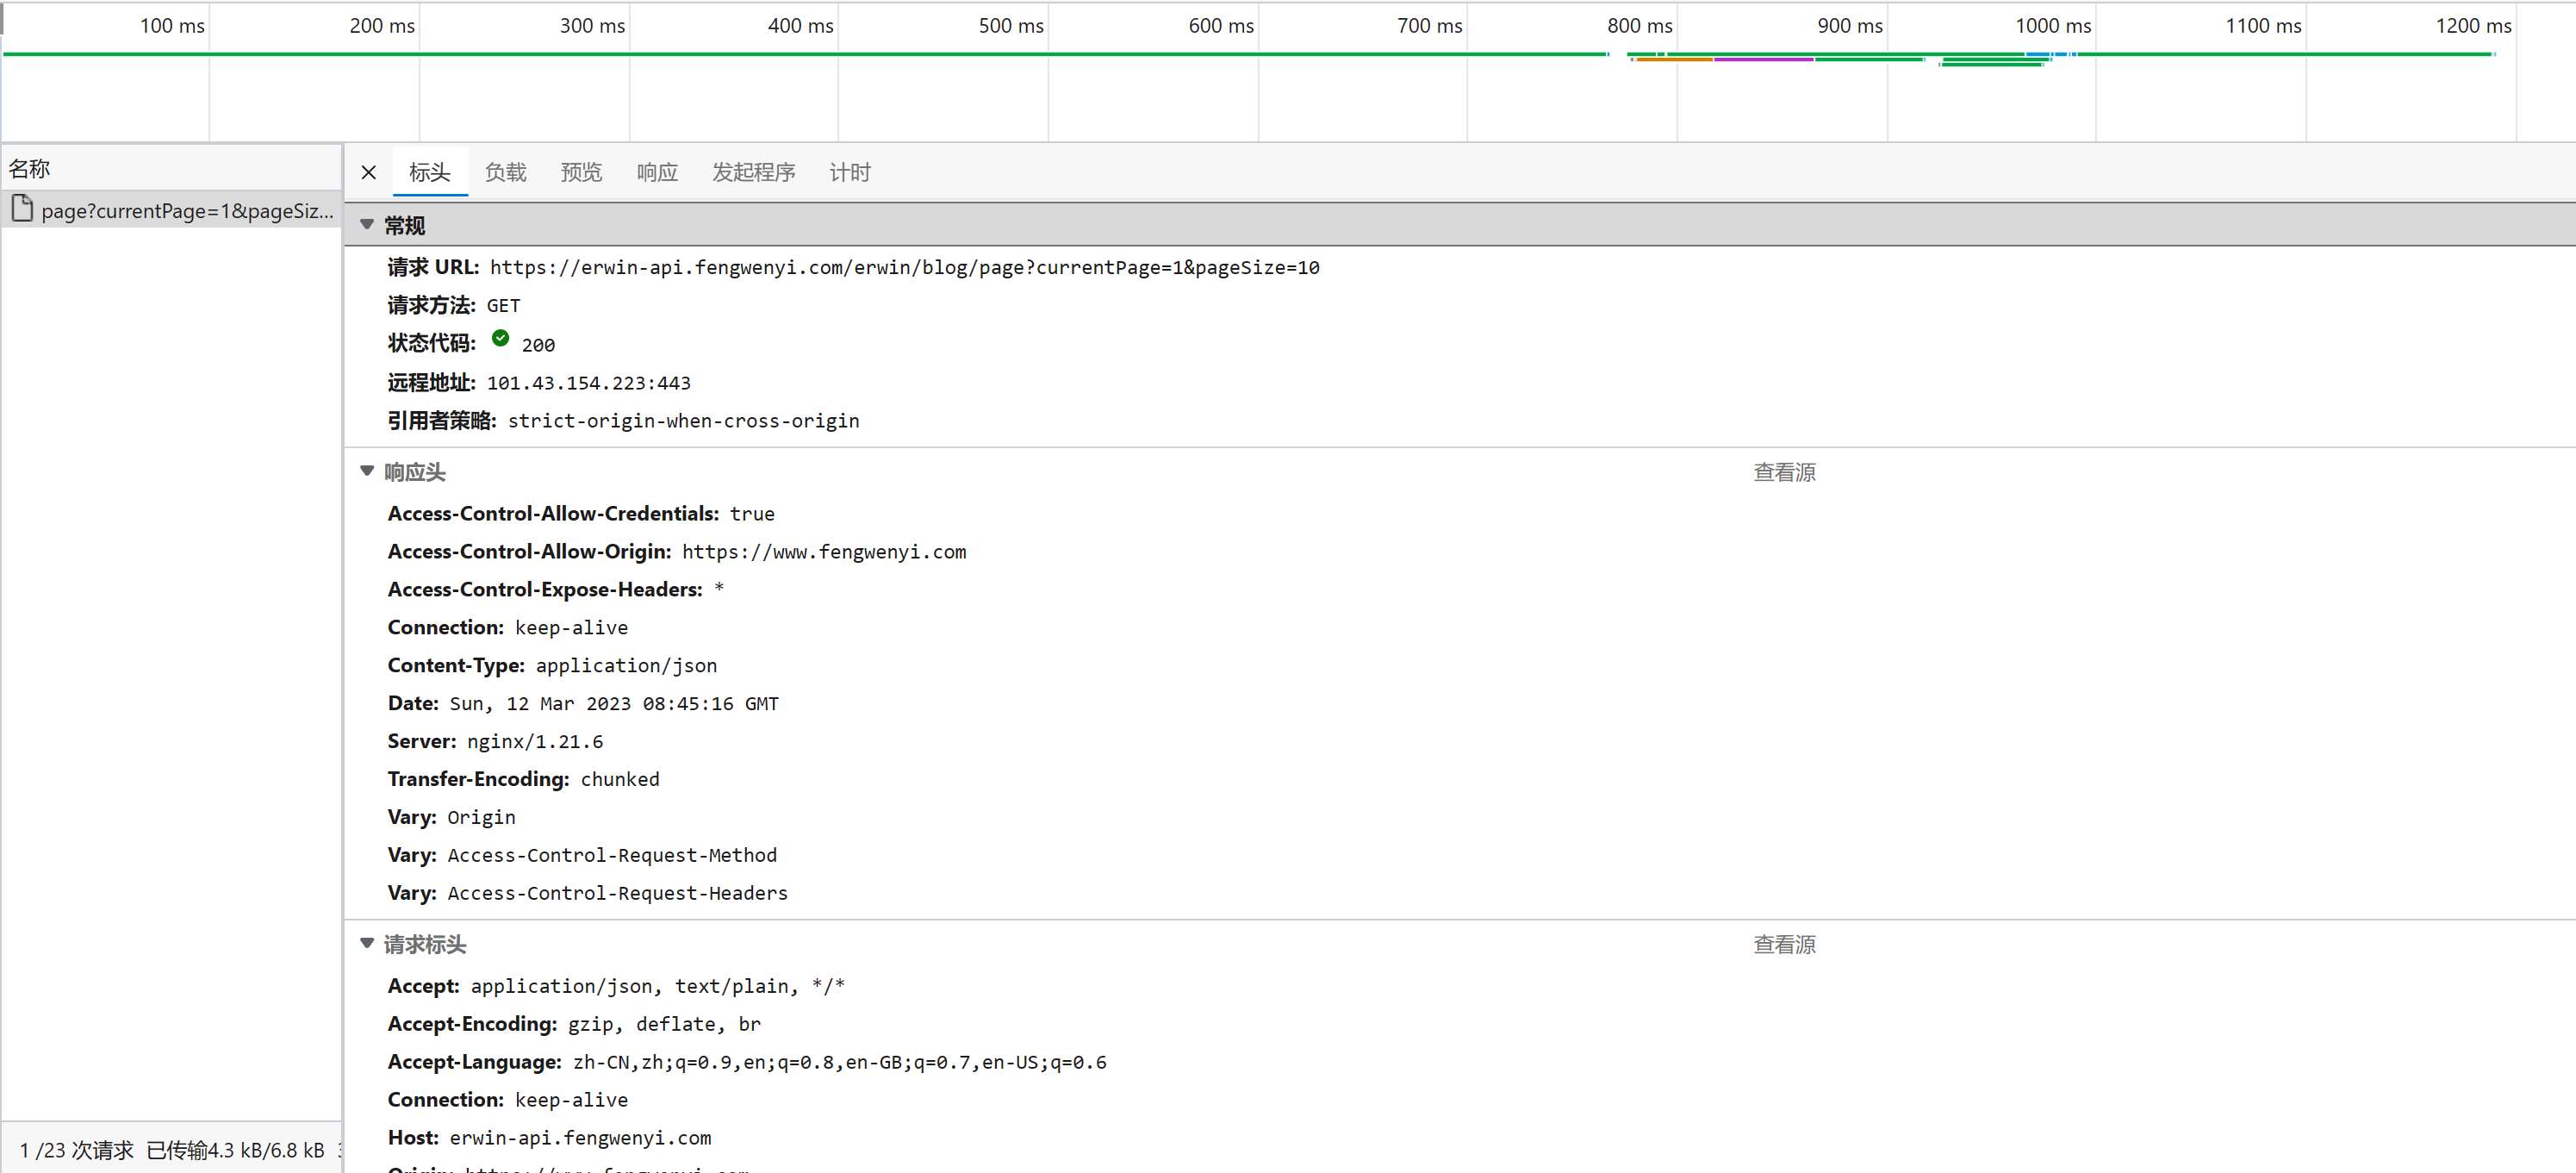
我们再试一个复杂的
接口:
接口地址:https://erwin-api.fengwenyi.com/erwin/blog/page请求方法:GET
参数:currentPage,pageSize
参数格式:form
响应:application/json


String url = "https://erwin-api.fengwenyi.com/erwin/bookmark/page?currentPage=1&pageSize=10";
Request request = new Request();
request.setUrl(url);
request.setMethod(Request.Method.GET);
Map<String, String> headerMap = new HashMap<>();
headerMap.put("Accept", "application/json");
Request.Option option = new Request.Option();
option.setHeaders(headerMap);
try {
    System.out.println(HttpUtils.execute(request, option));
} catch (IOException e) {
    throw new RuntimeException(e);
}
响应结果:
{
    "code":"SUCCESS",
    "message":"Success",
    "success":true,
    "header":null,
    "body":{
        "currentPage":1,
        "pageSize":10,
        "totalRows":661,
        "totalPages":67,
        "content":[
            {
                "id":"1634772578877935617",
                "timestamp":1678595130000,
                "enabledState":null,
                "name":"VScode 中文显示出现黄色方框的解决方法_vscode汉字被框住_YJer的博客-CSDN博客",
                "url":"https://blog.csdn.net/qq_33249042/article/details/123252625",
                "icon":null,
                "classifyName":"软件",
                "classifyId":"1522587269600481281"
            },
            {
                "id":"1632640455110922241",
                "timestamp":1678086792000,
                "enabledState":null,
                "name":"Spring中init-method和destroy-method的四种方式_星夜孤帆的博客-CSDN博客",
                "url":"https://blog.csdn.net/qq_38826019/article/details/117387398",
                "icon":null,
                "classifyName":"Spring",
                "classifyId":"1522586360887742466"
            },
            {
                "id":"1631597310596190209",
                "timestamp":1677838087000,
                "enabledState":null,
                "name":"vue3 + elemenplus实现导航栏 - 掘金",
                "url":"https://juejin.cn/post/7084871748608327687",
                "icon":null,
                "classifyName":"前端",
                "classifyId":"1525554881275990018"
            },
            {
                "id":"1631593154401636354",
                "timestamp":1677837096000,
                "enabledState":null,
                "name":"Spring bean 创建过程源码解析 - 腾讯云开发者社区-腾讯云",
                "url":"https://cloud.tencent.com/developer/article/1631160",
                "icon":null,
                "classifyName":"Spring",
                "classifyId":"1522586360887742466"
            },
            {
                "id":"1631592987673858050",
                "timestamp":1677837056000,
                "enabledState":null,
                "name":"SpringBoot之容器启动源码分析与Bean加载_springboot加载bean 源码_minemine0418的博客-CSDN博客",
                "url":"https://blog.csdn.net/minemine0418/article/details/102308912",
                "icon":null,
                "classifyName":"Spring Boot",
                "classifyId":"1522586446766116865"
            },
            {
                "id":"1631586585454678018",
                "timestamp":1677835530000,
                "enabledState":null,
                "name":"Spring-Bean生命周期 - 知乎",
                "url":"https://zhuanlan.zhihu.com/p/158468104",
                "icon":null,
                "classifyName":"Spring",
                "classifyId":"1522586360887742466"
            },
            {
                "id":"1631579732104548354",
                "timestamp":1677833896000,
                "enabledState":null,
                "name":"一文读懂 Spring Bean 的生命周期_spring bean的生命周期_老周聊架构的博客-CSDN博客",
                "url":"https://blog.csdn.net/riemann_/article/details/118500805",
                "icon":null,
                "classifyName":"Spring",
                "classifyId":"1522586360887742466"
            },
            {
                "id":"1630768897186697218",
                "timestamp":1677640578000,
                "enabledState":null,
                "name":"MySQL同时统计多个条件的记录条数_ztnhnr的博客-CSDN博客",
                "url":"https://blog.csdn.net/ztnhnr/article/details/107165942",
                "icon":null,
                "classifyName":"MySQL",
                "classifyId":"1522586805693681666"
            },
            {
                "id":"1630768792098410497",
                "timestamp":1677640553000,
                "enabledState":null,
                "name":"sql查询近七天,近两周,近一个月的数据_sql最近一周数据_心诚则灵'的博客-CSDN博客",
                "url":"https://blog.csdn.net/wenchangwenliu/article/details/119891790",
                "icon":null,
                "classifyName":"MySQL",
                "classifyId":"1522586805693681666"
            },
            {
                "id":"1630480535938764801",
                "timestamp":1677571827000,
                "enabledState":null,
                "name":"开源流程引擎哪个好,如何选型? - 知乎",
                "url":"https://zhuanlan.zhihu.com/p/369761832",
                "icon":null,
                "classifyName":"Java",
                "classifyId":"1522586296119300097"
            }
        ]
    }
}
响应结果,还是符合预期的。
当然,HTTP还有其他,比如超时等等,下面看看完整版的请求示例:
Map<String, Object> paramMap = new HashMap<>();
paramMap.put("currentPage", 1);
paramMap.put("pageSize", 10);
Map<String, String> headerMap = new HashMap<>();
headerMap.put("Accept", "application/json");
Request request = new Request();
request.setUrl("https://erwin-api.fengwenyi.com/erwin/bookmark/page");
request.setParam(paramMap);
request.setMethod(Request.Method.GET);
request.setUtil(Request.Util.OkHttp);
Request.Option option = new Request.Option();
option.setHeaders(headerMap);
option.setConnectTimeoutSecond(3);
option.setReadTimeoutSecond(5);
option.setLogLevel(Request.LogLevel.DEBUG);
try {
    String result = HttpUtils.execute(request, option);
    System.out.println(result);
} catch (IOException e) {
    throw new RuntimeException(e);
}
响应结果也是跟上面一样的。
第三部分:分享HttpUtils是如何封装的
首先是 Request 和 Response 对应HTTP的请求和响应,包路径如下:
com.fengwenyi.javalib.http.Request
com.fengwenyi.javalib.http.Response
另外,com.fengwenyi.javalib.http.Request.Option 来存放HTTP参数配置。
这一部分的思路来源是 Spring Cloud OpenFeign。
为了兼容多种HTTP工具实现请求,引入了 HttpClientFactory,其他工具类,只要实现 HttpClient 接口,就行。
com.fengwenyi.javalib.http.client.HttpClient
com.fengwenyi.javalib.http.client.HttpClientFactory
欧克,下面我们就以代码来看看:
HttpUtils#execute
public static String execute(Request request, Request.Option option) throws IOException {
    check(request);
    HttpClient httpClient = HttpClientFactory.get(request.getUtil());
    Response response = httpClient.execute(request, option);
    return handleResponse(response);
}
HttpClientFactory#get
public static HttpClient get(Request.Util httpUtil) {
    if (Request.Util.JDK == httpUtil) {
        return new JdkHttpClient();
    } else if (Request.Util.OkHttp == httpUtil) {
        return new OkHttpClient();
    } else {
        throw new RuntimeException("not find http util: " + httpUtil.name());
    }
}
所以,只需要实现 HttpClient#execute 接口就行。
Response execute(Request request, Request.Option option) throws IOException;
以上是Java使用HttpUtils怎么实现发送HTTP请求的详细内容。更多信息请关注PHP中文网其他相关文章!

