怎么用Python将图片转为字符画
- 王林转载
- 2023-05-17 14:34:061785浏览
首先有个问题,就是模拟灰度,这里有个公式:
1 |
Gray = 0.2126 × R + 0.7152 × G + 0.0722 × B |
这样就好办了。当然,RGB模式下,256x256x256的颜色范围虽然被转换成了256的灰度范围,字符还是不好一一对应。我们可以使用一个字符对应多个灰度的方式来解决。
记得要先安装PIL库,其中:
如果是Python 2,运行 pip install PIL。
如果是Python 3,运行 pip install pillow。
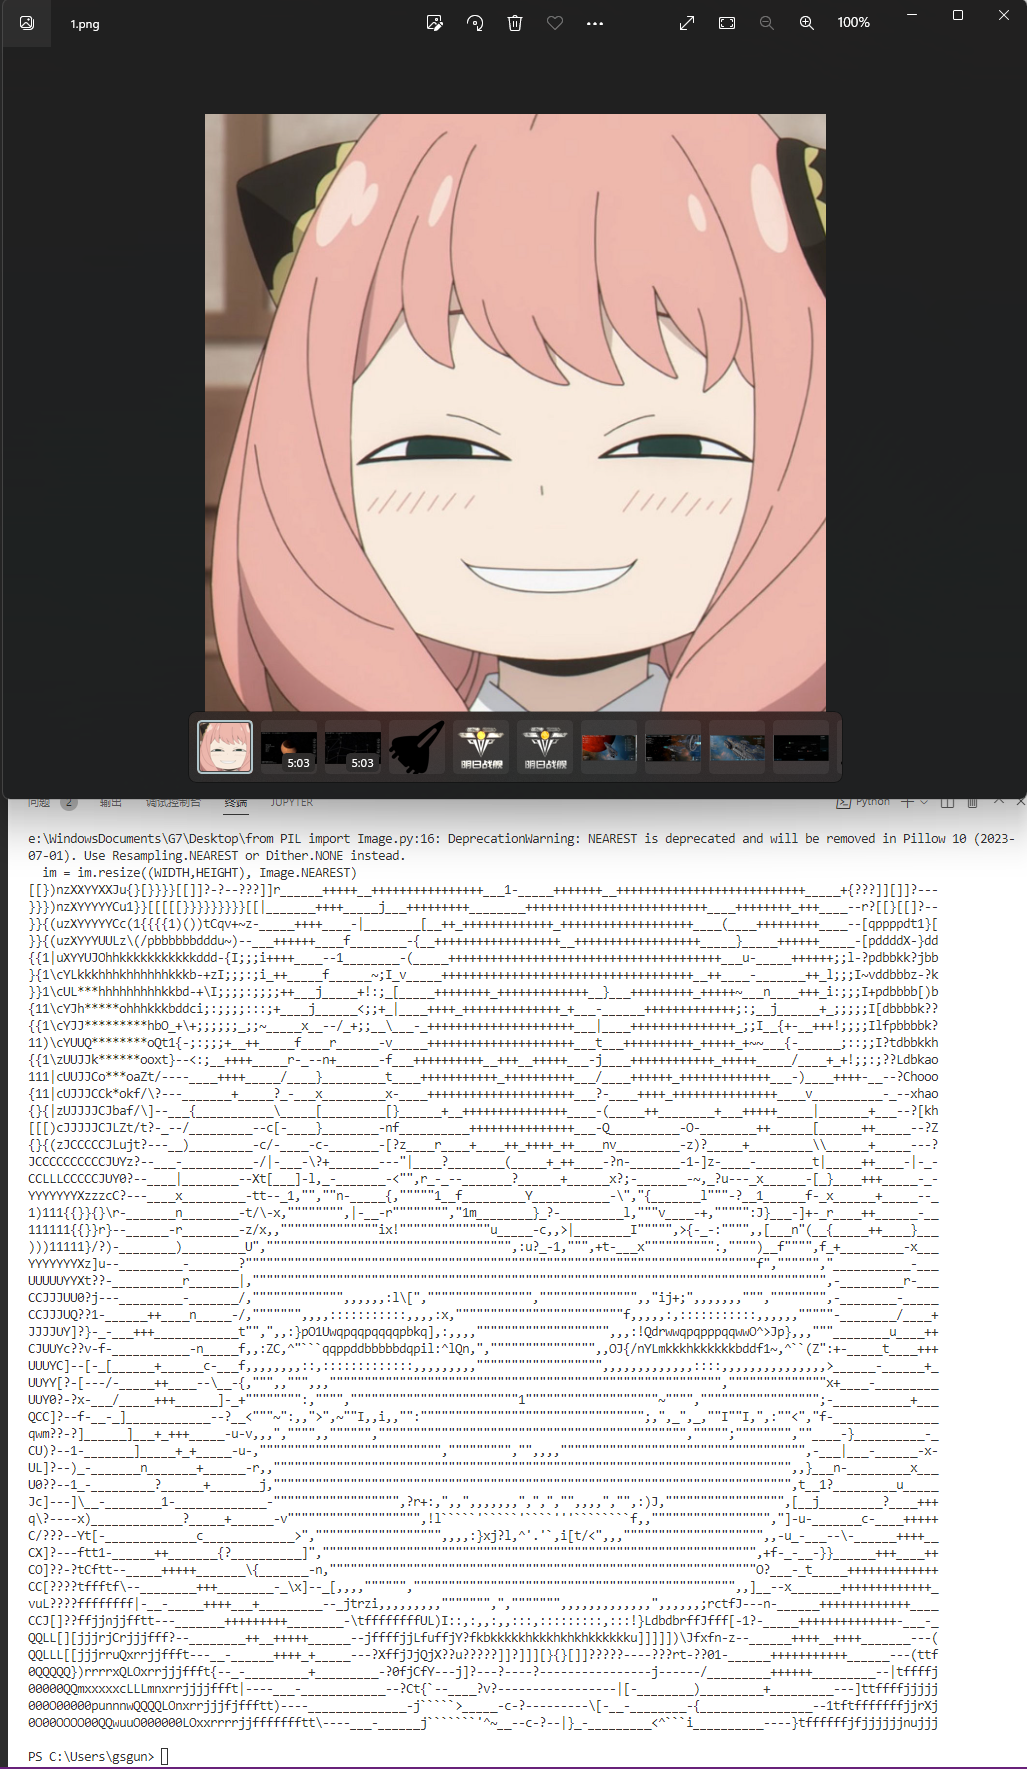
接下来直接上代码吧:
1 2 3 4 5 6 7 8 9 10 11 12 13 14 15 16 17 18 19 20 21 22 |
from PIL import Image
#设置显示的字符集
ascii_char = list("$@B%8&WM#*oahkbdpqwmZO0QLCJUYXzcvunxrjft/\|()1{}[]?-_+~<>i!lI;:,\"^`'. ")
WIDTH = 130
HEIGHT = 50
def get_char(r,g,b,alpha = 256):
if alpha == 0:
return ' '
length = len(ascii_char)
gray = int(0.2126 * r + 0.7152 * g + 0.0722 * b)
unit = (255.0 + 1)/length
return ascii_char[int(gray/unit)]
if __name__ == '__main__':
img = "E:/WindowsDocuments/G7/Desktop/1.png"
im = Image.open(img)
im = im.resize((WIDTH,HEIGHT), Image.NEAREST)
txt = ""
for i in range(HEIGHT):
for j in range(WIDTH):
txt += get_char(*im.getpixel((j,i)))
txt += '\n'
print(txt) |
如果想要输出到文件,可以在定义的部分,加上想要保存的文件名 OUTPUT = 'output.txt',然后在最后写进去:
1 2 |
with open(OUTPUT, 'w') as f:
f.write(txt) |
最后,我们得到了这个:

以上是怎么用Python将图片转为字符画的详细内容。更多信息请关注PHP中文网其他相关文章!
声明:
本文转载于:yisu.com。如有侵权,请联系admin@php.cn删除

