


Thymeleaf
基本介绍
Spring Boot 官方推荐使用 Thymeleaf 作为其模板引擎。SpringBoot 为 Thymeleaf 提供了一系列默认配置,并且为Thymeleaf提供了视图解析器。项目中一但导入了 Thymeleaf 的依赖,相对应的自动配置 (ThymeleafAutoConfiguration) 就会自动生效,因此 Thymeleaf 可以与 Spring Boot 完美整合 。Thymeleaf模板引擎可以和html标签完美结合,便于后端渲染数据。Thymeleaf支持静态效果和动态效果,在没有动态数据的时候,会展示静态效果模板引擎是为了使用户界面与业务数据(内容)分离而产生的,它可以生成特定格式的文档,用于网站的模板引擎就会生成一个标准的HTML文档就是将模板文件和数据通过模板引擎生成一个HTML代码**常见的模板引擎有:jsp、freemarker、velocity、thymeleafThymeleaf默认写的位置是在templates这个目录下面Thymeleaf官网:https://www.thymeleaf.org/
<dependency>
  <groupId>org.springframework.boot</groupId>
  <artifactId>spring-boot-starter-thymeleaf</artifactId>
</dependency>
Thymeleaf默认的视图路径是:/ resources/templates,在这个目录下面创建html并引入thymeleaf
<html lang="en" xmlns:th="http://www.thymleaf.org">
xmlns:th=“http://www.thymleaf.org”>
基本语法
${域属性名}:获得request域中的域属性值并显示
${session.域属性名}: 获得session域中的域属性值并显示
< p th:text="${name}">aaa</p>如果取得到数据的话,就会渲染成动态画面,否则就渲染成静态画面(只显示学生管理系统只显示学生管理系统这几个字)
th:text文本替换
<span th:text="${user.name}">Tom</span>th:if和th:unless文本替换
使用th:if和th:unless属性进行条件判断,th:unlessth:unless刚好相反,只有表达式条件不成立才会显示内容
<h3 th:if="${age>=18}">成年</h3>
<h3 th:unless="${age>=18}">未成年</h3>
th:each foreach循环
<html lang="en" xmlns:th="http://www.thymleaf.org">
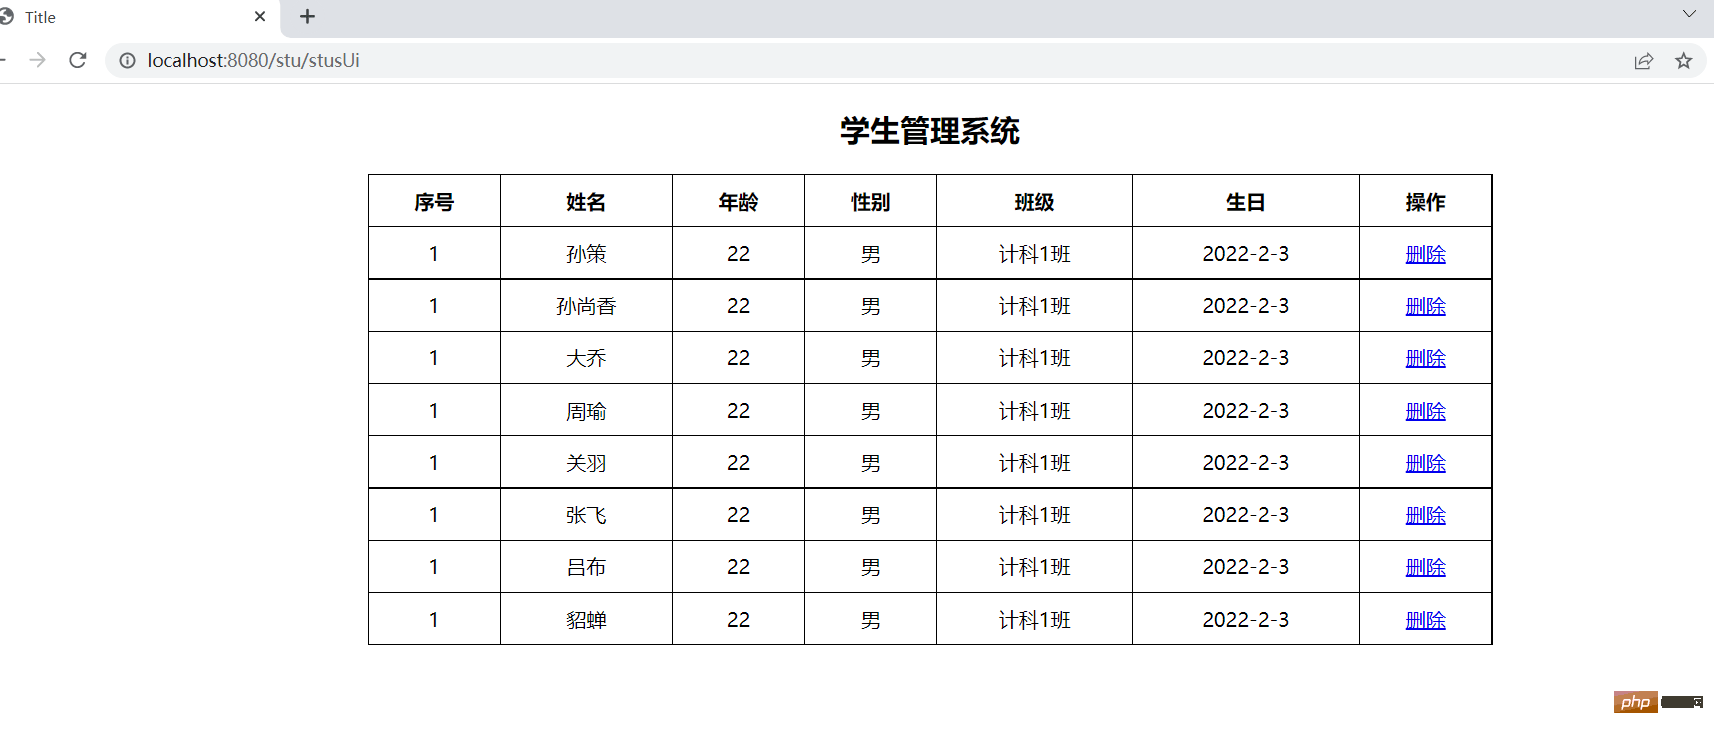
Title
学生管理系统
| 序号 | 姓名 | 年龄 | 性别 | 班级 | 生日 | 操作 |
|---|---|---|---|---|---|---|
| 1 | aa | 22 | 男 | 计科1班 | 2022-2-3 | 删除 |