
最近在做项目技术栈整理工作;
由于团队越来越大、人员增多、项目增多;
统一技术栈是一件非常有必要的事;

React 状态管理工具有很多,但是选择一个合适的状态管理工具其实很重要;
今天跟大家分享一下我整理的几个非常热门的 React状态管理,希望对你有所帮助。
【 1. Mobx 】

Mobx
MobX 可以独立于 React 运行, 但是他们通常是结合在一起使用;新版的 mobx-react-lite 库非常轻量;使用时只需要使用导出的observer包裹组件; 然后引入状态即可;
import React from "react"
import ReactDOM from "react-dom"
import { makeAutoObservable } from "mobx"
import { observer } from "mobx-react-lite"

class Timer {
    secondsPassed = 0

    constructor() {
        makeAutoObservable(this)
    }

    increaseTimer() {
        this.secondsPassed += 1
    }
}

const myTimer = new Timer()

//被`observer`包裹的函数式组件会被监听在它每一次调用前发生的任何变化
const TimerView = observer(({ timer }) =>
           <span>Seconds passed: {timer.secondsPassed}
</span>)

ReactDOM.render(<TimerView timer={myTimer} />, document.body)
【 2. Redux 】
Redux
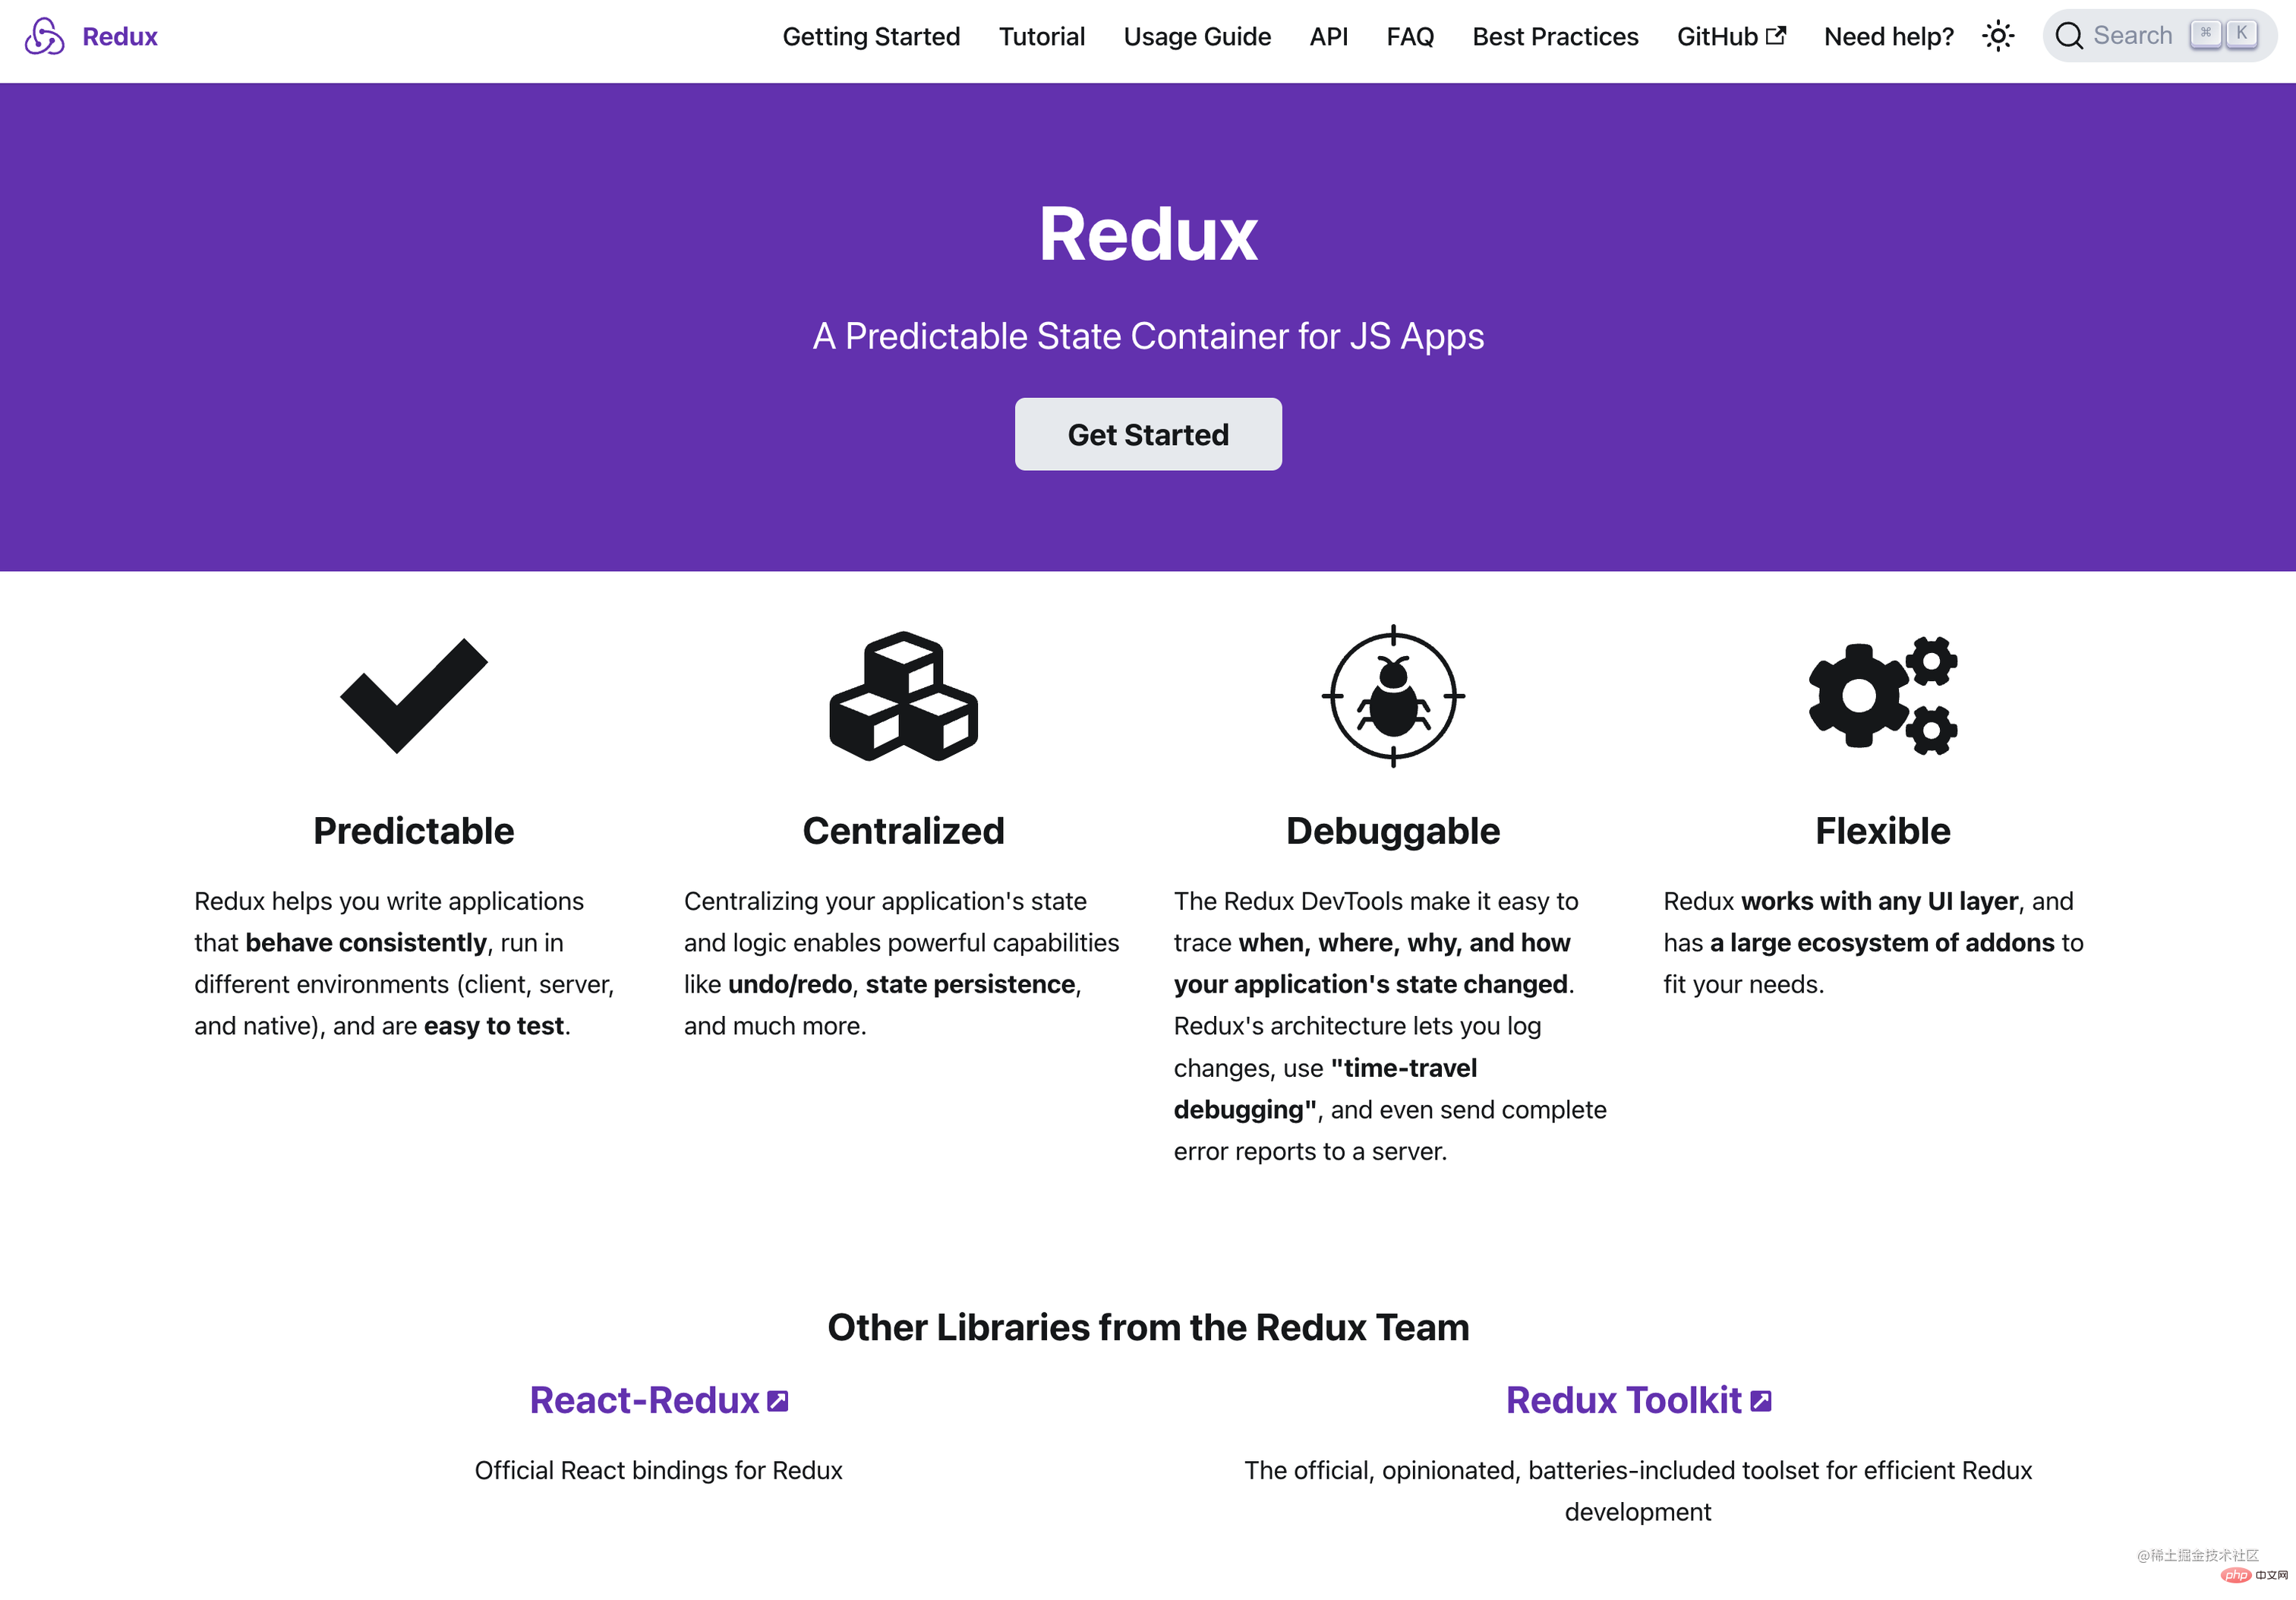
Redux 也是一个非常流行的状态管理,只不过比起其他的状态管理工具,会显得笨重一些;当然喜欢使用Redux的人也会觉得Redux 非常的优雅;
import { createStore } from 'redux'

/**
 * This is a reducer - a function that takes a current state value and an
 * action object describing "what happened", and returns a new state value.
 * A reducer's function signature is: (state, action) => newState
 *
 * The Redux state should contain only plain JS objects, arrays, and primitives.
 * The root state value is usually an object. It's important that you should
 * not mutate the state object, but return a new object if the state changes.
 *
 * You can use any conditional logic you want in a reducer. In this example,
 * we use a switch statement, but it's not required.
 */
function counterReducer(state = { value: 0 }, action) {
  switch (action.type) {
    case 'counter/incremented':
      return { value: state.value + 1 }
    case 'counter/decremented':
      return { value: state.value - 1 }
    default:
      return state
  }
}

// Create a Redux store holding the state of your app.
// Its API is { subscribe, dispatch, getState }.
let store = createStore(counterReducer)

// You can use subscribe() to update the UI in response to state changes.
// Normally you'd use a view binding library (e.g. React Redux) rather than subscribe() directly.
// There may be additional use cases where it's helpful to subscribe as well.

store.subscribe(() => console.log(store.getState()))

// The only way to mutate the internal state is to dispatch an action.
// The actions can be serialized, logged or stored and later replayed.
store.dispatch({ type: 'counter/incremented' })
// {value: 1}
store.dispatch({ type: 'counter/incremented' })
// {value: 2}
store.dispatch({ type: 'counter/decremented' })
// {value: 1}
想要很快上手Redux 不是一件容易的事,还需要仔细琢磨一下; 不过好在redux官方推出了新的Redux-tookit 大大简化了使用Redux的步骤。
【 3. Rematch 】
Rematch
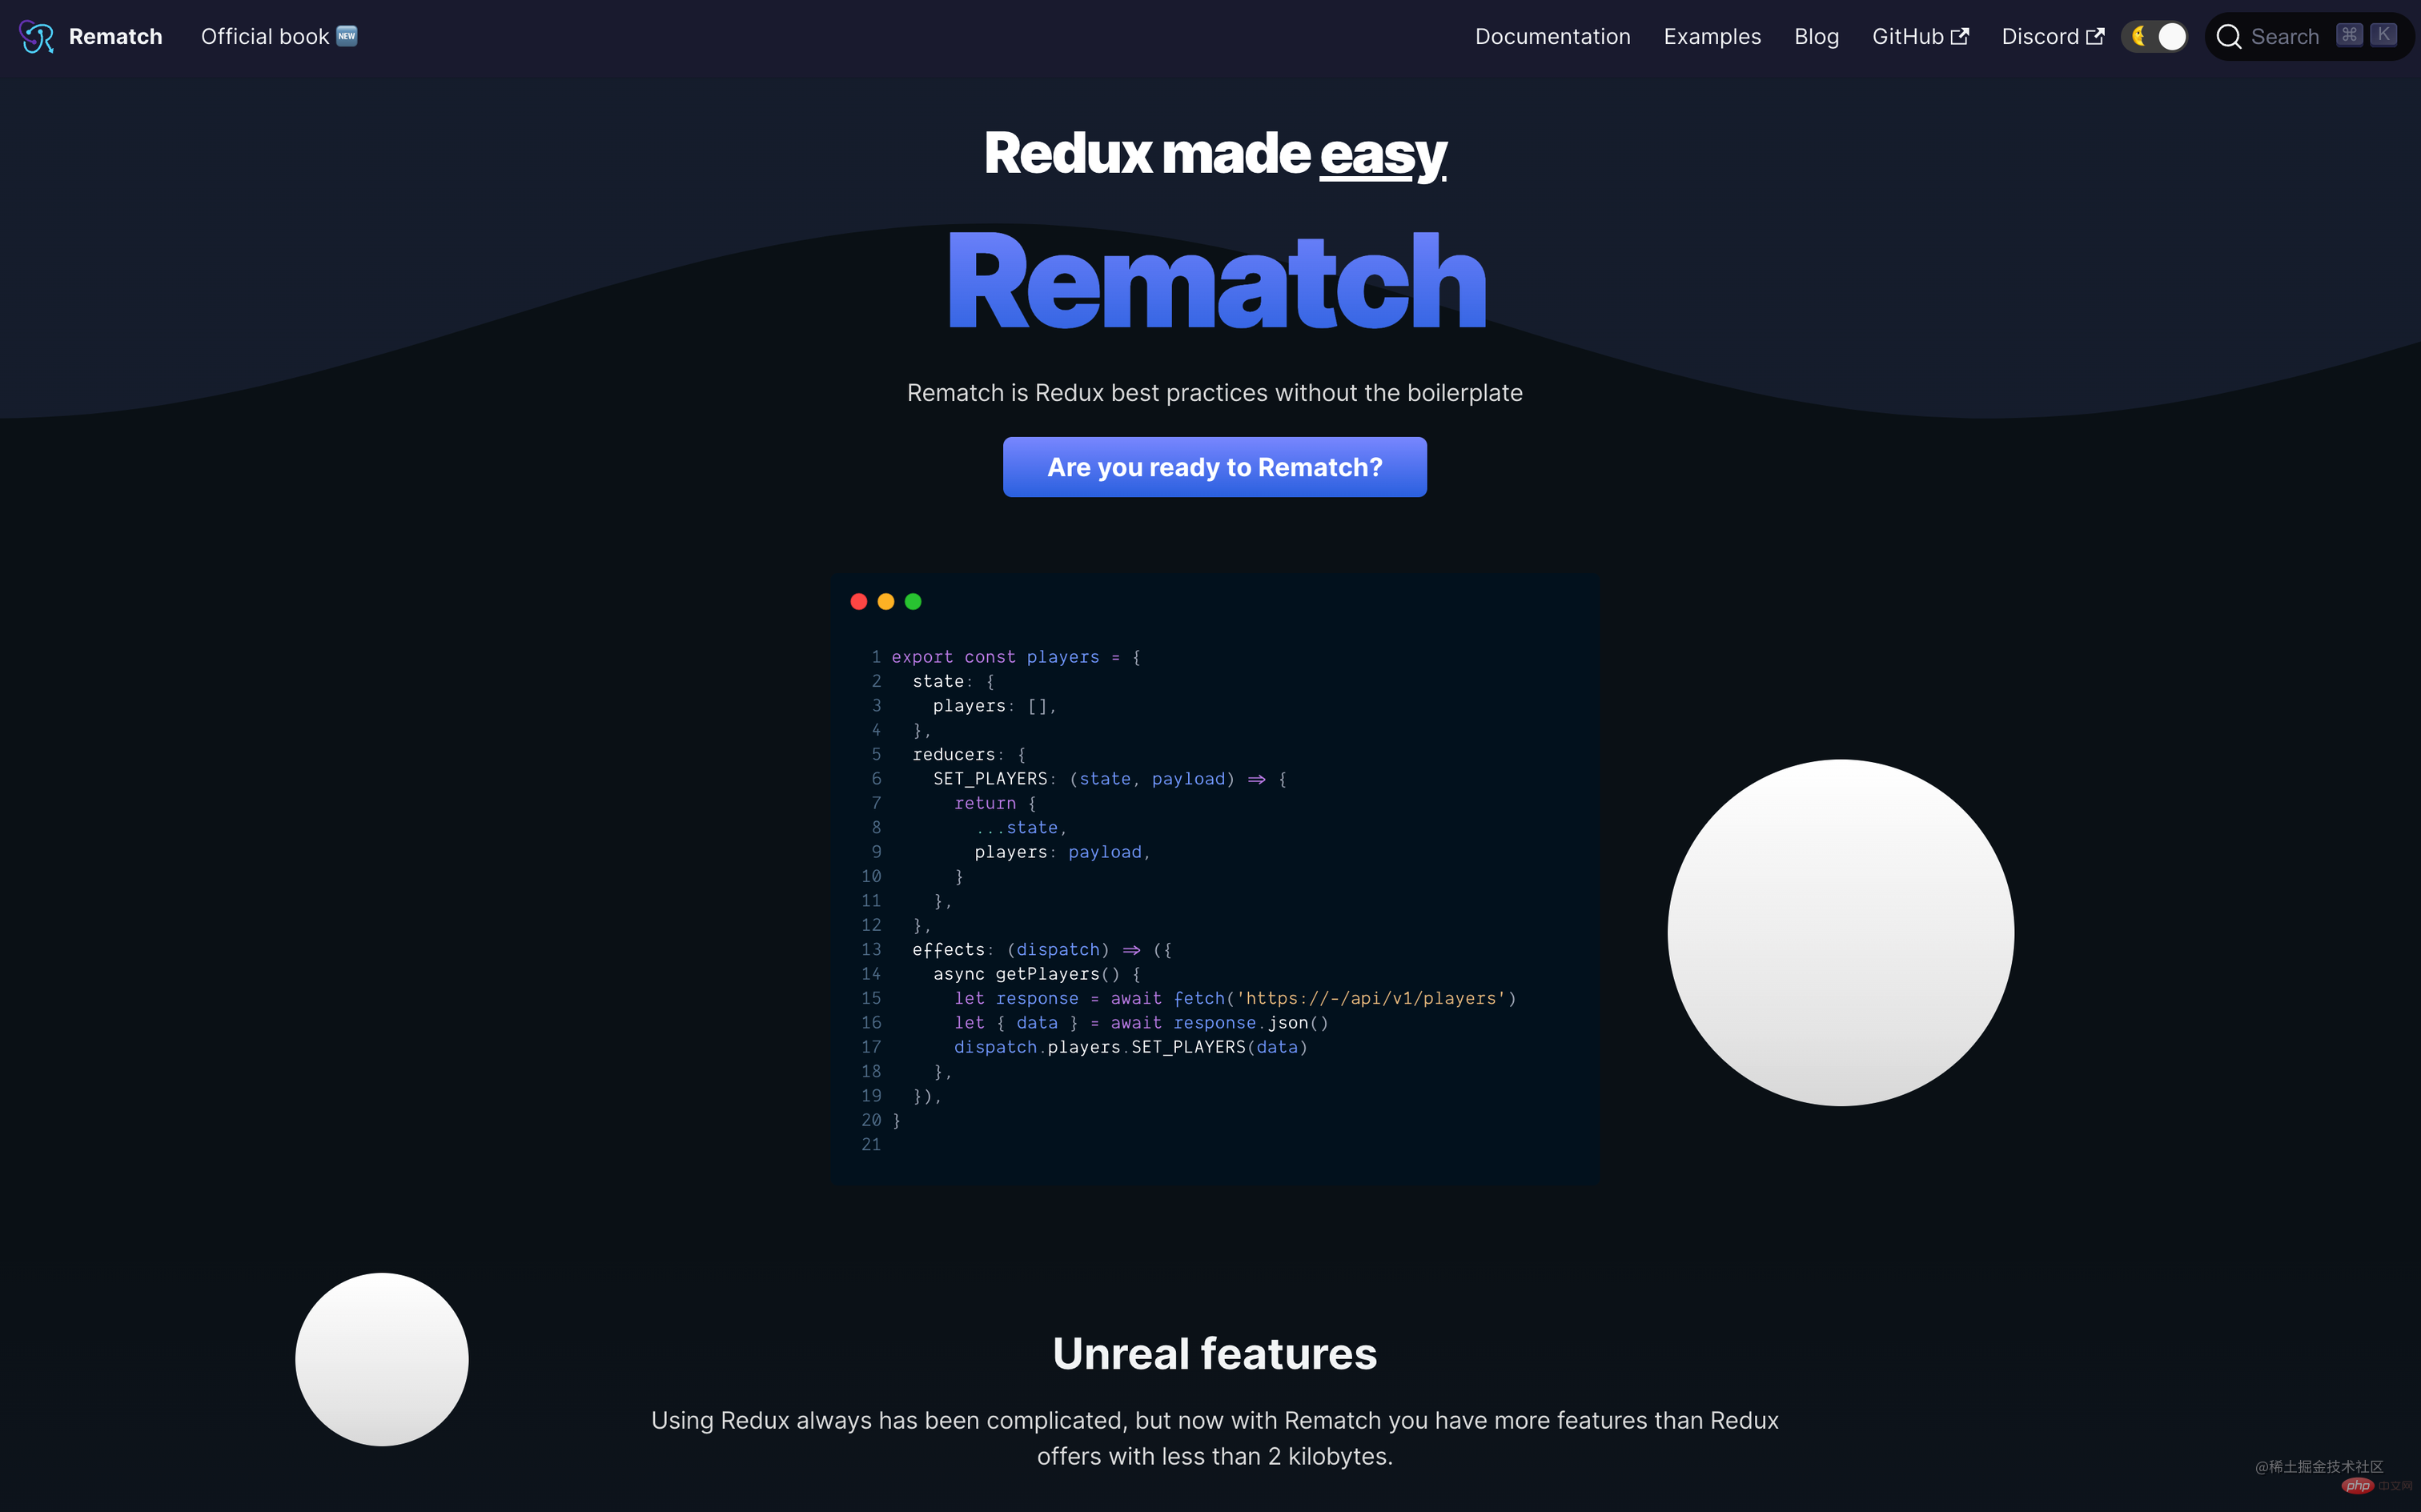
Rematch 延续了Redux的优点,核心概念还是基于Redux;但是比起Redux,它简直太强大了!。
import { createModel } from "@rematch/core";
import { RootModel } from ".";

export const count = createModel<RootModel>()({
  state: 0, // initial state
  reducers: {
    // handle state changes with pure functions
    increment(state, payload: number) {
      return state + payload;
    },
  },
  effects: (dispatch) => ({
    // handle state changes with impure functions.
    // use async/await for async actions
    async incrementAsync(payload: number, state) {
      console.log("This is current root state", state);
      await new Promise((resolve) => setTimeout(resolve, 1000));
      dispatch.count.increment(payload);
    },
  }),
});
以下是Rematch 的一些特性:
- 小于2kb的大小
- 不需要配置
- 减少Redux样板文件
- 内置副作用支持
- React Devtools支持
- TypeScript 原生支持
- 支持动态添加reducers
- 支持热重载
- 允许创建多个store
- 支持React Native
- 可扩展的插件
Rematch 的store还是延续了一些Redux的写法,只不过总体是精简了许多。想要上手也是非常轻松的。
【 4. Recoil 】
Recoil
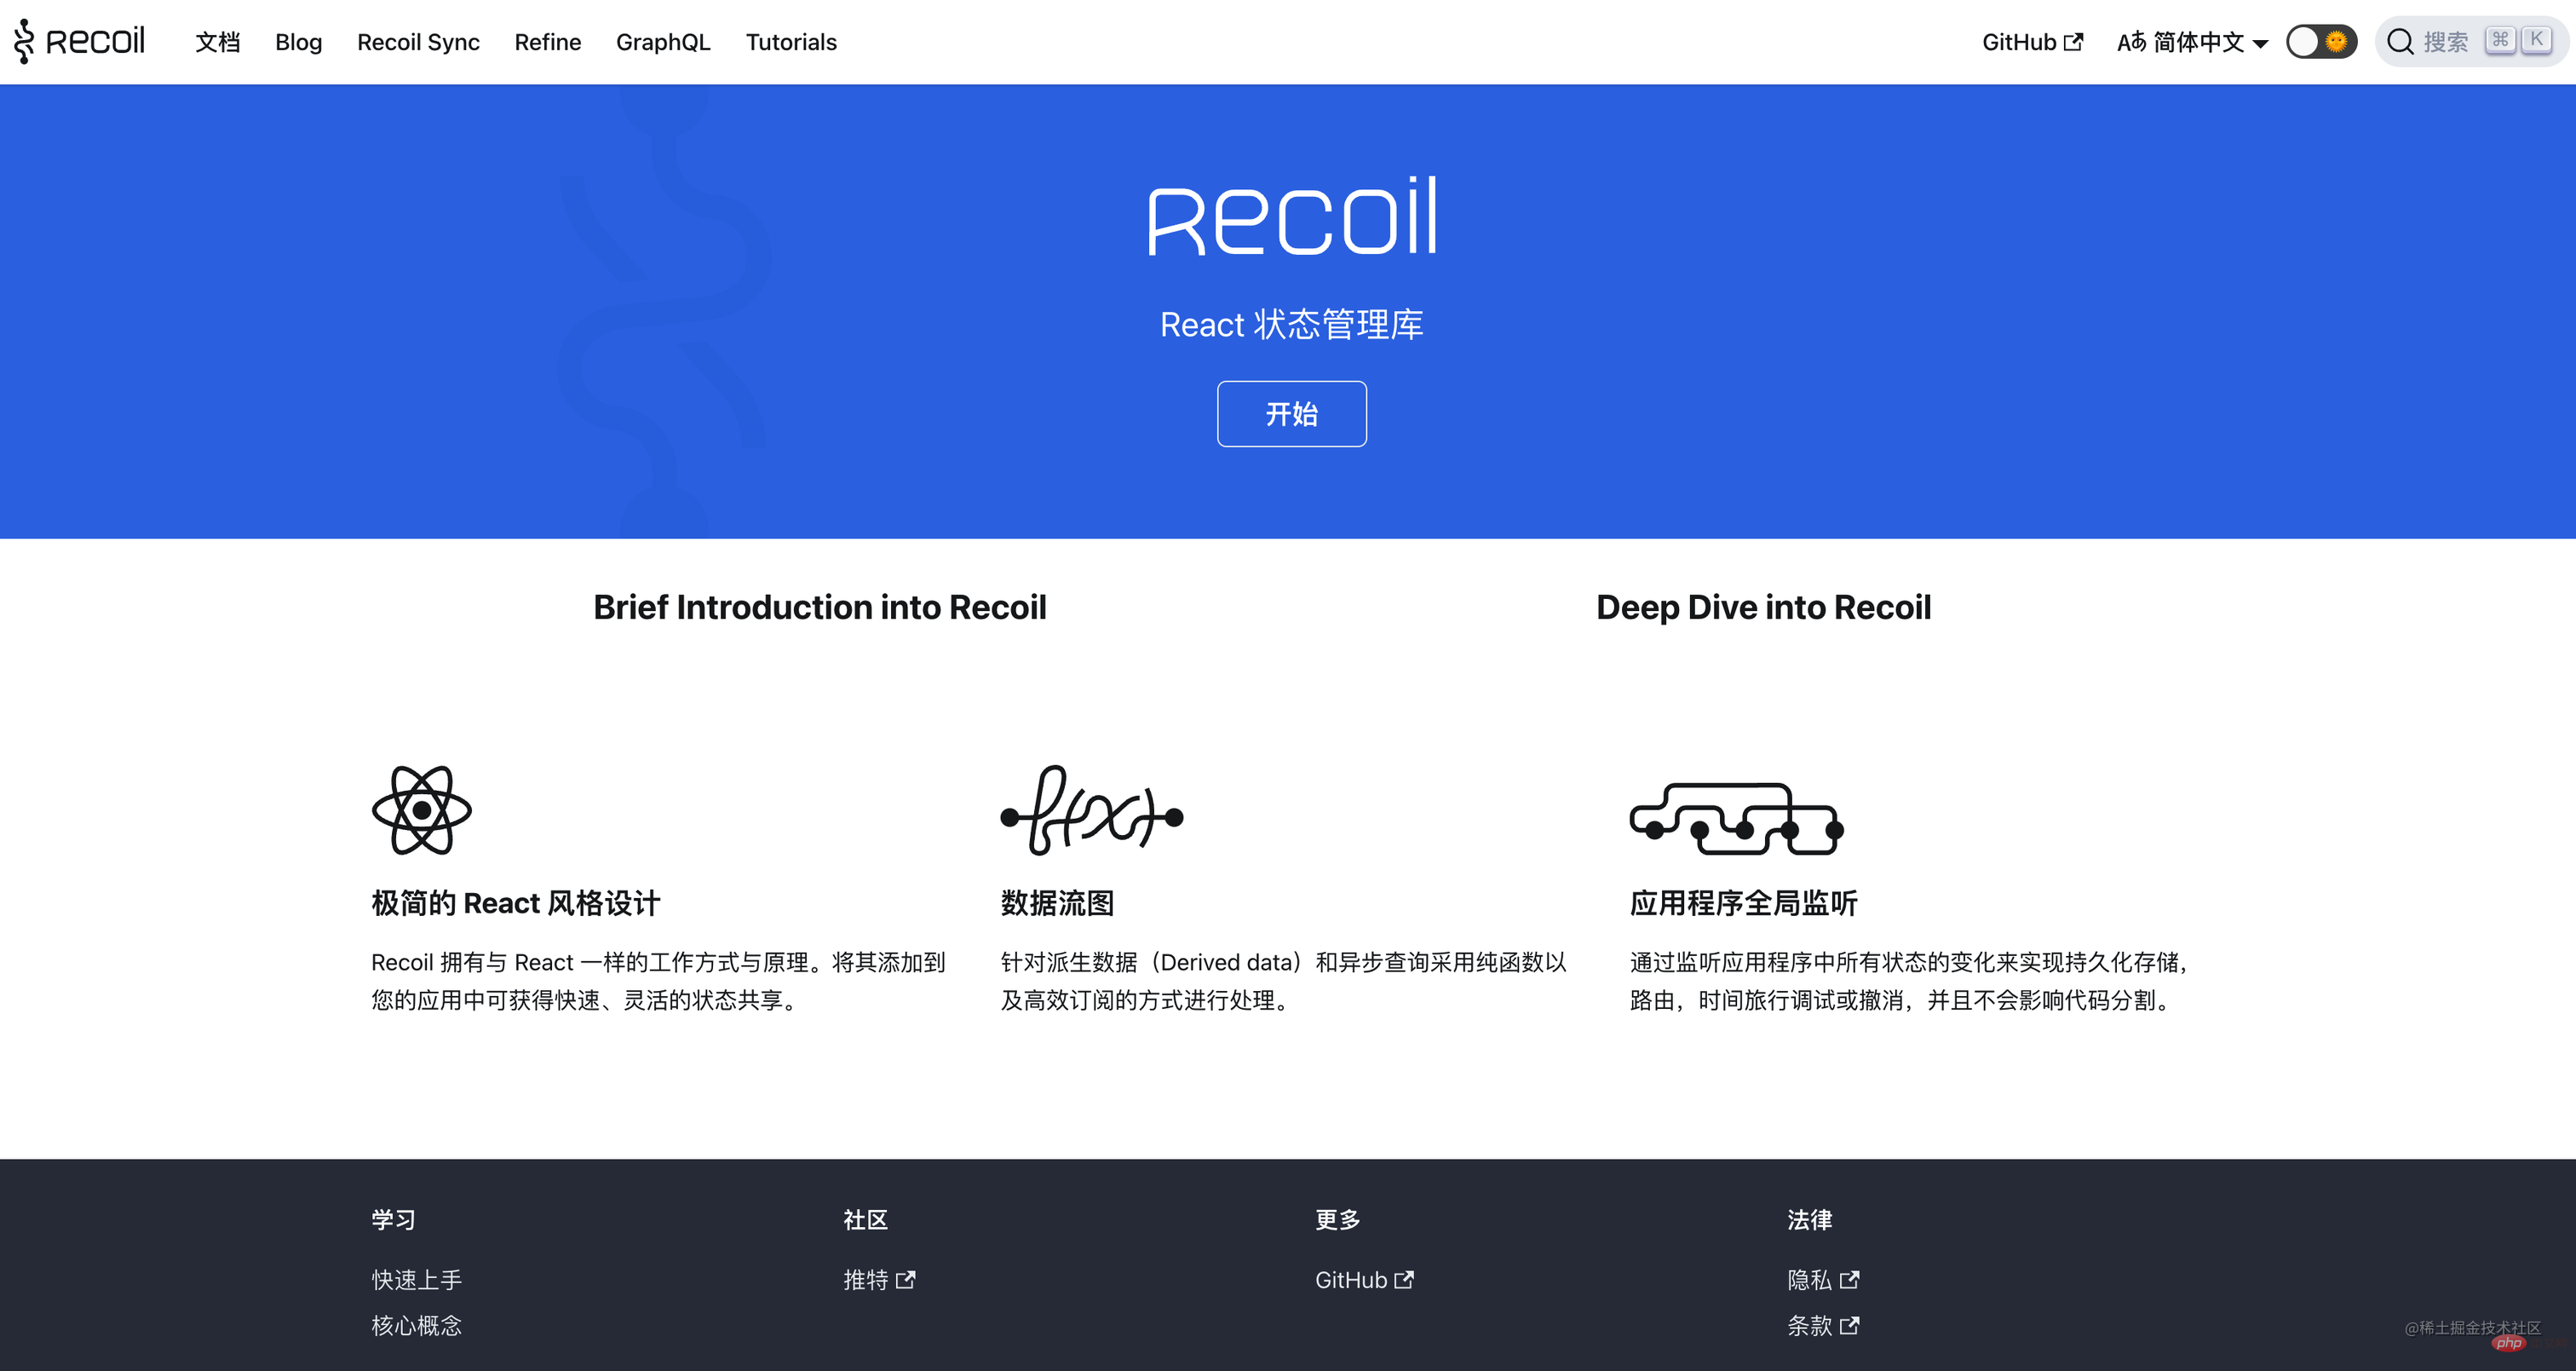
Recoil 提供了一种新的状态管理模型——Atom模型,它可以更好地处理复杂的状态逻辑。
如需在组件中使用 Recoil,则可以将 RecoilRoot 放置在父组件的某个位置。将他设为根组件为最佳:
import React from 'react';
import {
  RecoilRoot,
  atom,
  selector,
  useRecoilState,
  useRecoilValue,
} from 'recoil';

function App() {
  return (
    <RecoilRoot>
      <CharacterCounter />
    </RecoilRoot>
  );
}
一个 atom 代表一个状态。Atom 可在任意组件中进行读写。读取 atom 值的组件隐式订阅了该 atom,因此任何 atom 的更新都将致使使用对应 atom 的组件重新渲染;
使用atom状态,需要在组件内引入 useRecoilState:
const textState = atom({
  key: 'textState', // unique ID (with respect to other atoms/selectors)
  default: '', // default value (aka initial value)
});

function CharacterCounter() {
  return (
    <div>
      <TextInput />
      <CharacterCount />
    </div>
  );
}

function TextInput() {
  const [text, setText] = useRecoilState(textState);

  const onChange = (event) => {
    setText(event.target.value);
  };

  return (
    <div>
      <input type="text" value={text} onChange={onChange} />
      <br />
      Echo: {text}
    </div>
  );
}
【 5. Hookstate 】
hookState
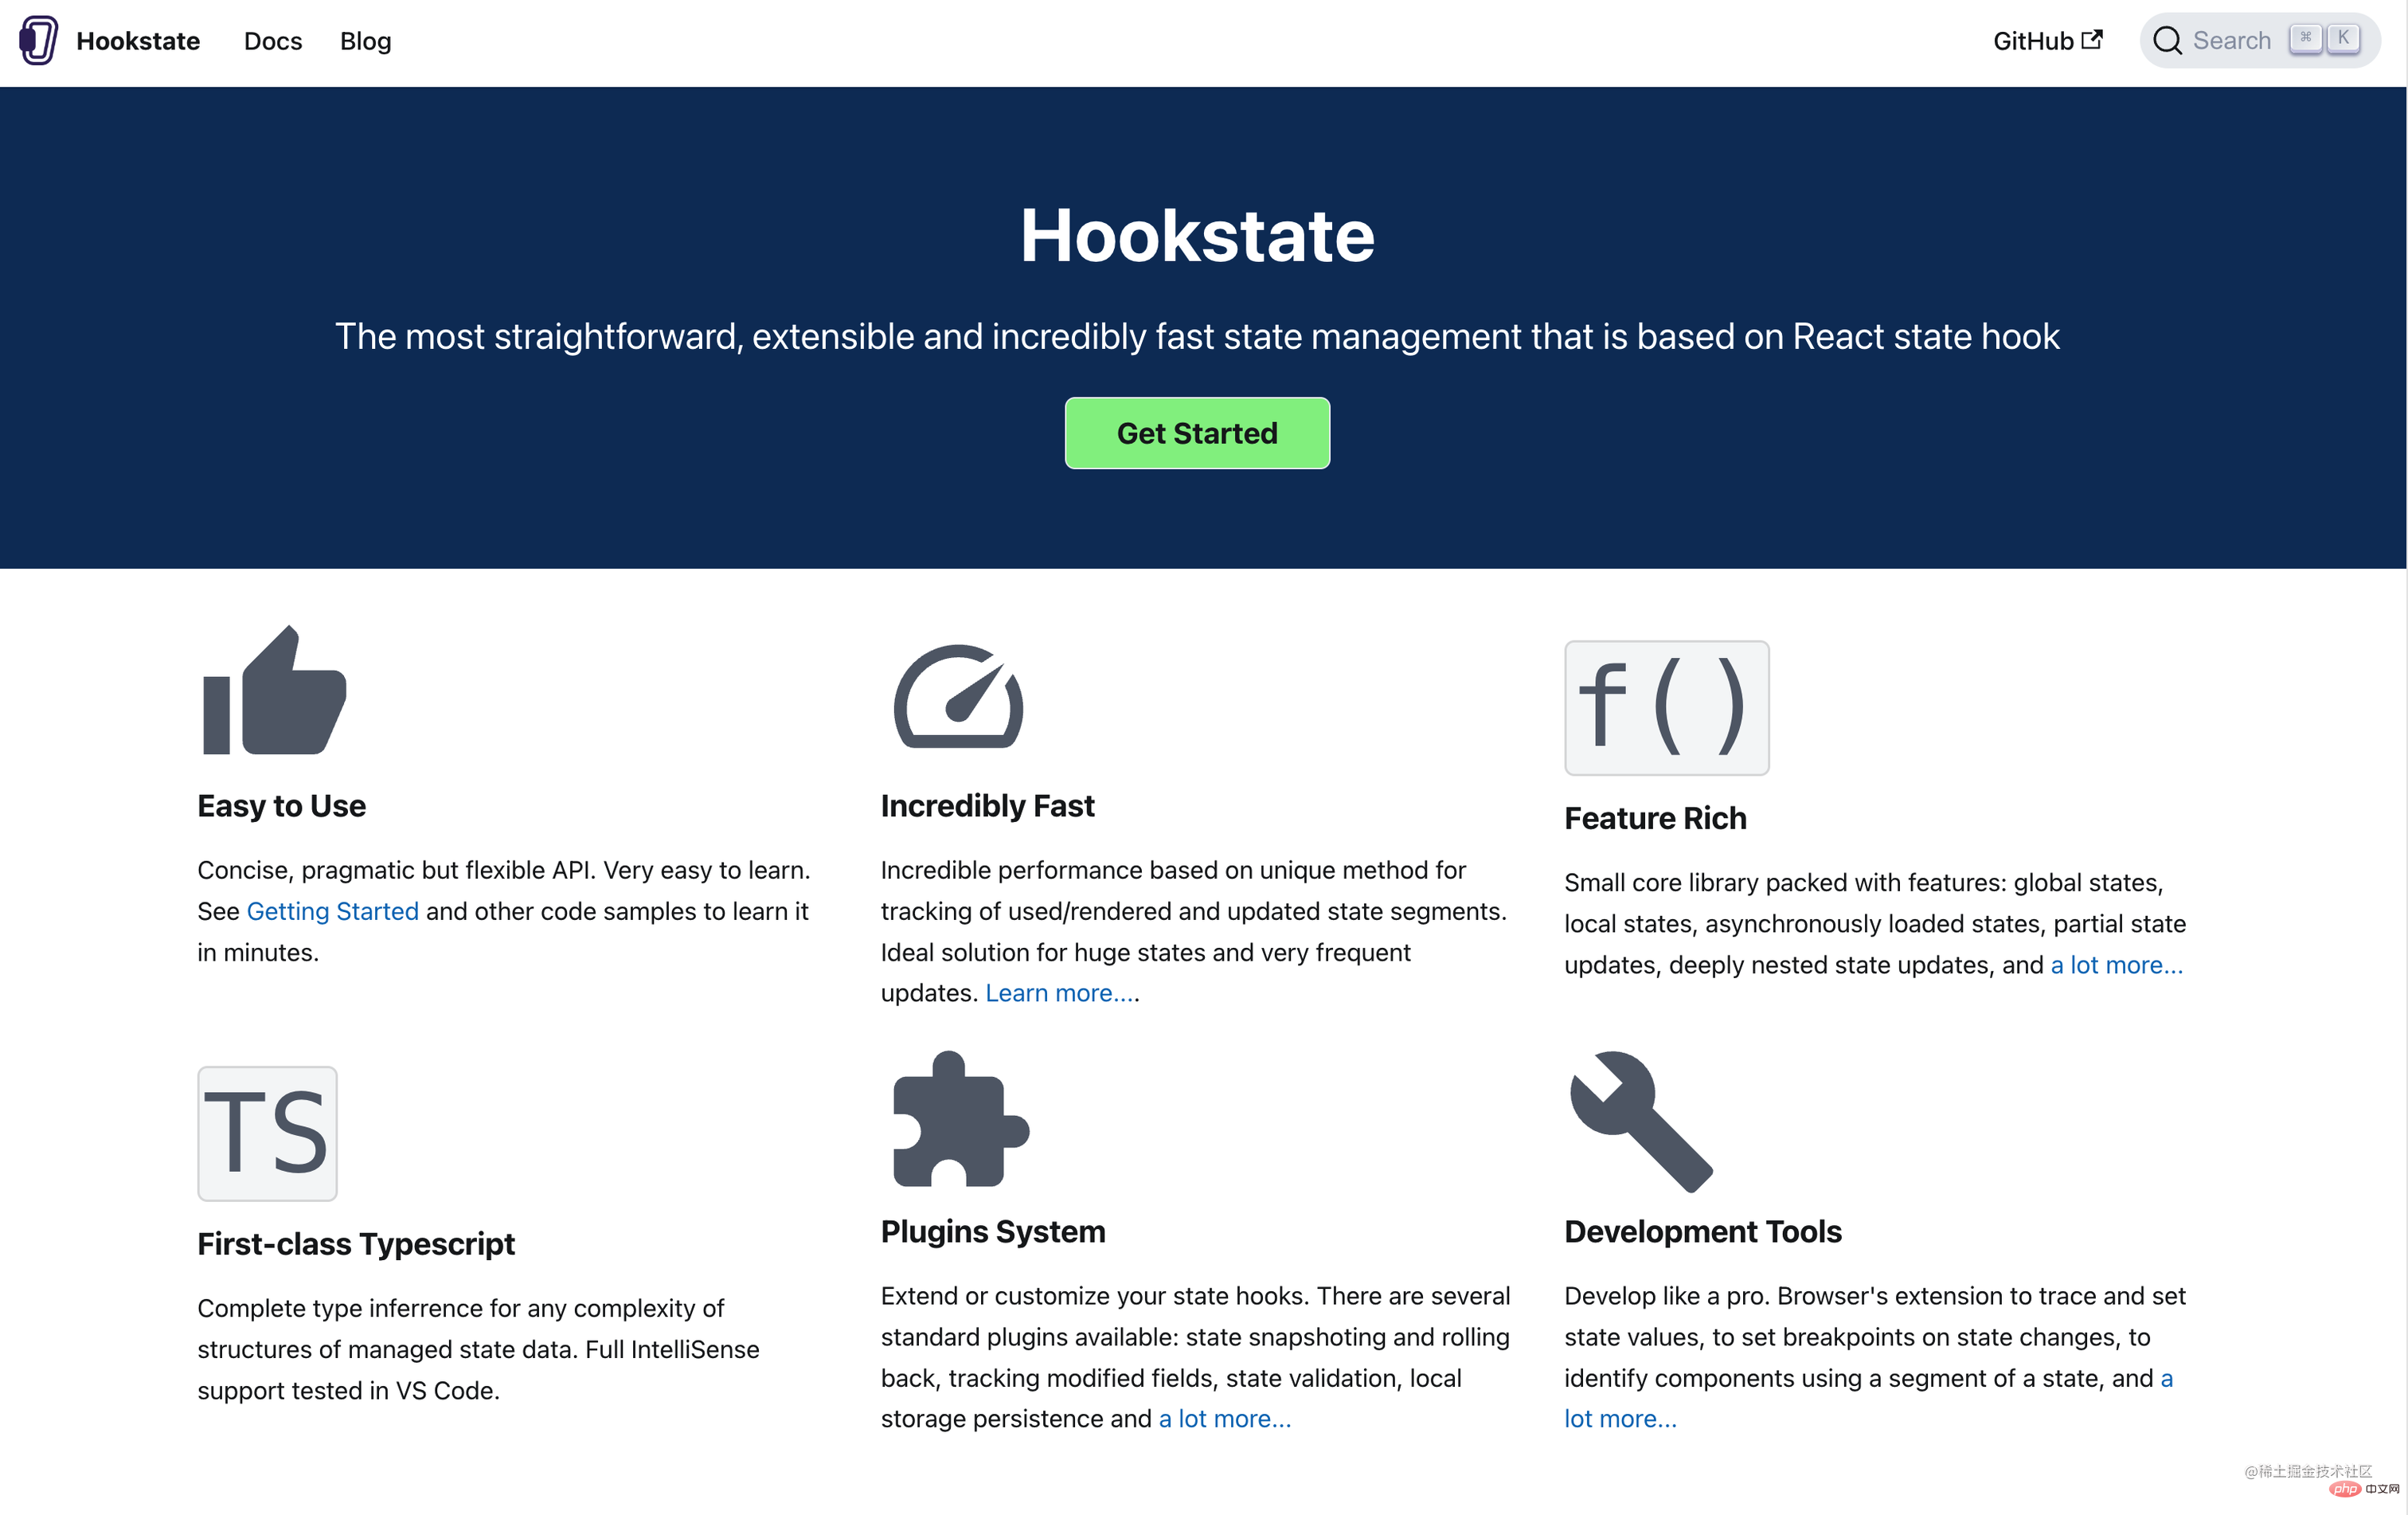
HookState 也是一个非常简单的状态管理工具库,它直观的Api,供你轻松的访问状态;
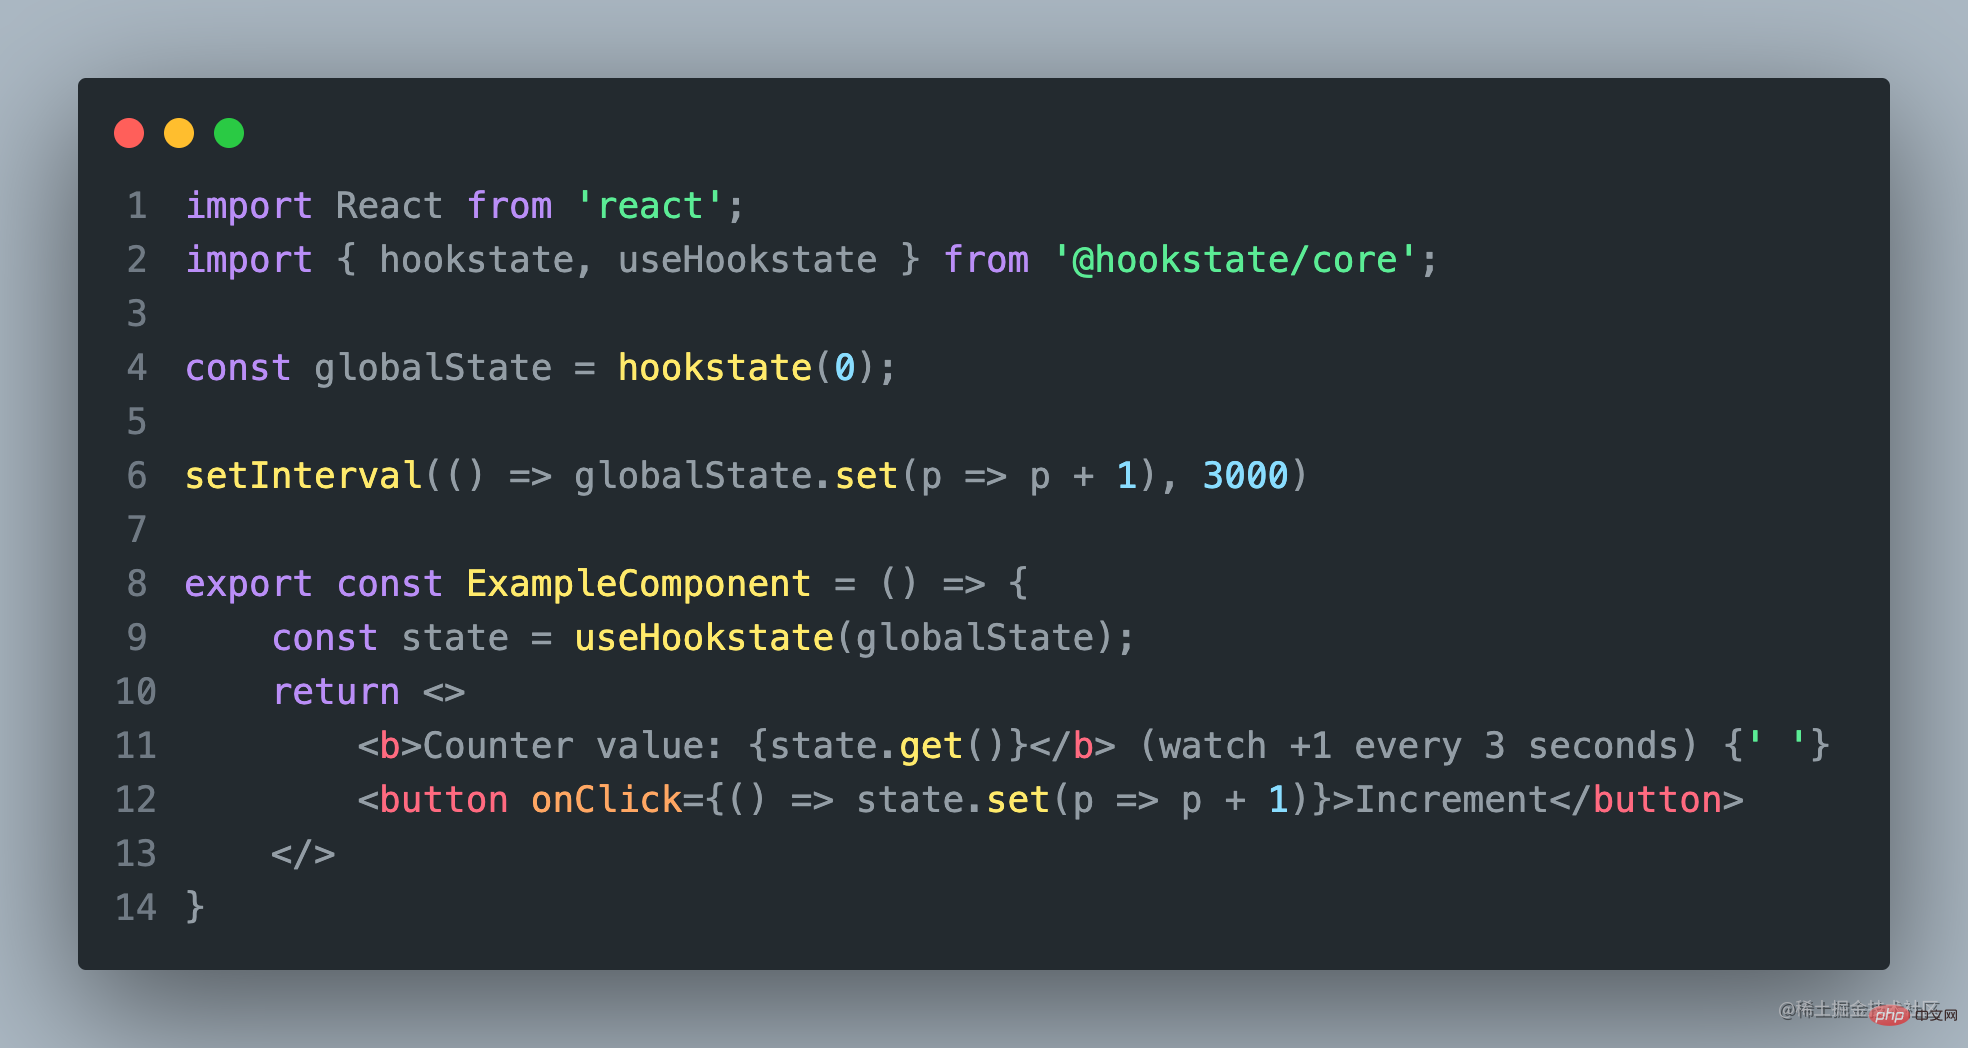
它的主要特点包括:
- 创建全局状态
- 创建内部状态
- 嵌套状态
- 局部状态
- 空状态
HookState 主要包括两个重要的Api HookState、useHookState。
如果还需要其他功能,可以参考官方提供的其他更多Api。
【 6. Jotai 】
Jotai
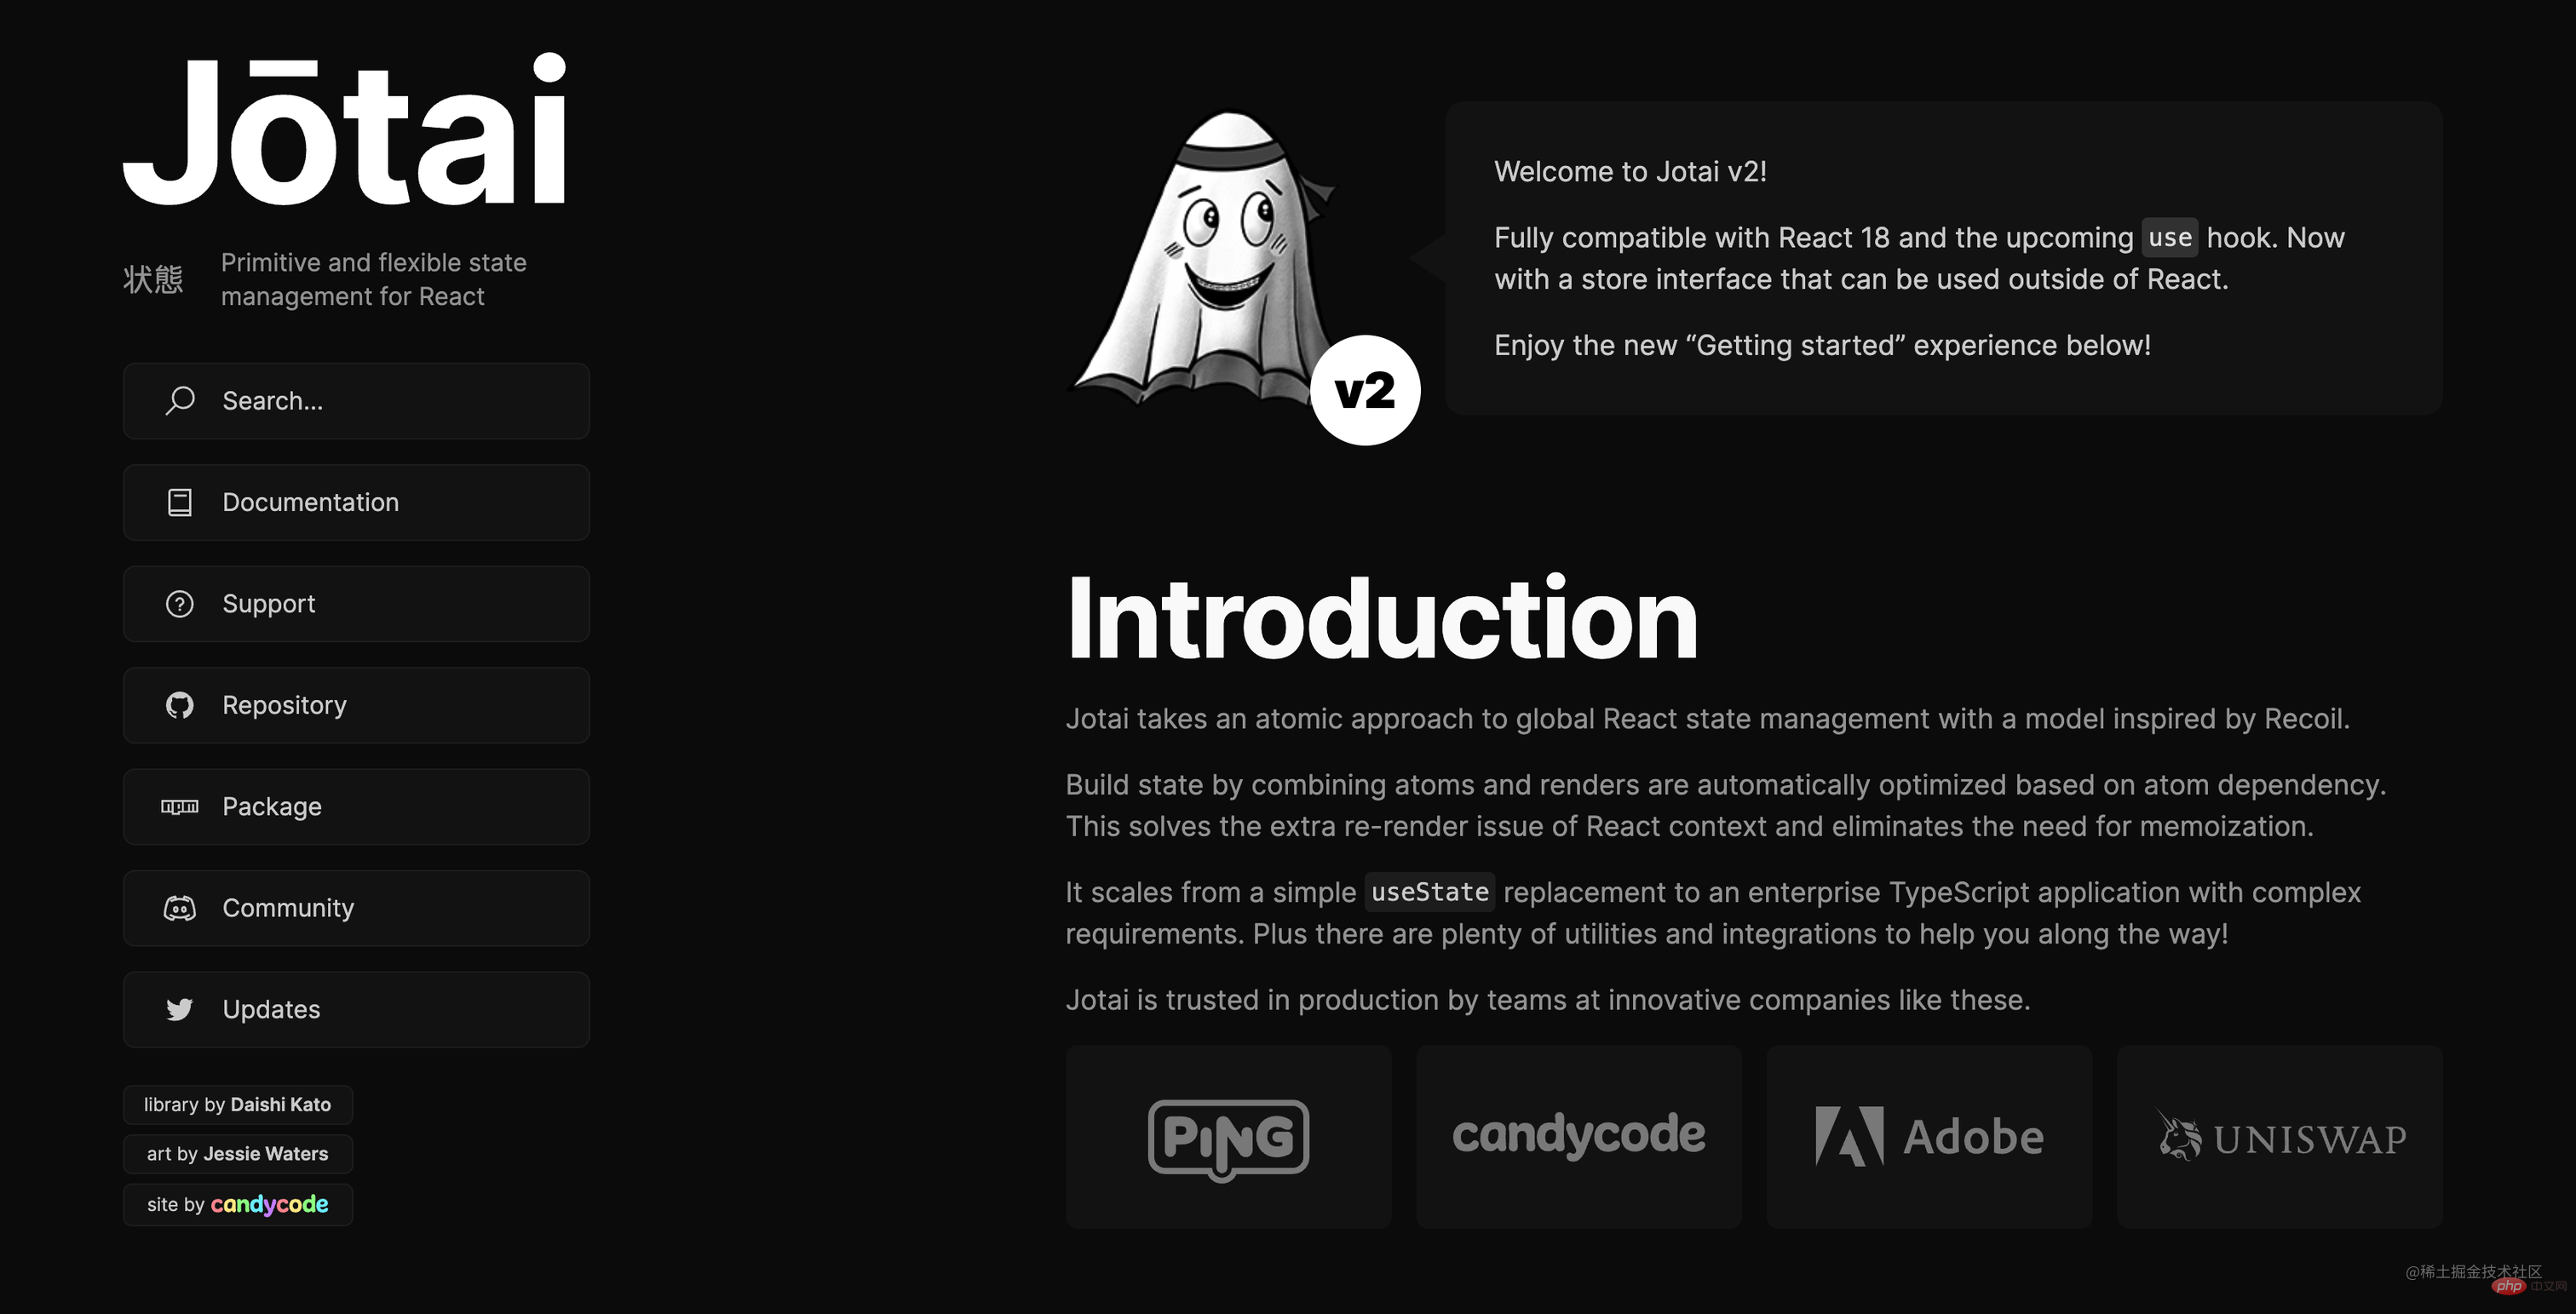
Jotai 是一个 React 的原始和灵活的状态管理库。它类似于 Recoil,但具有更小的包大小 、更简约的 API、更好的 TypeScript 支持、更广泛的文档以及没有实验性标签。
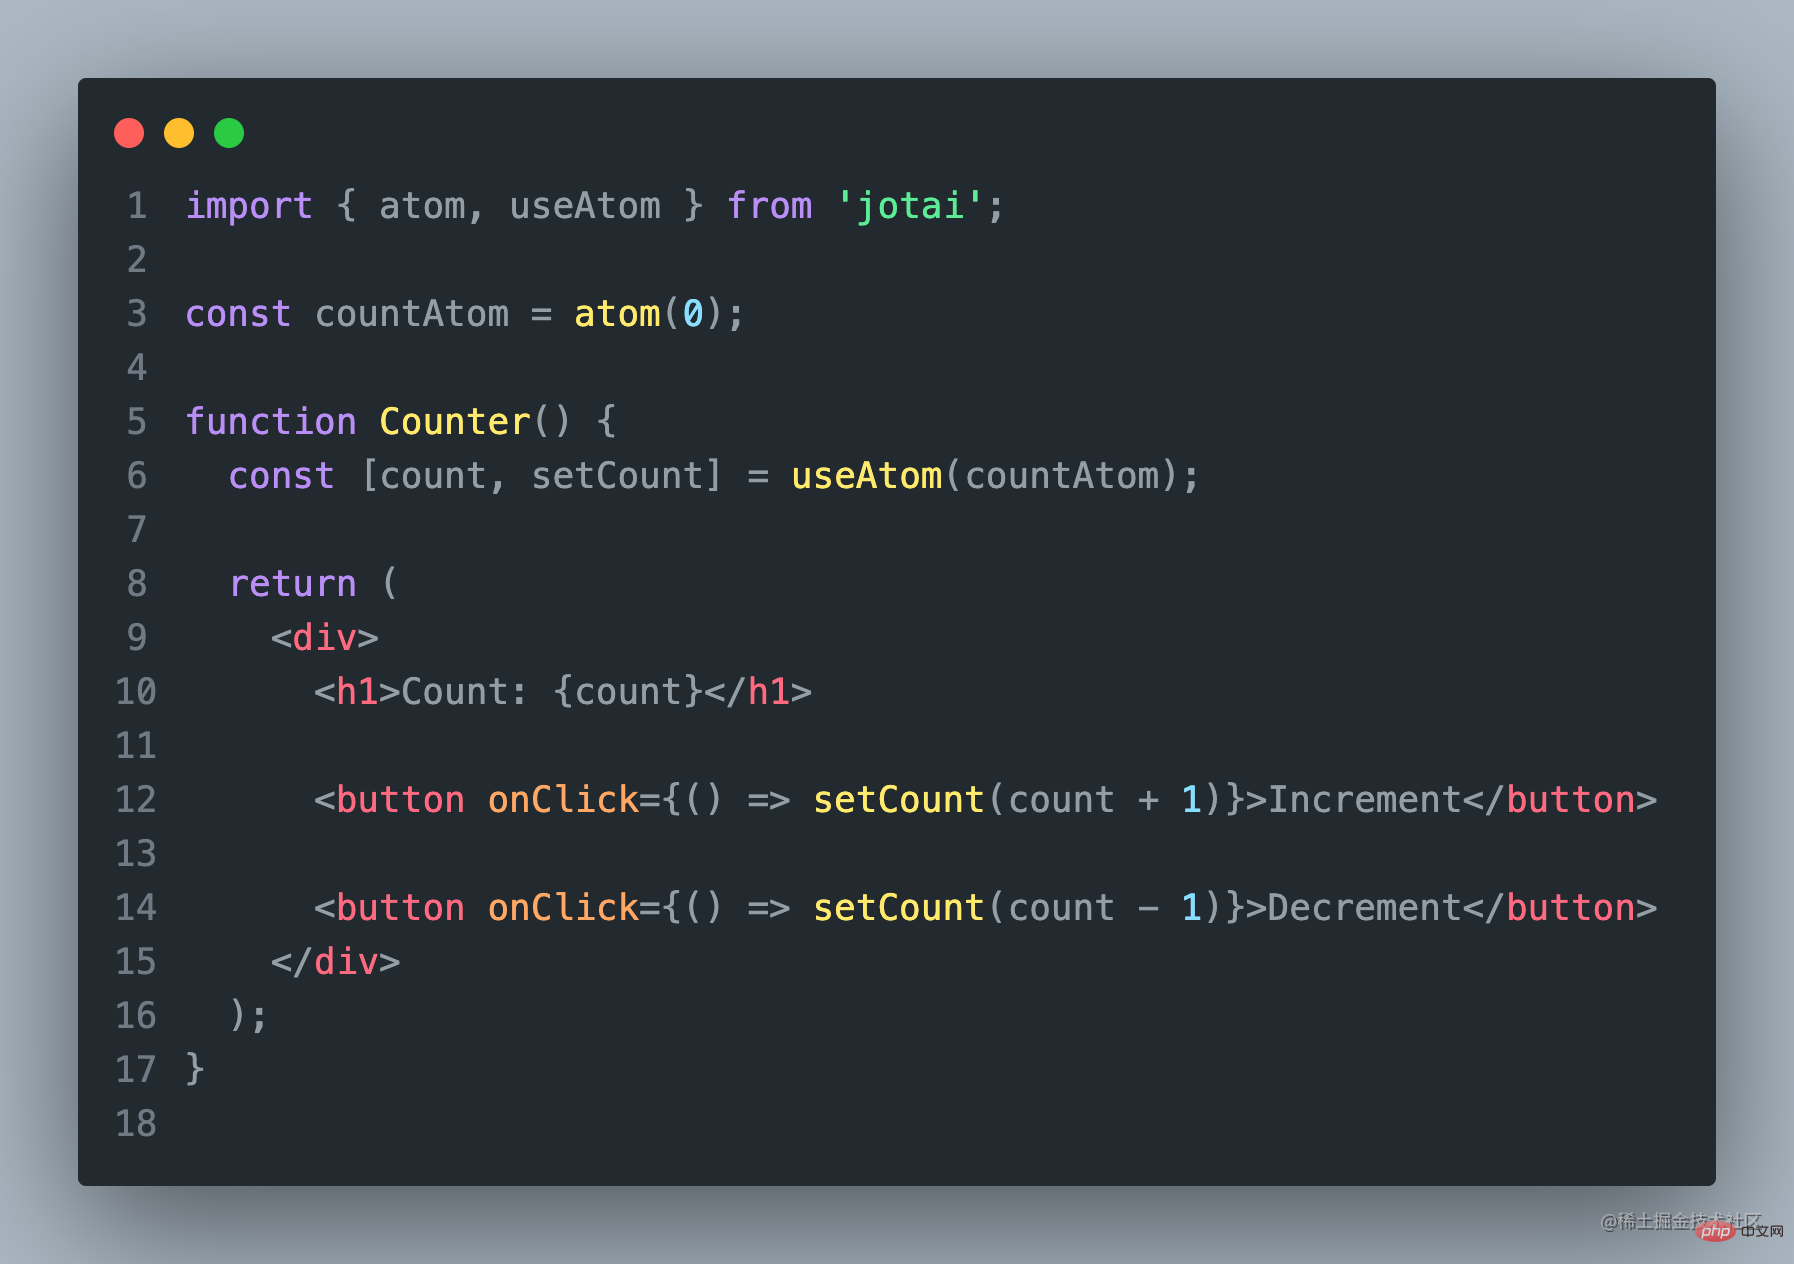
使用Jotai,你可以将状态存储在一个单一的store中,并使用自定义的hooks来访问和更新状态。
import { atom, useAtom } from 'jotai';

const countAtom = atom(0);

function Counter() {
  const [count, setCount] = useAtom(countAtom);

  return (
    <div>
      <h1>Count: {count}</h1>

      <button onClick={() => setCount(count + 1)}>Increment</button>

      <button onClick={() => setCount(count - 1)}>Decrement</button>
    </div>
  );
}
以上是Jotai的使用示例代码,使用Jotai非常简单。
【 7. Zustand】

Zustand 提供了一种简单的方式来管理React应用程序中的状态。
它的主要特点是易于使用和轻量级。
Zustand Code
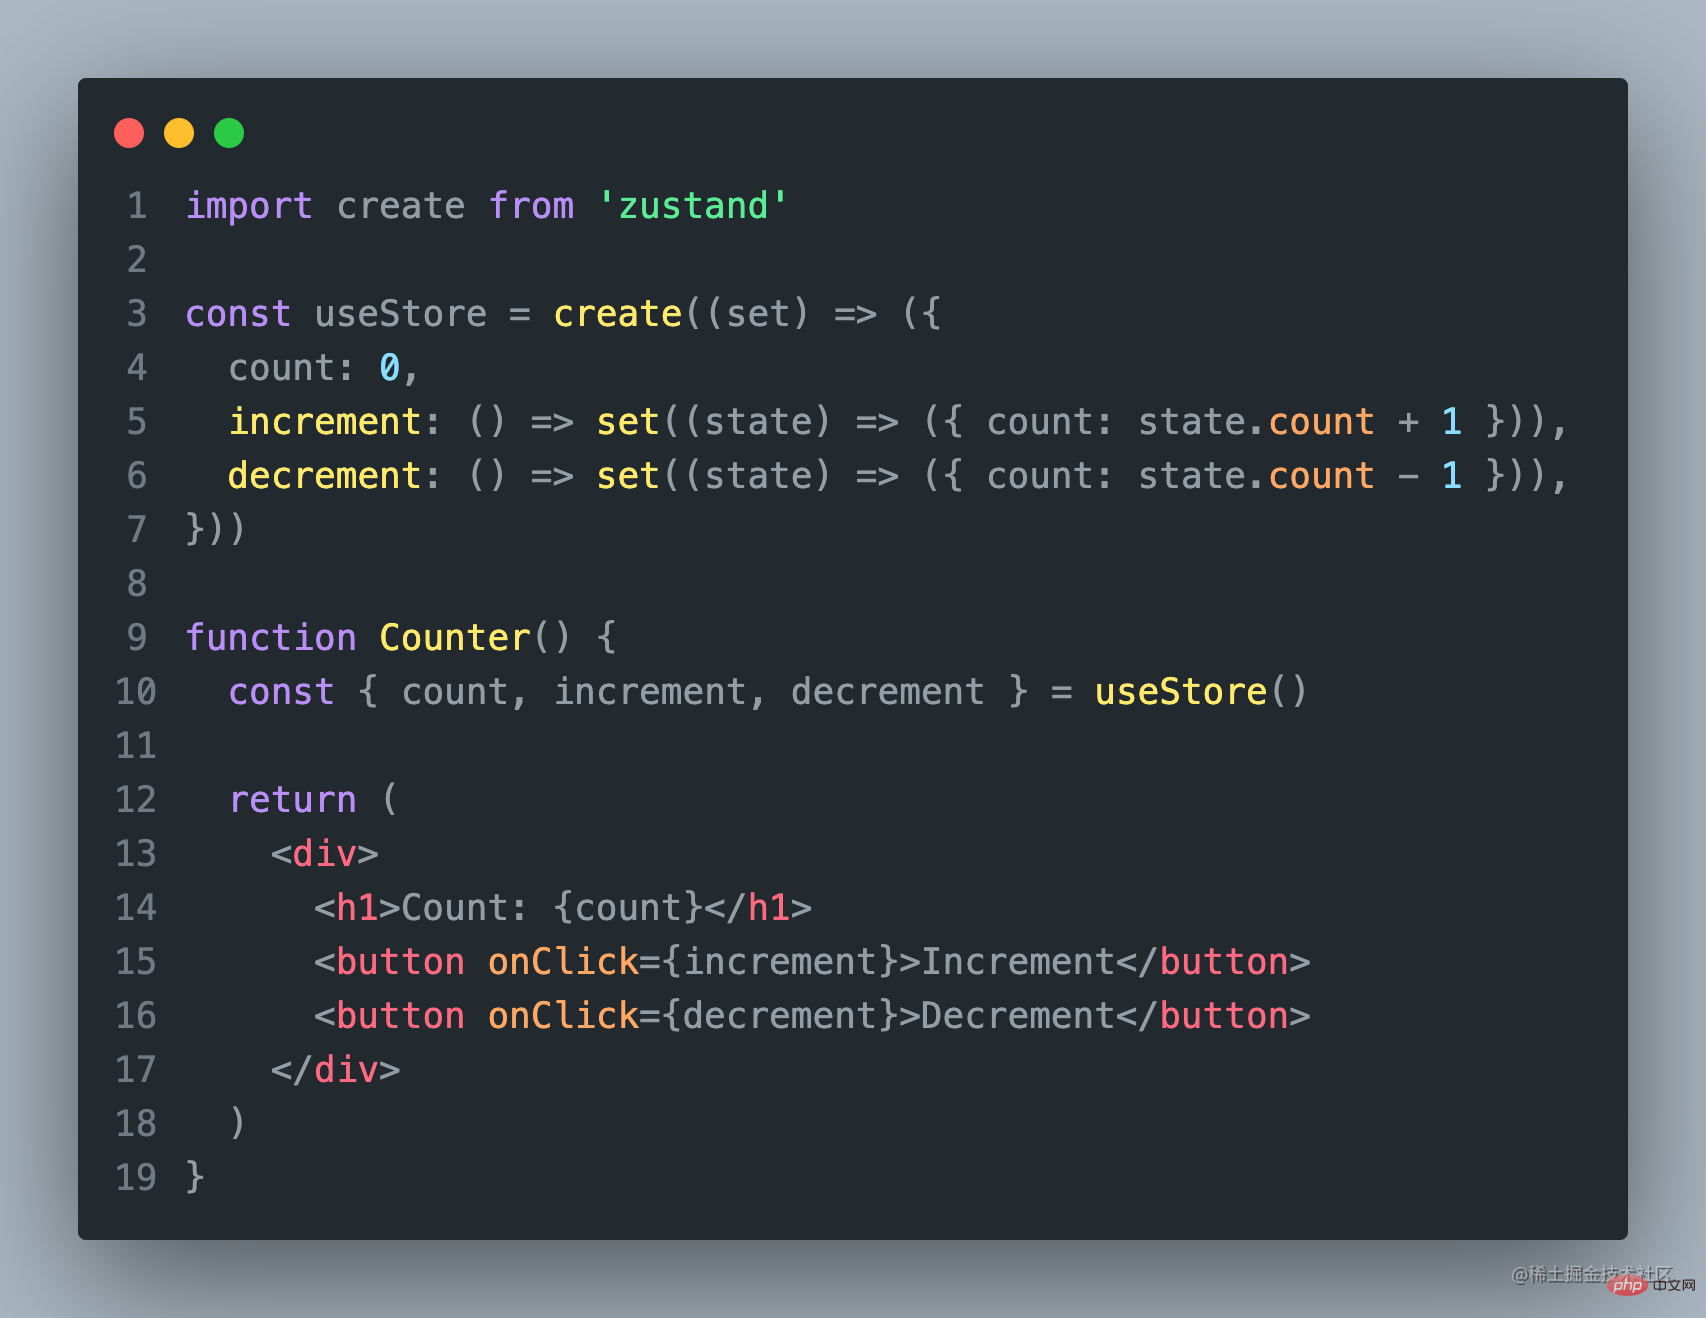
使用Zustand,你可以将状态存储在一个单一的store中,并使用自定义的hooks来访问和更新状态。这使得状态管理变得非常简单和直观。
import create from 'zustand'

const useStore = create((set) => ({
  count: 0,
  increment: () => set((state) => ({ count: state.count + 1 })),
  decrement: () => set((state) => ({ count: state.count - 1 })),
}))

function Counter() {
  const { count, increment, decrement } = useStore()

  return (
    <div>
      <h1>Count: {count}</h1>
      <button onClick={increment}>Increment</button>
      <button onClick={decrement}>Decrement</button>
    </div>
  )
}
使用Zustand也非常的简单!
在这个例子中,我们使用 create 函数创建了一个新的store,
并定义了一个名为 count 的状态和两个更新状态的
函数 increment 和 decrement 。
然后,我们使用 useStore 自定义 hook 来访问和更新状态。
【以上7个状态管理工具各有特点】
考虑到团队人员技术的参差不齐,未来项目的可维护、延展性;
建议大家选择入门简单,上手快的工具;
因为之前最早我们选择的是Redux,现在再回头看原来的项目,简直难以维护了。
如果你的团队还是倾向于Redux,这里建议还是使用Rematch比较好。
如果是还没使用状态管理,又想用的,建议使用mobx吧!
(学习视频分享:编程基础视频)
以上是【整理分享】7个热门的React状态管理工具的详细内容。更多信息请关注PHP中文网其他相关文章!
 超越浏览器:现实世界中的JavaScriptApr 12, 2025 am 12:06 AM
JavaScript在现实世界中的应用包括服务器端编程、移动应用开发和物联网控制:1.通过Node.js实现服务器端编程,适用于高并发请求处理。2.通过ReactNative进行移动应用开发,支持跨平台部署。3.通过Johnny-Five库用于物联网设备控制,适用于硬件交互。
 使用Next.js(后端集成)构建多租户SaaS应用程序Apr 11, 2025 am 08:23 AM
我使用您的日常技术工具构建了功能性的多租户SaaS应用程序(一个Edtech应用程序),您可以做同样的事情。 首先,什么是多租户SaaS应用程序? 多租户SaaS应用程序可让您从唱歌中为多个客户提供服务
 如何使用Next.js(前端集成)构建多租户SaaS应用程序Apr 11, 2025 am 08:22 AM
本文展示了与许可证确保的后端的前端集成,并使用Next.js构建功能性Edtech SaaS应用程序。 前端获取用户权限以控制UI的可见性并确保API要求遵守角色库
 JavaScript:探索网络语言的多功能性Apr 11, 2025 am 12:01 AM
JavaScript是现代Web开发的核心语言,因其多样性和灵活性而广泛应用。1)前端开发:通过DOM操作和现代框架(如React、Vue.js、Angular)构建动态网页和单页面应用。2)服务器端开发:Node.js利用非阻塞I/O模型处理高并发和实时应用。3)移动和桌面应用开发:通过ReactNative和Electron实现跨平台开发,提高开发效率。
 JavaScript的演变:当前的趋势和未来前景Apr 10, 2025 am 09:33 AM
JavaScript的最新趋势包括TypeScript的崛起、现代框架和库的流行以及WebAssembly的应用。未来前景涵盖更强大的类型系统、服务器端JavaScript的发展、人工智能和机器学习的扩展以及物联网和边缘计算的潜力。
 神秘的JavaScript:它的作用以及为什么重要Apr 09, 2025 am 12:07 AM
JavaScript是现代Web开发的基石,它的主要功能包括事件驱动编程、动态内容生成和异步编程。1)事件驱动编程允许网页根据用户操作动态变化。2)动态内容生成使得页面内容可以根据条件调整。3)异步编程确保用户界面不被阻塞。JavaScript广泛应用于网页交互、单页面应用和服务器端开发,极大地提升了用户体验和跨平台开发的灵活性。
 Python还是JavaScript更好?Apr 06, 2025 am 12:14 AM
Python更适合数据科学和机器学习,JavaScript更适合前端和全栈开发。 1.Python以简洁语法和丰富库生态着称,适用于数据分析和Web开发。 2.JavaScript是前端开发核心,Node.js支持服务器端编程,适用于全栈开发。
 如何安装JavaScript?Apr 05, 2025 am 12:16 AM
JavaScript不需要安装,因为它已内置于现代浏览器中。你只需文本编辑器和浏览器即可开始使用。1)在浏览器环境中,通过标签嵌入HTML文件中运行。2)在Node.js环境中,下载并安装Node.js后,通过命令行运行JavaScript文件。


热AI工具

Undresser.AI Undress
人工智能驱动的应用程序,用于创建逼真的裸体照片

AI Clothes Remover
用于从照片中去除衣服的在线人工智能工具。

Undress AI Tool
免费脱衣服图片

Clothoff.io
AI脱衣机

AI Hentai Generator
免费生成ai无尽的。

热门文章

热工具

EditPlus 中文破解版
体积小,语法高亮,不支持代码提示功能

记事本++7.3.1
好用且免费的代码编辑器

SecLists
SecLists是最终安全测试人员的伙伴。它是一个包含各种类型列表的集合,这些列表在安全评估过程中经常使用,都在一个地方。SecLists通过方便地提供安全测试人员可能需要的所有列表,帮助提高安全测试的效率和生产力。列表类型包括用户名、密码、URL、模糊测试有效载荷、敏感数据模式、Web shell等等。测试人员只需将此存储库拉到新的测试机上,他就可以访问到所需的每种类型的列表。

MinGW - 适用于 Windows 的极简 GNU
这个项目正在迁移到osdn.net/projects/mingw的过程中,你可以继续在那里关注我们。MinGW:GNU编译器集合(GCC)的本地Windows移植版本,可自由分发的导入库和用于构建本地Windows应用程序的头文件;包括对MSVC运行时的扩展,以支持C99功能。MinGW的所有软件都可以在64位Windows平台上运行。

ZendStudio 13.5.1 Mac
功能强大的PHP集成开发环境


