


本篇文章给大家带来了关于laravel的相关知识,其中主要介绍了一些基础知识,包括了怎么安装Laravel、路由、验证器、视图等等相关内容,下面一起来看一下,希望对大家有帮助。

【相关推荐:laravel视频教程】
一、安装laravle
1、安装composer
2、执行命令:
composer create-project laravel/laravel 项目文件夹名 --prefer-dist
二、目录简介
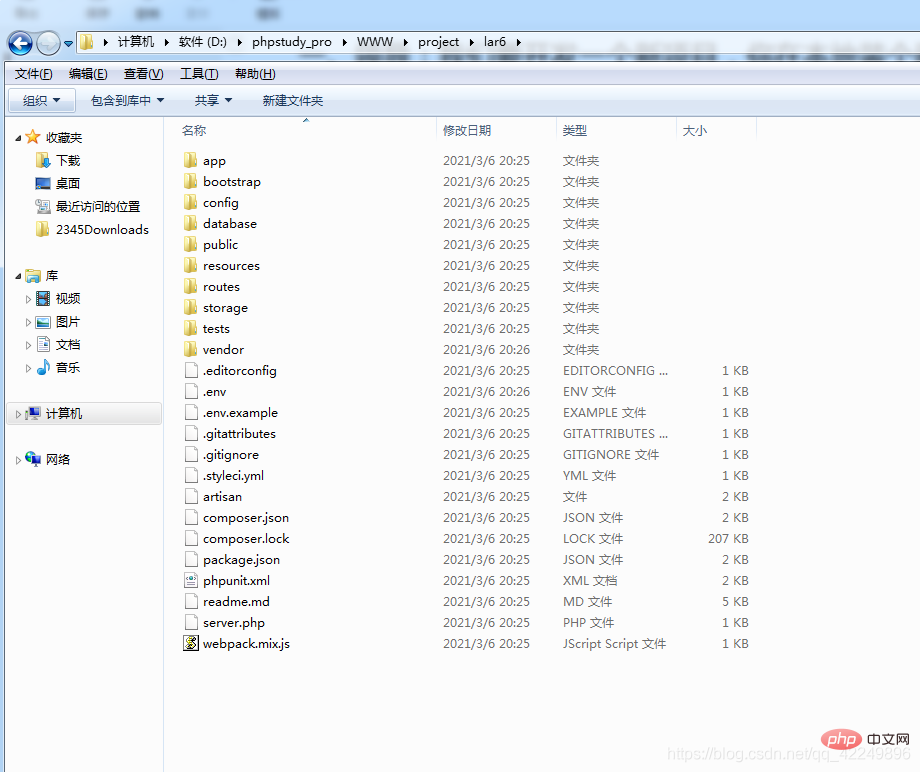
app:应用程序的核心代码bootstrap:一个引导框架的app.php文件,一个cache目录(包含路由及缓存文件),框架启动文件,一般情况不动。config:所有配置文件database:其中migrations目录可以生成数据表。public:入口文件存放地,以及静态资源(和tp类似)resources:routes:应用的所有路由定义tests:可用来单元测试vendor:所有composer依赖包
三、路由初识
1、常见的几种请求
- Route::get( u r l , url, url,callback);
- Route::post( u r l , url, url,callback);
- Route::put( u r l , url, url,callback);
- Route::delete( u r l , url, url,callback);
2、匹配指定的请求方式
Route::match(['get','post'],'/',function(){});
3、配置任意请求方式
Route::any('/home', function () {
    });
4、给路由加必填参数
Route::get('/home/{id}', function ($id) {
    echo 'id为:'.$id;});
5、给路由增加可选参数
Route::get('/home/{id?}', function ($id = '') {
    echo 'id为:'.$id;});
6、通过?形式传递get参数
Route::get('/home', function () {
    echo 'id为:'.$_GET['id'];});
7、给路由增加别名
Route::any('/home/index', function () {
    echo '测试';})->name('hh');
8、设置路由群组
例如有如下路由:
- /admin/login
- /admin/index
- /admin/logout
- /admin/add
如果一个一个添加是比较麻烦的,他们有一个共同的区别,都是有/admin/前缀,可设置一个路由群组进行添加:
Route::group(['prefix'=>'admin'], function () {
    Route::get('test1', function () {
        echo 'test1';
    });
    Route::get('test2', function () {
        echo 'test2';
    });});
此时就可通过/admin/test1来进行访问了。
9、路由配置控制器
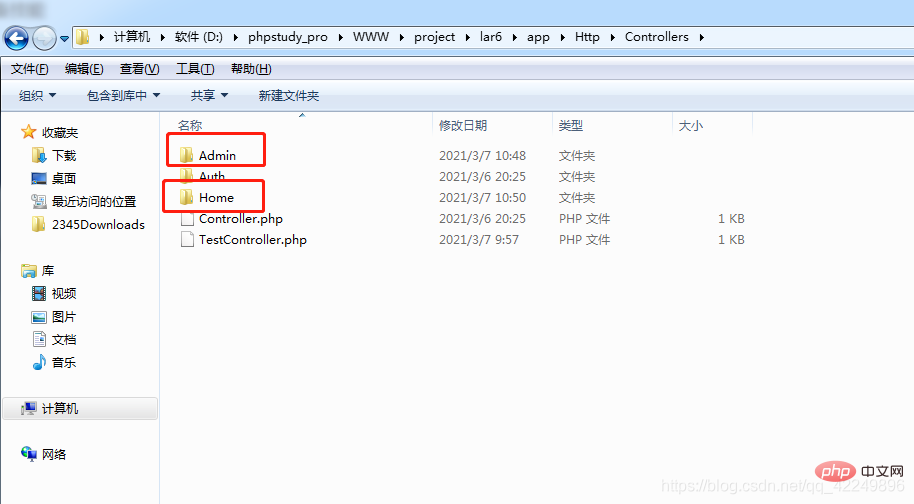
控制器可以建一个前台和一个后台:
命令行创建路由:
php artisan make:controller Admin/IndexController
基本路由建立:
Route::get('test/index','TestController@index');
分目录路由建立:
Route::get('/admin/index/index','Admin\IndexController@index');
四、laravel验证器
引入:use Illuminate\Support\Facades\Validator
$param = $request->all();$rule = [
    'name'=>'required|max:2',];$message = [
    'required'  => ':attribute不能为空',
    'max' => ':attribute长度最大为2'];$replace = [
    'name' => '姓名',];$validator = Validator::make($param, $rule, $message,$replace);if ($validator->fails()){
    return response()->json(['status'=>0,'msg'=>$validator->errors()->first()]);}
五、控制器获取用户输入的值
在控制器中如果要使用一个类,例如use Illuminate\Http\Request,就可以简写为use Request。
但是需要在config目录下的app.php配置文件中加入:
'aliases' => [

        'App' => Illuminate\Support\Facades\App::class,
        'Arr' => Illuminate\Support\Arr::class,
        'Artisan' => Illuminate\Support\Facades\Artisan::class,
        'Auth' => Illuminate\Support\Facades\Auth::class,
        'Blade' => Illuminate\Support\Facades\Blade::class,

        'Request' => Illuminate\Support\Facades\Request::class,

    ],
1、获取用户单个输入值:
Input::get('id')
2、获取用户输入的所有值:
Input::all()
打印出来的是数组
关于dd(dump+die)
3、获取用户输入指定的值:
Input::only(['id','name'] //只接收id,其余不接受
4、获取用户输入指定值之外的值:
Input::except(['name'] //不接收name,其余都接收
5、判断某个值是否存在
Input::has('name') //存在返回true 不存在返回false 其中0返回true
六、视图的创建与使用
1、视图的创建
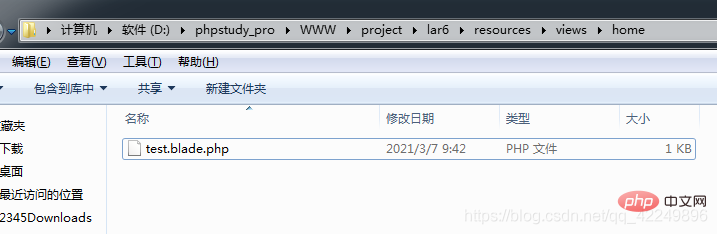
视图也可分目录管理:
控制器语法:
return view('home/test');
也可写为:
return view('home.test');
2、变量映射
控制器中:
return view('home/test',['day'=>time()]);
视图中:
{{$day}}
其中控制器中变量映射有三种:
- view(模板文件,数组)
- view(模板文件)->with(数组)
- view(模板文件)->with(数组)->with(数组)
了解一下compact数组。
3、视图渲染
3.1 foreach的使用
控制器中:
public function index(){

        $arr = [
            0 => [
                'name' => 'tom',
                'age' => '12',
            ],
            1 => [
                'name' => 'bby',
                'age' => '13',
            ]
        ];
        return view('home/test',['data'=>$arr]);
    }
视图中:
@foreach($data as $k=>$v)
    键:{{$k}}
    值:{{$v['name']}}    <br/>@endforeach
3.2 if的使用
@if(1==2)
    是的
@else
    不是的
@endif
4、视图之间的引用
@include('welcome')
七、模型的创建与使用
1、创建模型的命令
php artisan make:model Model/Admin/Member
此时,就会在app目录内创建: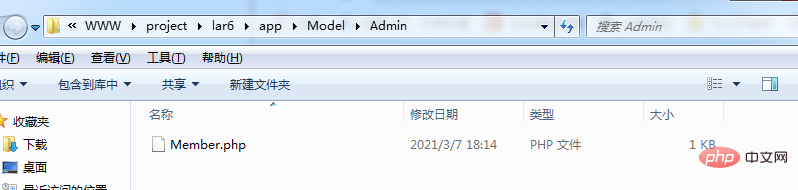
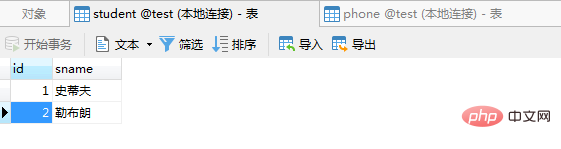
2、模型基本设置
<?phpnamespace App\Model\Admin;use Illuminate\Database\Eloquent\Model;class Member extends Model{
//定义表名
protected $table = 'student';
//定义主键
protected $primaryKey = 'id';
//定义禁止操作时间
public $timestamps = false;
//设置允许写入的字段
protected $fillable = ['id','sname'];}3、模型数据添加
方式一:
	 $model = new Member();
	 $model->sname = '勒布朗';
	 $res = $model->save();
	 dd($res);
方式二:
     $model = new Member();
     $res = $model->create($request->all());
     dd($res);
4、模型的表连接
//查询客户与销售顾问的客资列表$data = Custinfo::select(['custinfo.*', 'customers.name'])
    ->join('customers', 'customers.id', '=', 'custinfo.cust_id')
    ->where($where)
    ->get()
    ->toArray();
5、简单模型关联一对一
<?phpnamespace App\Model\Admin;use Illuminate\Database\Eloquent\Model;class Phone extends Model{
//定义表名
protected $table = 'phone';
//定义主键
protected $primaryKey = 'id';
//定义禁止操作时间
public $timestamps = false;
//设置允许写入的字段
protected $fillable = ['id','uid','phone'];}<?phpnamespace App\Model\Admin;use Illuminate\Database\Eloquent\Model;class Member extends Model{
//定义表名
protected $table = 'student';
//定义主键
protected $primaryKey = 'id';
//定义禁止操作时间
public $timestamps = false;
//设置允许写入的字段
protected $fillable = ['id','sname'];
/**
* 获取与用户关联的电话号码记录。
*/
public function getPhone()
{
return $this->hasOne('App\Model\Admin\Phone', 'uid', 'id');
}}
    //对象转数组
    public function Arr($obj)
    {
        return json_decode(json_encode($obj), true);
    }


    public function index(){
        $infoObj = Member::with('getPhone')->get();
        $infoArr = $this->Arr($infoObj);
        print_r($infoArr);
    }

八、日志
1、自定义日志目录
在config目录下的logging.php中的channels配置:
 'custom' => [
     'driver' => 'single',
     'path' => storage_path('logs/1laravel.log'),
     'level' => 'debug',
 ]
控制器中:
$message = ['joytom','rocker'];Log::channel('custom')->info($message);
九、迁移文件
建立一个迁移文件:php artisan make:migration create_shcool_table
会在database\migrations下创建一个文件: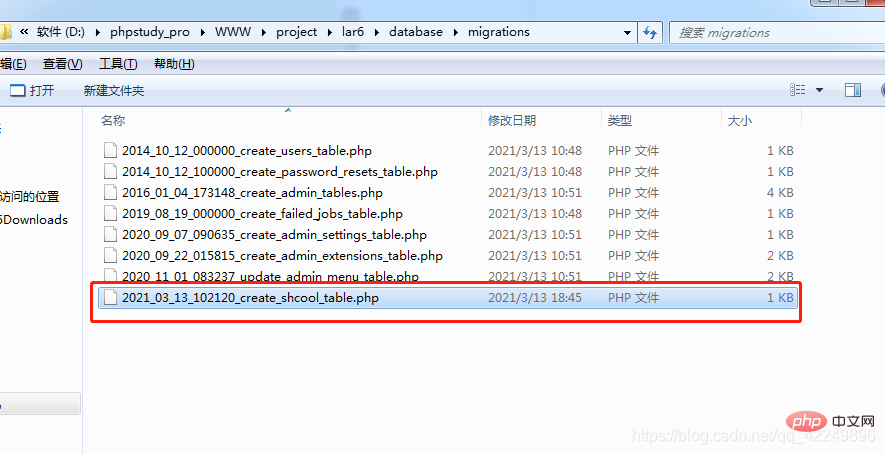
在up方法中增加如下代码:
<?phpuse Illuminate\Database\Migrations\Migration;use Illuminate\Database\Schema\Blueprint;use Illuminate\Support\Facades\Schema;class CreateShcoolTable extends Migration{
/**
* Run the migrations.
*
* @return void
*/
public function up()
{
Schema::create('shcool', function (Blueprint $table) {
$table->bigIncrements('id');
$table->string('school_name','20')->notNull()->unique();
$table->tinyInteger('status')->default(1);
$table->timestamps();
});
}
/**
* Reverse the migrations.
*
* @return void
*/
public function down()
{
Schema::dropIfExists('shcool');
}}
更详细的生成SQL方法请参考:数据迁移文件常用方法速查表
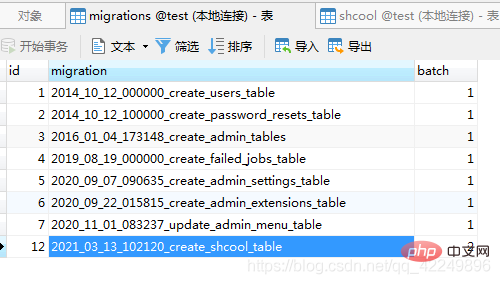
写好SQL文件以后,执行:php artisan migrate
将会生成数据表,其中操作日志将记录在这个表中:
php artisan migrate:rollback:回滚最后一次的迁移操作, 删除(回滚)之后会删除迁移记录,并且数据表也会删除,但是迁移文件依旧存在,方便后期继续迁移(创建数据表)。
【相关推荐:laravel视频教程】
以上是归纳整理Laravel基础知识总结的详细内容。更多信息请关注PHP中文网其他相关文章!

 包容的幻想:解决偏远工作中的孤立和孤独感Apr 25, 2025 am 12:28 AM
Tocombatisolationandlonelinessinremotework,companiesshouldimplementregular,meaningfulinteractions,provideequalgrowthopportunities,andusetechnologyeffectively.1)Fostergenuineconnectionsthroughvirtualcoffeebreaksandpersonalsharing.2)Ensureremoteworkers
 Laravel用于全堆栈开发:综合指南Apr 25, 2025 am 12:27 AM
laravelispularfullull-stackDevelopmentBecapeitOffersAsAseAseAseAseBlendOfbackendEdpoperandPowerandForterFlexibility.1)ITSbackEndCapaPabilities,sightifyDatabaseInteractions.2)thebladeTemplatingEngingEngineAllolowsLows
 视频会议摊牌:为远程会议选择正确的平台Apr 25, 2025 am 12:26 AM
选择视频会议平台的关键因素包括用户界面、安全性和功能。1)用户界面应直观,如Zoom。2)安全性需重视,MicrosoftTeams提供端到端加密。3)功能需匹配需求,GoogleMeet适合简短会议,CiscoWebex提供高级协作工具。
 哪些数据库版本与最新的Laravel兼容?Apr 25, 2025 am 12:25 AM
最新版本的Laravel10与MySQL5.7及以上、PostgreSQL9.6及以上、SQLite3.8.8及以上、SQLServer2017及以上兼容。这些版本选择是因为它们支持Laravel的ORM功能,如MySQL5.7的JSON数据类型,提升了查询和存储效率。
 将Laravel用作全栈框架的好处Apr 25, 2025 am 12:24 AM
laravelisanexceltentchoiceforfull-stackdevelopmentduetoitsRobustFeaturesAndEsofuse.1)ITSImplifiesComplexComplextaskSwithitSmodernphpsyNtaxandToolSandToolSlikeBlikeforFront-Endandeloquentormquentormquentormforback-end.2)
 Laravel的最新版本是什么?Apr 24, 2025 pm 05:17 PM
Laravel10,releasedonFebruary7,2023,isthelatestversion.Itfeatures:1)Improvederrorhandlingwithanewreportmethodintheexceptionhandler,2)EnhancedsupportforPHP8.1featureslikeenums,and3)AnewLaravel\Promptspackageforinteractivecommand-lineprompts.
 最新的Laravel版本如何简化开发?Apr 24, 2025 pm 05:01 PM
thelatestlaravelververversionenhancesdevelopmentwith:1)简化的inimpliticmodelbinding,2)增强EnhancedeloquentcapabibilitionswithNewqueryMethods和3)改善了supportorfortormodernphpfortornphpforternphpfeatureserslikenamedargenamedArgonedArgonsemandArgoctess,makecodingMoreftermeforefterMealiteFficeAndEnjoyaigaigaigaigaigaiganigaborabilyaboipaigyAndenjoyaigobyabory。
 在哪里可以找到最新的Laravel版本的发行说明?Apr 24, 2025 pm 04:53 PM
你可以在laravel.com/docs找到最新Laravel版本的发布说明。1)发布说明提供了新功能、错误修复和改进的详细信息。2)它们包含示例和解释,帮助理解新功能的应用。3)注意新功能的潜在复杂性和向后兼容性问题。4)定期审查发布说明可以保持更新并激发创新。


热AI工具

Undresser.AI Undress
人工智能驱动的应用程序,用于创建逼真的裸体照片

AI Clothes Remover
用于从照片中去除衣服的在线人工智能工具。

Undress AI Tool
免费脱衣服图片

Clothoff.io
AI脱衣机

Video Face Swap
使用我们完全免费的人工智能换脸工具轻松在任何视频中换脸!

热门文章
热工具

mPDF
mPDF是一个PHP库,可以从UTF-8编码的HTML生成PDF文件。原作者Ian Back编写mPDF以从他的网站上“即时”输出PDF文件,并处理不同的语言。与原始脚本如HTML2FPDF相比,它的速度较慢,并且在使用Unicode字体时生成的文件较大,但支持CSS样式等,并进行了大量增强。支持几乎所有语言,包括RTL(阿拉伯语和希伯来语)和CJK(中日韩)。支持嵌套的块级元素(如P、DIV),

VSCode Windows 64位 下载
微软推出的免费、功能强大的一款IDE编辑器

SublimeText3汉化版
中文版,非常好用

禅工作室 13.0.1
功能强大的PHP集成开发环境

ZendStudio 13.5.1 Mac
功能强大的PHP集成开发环境

