通过一个实战,来看看PWA怎么应用于Angular项目
- 青灯夜游转载
- 2022-02-18 19:37:272112浏览
本篇文章带大家Angular PWA 渐进式 Web 应用,分享一个实战,来看看PWA怎么应用于Angular项目,希望对大家有所帮助!

PWA 有如下一些优点:
- 无连接(offline)状态下的可用性
- 加载速度快
- 屏幕快捷方式
如果情况允许,还是推荐大家将其用于项目中的,提升性能,也提升用户的体验。
更加详细的说明,可以查看 MDN PWA。Talk is Cheap 接下来我们就实战看一下效果。【相关教程推荐:《angular教程》】
1 准备工作
npm i -g @angular/cli@latest
ng new pwa-demo
# npm i -g json-server
# npm i -g http-server
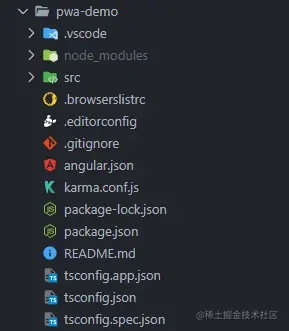
修改 package.json 方便我们启动项目
{
  ....,
  "scripts": {
    ...,
    "json": "json-server data.json -p 8000",
    "build:pwa": "ng build",
    "start:pwa": "http-server -p 8001 -c-1 dist/pwa-demo"
  }
}
新建一个 data.json 文件来模拟数据,放在根目录即可
{
  "posts": [{ "id": 1, "title": "json-server", "author": "typicode" }],
  "comments": [{ "id": 1, "body": "some comment", "postId": 1 }],
  "profile": { "name": "typicode" }
}
2 写一个小 demo 来模拟从后端拿数据
ng g s services/data
// data.service.ts
// 记得在 app.module.ts 中引入 HttpClientModule
import { Injectable } from '@angular/core';
import { HttpClient } from '@angular/common/http';
import { Observable } from 'rxjs';

@Injectable({
  providedIn: 'root'
})
export class DataService {
  dataUrl = 'http://localhost:8000/posts';

  constructor(private http: HttpClient) {}

  // 实际项目中最好别用 any,可以根据返回的数据类型定义对应的 interface
  public getPosts(): Observable<any> {
    return this.http.get(this.dataUrl);
  }
}
接下来我们修改 app.component.ts 和 app.component.html
// app.component.ts
import { Component, OnInit } from '@angular/core';
import { DataService } from './services/data.service';

@Component({
  selector: 'app-root',
  templateUrl: './app.component.html',
  styleUrls: ['./app.component.scss']
})
export class AppComponent implements OnInit {
  title = 'pwa-demo';
  posts = [];

  constructor(private dataService: DataService) {}

  ngOnInit(): void {
    this.dataService.getPosts().subscribe((res) => {
      this.posts = res;
    });
  }
}
<div class="app">
<h1>Hello PWA</h1>
<br />
{{ posts | json }}
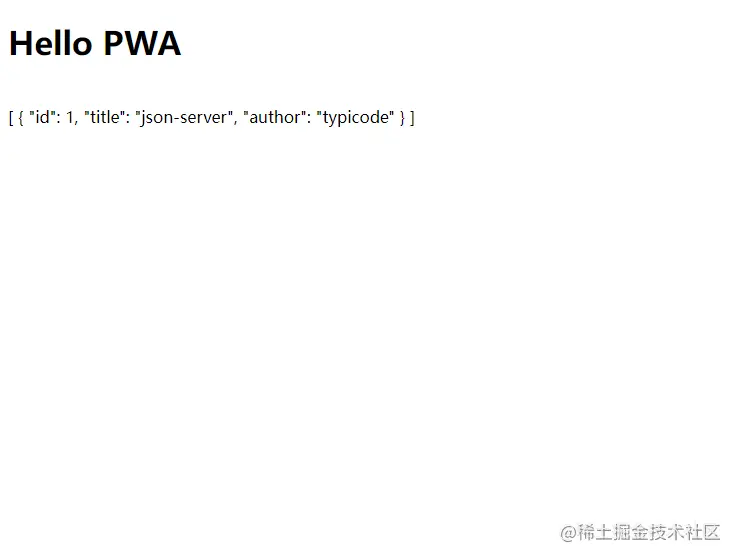
</div>到目前为止如果项目正常启动起来应该能看到如下页面
3 断网
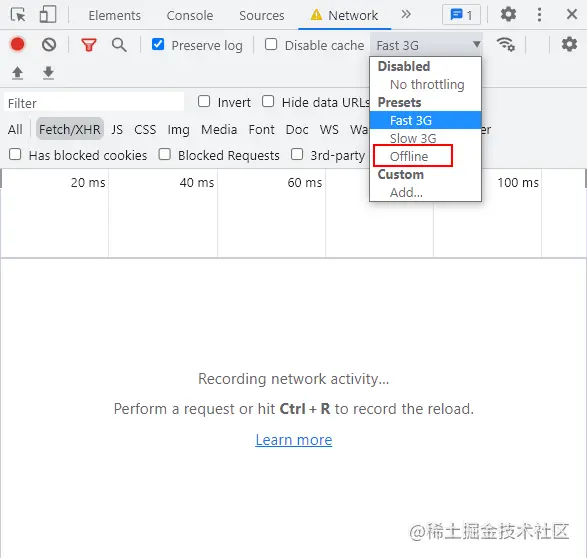
做完了准备工作,现在我们来断网看看会发生什么,按 F12 选择 NetWork 后选择 Offline。
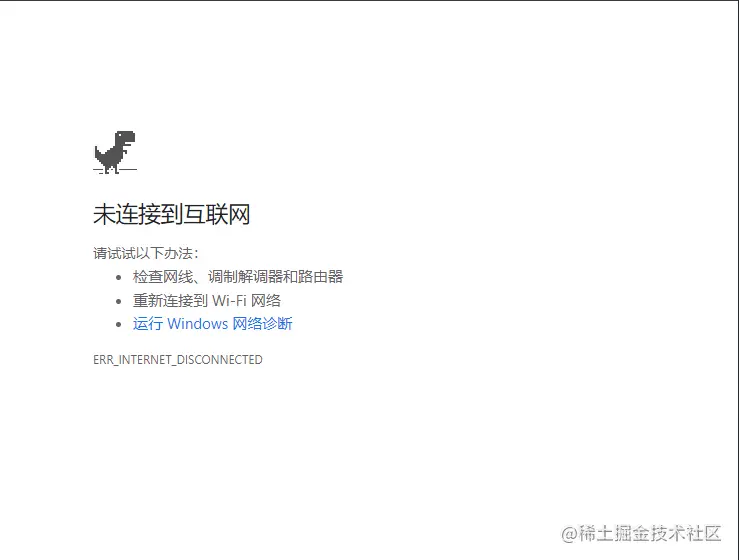
刷新后会发现我们的页面已经不能正常加载了
4 PWA 登场
现在就轮到我们的 PWA 登场了。
首先安装 pwa
ng add @angular/pwa
安装完成之后大家会发现这些文件发生了变化
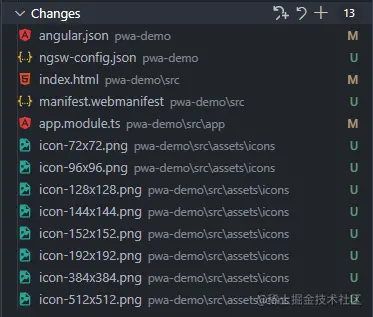
在这里我们主要关注 ngsw-config.json 这个文件即可,别的文件发生的变化都很好理解,大家一看便知
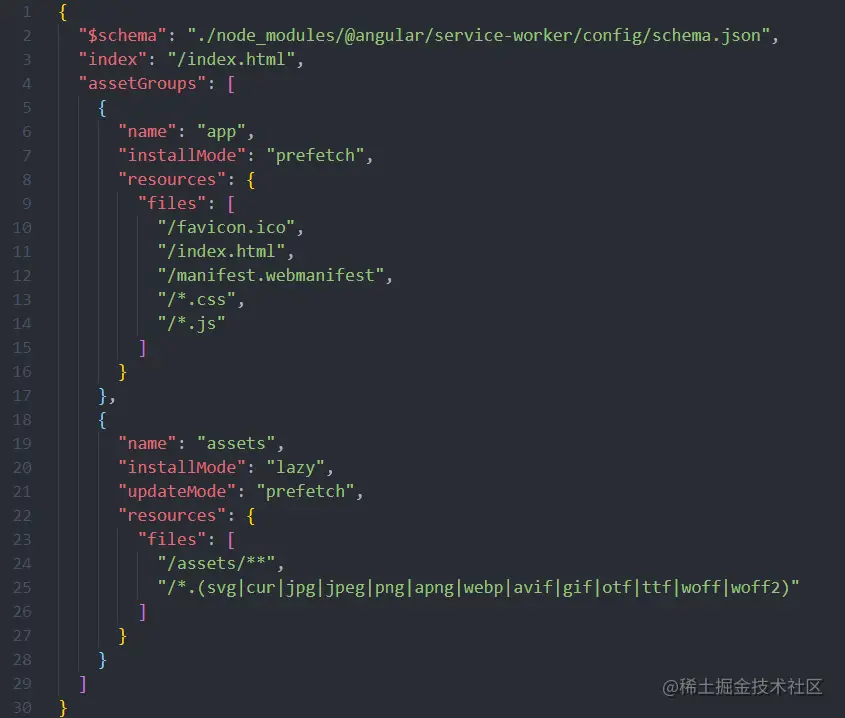
在这个文件中定义了这些要被缓存的文件:
- favicon.ico
- index.html
- manifest.webmanifest
- JS and CSS bundles
- 所有在 assets 下的文件
接下来我们将请求的接口配置到 ngsw-config.json 中来,更多的配置可以参考 Angular Service Worker Configuration
{
  ...,
  "dataGroups": [
    {
      "name": "api-posts",
      "urls": ["/posts"],
      "cacheConfig": {
        "maxSize": 100,
        "maxAge": "5d"
      }
    }
  ]
}
配置完成之后重新构建我们的项目 npm run build:pwa
构建完成之后再通过 npm run start:pwa 来启动我们的项目,启动成功后打开 http://127.0.0.1:8001 应该能够看到
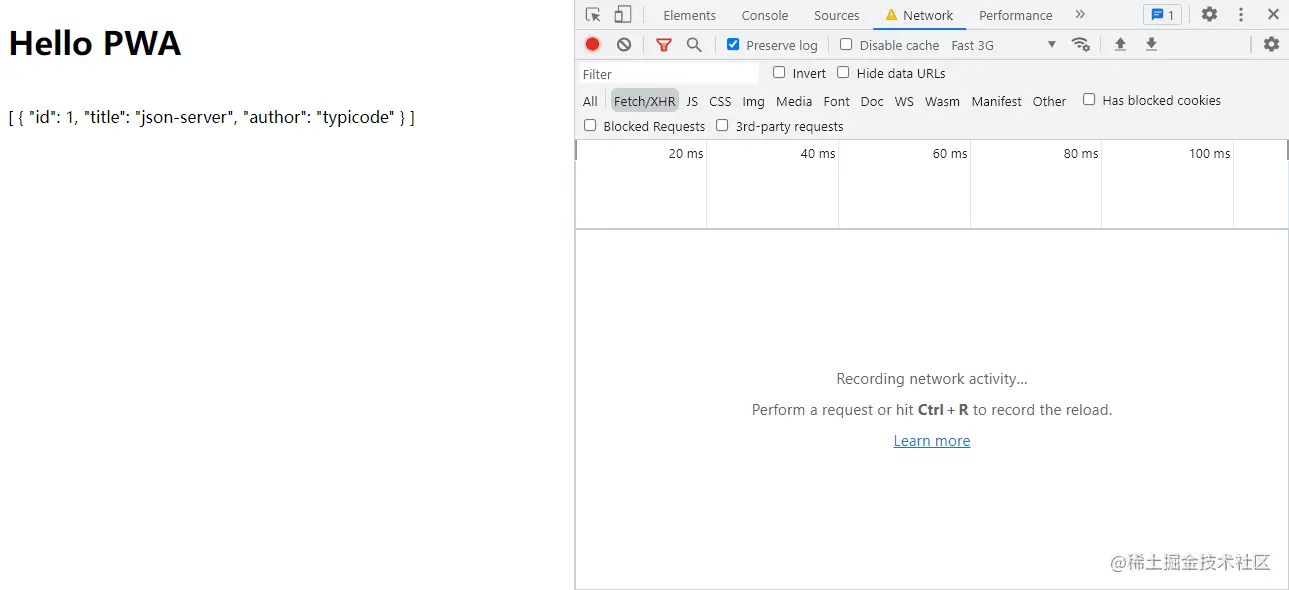
一样的我们重复前面的步骤,将网络断开再重新刷新,你会发现页面依旧能够正常的加载出来。
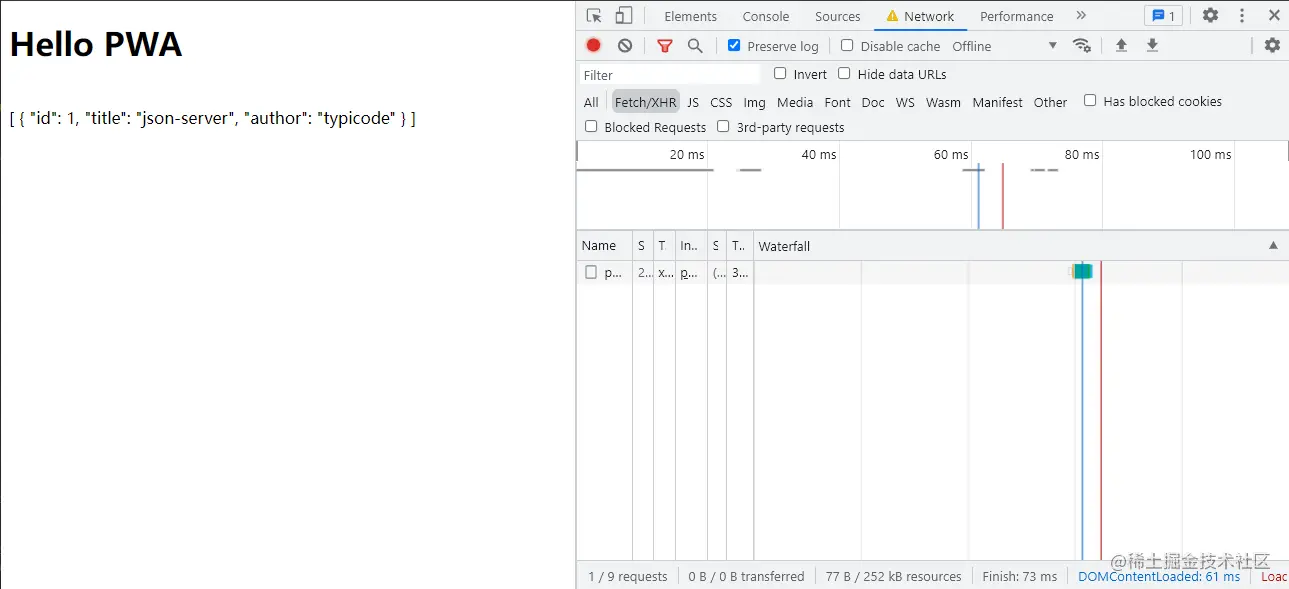
我们再来测试一下我们的缓存,按照下面的步骤来试一下
- 先打开一个无痕浏览窗口
- npm run start:pwa 启动,并打开页面
- 关掉标签(注意是页签,不能关闭浏览器哦),关掉 http-server
- 对 app.component.html 做一些更改
- 重新 build 后再用 http-server 启动,打开页面。
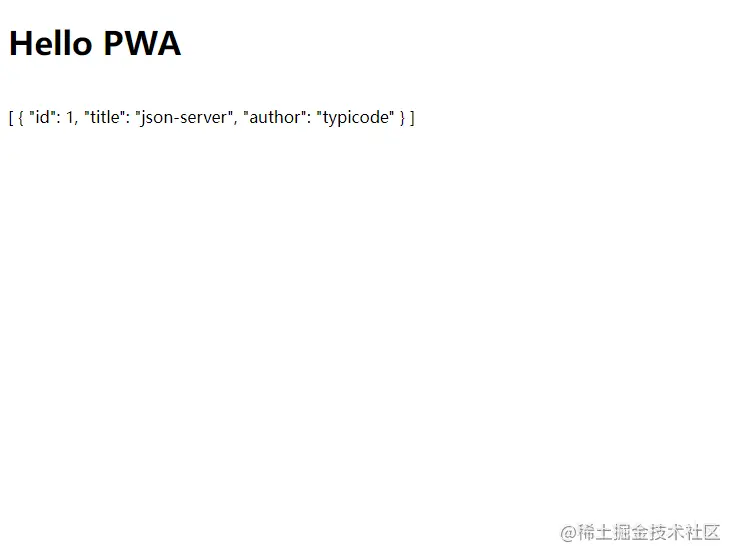
第一次启动的结果
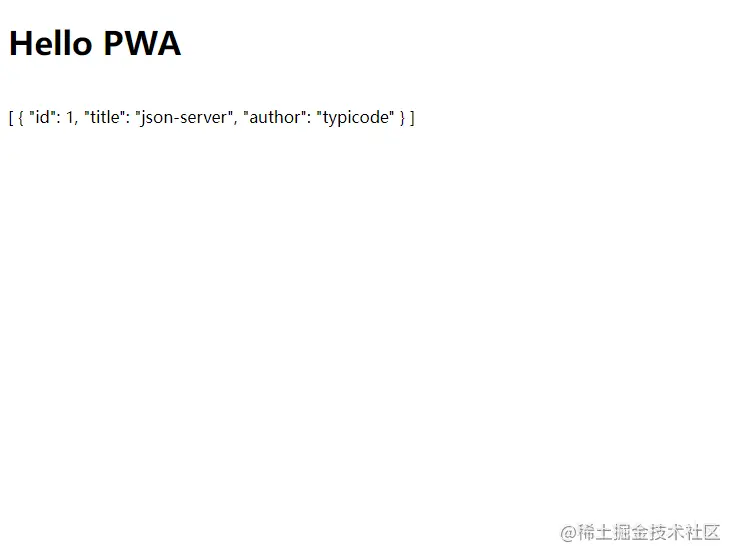
更改 app.component.html 中文字为 Hello PWA Demo,再次运行 npm run build:pwa && npm run start:pwa 再打开 http://127.0.0.1:8001 会发现结果并没有改变
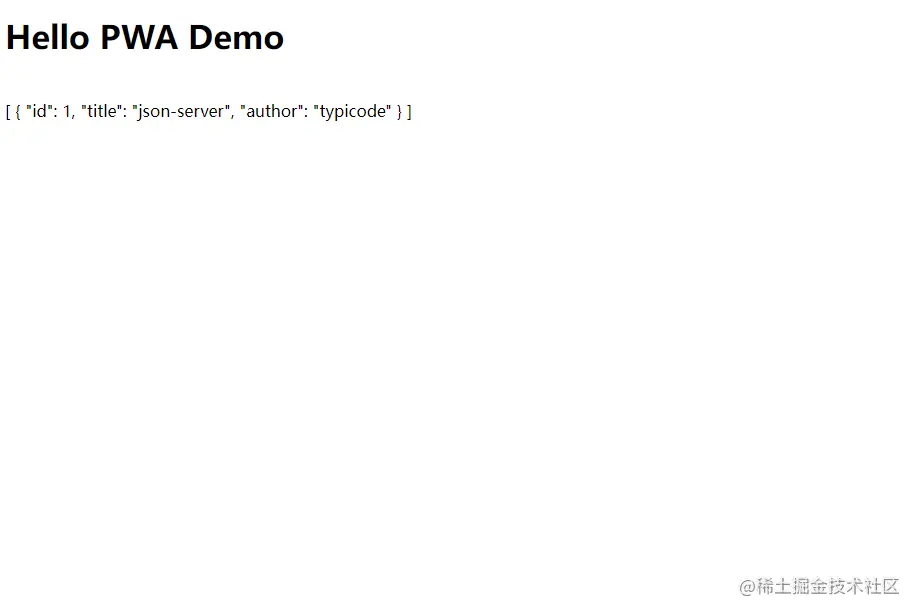
此时我们再刷新一下,会发现页面刷新成了我们更改之后的
5 总结
更多相关的说明还是推荐大家参考 Angular 官方,对于相关的配置参考 Service Work Configuration。希望这篇文章能够帮助到大家伙提升前端页面的性能和体验。同样的 Angular 还有一项功能 App Shell,其功能与我们这次提到的 PWA 类似,有兴趣的大家也可以去了解一下:)。
DevUI:体验让世界更美好!
更多编程相关知识,请访问:编程教学!!
以上是通过一个实战,来看看PWA怎么应用于Angular项目的详细内容。更多信息请关注PHP中文网其他相关文章!

