


本篇文章给大家带来了React组件间通信简单易用的常用方式,React知识中一个主要内容便是组件之间的通信,以下列举几种常用的组件通信方式,结合实例,通俗易懂,建议收藏,希望对大家有帮助。

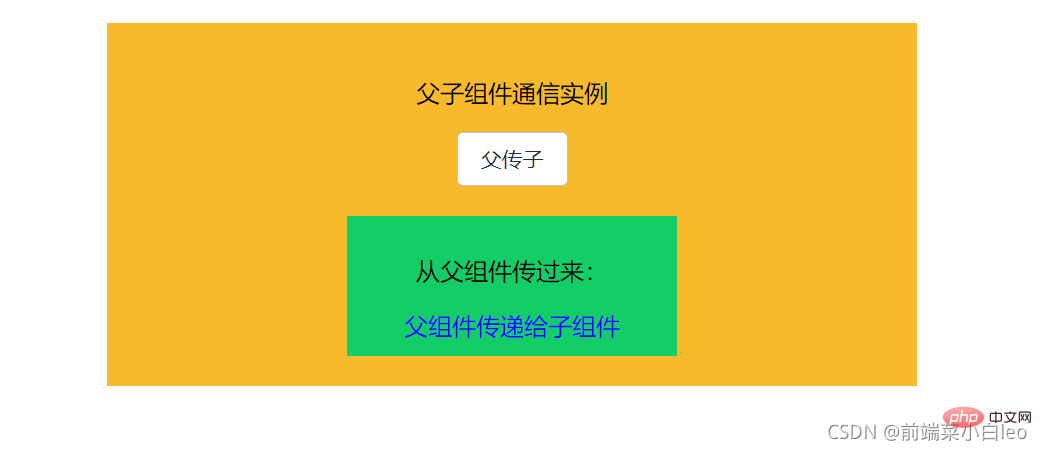
一、父子组件通信
原理:父组件通过props(与vue中的props区分开)向子组件通信,子组件通过回调事件与父组件通信。
首先,先创建一个父组件Parent.js跟子组件Children.js,二者的关系为直接父子关系。
Parent.js父组件如下,给父组件一个默认状态state,引入子组件,通过在子组件加上toChildren={this.state.msg},该处即为向子组件传props。
import React from 'react';
import { Button } from 'element-react';
import Children from './Children';
class Parent extends React.Component {
constructor(props) {
super(props);
this.state = {
msg:'父组件传递给子组件'
};
this.changeMsg = this.changeMsg.bind(this)
}
changeMsg(){
this.setState({
msg:'父组件传递给子组件(改变之后的内容)'
})
}
render(){
return (
<p style={{backgroundColor:'#f7ba2a',padding:'20px',width:'500px',margin:'auto',textAlign:'center'}}>
<p>父子组件通信实例</p>
<Button onClick={this.changeMsg}>父传子</Button>
<Children toChildren={this.state.msg}></Children>
</p>
)
}
}
export default Parent
Children.js子组件如下,初始状态通过props拿到父组件传过来的值。
import React from 'react';
class Children extends React.Component {
constructor(props) {
super(props);
this.state = {
msg:this.props.toChildren //通过props拿到父组件传过来的值
};
}
render(){
return (
<p style={{backgroundColor:'#13ce66',padding:'10px',width:'200px',margin:'auto',marginTop:'20px'}}>
<p>从父组件传过来:</p>
<span style={{color:'blue'}}>{this.state.msg}</span>
</p>
)
}
}
export default Children
注意:子组件取值时应与父组件放在子组件的字段props一致,即本例中的 toChildren,如下


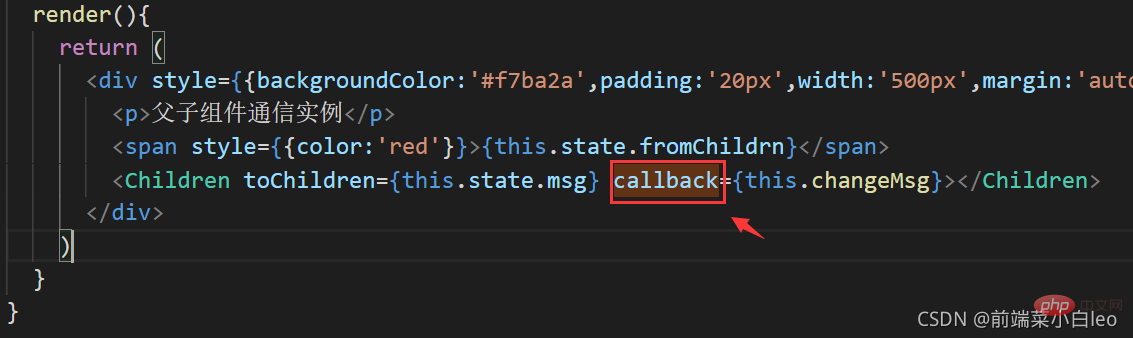
那么子组件想向父组件传值(向上传值),可以通过调用父组件传过来的回调函数
在Parent.js中向Children.js中加入回调函数callback,绑定changeMsg方法
import React from 'react';
import Children from './Children';
class Parent extends React.Component {
constructor(props) {
super(props);
this.state = {
msg:'父组件传递给子组件',
fromChildrn:''
};
this.changeMsg = this.changeMsg.bind(this)
}
changeMsg(val){
this.setState({
fromChildrn: val
})
}
render(){
return (
<p style={{backgroundColor:'#f7ba2a',padding:'20px',width:'500px',margin:'auto',textAlign:'center'}}>
<p>父子组件通信实例</p>
<span style={{color:'red'}}>{this.state.fromChildrn}</span>
<Children toChildren={this.state.msg} callback={this.changeMsg}></Children>
</p>
)
}
}
export default Parent
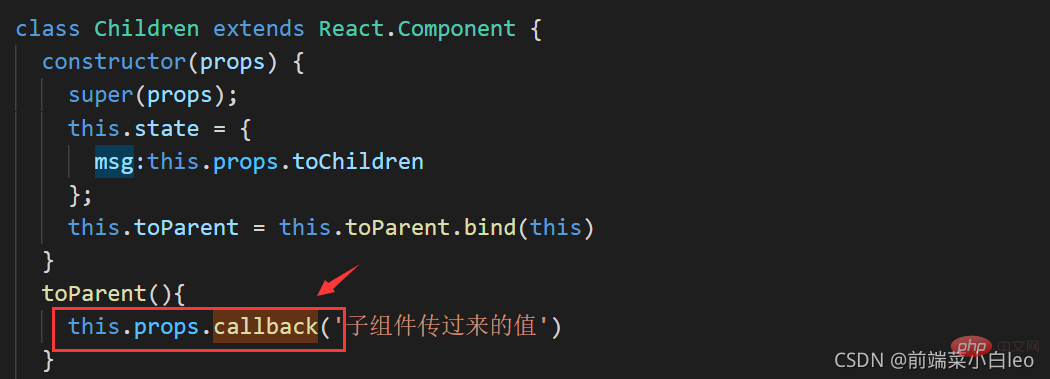
在子组件中,用this.props.callback()执行父组件的回调函数,从而执行绑定方法changeMsg,显示子组件传过来的值
import React from 'react';
import { Button } from 'element-react';
class Children extends React.Component {
constructor(props) {
super(props);
this.state = {
msg:this.props.toChildren
};
this.toParent = this.toParent.bind(this)
}
toParent(){
this.props.callback('子组件传过来的值') //子组件通过此触发父组件的回调方法
}
render(){
return (
<p style={{backgroundColor:'#13ce66',padding:'10px',width:'200px',margin:'auto',marginTop:'20px'}}>
<p>从父组件传过来:</p>
<span style={{color:'blue'}}>{this.state.msg}</span>
<Button onClick={this.toParent}>子传父</Button>
</p>
)
}
}
export default Children
注意:props中的回调函数名称需一致,即本例中的callback,如下
小结: 以上为直接父子组件通信的其中一种方式,父传子,通过props;子传父,执行回调。
二、跨级组件通信
假设一个父组件中存在一个子组件,这个子组件中又存在一个子组件,暂且称为“孙组件”,当父组件需要与“孙组件”通信时,常用的方式有两种,逐层传值与跨层传值。
1、逐层传值
这种方式就是上面的直接父子通信的基础上在加上一个中间层。如父、“孙”组件通信,可以先父子通信,然后再子“孙”通信,传递的层级变成父-->子-->“孙”,同理,通过props往下传,通过回调往上传。不展开,有兴趣的自己动手实现一下。
2、跨级传值
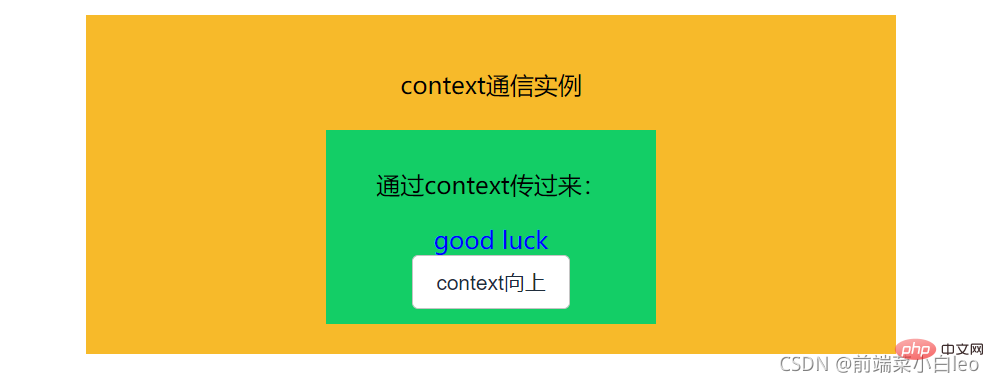
顾名思义,父跟“孙”通信,不需要经过子(中间层)组件。这里引出了Context。
React官方文档对Context做出了解释:
在一个典型的 React 应用中,数据是通过 props 属性自上而下(由父及子)进行传递的,但这种做法对于某些类型的属性而言是极其繁琐的(例如:地区偏好,UI 主题),这些属性是应用程序中许多组件都需要的。Context 提供了一种在组件之间共享此类值的方式,而不必显式地通过组件树的逐层传递 props。
一句话概括就是:跨级传值,状态共享。
看下简单的实例,直接讲用法。
首先,我先创建一个context.js文件(与父子孙同个目录),默认值为一个对象。
import React from "react";
const MyContext = React.createContext({text:'luck'});
export default MyContext
然后,对父组件进行改写,引入context,使用一个 Provider 来将当前的 value 传递给以下的组件树,value为传递的值。
import React from 'react';
import Children from './Children';
import MyContext from './context';
class Parent extends React.Component {
constructor(props) {
super(props);
}
// 使用一个 Provider 来将当前的 value 传递给以下的组件树。
// 无论多深,任何组件都能读取这个值。
render(){
return (
<p style={{backgroundColor:'#f7ba2a',padding:'20px',width:'500px',margin:'auto',textAlign:'center'}}>
<p>context通信实例</p>
<MyContext.Provider value={{text:'good luck'}}>
<Children></Children>
</MyContext.Provider>
</p>
)
}
}
export default Parent
子组件为中间层,不做处理,用于包裹“孙”组件。
import React from 'react';
import Grandson from './Grandson';

class Children extends React.Component {
  render(){
    return (
      <p>
        <Grandson></Grandson>
      </p>
    )
  }
}

export default Children
新增一个“孙”组件,同样需引入context,在组件内部添加static contextType = MyContext,此时将能通过this.context直接获取到上层距离最近的Provider传递的值,此时this.context = {text:good luck},即父组件传递value。
import React from 'react';
import MyContext from './context';
class Grandson extends React.Component {
static contextType = MyContext
render(){
return (
<p style={{backgroundColor:'#13ce66',padding:'10px',width:'200px',margin:'auto',marginTop:'20px'}}>
<p>通过context传过来:</p>
<span style={{color:'blue'}}>{this.context.text}</span>
</p>
)
}
}
export default Grandson
通过this.context.text获取到传递的值。

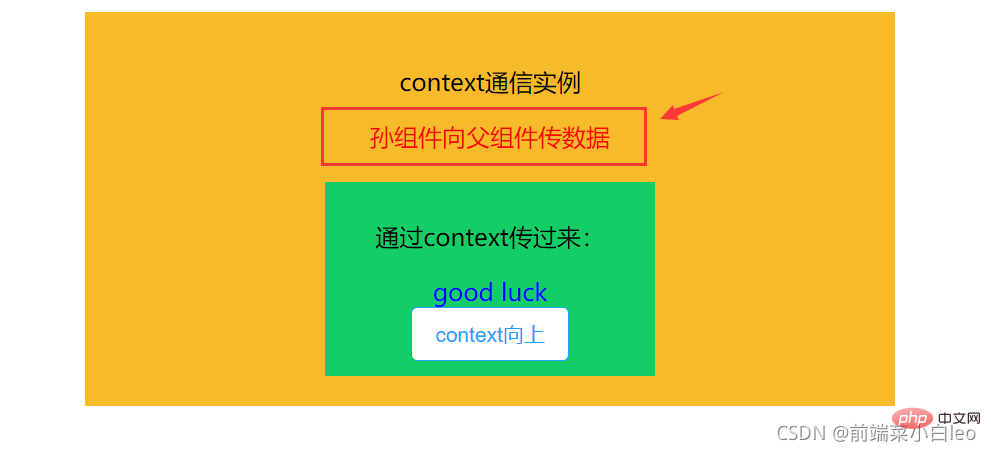
以上的是一个父-->孙的过程,即向下的流程,如果想孙-->父向上传值,可以通过回调的方式
对父组件进行传值修改,在传过来的对象中添加一个属性,里面绑定父组件的方法value={{text:'good luck',toParent:this.fromGranson}}
import React from 'react';
import Children from './Children';
import MyContext from './context';
class Parent extends React.Component {
constructor(props) {
super(props);
this.state = {
msg:''
};
this.fromGranson = this.fromGranson.bind(this)
}
fromGranson(val){
this.setState({
msg:val
})
}
// 使用一个 Provider 来将当前的 theme 传递给以下的组件树。
// 无论多深,任何组件都能读取这个值。
render(){
return (
<p style={{backgroundColor:'#f7ba2a',padding:'20px',width:'500px',margin:'auto',textAlign:'center'}}>
<p>context通信实例</p>
<span style={{color:'red'}}>{this.state.msg}</span>
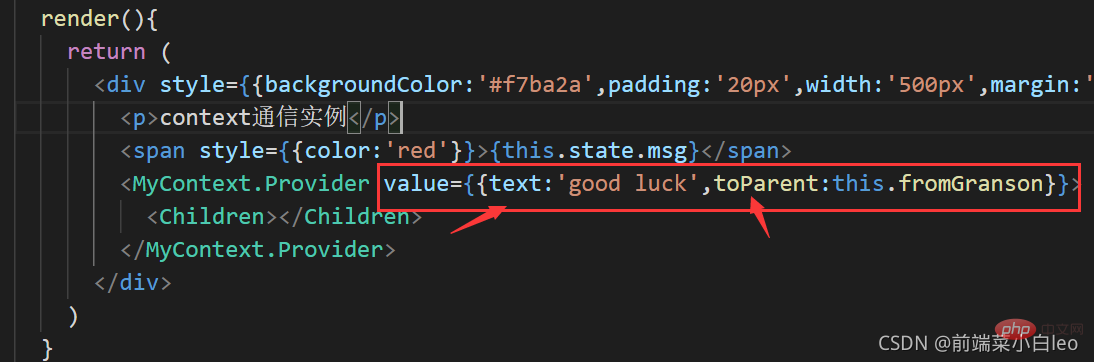
<MyContext.Provider value={{text:'good luck',toParent:this.fromGranson}}>
<Children></Children>
</MyContext.Provider>
</p>
)
}
}
export default Parent
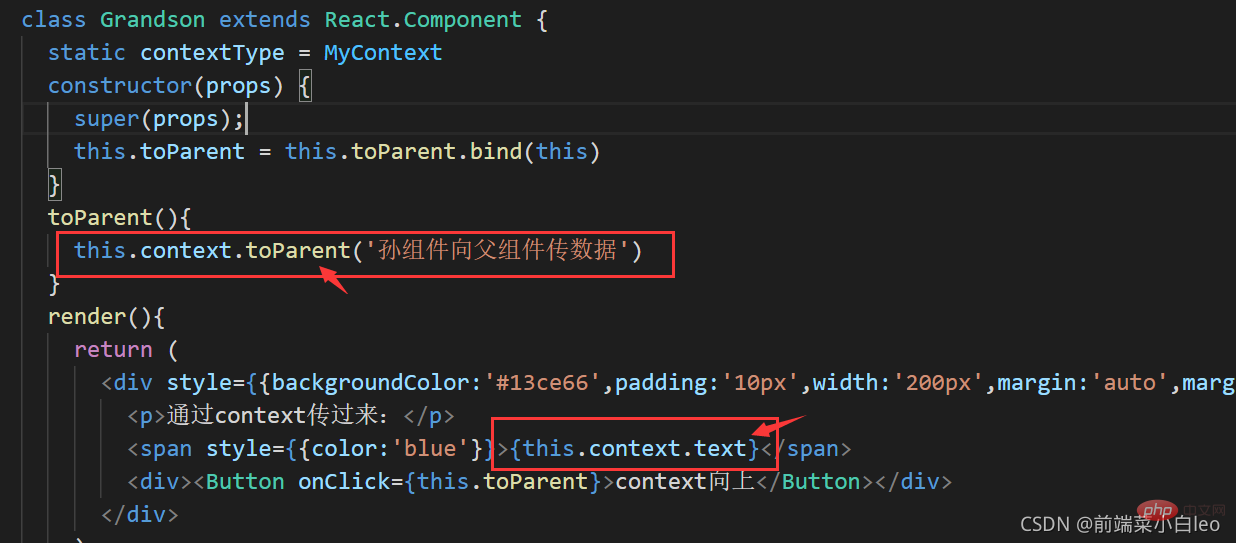
然后在孙组件中添加一个按钮,绑定方法,执行函数回调
toParent(){
this.context.toParent('孙组件向父组件传数据')
}
import React from 'react';
import MyContext from './context';
import { Button } from 'element-react'
class Grandson extends React.Component {
static contextType = MyContext
constructor(props) {
super(props);
this.toParent = this.toParent.bind(this)
}
toParent(){
this.context.toParent('孙组件向父组件传数据')
}
render(){
return (
<p style={{backgroundColor:'#13ce66',padding:'10px',width:'200px',margin:'auto',marginTop:'20px'}}>
<p>通过context传过来:</p>
<span style={{color:'blue'}}>{this.context.text}</span>
<p><Button onClick={this.toParent}>context向上</Button></p>
</p>
)
}
}
export default Grandson
默认的页面为:
点击按钮之后,执行context中的回调,向上传值。
不管层级有多深,都可以使用context进行向下或向上传值。
注意:在下层组件中取的context中的字段需与value中传递字段保持一致。text与toParent
以上就是Context的大致使用,更多细节请往React官方文档:
Context – React=https://react.docschina.org/docs/context.html
三、兄弟(无嵌套)组件通信
当两个组件互不嵌套,处在同个层级或者不同层级上,他们之间要进行通信,有以下几种常用方法
1、某个组件先将值传到同一个父组件,然后在通过父组件传给另外一个组件,用到父子组件传值
2、使用缓存sessionStorage、localStorage等
3、如果两个组件之间存在跳转,可以使用路由跳转传值,附上详细用法
React学习笔记 -- 组件通信之路由传参(react-router-dom)_前端菜小白leo的博客-CSDN博客
4、event(发布--订阅)
首先,安装event
npm install event -save
新建一个event.js
import { EventEmitter } from 'events';
export default new EventEmitter();
然后另两个组件处于同层级(不同个父组件或者不同层级都可以)
import React from 'react';
import Grandson from './Grandson';
import GrandsonOther from './GrandsonOther';

class Children extends React.Component {
  render(){
    return (
      <p>
        <Grandson></Grandson>
        <GrandsonOther></GrandsonOther>
      </p>
    )
  }
}

export default Children
组件一,导入event,在componentDidMount阶段添加监听addListener(订阅),在componentWillUnmount移除监听removeListener,事件名称与组件二中emit一致。
import React from 'react';
import event from '../event';
class Grandson extends React.Component {
constructor(props) {
super(props);
this.state = {
msg:''
}
}
componentDidMount(){
event.addListener('eventMsg',val => {
this.setState({
msg:val
})
})
}
componentWillUnmount(){
event.removeListener('eventMsg')
}
render(){
return (
<p style={{backgroundColor:'#13ce66',padding:'10px',width:'200px',margin:'auto',marginTop:'20px'}}>
<p>组件一</p>
<p>通过event传过来:</p>
<span style={{color:'red'}}>{this.state.msg}</span>
</p>
)
}
}
export default Grandson
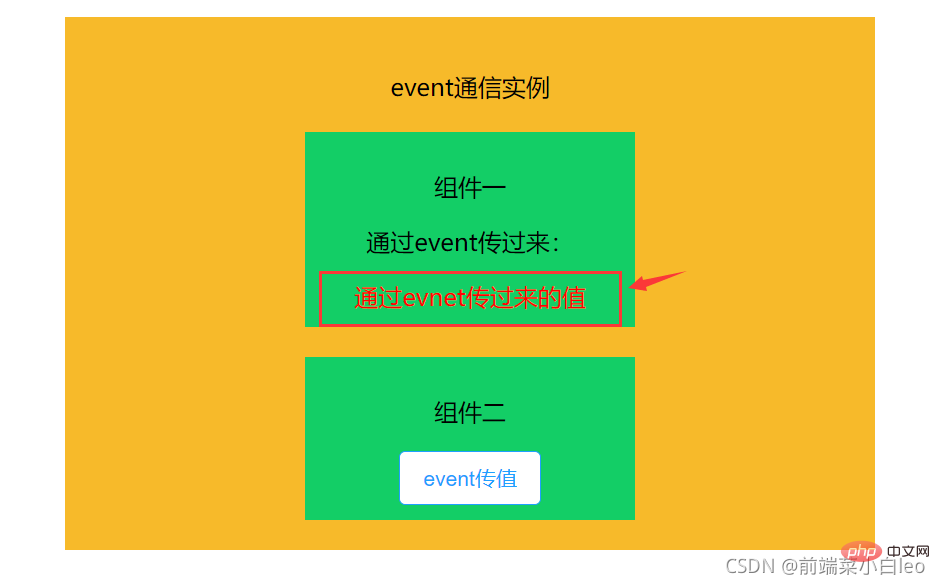
组件二,导入event,按钮绑定方法,使用event.emit触发(发布)事件。
import React from 'react';
import event from '../event';
import { Button } from 'element-react'
class Grandson extends React.Component {
constructor(props) {
super(props);
this.state = {
msg:''
}
this.toOther = this.toOther.bind(this)
}
toOther(){
event.emit('eventMsg','通过evnet传过来的值')
}
render(){
return (
<p style={{backgroundColor:'#13ce66',padding:'10px',width:'200px',margin:'auto',marginTop:'20px'}}>
<p>组件二</p>
<span style={{color:'blue'}}>{this.state.msg}</span>
<p><Button onClick={this.toOther}>event传值</Button></p>
</p>
)
}
}
export default Grandson
点击按钮,组件二发布事件,组件一监听(订阅)事件,更新内容。(如果交换发布者订阅者身份,写法一致)

注意:如果两个组件使用event进行通信,确保发布订阅的事件名称一致,如上例中 eventMsg
小结: event的方式比较灵活,不管是父子、跨级、还是同级,甚至毫无关联的组件,都可以使用此方式进行通信。
四、路由传值
React学习笔记 -- 组件通信之路由传参(react-router-dom)_前端菜小白leo的博客-CSDN博客
五、Redux
Redux基本用法(在react中使用,链路打通)_前端菜小白leo的博客-CSDN博客
总结:主要讲了react中常用的组件通信方式,在平时工作中,根据不同的应用场景,选择不同的通信方式,会让通信流程更加简单、清晰。
对比Vue中的组件通信方式,你会发现很多相似之处:
Vue组件间的通信方式(多种场景,通俗易懂,建议收藏)_前端菜小白leo的博客-CSDN博客
推荐学习:《react视频教程》
以上是简单常用技巧之React组件间通信(整理分享)的详细内容。更多信息请关注PHP中文网其他相关文章!

 从网站到应用程序:JavaScript的不同应用Apr 22, 2025 am 12:02 AM
JavaScript在网站、移动应用、桌面应用和服务器端编程中均有广泛应用。1)在网站开发中,JavaScript与HTML、CSS一起操作DOM,实现动态效果,并支持如jQuery、React等框架。2)通过ReactNative和Ionic,JavaScript用于开发跨平台移动应用。3)Electron框架使JavaScript能构建桌面应用。4)Node.js让JavaScript在服务器端运行,支持高并发请求。
 Python vs. JavaScript:比较用例和应用程序Apr 21, 2025 am 12:01 AM
Python更适合数据科学和自动化,JavaScript更适合前端和全栈开发。1.Python在数据科学和机器学习中表现出色,使用NumPy、Pandas等库进行数据处理和建模。2.Python在自动化和脚本编写方面简洁高效。3.JavaScript在前端开发中不可或缺,用于构建动态网页和单页面应用。4.JavaScript通过Node.js在后端开发中发挥作用,支持全栈开发。
 C/C在JavaScript口译员和编译器中的作用Apr 20, 2025 am 12:01 AM
C和C 在JavaScript引擎中扮演了至关重要的角色,主要用于实现解释器和JIT编译器。 1)C 用于解析JavaScript源码并生成抽象语法树。 2)C 负责生成和执行字节码。 3)C 实现JIT编译器,在运行时优化和编译热点代码,显着提高JavaScript的执行效率。
 JavaScript在行动中:现实世界中的示例和项目Apr 19, 2025 am 12:13 AM
JavaScript在现实世界中的应用包括前端和后端开发。1)通过构建TODO列表应用展示前端应用,涉及DOM操作和事件处理。2)通过Node.js和Express构建RESTfulAPI展示后端应用。
 JavaScript和Web:核心功能和用例Apr 18, 2025 am 12:19 AM
JavaScript在Web开发中的主要用途包括客户端交互、表单验证和异步通信。1)通过DOM操作实现动态内容更新和用户交互;2)在用户提交数据前进行客户端验证,提高用户体验;3)通过AJAX技术实现与服务器的无刷新通信。
 了解JavaScript引擎:实施详细信息Apr 17, 2025 am 12:05 AM
理解JavaScript引擎内部工作原理对开发者重要,因为它能帮助编写更高效的代码并理解性能瓶颈和优化策略。1)引擎的工作流程包括解析、编译和执行三个阶段;2)执行过程中,引擎会进行动态优化,如内联缓存和隐藏类;3)最佳实践包括避免全局变量、优化循环、使用const和let,以及避免过度使用闭包。
 Python vs. JavaScript:学习曲线和易用性Apr 16, 2025 am 12:12 AM
Python更适合初学者,学习曲线平缓,语法简洁;JavaScript适合前端开发,学习曲线较陡,语法灵活。1.Python语法直观,适用于数据科学和后端开发。2.JavaScript灵活,广泛用于前端和服务器端编程。
 Python vs. JavaScript:社区,图书馆和资源Apr 15, 2025 am 12:16 AM
Python和JavaScript在社区、库和资源方面的对比各有优劣。1)Python社区友好,适合初学者,但前端开发资源不如JavaScript丰富。2)Python在数据科学和机器学习库方面强大,JavaScript则在前端开发库和框架上更胜一筹。3)两者的学习资源都丰富,但Python适合从官方文档开始,JavaScript则以MDNWebDocs为佳。选择应基于项目需求和个人兴趣。


热AI工具

Undresser.AI Undress
人工智能驱动的应用程序,用于创建逼真的裸体照片

AI Clothes Remover
用于从照片中去除衣服的在线人工智能工具。

Undress AI Tool
免费脱衣服图片

Clothoff.io
AI脱衣机

Video Face Swap
使用我们完全免费的人工智能换脸工具轻松在任何视频中换脸!

热门文章
热工具

记事本++7.3.1
好用且免费的代码编辑器

Dreamweaver Mac版
视觉化网页开发工具

ZendStudio 13.5.1 Mac
功能强大的PHP集成开发环境

适用于 Eclipse 的 SAP NetWeaver 服务器适配器
将Eclipse与SAP NetWeaver应用服务器集成。

DVWA
Damn Vulnerable Web App (DVWA) 是一个PHP/MySQL的Web应用程序,非常容易受到攻击。它的主要目标是成为安全专业人员在合法环境中测试自己的技能和工具的辅助工具,帮助Web开发人员更好地理解保护Web应用程序的过程,并帮助教师/学生在课堂环境中教授/学习Web应用程序安全。DVWA的目标是通过简单直接的界面练习一些最常见的Web漏洞,难度各不相同。请注意,该软件中

