本篇文章带大家一起了解一下Bootstrap中的图片组件和轮廓组件,介绍一下响应式图片、图片缩略图、picture标签和轮廓(Figures),希望对大家有所帮助!

1 图片
本文节将学习如何让图片支持响应式行为(这样它们就不会超出父元素的范围)以及如何通过类(class)添加些许样式。
1.1 响应式图片
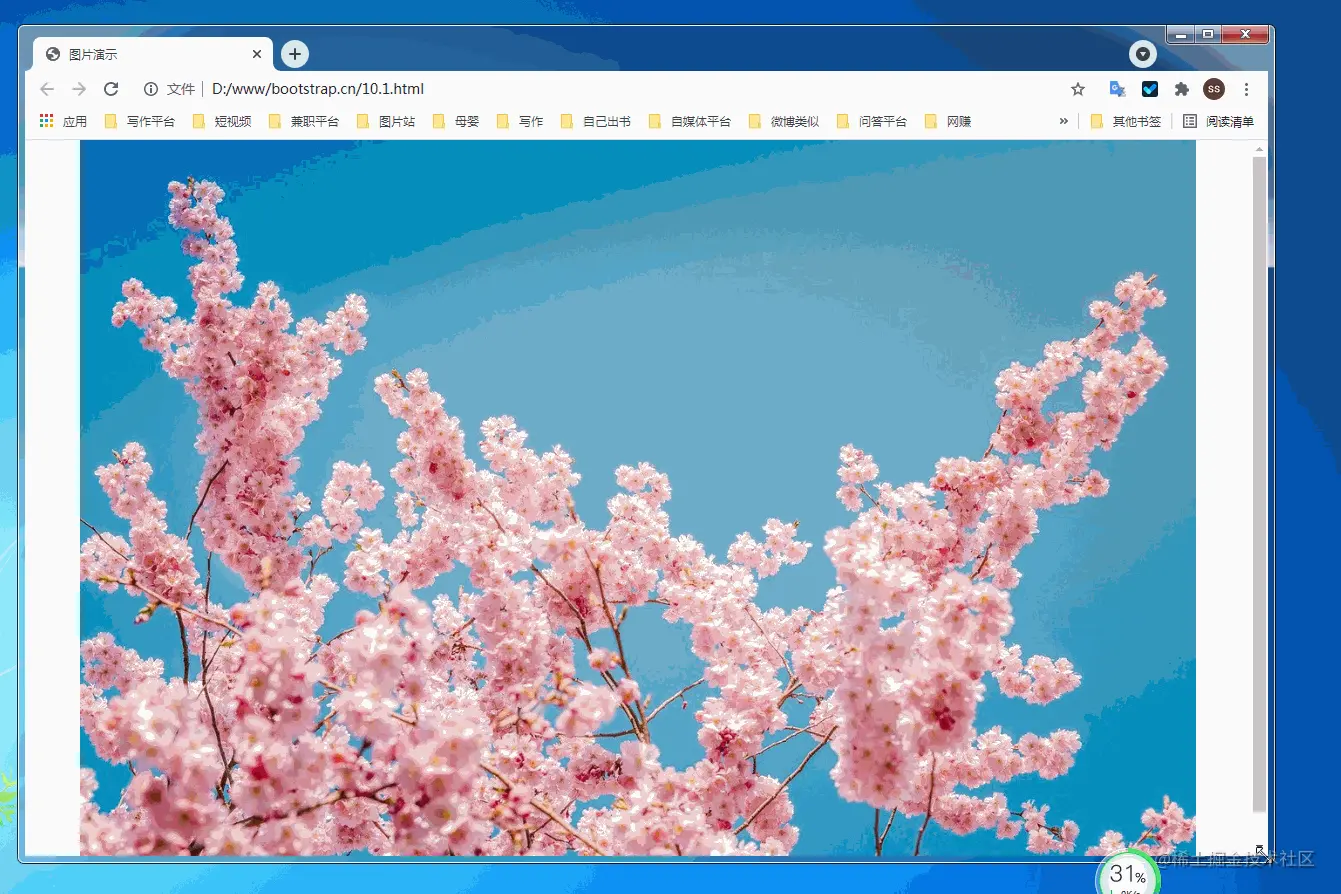
通过 Bootstrap 所提供的.img-fluid 类让图片支持响应式布局。其原理是将max-width: 100%; 和 height: auto; 赋予图片,以便随父元素一起缩放。【相关推荐:《bootstrap教程》】
ffd43448117c1013fbeeed3f564491ad
100db36a723c770d327fc0aef2ce13b1
  93f0f5c25f18dab9d176bd4f6de5d30e
    4d0d87937f6c83b675e896c64d3eb7c9
    ed4d26c083a9614f46d7798d397a9957
    2606c37038111219070535410bca4c20
    a574ad2511c25c063cc7efa111773e42
    16d0a21a3ebfa6fa0c3059c1c111df51
    b2386ffb911b14667cb8f0f91ea547a7图片演示6e916e0f7d1e588d4f442bf645aedb2f
  9c3bca370b5104690d9ef395f2c5f8d1
  6c04bd5ca3fcae76e30b72ad730ca86d
        dc6dce4a544fdca2df29d5ac0ea9906b

            115493bbda22934b6401f82e823b56ab

        16b28748ea4df4d9c2150843fecfba68

     21efd88acfac668a2704ca30fbb3313a2cacc6d41bbb37262a98f745aa00fbf0
  36cc49f0c466276486e50c850b7e4956
73a6ac4ed44ffec12cee46588e518a5e
上面container是为了让图片居中显示切四周有边距,不是图像组件的一部分,下面是演示录像。

10.1.2 图片缩略图
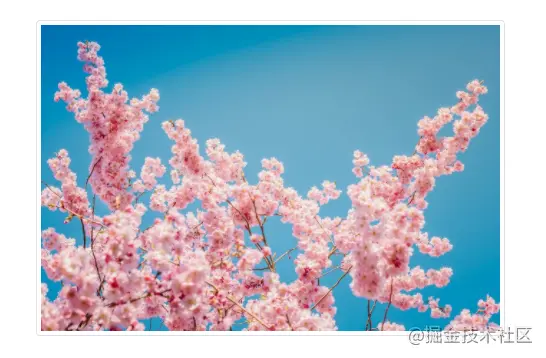
除了通用类提供的提供的border-radius外,你还可以使用.img-thumbnail 使图片的外观具有 1px 宽度的圆形边框。
<!doctype html>
<html lang="zh-CN">
  <head>
    <meta charset="utf-8">
    <meta name="viewport" content="width=device-width, initial-scale=1">
    <meta name="keywords" content="">
    <meta name="description" content="">
    <link href="bootstrap5/bootstrap.min.css" rel="stylesheet">
    <style>
      .div1{width: 300;  height: 300px;text-align: center;padding-top: 50px;}
    </style>
    <title>图片演示</title>
  </head>
  <body>
            <div class="div1">
                 <img src="pic/taohua.jpg"  width="50%" class="img-thumbnail" alt="点击查看大图">
            </div>

     <script src="bootstrap5/bootstrap.bundle.min.js" ></script>
  </body>
</html>
这个组件也是响应式的,不过我只给出了截图,上面css的样式是为了让图片不靠近边上,不要不可能看不到边框,其实直接使用container也一样,在此只是为了不使用container免得大家以为container也是其中一部分。

1.3 picture标签
picture元素通过包含一个或多个source元素和一个img元素再结合media(媒体查询)来使用, 根据屏幕匹配的不同尺寸显示不同图片,如果没有匹配到或浏览器不支持 picture 属性则使用 img 元素,一个picture元素无论指定几个source,只会显示其中的一个或者img。
如果你使用 元素为某个 a1f02c36ba31691bcfe87b2722de723b 指定多个 e02da388656c3265154666b7c71a8ddc 元素的话,请确保将 .img-* 类添加到 a1f02c36ba31691bcfe87b2722de723b 元素而不是9b66618b56ad8833e792d2ba7c315ba9 元素或者source元素上。
source元素排列是有顺序的。媒体查询的值,如果是max-width,则从小到大排序;如果是min-width,则按从大到小的顺序排列。下面是源码,源码中js代码是获取屏幕宽度,作为对照。
<!doctype html>
<html lang="zh-CN">
  <head>
    <meta charset="utf-8">
    <meta name="viewport" content="width=device-width, initial-scale=1">
    <meta name="keywords" content="">
    <meta name="description" content="">
    <link href="bootstrap5/bootstrap.min.css" rel="stylesheet">
    <title>图片演示</title>
  </head>
  <body>
        <div class="container">
            <p>
                <span id="info"></span>
                <script>
                getwidth();
                window.onresize = function(){
                    getwidth();
                }
                function getwidth(){
                document.getElementById("info").innerHTML="宽度:"+document.documentElement.clientWidth+",高度:"+document.documentElement.clientHeight;
                }
                </script>
                    </p>
            <picture>
                <source media="(max-width: 600px)" srcset="pic/girl1.jpg">
                <source media="(max-width: 700px)" srcset="pic/girl2.jpg">
                <img src="pic/taohua.jpg" class="img-thumbnail">
            </picture>

            <picture>
                <source media="(min-width: 700px)" srcset="pic/girl1.jpg">
                <source media="(min-width: 600px)" srcset="pic/girl2.jpg">
                <img src="pic/taohua.jpg" class="img-thumbnail">
            </picture>
        </div>

     <script src="bootstrap5/bootstrap.bundle.min.js" ></script>
  </body>
</html>
下面是演示

2 轮廓(Figures)
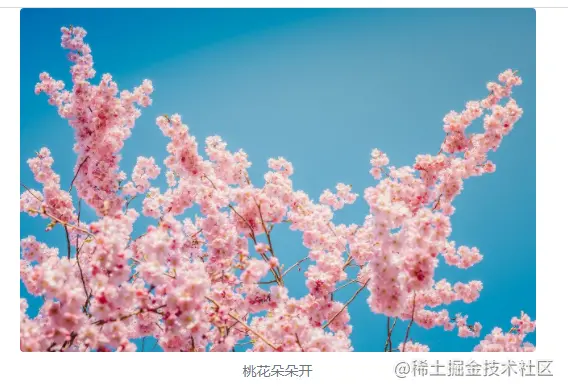
通过 Bootstrap 的轮廓(figure)组件来显示相关联的图片和文本。任何时候需要显示一段内容(例如带有可选标题的图片),请使用 24203f2f45e6606542ba09fd2181843a标签。
使用内置的.figure、.figure-img和.figure-caption类别,可提供HTML5 24203f2f45e6606542ba09fd2181843a和614eb9dc63b3fb809437a716aa228d24标签一些基本样式设定。图片没有明确尺寸,请务必在a1f02c36ba31691bcfe87b2722de723b标签加上 .img-fluid类别设定为响应式图片。
事实上,轮廓组件不仅用于图片,在前一节文字排版部分,引用来源部分就已经使用了轮廓组件。
<!doctype html>
<html lang="zh-CN">
  <head>
    <meta charset="utf-8">
    <meta name="viewport" content="width=device-width, initial-scale=1">
    <meta name="keywords" content="">
    <meta name="description" content="">
    <link href="bootstrap5/bootstrap.min.css" rel="stylesheet">
    <title>figure演示</title>
  </head>
  <body>
        <div class="container">

            <figure class="figure">
                <img src="pic/taohua.jpg" class="figure-img img-fluid rounded" alt="...">
                <figcaption class="figure-caption text-center">桃花朵朵开</figcaption>
                </figure>
        </div>

     <script src="bootstrap5/bootstrap.bundle.min.js" ></script>
  </body>
</html>
简单解释一下img标签里面的类rounded是图片四周为圆角,不需要可以不写。 figcaption标签里面的类text-center是图片居中对齐,还可以用text-end为右对齐,默认可以不写为左对齐。
今天的课程就到这里。请关注我,及时学习 俺老刘原创的《Bootstrap5零基础到精通》第11节 Bootstrap中的表格,表格的用处非常广泛,设计起来也比较麻烦,幸运的是借助bootstrap我们可以很轻松地做出好看的表格。
如果这篇文章对你有帮助,记得随手点赞哦!
更多关于bootstrap的相关知识,可访问:bootstrap基础教程!!
以上是聊聊Bootstrap中的图片组件和轮廓组件的详细内容。更多信息请关注PHP中文网其他相关文章!
 React和Bootstrap:增强用户界面设计Apr 26, 2025 am 12:18 AM
React和Bootstrap可以无缝集成来提升用户界面设计。1)安装依赖包:npminstallbootstrapreact-bootstrap。2)导入CSS文件:import'bootstrap/dist/css/bootstrap.min.css'。3)使用Bootstrap组件,如按钮和导航栏。通过这种结合,开发者可以利用React的灵活性和Bootstrap的样式库,创建美观且高效的用户界面。
 将引导程序集成到React:实用指南Apr 25, 2025 am 12:04 AM
将Bootstrap集成到React项目中的步骤包括:1.安装Bootstrap包,2.导入CSS文件,3.使用Bootstrap类名样式化元素,4.使用React-Bootstrap或reactstrap库来使用Bootstrap的JavaScript组件。这种集成利用React的组件化和Bootstrap的样式系统,实现高效的UI开发。
 Bootstrap是用什么?一个实用的解释Apr 24, 2025 am 12:16 AM
bootstrapisapowerfulflameworkthatsimplifiesCreatingingResponsive,移动 - firstwebsites.itoffers.itoffers:1)AgridSystemforadaptableBableLayouts,2)2)pre-styledlementslikeButtonslikeButtonSandForms和3)JavaScriptCompriptcomponcomponentsSuchcaroSelSuselforEnhanceSuch forenhanceTinteractivity。
 引导程序:从布局到组件Apr 23, 2025 am 12:06 AM
Bootstrap是一个由Twitter开发的前端框架,集成了HTML、CSS和JavaScript,帮助开发者快速构建响应式网站。其核心功能包括:栅格系统与布局:基于12列的设计,使用flexbox布局,支持不同设备尺寸的响应式页面。组件与样式:提供丰富的组件库,如按钮、模态框等,通过添加类名即可实现美观效果。工作原理:依赖CSS和JavaScript,CSS使用LESS或SASS预处理器,JavaScript依赖jQuery,实现交互和动态效果。通过这些功能,Bootstrap大大提升了开发
 什么是bootstrap?初学者的介绍Apr 22, 2025 am 12:07 AM
BootstrapisafreeCSSframeworkthatsimplifieswebdevelopmentbyprovidingpre-styledcomponentsandJavaScriptplugins.It'sidealforcreatingresponsive,mobile-firstwebsites,offeringaflexiblegridsystemforlayoutsandasupportivecommunityforlearningandcustomization.
 Bootstrap Demystified:一个简单的解释Apr 21, 2025 am 12:13 AM
Bootstrapisafree,open-sourceCSSframeworkthathelpscreateresponsive,mobile-firstwebsites.1)Itoffersagridsystemforlayoutflexibility,2)includespre-styledcomponentsforquickdesign,and3)ishighlycustomizabletoavoidgenericlooks,butrequiresunderstandingCSStoop
 引导与反应:选择正确的方法Apr 20, 2025 am 12:09 AM
Bootstrap适合快速搭建和小型项目,而React适合复杂的、交互性强的应用。1)Bootstrap提供预定义的CSS和JavaScript组件,简化响应式界面开发。2)React通过组件化开发和虚拟DOM,提升性能和交互性。
 Bootstrap的目的:建立一致且有吸引力的网站Apr 19, 2025 am 12:07 AM
Bootstrap的主要用途是帮助开发者快速构建响应式、移动优先的网站。其核心功能包括:1.响应式设计,通过网格系统实现不同设备的布局调整;2.预定义组件,如导航栏和模态框,确保美观和跨浏览器兼容性;3.支持自定义和扩展,使用Sass变量和mixins调整样式。


热AI工具

Undresser.AI Undress
人工智能驱动的应用程序,用于创建逼真的裸体照片

AI Clothes Remover
用于从照片中去除衣服的在线人工智能工具。

Undress AI Tool
免费脱衣服图片

Clothoff.io
AI脱衣机

Video Face Swap
使用我们完全免费的人工智能换脸工具轻松在任何视频中换脸!

热门文章

热工具

MinGW - 适用于 Windows 的极简 GNU
这个项目正在迁移到osdn.net/projects/mingw的过程中,你可以继续在那里关注我们。MinGW:GNU编译器集合(GCC)的本地Windows移植版本,可自由分发的导入库和用于构建本地Windows应用程序的头文件;包括对MSVC运行时的扩展,以支持C99功能。MinGW的所有软件都可以在64位Windows平台上运行。

禅工作室 13.0.1
功能强大的PHP集成开发环境

EditPlus 中文破解版
体积小,语法高亮,不支持代码提示功能

mPDF
mPDF是一个PHP库,可以从UTF-8编码的HTML生成PDF文件。原作者Ian Back编写mPDF以从他的网站上“即时”输出PDF文件,并处理不同的语言。与原始脚本如HTML2FPDF相比,它的速度较慢,并且在使用Unicode字体时生成的文件较大,但支持CSS样式等,并进行了大量增强。支持几乎所有语言,包括RTL(阿拉伯语和希伯来语)和CJK(中日韩)。支持嵌套的块级元素(如P、DIV),

WebStorm Mac版
好用的JavaScript开发工具


