本章给大家介绍用css3如何实现图片的高斯模糊效果,CSS3 Filter(滤镜)实现对图片元素模糊处理;让大家了解如何设置图片元素的模糊效果,通过实例介绍filter实现图片高斯模糊的三种效果。有一定的参考价值,有需要的朋友可以参考一下,希望对你有所帮助。
一、什么是filter (滤镜)
CSS3 Filter(滤镜)属性定义了元素(通常是a1f02c36ba31691bcfe87b2722de723b)的可视效果,提供了模糊和改变元素颜色的功能。CSS3 Fitler 常用于调整图像的渲染、背景或边框显示效果。
浏览器支持:
-webkit-filter是css3的一个属性,Webkit率先支持了这几个功能,感觉效果很不错。

表格中的数字表示支持该方法的第一个浏览器的版本号。
紧跟在数字后面的 -webkit- 为指定浏览器的前缀。
注意: 旧版 Internet Explorer 浏览器(4.0 to 8.0) 支持的非标准 "filter" 属性已被废弃。 IE8 及更低版本浏览器通常使用css opacity 属性。
下面看看filter这个属性,现在规范中支持的效果:
grayscale(灰度):值为0-1之间的小数
sepia(褐色):值为0-1之间的小数
saturate(饱和度):值为num
hue-rotate(色相旋转):值为angle
invert(反色):值为0-1之间的小数
opacity(透明度):值为0-1之间的小数
brightness(亮度):值为0-1之间的小数
contrast(对比度):值为num
blur(模糊):值为length(radius)
drop-shadow(阴影)
实现模糊效果的filter 语法:
filter: blur();
blur()给图像设置高斯模糊。"length(radius)"一值设定高斯函数的标准差,或者是屏幕上以多少像素融在一起, 所以值越大越模糊;如果没有设定值,则默认是0;这个参数可设置css长度值,但不接受百分比值。
二、图片模糊的三种效果
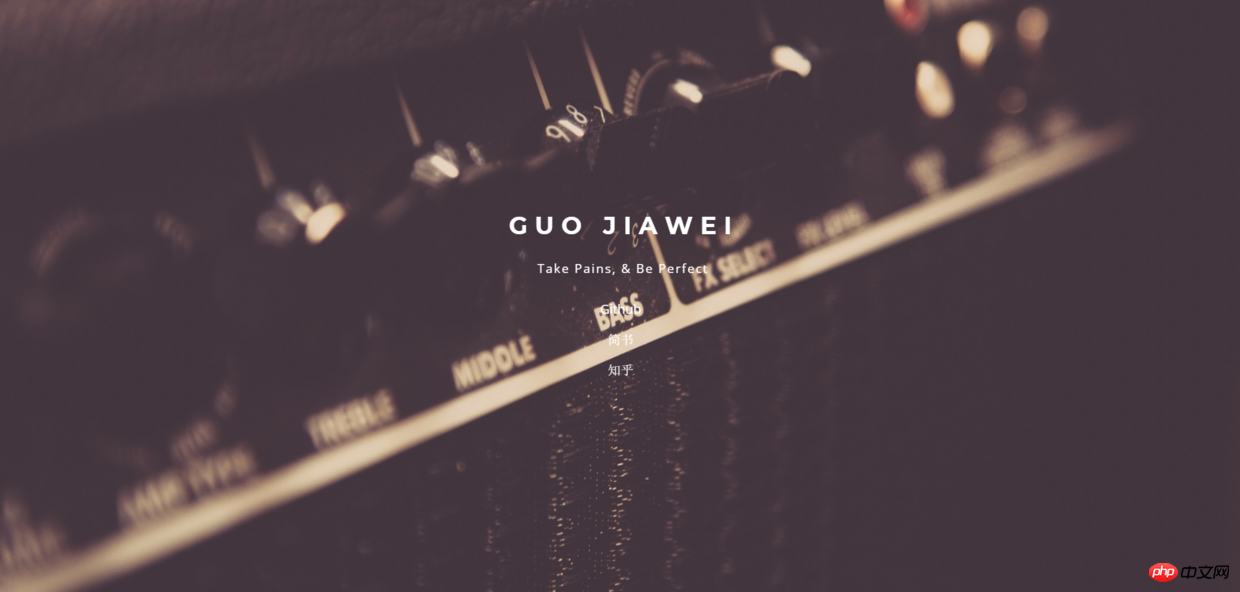
原图:

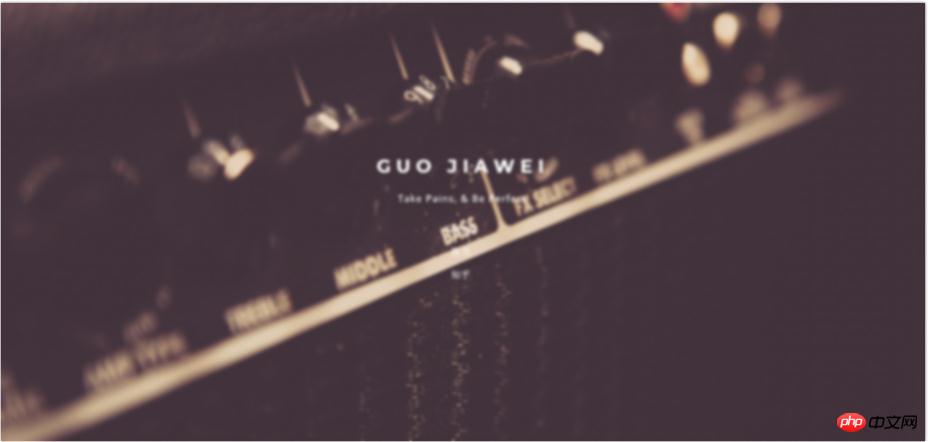
1.css普通图片模糊效果(整张图片全模糊)
<!DOCTYPE html>
<html>

	<head>
		<meta charset="UTF-8">
		<title>图片模糊</title>
		<style>
			.bg {
				width: 1240px;
				height: 592px;
				position: relative;
				background: url("2.png") no-repeat fixed;
				padding: 1px;
				box-sizing: border-box;
				z-index: 1;
			}

			.bg:after {
				content: "";
				width: 100%;
				height: 100%;
				position: absolute;
				left: 0;
				top: 0;
				background: inherit;
				filter: blur(2px);
				z-index: 2;
			}

			.drag {
				position: absolute;
				left: 50%;
				top: 50%;
				transform: translate(-50%, -50%);
				width: 200px;
				height: 200px;
				text-align: center;
				z-index: 11;
			}
		</style>
	</head>

	<body>
		<div class="bg"></div>
	</body>

</html>
效果图:

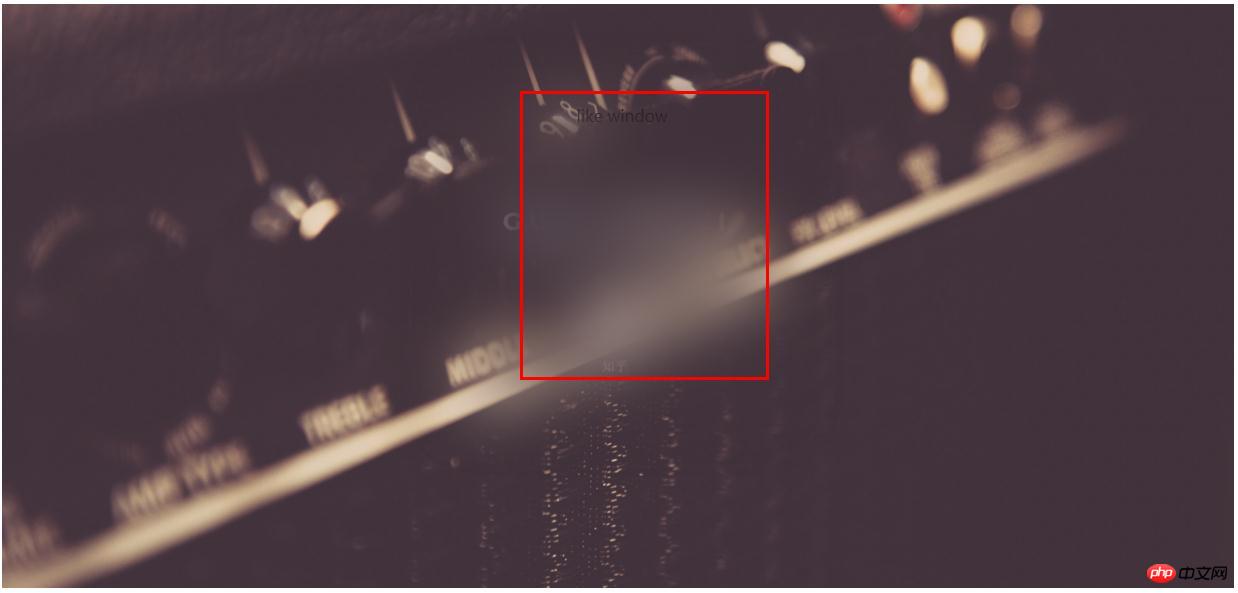
2.css图片局部模糊效果
<!DOCTYPE html>
<html>

	<head>
		<meta charset="UTF-8">
		<title>图片模糊</title>
		<style>
			.bg {
				width: 1240px;
				height: 592px;
				background: url("2.png") no-repeat fixed;
				padding: 1px;
				box-sizing: border-box;
				z-index: 1;
			}

			.drag {
				margin: 100px auto;
				width: 300px;
				height: 300px;
				background: inherit;
				position: relative;
				text-align: center;
			}

			.drag>div {
				width: 100%;
				height: 100%;
				text-align: center;
				line-height: 200px;
				position: absolute;
				left: 0;
				top: 0;
				z-index: 11;
			}

			.drag:after {
				content: "";
				width: 100%;
				height: 100%;
				position: absolute;
				left: 0;
				top: 0;
				background: inherit;
				filter: blur(30px);/*为了模糊更明显,调高模糊度*/
				z-index: 2;
			}
		</style>
	</head>

	<body>
		<div class="bg">
			<div class="drag">like window</div>
		</div>
	</body>

</html>
效果图:

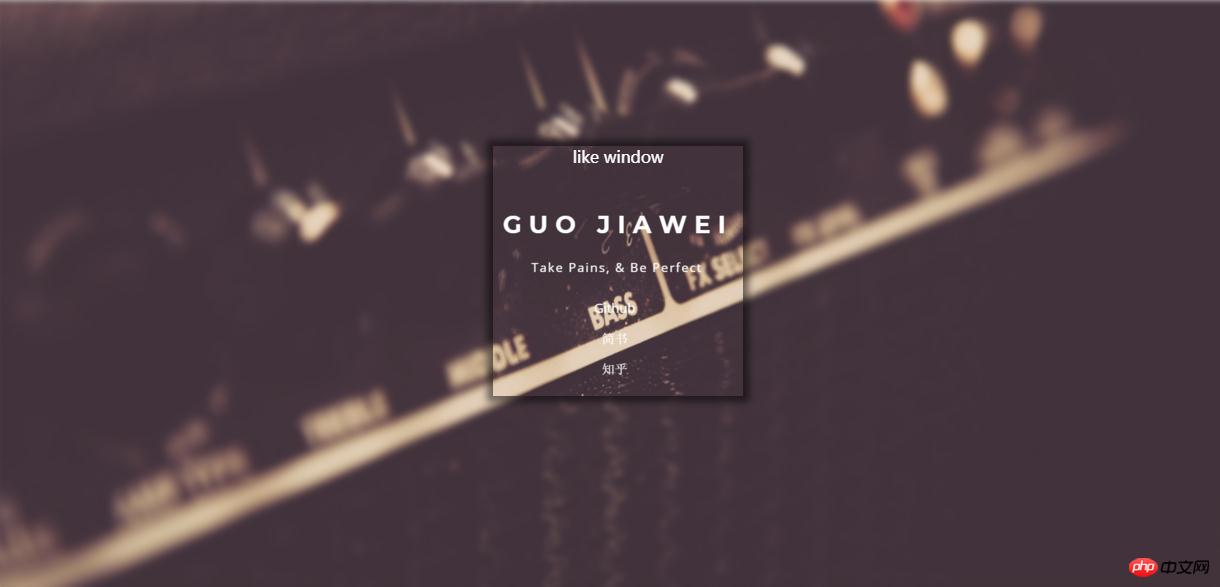
3.css图片局部清晰效果
<!DOCTYPE html>
<html>

	<head>
		<meta charset="UTF-8">
		<title>图片模糊</title>
		<style>
			.bg {
				width: 1240px;
				height: 592px;
				background: url("2.png") no-repeat fixed;
				padding: 1px;
				box-sizing: border-box;
				z-index: 1;
			}

			.bg:after {
				content: "";
				width: 100%;
				height: 100%;
				position: absolute;
				left: 0;
				top: 0;
				background: inherit;
				filter: blur(3px);
				z-index: 1;
			}

			.drag {
				position: absolute;
				left: 40%;
				top: 30%;
				/*transform: translate(-50%,-50%);*/
				width: 200px;
				height: 200px;
				text-align: center;
				background: inherit;
				z-index: 11;
				box-shadow: 0 0 10px 6px rgba(0, 0, 0, .5);
			}
		</style>
	</head>

	<body>
		<div class="bg">
			<div class="drag">like window</div>
		</div>
	</body>

</html>
效果图:

以上是css3如何实现图片的高斯模糊效果?CSS3 Filter(滤镜)实现(代码实例)的详细内容。更多信息请关注PHP中文网其他相关文章!
 删除Internet Explorer的商业案例Apr 15, 2025 am 10:30 AM
Internet Explorer(IE)11与其他所有主要浏览器之间的距离是越来越多的鸿沟。增加对技术过时的支持
 焦点戒指的动画位置Apr 15, 2025 am 10:27 AM
莫里斯·马汉(Maurice Mahan)创建了FocusOverlay,这是一个“用于创建重点元素叠加的库”。该描述对您有些困惑,不需要一个库


热AI工具

Undresser.AI Undress
人工智能驱动的应用程序,用于创建逼真的裸体照片

AI Clothes Remover
用于从照片中去除衣服的在线人工智能工具。

Undress AI Tool
免费脱衣服图片

Clothoff.io
AI脱衣机

AI Hentai Generator
免费生成ai无尽的。

热门文章

热工具

VSCode Windows 64位 下载
微软推出的免费、功能强大的一款IDE编辑器

EditPlus 中文破解版
体积小,语法高亮,不支持代码提示功能

SublimeText3 Linux新版
SublimeText3 Linux最新版

Dreamweaver CS6
视觉化网页开发工具

DVWA
Damn Vulnerable Web App (DVWA) 是一个PHP/MySQL的Web应用程序,非常容易受到攻击。它的主要目标是成为安全专业人员在合法环境中测试自己的技能和工具的辅助工具,帮助Web开发人员更好地理解保护Web应用程序的过程,并帮助教师/学生在课堂环境中教授/学习Web应用程序安全。DVWA的目标是通过简单直接的界面练习一些最常见的Web漏洞,难度各不相同。请注意,该软件中


