

这篇文章主要介绍了React BootStrap用户体验框架快速上手的相关知识,非常不错,具有参考借鉴价值,需要的朋友可以参考下
官方文档http://react-bootstrap.github.io/getting-started.html
安装
在终端cd到你的项目目录下执行:$ npm install react-bootstrap
然后需要我们手动引用css
<!-- Latest compiled and minified CSS -->
<link rel="stylesheet" href="https://maxcdn.bootstrapcdn.com/bootstrap/latest/css/bootstrap.min.css">
<!-- Optional theme -->
<link rel="stylesheet" href="https://maxcdn.bootstrapcdn.com/bootstrap/latest/css/bootstrap-theme.min.css">
但是我们在学习的时候使用外部的URL,太慢了。因此我们索引把bootstrap安装到本地。
$ npm install bootstrap
然后你会发现在你的node_modules目录下多了bootstrap。
这样页面上就可以引用本地的css了
<link rel="stylesheet" type="text/css" href="node_modules/bootstrap/dist/css/bootstrap.min.css" rel="external nofollow" rel="external nofollow" >
好,我们动手来使用一下React-BootStrap框架吧
http://react-bootstrap.github.io/components.html
我们这里演示使用它的导航条组件
在index.js里:
const React = require("react");
const ReactDOM = require("react-dom");
import {Navbar} from "react-bootstrap";
const navbarInstance = (
  <Navbar>
    <Navbar.Header>
      <Navbar.Brand>
        <a href="#" rel="external nofollow" >react-bootstrap</a>
      </Navbar.Brand>
    </Navbar.Header>
  </Navbar>
);
// 然后我们渲染到body里
ReactDOM.render(navbarInstance,document.body);
html页面上:
  es2105的写法

  <link rel="stylesheet" type="text/css" href="node_modules/bootstrap/dist/css/bootstrap.min.css" rel="external nofollow" rel="external nofollow" >
效果如下:
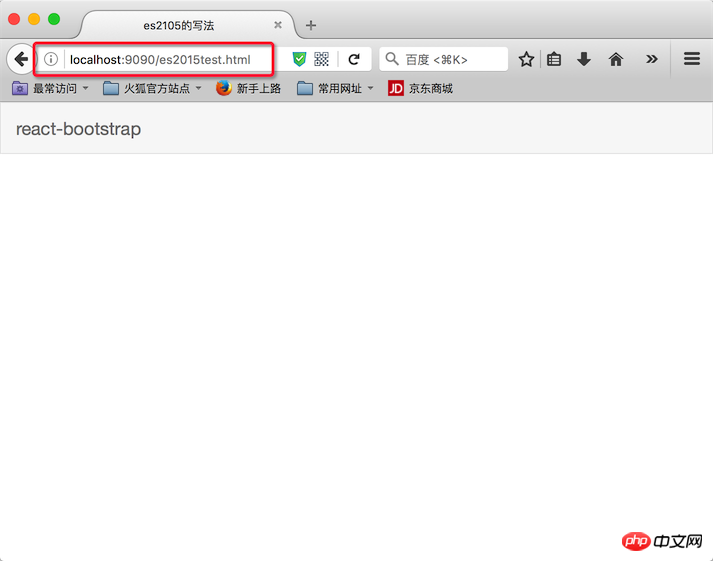
主要看浏览器地址,这是我们前面配置的”热启动”。
执行命令 $ npm start 就开启了服务
上面是我整理给大家的,希望今后会对大家有帮助。
相关文章:
JavaScript中使用import 和require打包后实现原理分析
以上是React中使用BootStrap用户体验框架(详细教程)的详细内容。更多信息请关注PHP中文网其他相关文章!

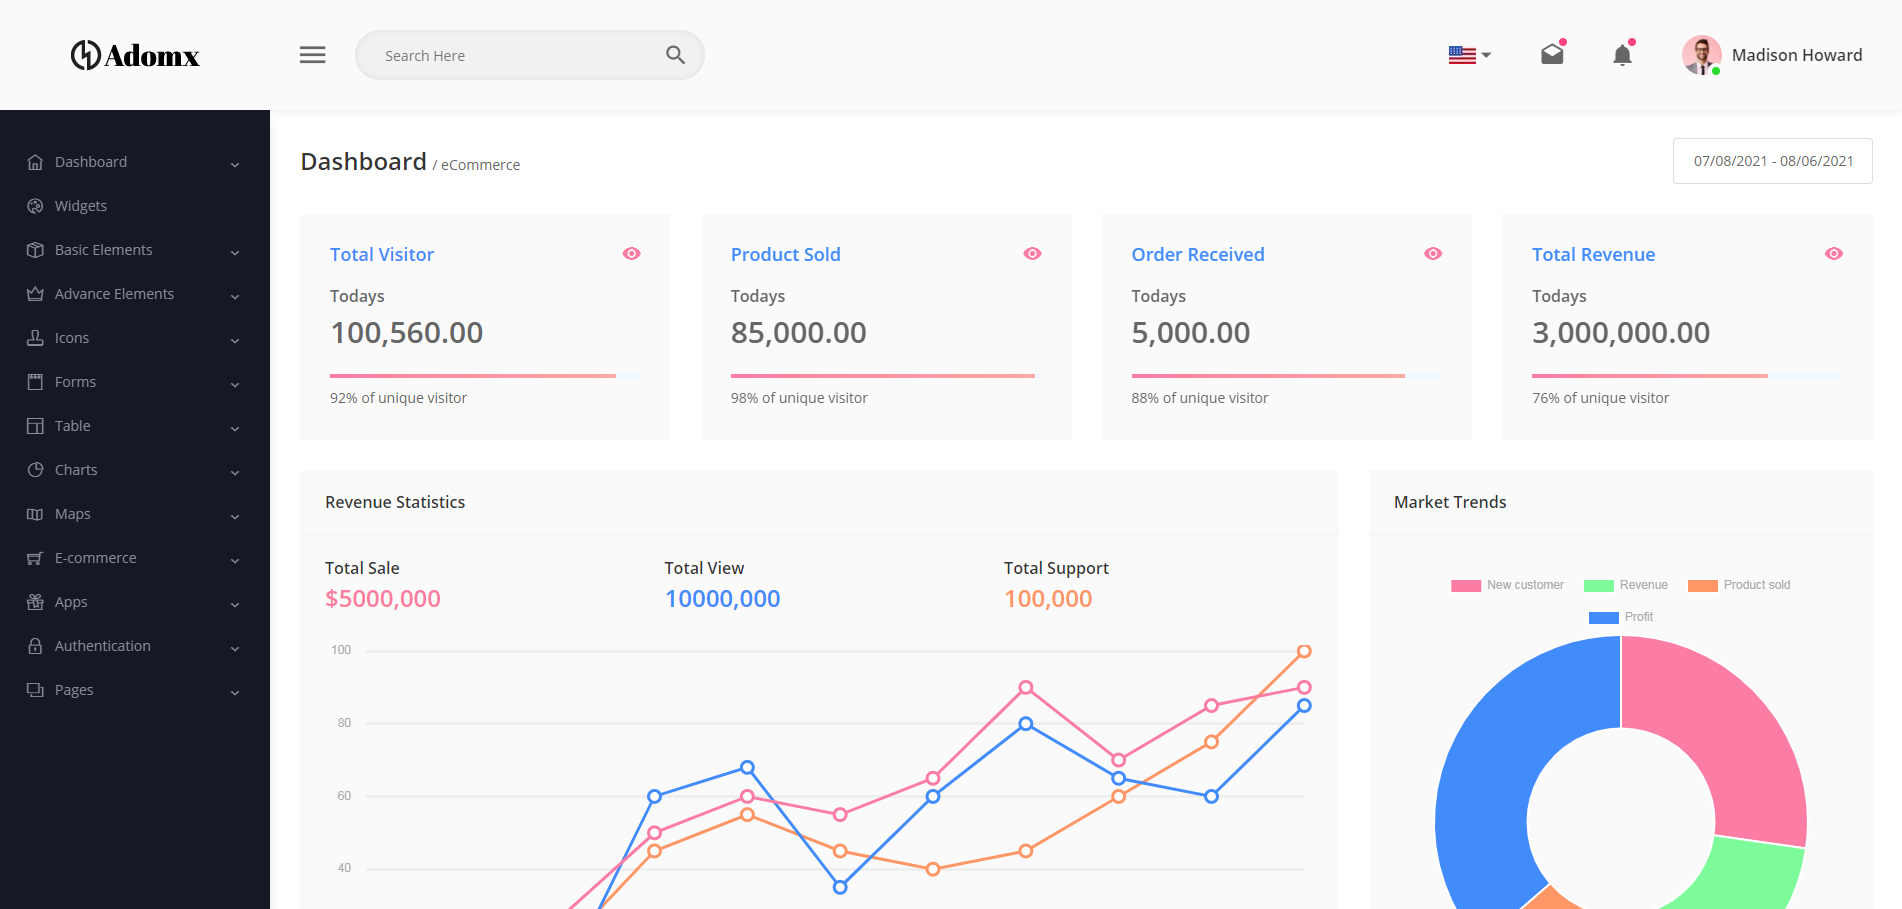 10款好看又实用的Bootstrap后台管理系统模板(快来下载)Aug 06, 2021 pm 01:55 PM
一个好的网站,不能只看外表,网站后台同样很重要。本篇文章给大家分享10款好看又实用的Bootstrap后台管理系统模板,可以帮助大家快速建立强大有美观的网站后台,欢迎下载使用!如果想要获取更多后端模板,请关注php中文网后端模板栏目!
 bootstrap与jquery是什么关系Aug 01, 2022 pm 06:02 PM
bootstrap与jquery的关系是:bootstrap是基于jquery结合了其他技术的前端框架。bootstrap用于快速开发Web应用程序和网站,jquery是一个兼容多浏览器的javascript库,bootstrap是基于HTML、CSS、JAVASCRIPT的。
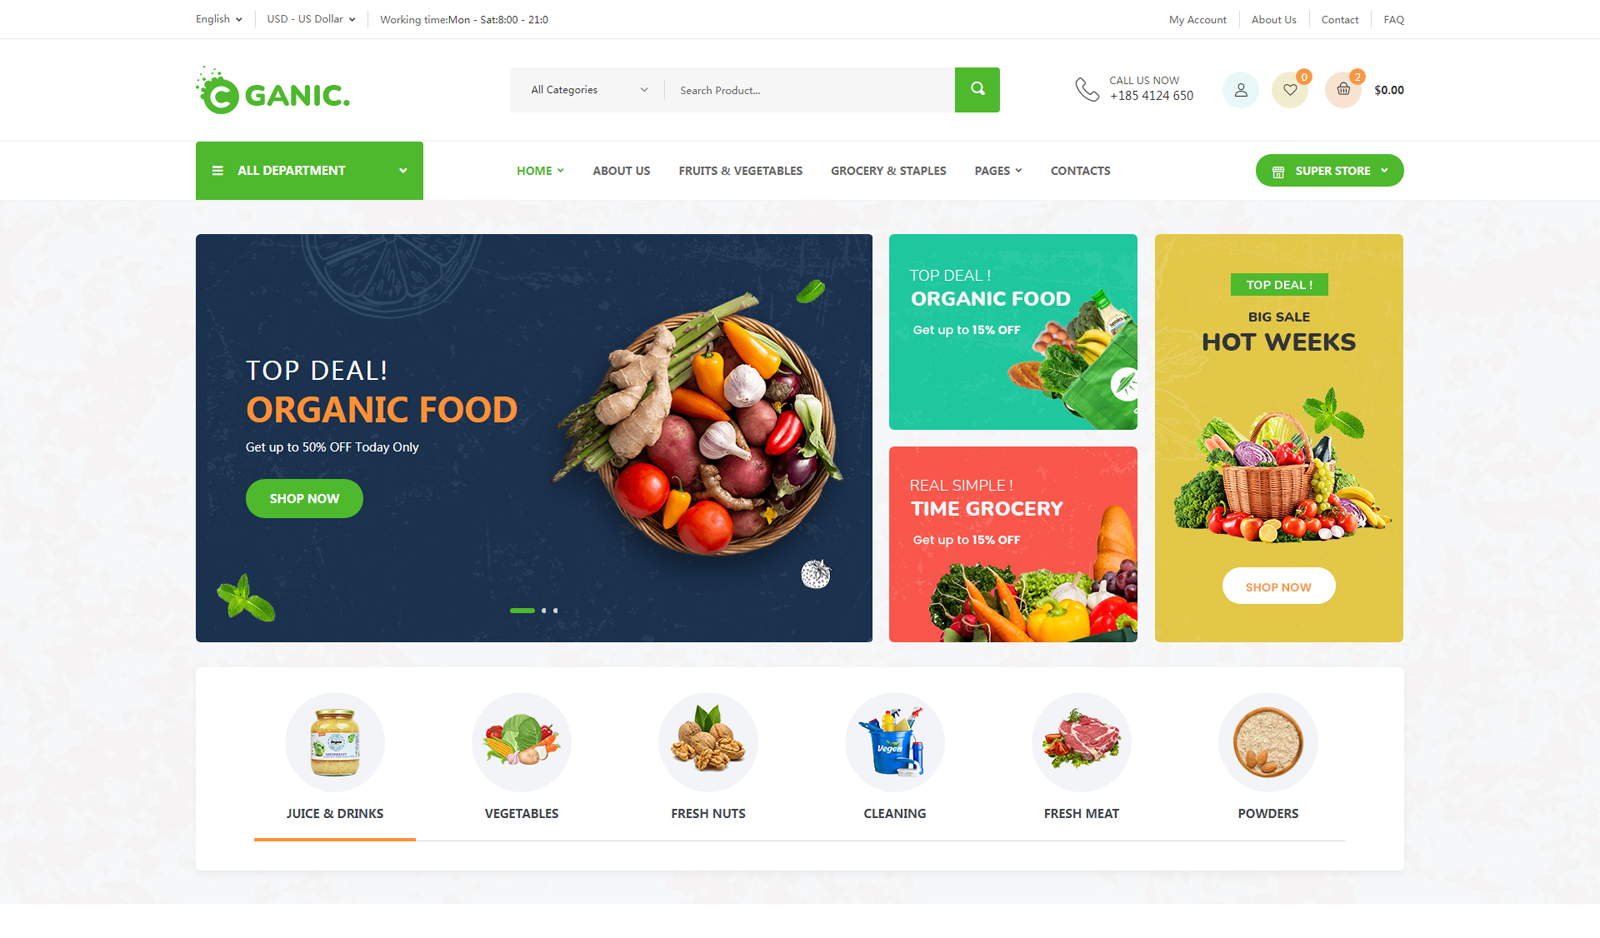 7款实用响应式Bootstrap电商源码模板(快来下载)Aug 31, 2021 pm 02:13 PM
好看又实用的Bootstrap电商源码模板可以提高建站效率,下面本文给大家分享7款实用响应式Bootstrap电商源码,均可免费下载,欢迎大家使用!更多电商源码模板,请关注php中文网电商源码栏目!
 8款Bootstrap企业公司网站模板(源码免费下载)Aug 24, 2021 pm 04:35 PM
好看又实用的企业公司网站模板可以提高您的建站效率,下面PHP中文网为大家分享8款Bootstrap企业公司网站模板,均可免费下载,欢迎大家使用!更多企业站源码模板,请关注php中文网企业站源码栏目!
 bootstrap中sm是什么意思May 06, 2022 pm 06:35 PM
在bootstrap中,sm是“小”的意思,是small的缩写;sm常用于表示栅格类“.col-sm-*”,是小屏幕设备类的意思,表示显示大小大于等于768px并且小于992px的屏幕设备,类似平板设备。
 bootstrap modal 如何关闭Dec 07, 2020 am 09:41 AM
bootstrap modal关闭的方法:1、连接好bootstrap的插件;2、给按钮绑定模态框事件;3、通过“ $('#myModal').modal('hide');”方法手动关闭模态框即可。
 bootstrap默认字体大小是多少Aug 22, 2022 pm 04:34 PM
bootstrap默认字体大小是“14px”;Bootstrap是一个基于HTML、CSS、JavaScript的开源框架,用于快速构建基于PC端和移动端设备的响应式web页面,并且默认的行高为“20px”,p元素行高为“10px”。
 bootstrap是免费的吗Jun 21, 2022 pm 05:31 PM
bootstrap是免费的;bootstrap是美国Twitter公司的设计师“Mark Otto”和“Jacob Thornton”合作基于HTML、CSS、JavaScript 开发的简洁、直观、强悍的前端开发框架,开发完成后在2011年8月就在GitHub上发布了,并且开源免费。


热AI工具

Undresser.AI Undress
人工智能驱动的应用程序,用于创建逼真的裸体照片

AI Clothes Remover
用于从照片中去除衣服的在线人工智能工具。

Undress AI Tool
免费脱衣服图片

Clothoff.io
AI脱衣机

AI Hentai Generator
免费生成ai无尽的。

热门文章
热工具

适用于 Eclipse 的 SAP NetWeaver 服务器适配器
将Eclipse与SAP NetWeaver应用服务器集成。

EditPlus 中文破解版
体积小,语法高亮,不支持代码提示功能

Dreamweaver Mac版
视觉化网页开发工具

记事本++7.3.1
好用且免费的代码编辑器

VSCode Windows 64位 下载
微软推出的免费、功能强大的一款IDE编辑器

