


本文主要和大家分享WordPress搭建个人博客,主要以图文和代码的形式和大家分享,希望能帮助到大家。
1 LNMP组合
1.1 验证Nginx到php的连通性
在前几篇博文中所有环境都已经配置好了,下面测试Nginx和php之间的连通
LNMP之Nginx服务搭建及三种类型虚拟主机
LNMP之二进制安装mysql-5.5.54
LNMP之源码编译安装php-5.5.32
# 修改/application/nginx/conf/extra/blog.conf[root@web01 extra]# cat blog.conf
    server {        listen       80;
        server_name  blog.rsq.com;
        location / {
            root   html/blog;            index  index.html index.htm;
        }
        location ~ .*\.(php|php5)?$ {
            root html/blog;
        fastcgi_pass 127.0.0.1:9000;
        fastcgi_index index.php;
        include fastcgi.conf;
        }
    }# 重启nginx服务[root@web01 extra]# ../../sbin/nginx -tnginx: the configuration file /application/nginx-1.6.3//conf/nginx.conf syntax is ok
nginx: configuration file /application/nginx-1.6.3//conf/nginx.conf test is successful
[root@web01 extra]# ../../sbin/nginx -s reload# 在/application/nginx/html/blog/目录中写一个phpinfo文件,测试连通性[root@web01 extra]# cd /application/nginx/html/blog/[root@web01 blog]# echo "<?php phpinfo(); ?>" >test_info.php[root@web01 blog]# cat test_info.php<?php phpinfo(); ?>
# windows浏览器中做访问测试,若出现以下页面则测试成功 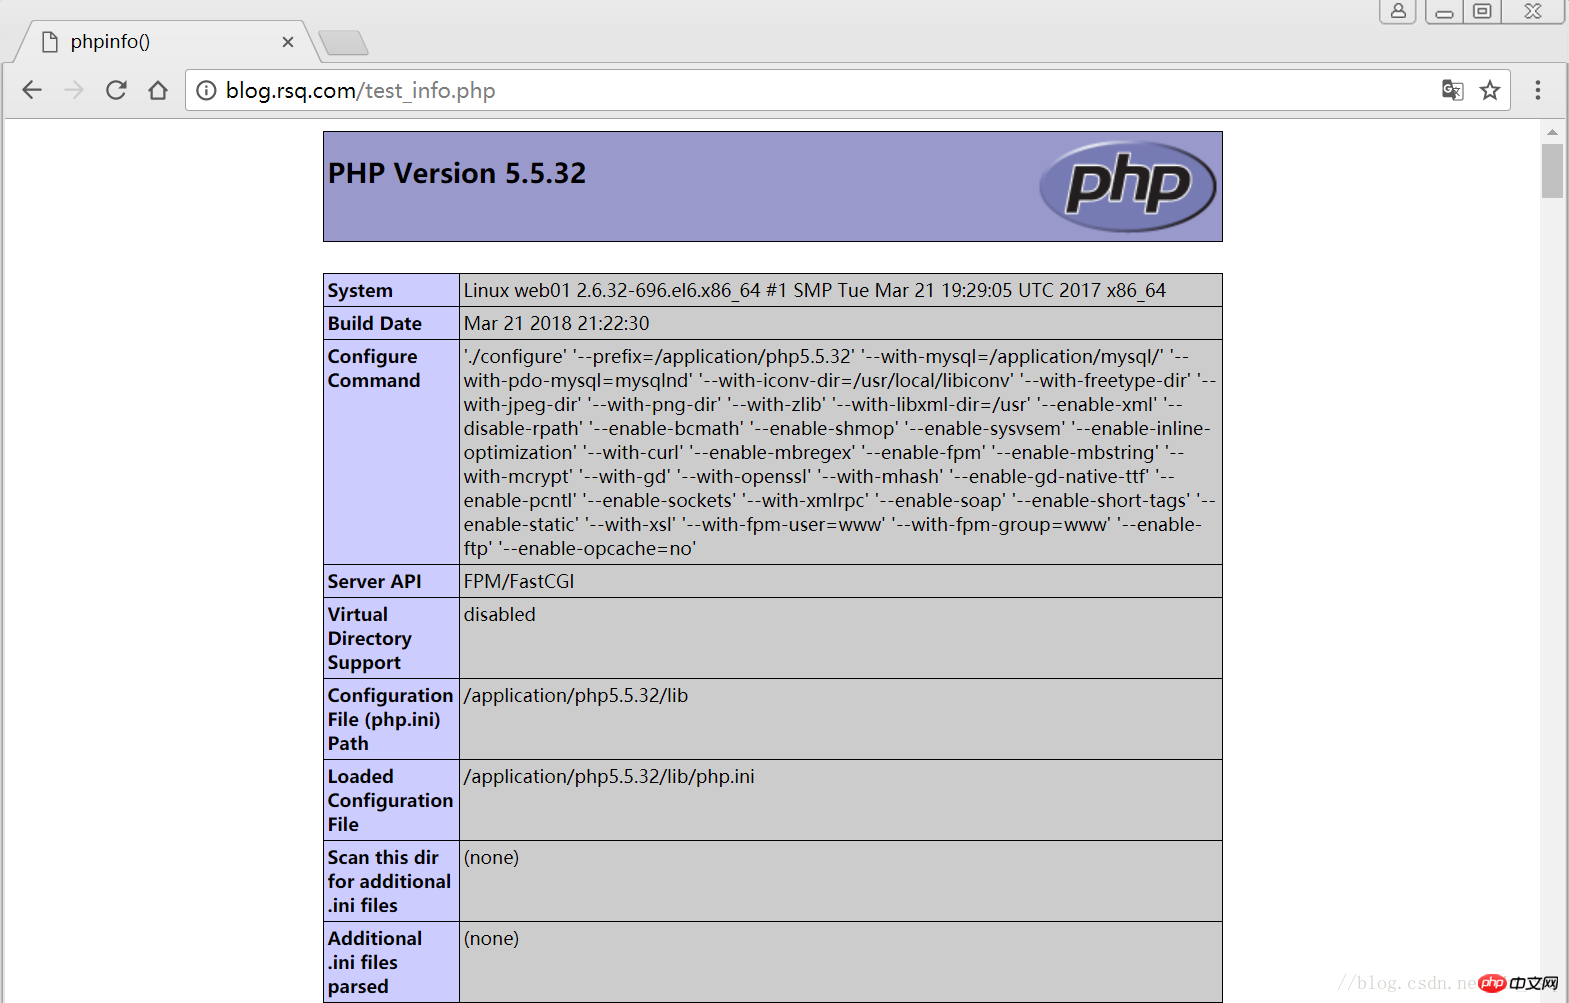
1.2 验证php到mysql的连通性
# 写一个简单的数据库连接脚本[root@web01 blog]# cat test_mysql.php<?php
$link_id=mysql_connect('localhost','root','oldboy123') or mysql_error(); if($link_id){ echo "Mysql successful by RSQ !";
}else{ echo mysql_error();
}?># 浏览器端测试 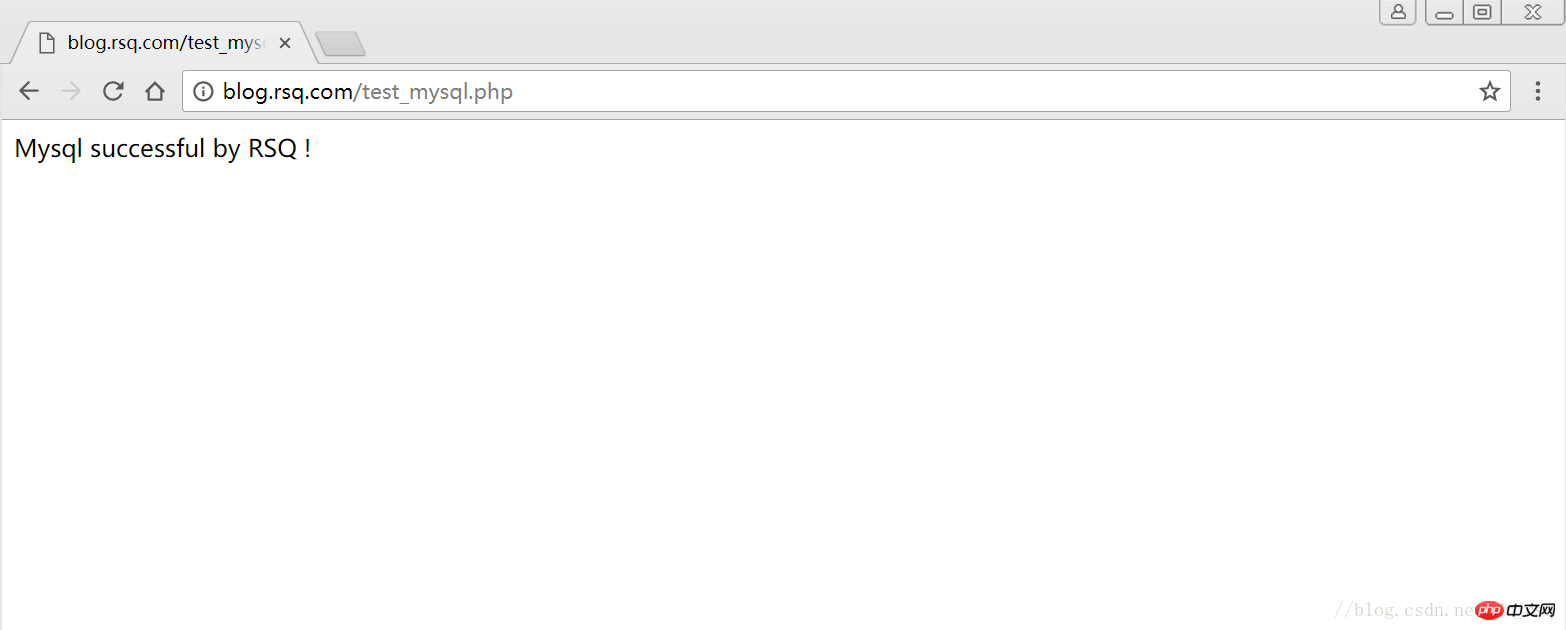
2 LNMP之wordpress个人博客搭建
2.1 创建wordpress数据库
# 先登录mysql,创建WordPress所需要的数据库
[root@web01 ~]# mysql -uroot -poldboy123mysql> show databases;
+--------------------+| Database           |
+--------------------+| information_schema |
| mysql              |
| performance_schema || test               |
+--------------------+4 rows in set (0.01 sec)

mysql> drop database test;          # 删除多余的test数据库
Query OK, 0 rows affected (0.02 sec)mysql> show databases;          #显示数据库
+--------------------+| Database           |
+--------------------+| information_schema |
| mysql              |
| performance_schema |+--------------------+3 rows in set (0.00 sec)

mysql> create database wordpress;           # 创建wordpress用户
Query OK, 1 row affected (0.00 sec)mysql> show databases;
+--------------------+| Database           |
+--------------------+| information_schema |
| mysql              |
| performance_schema || wordpress          |
+--------------------+4 rows in set (0.00 sec)mysql> select user();
+----------------+| user()         |
+----------------+| root@localhost |
+----------------+1 row in set (0.00 sec)mysql> select user,host from mysql.user;        #查看当前数据库用户
+------+-----------+| user | host      |
+------+-----------+| root | 127.0.0.1 |
| root | ::1       |
|      | localhost || root | localhost |
+------+-----------+4 rows in set (0.00 sec)

# 为wordpress数据库创建专门管理的wordpress用户并授予所有权限
mysql> grant all on wordpress.* to wordpress@'localhost' identified by '123456';
Query OK, 0 rows affected (0.00 sec)mysql> select user,host from mysql.user;    # 查看wordpress数据库用户是否创建
+-----------+-----------+| user      | host      |
+-----------+-----------+| root      | 127.0.0.1 |
| root      | ::1       |
|           | localhost |
| root      | localhost || wordpress | localhost |
+-----------+-----------+5 rows in set (0.00 sec)
mysql> show grants for wordpress@'localhost';   # 查看指定用户所具有的权限
mysql> flush privileges;        # 刷新一下,使用户权限生效
Query OK, 0 rows affected (0.00 sec)
2.2 修改blog.conf配置文件
# blog.conf配置文件中index新增index.html[root@web01 extra]# cat blog.conf
    server {
        listen       80;
        server_name  blog.rsq.com;
        location / {
            root   html/blog;
            index  index.php index.html index.htm;
        }
        location ~ .*\.(php|php5)?$ {
            root html/blog;
        fastcgi_pass 127.0.0.1:9000;
        fastcgi_index index.php;
        include fastcgi.conf;
        }
    }
[root@web01 tools]# /application/nginx/sbin/nginx -t nginx: the configuration file /application/nginx-1.6.3//conf/nginx.conf syntax is oknginx: configuration file /application/nginx-1.6.3//conf/nginx.conf test is successful
[root@web01 tools]# /application/nginx/sbin/nginx -s reload
2.3 下载wordpress软件包
# 先去官网查看所支持插件的版本 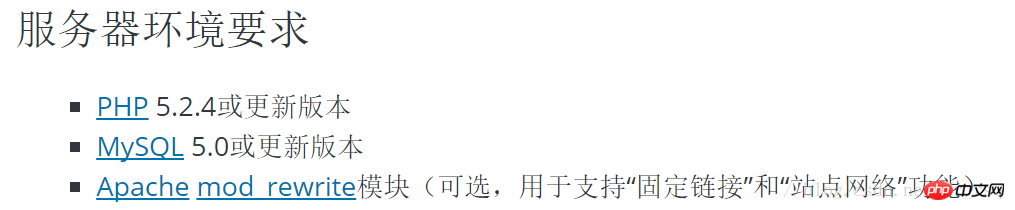
# 去官网下载最新的wordpress软件包[root@web01 extra]# cd /home/oldboy/tools/[root@web01 tools]# wget https://cn.wordpress.org/wordpress-4.9.4-zh_CN.tar.gz# 解压缩[root@web01 tools]# tar -xf wordpress-4.9.4-zh_CN.tar.gz# 拷贝wordpress目录下的所有内容到/application/nginx/html/blog/目录下[root@web01 tools]# cp -a wordpress/* /application/nginx/html/blog/[root@web01 tools]# ls /application/nginx/html/blog/index.php wp-blog-header.php wp-includes wp-settings.phplicense.txt wp-comments-post.php wp-links-opml.php wp-signup.phpreadme.html wp-config-sample.php wp-load.php wp-trackback.phpwp-activate.php wp-content wp-login.php xmlrpc.phpwp-admin wp-cron.php wp-mail.php# 授予权限,先暂时授予所有文件,以后再调整权限[root@web01 tools]# chown -R www.www /application/nginx/html/blog/
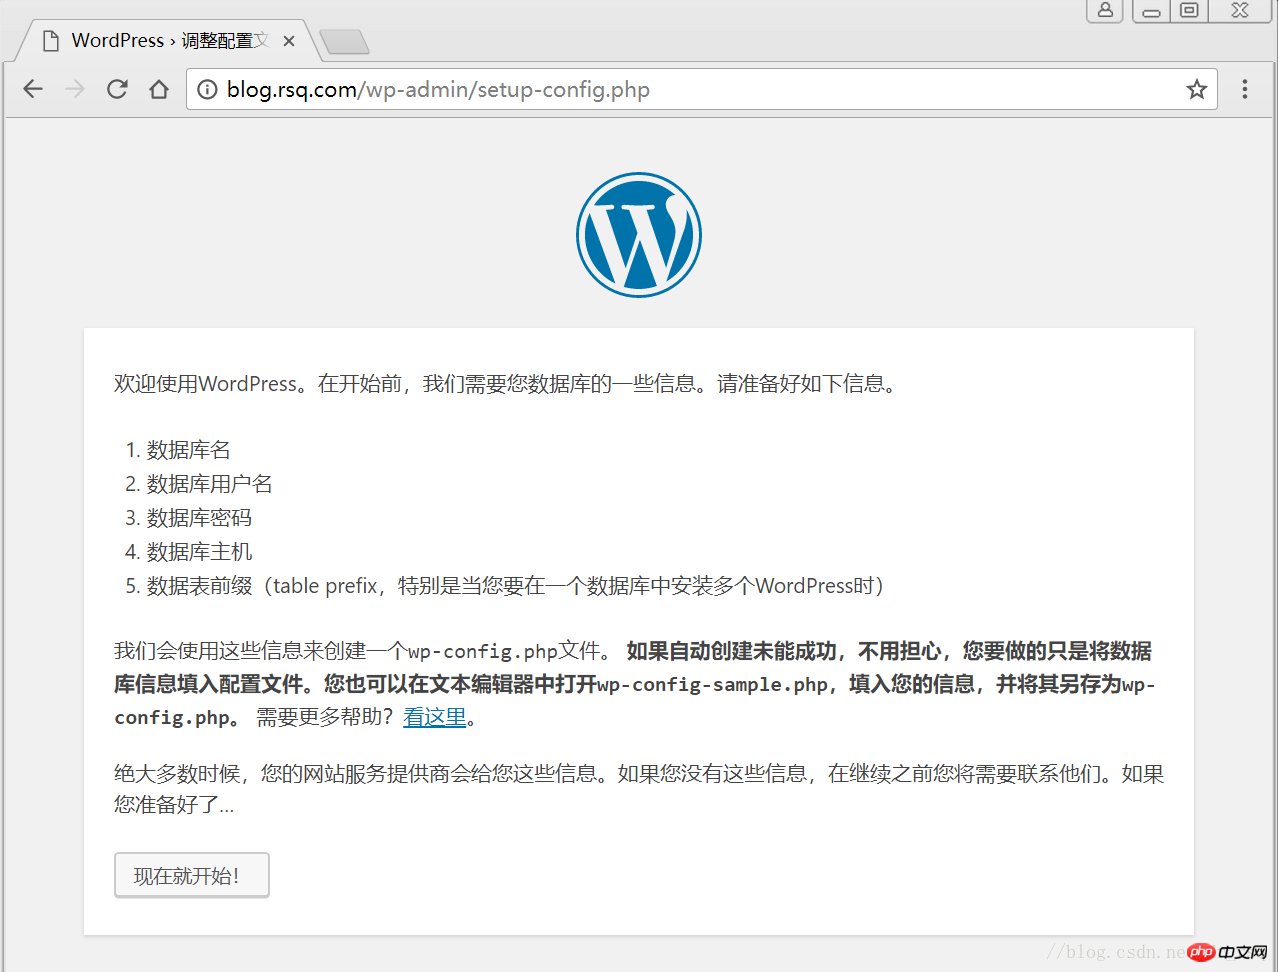
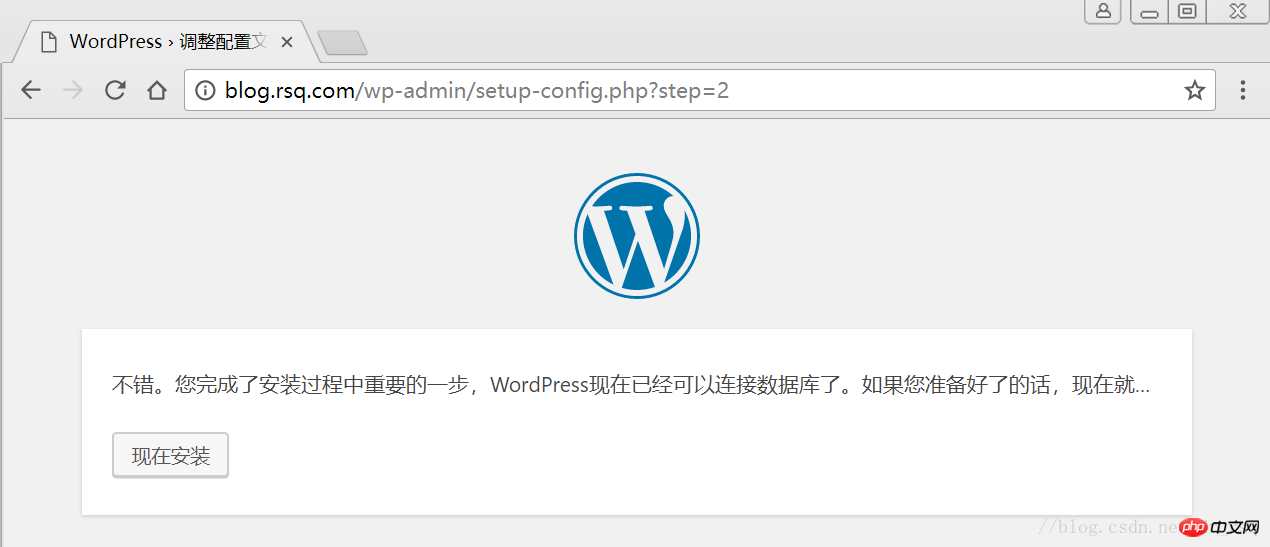
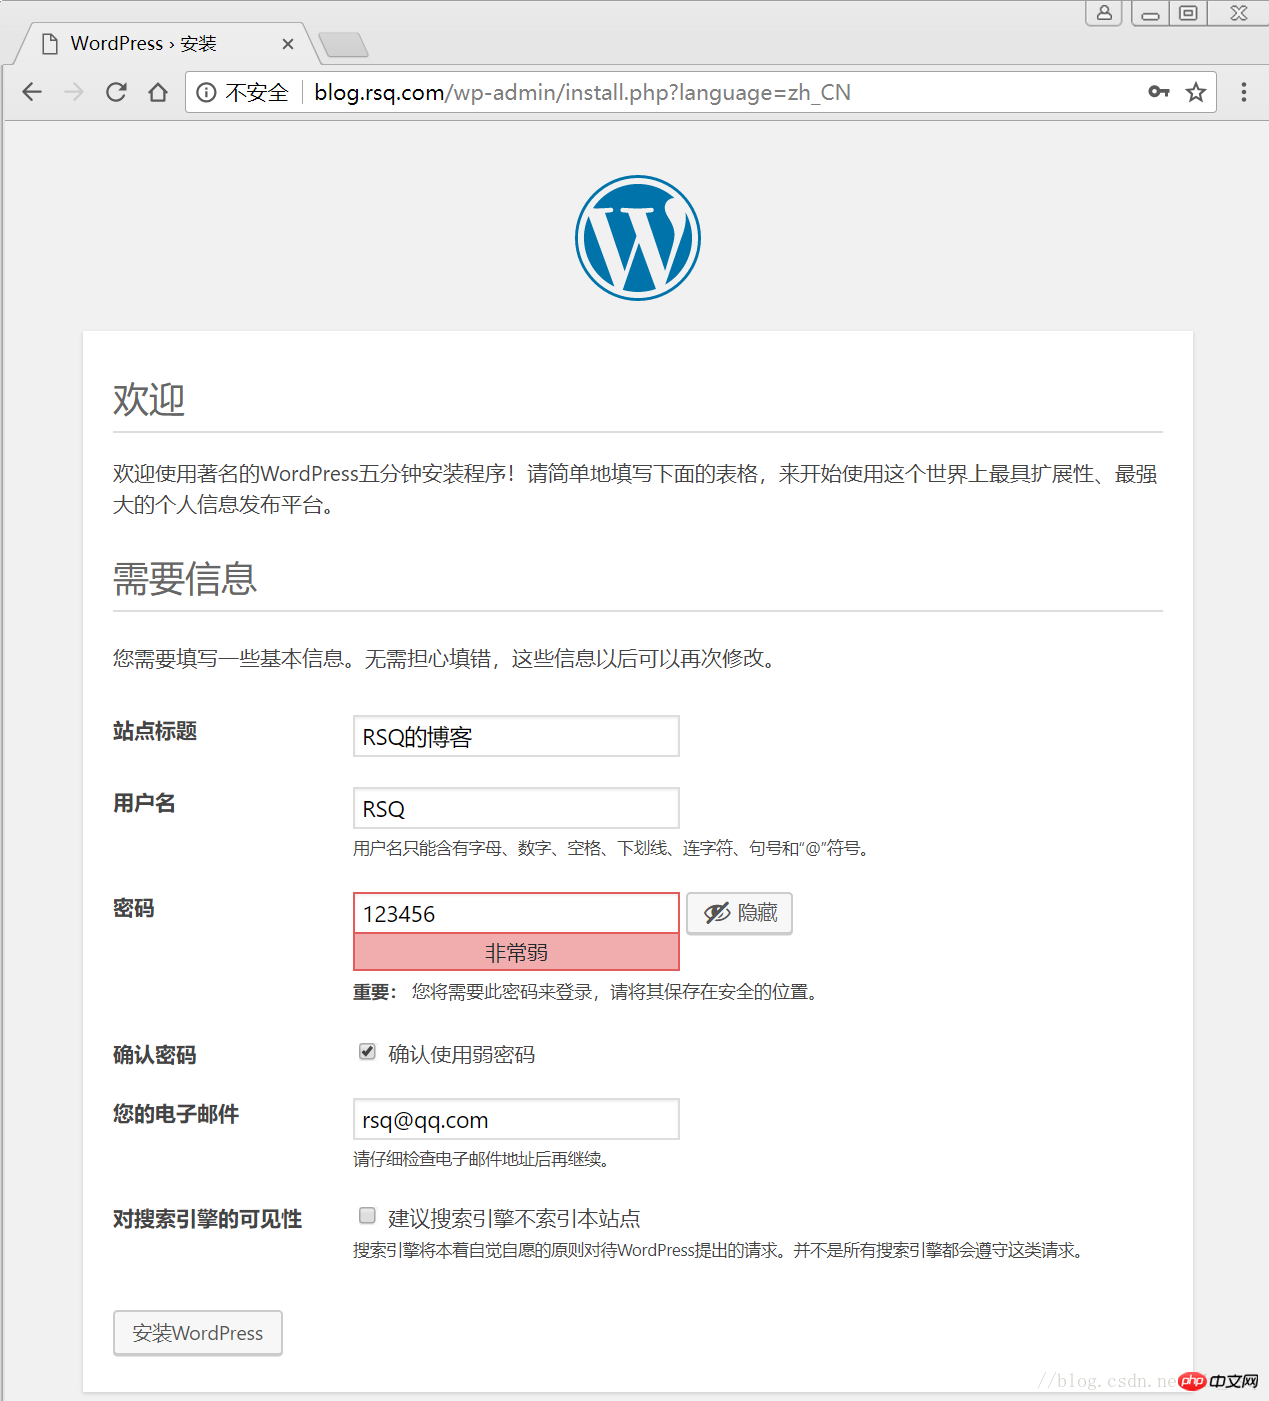
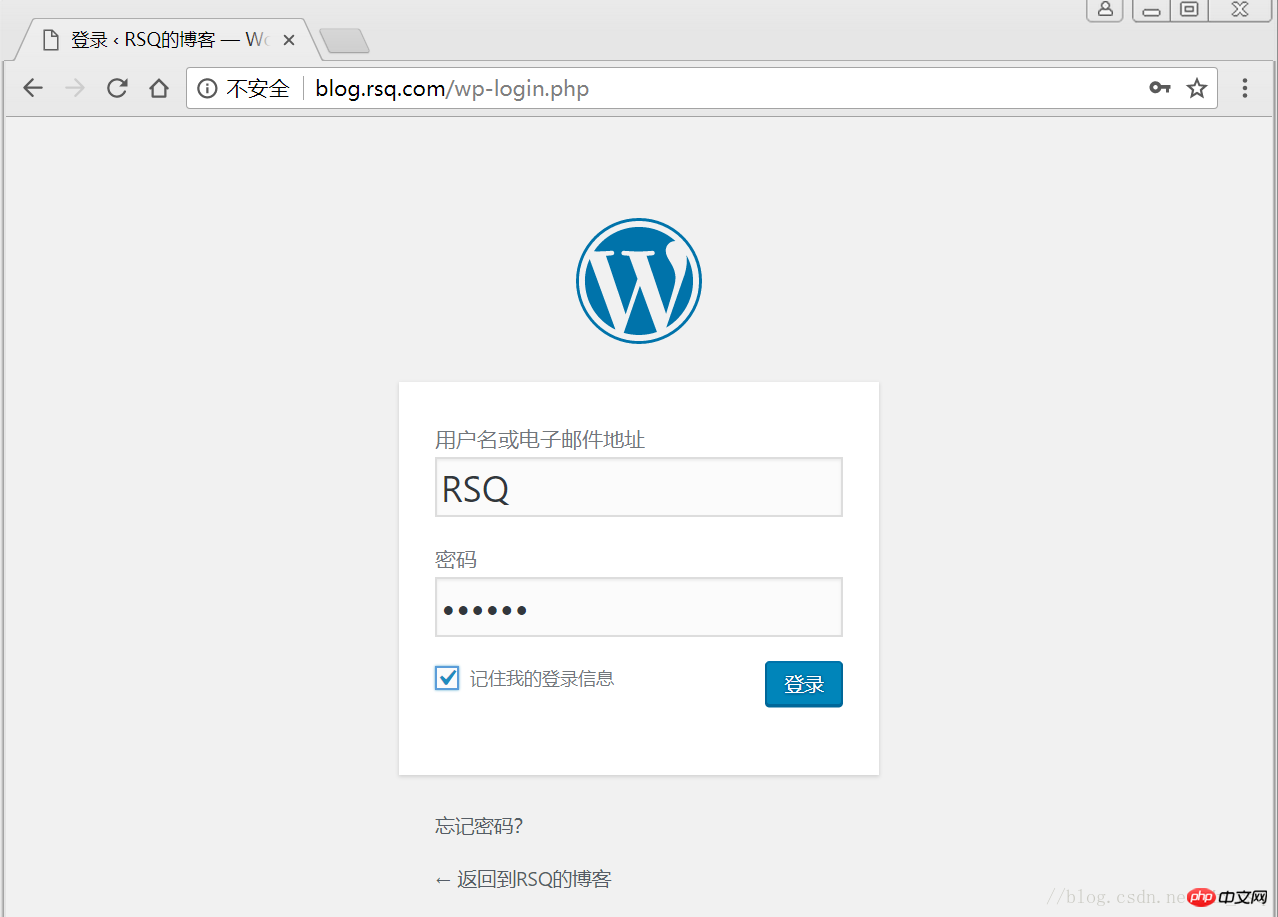
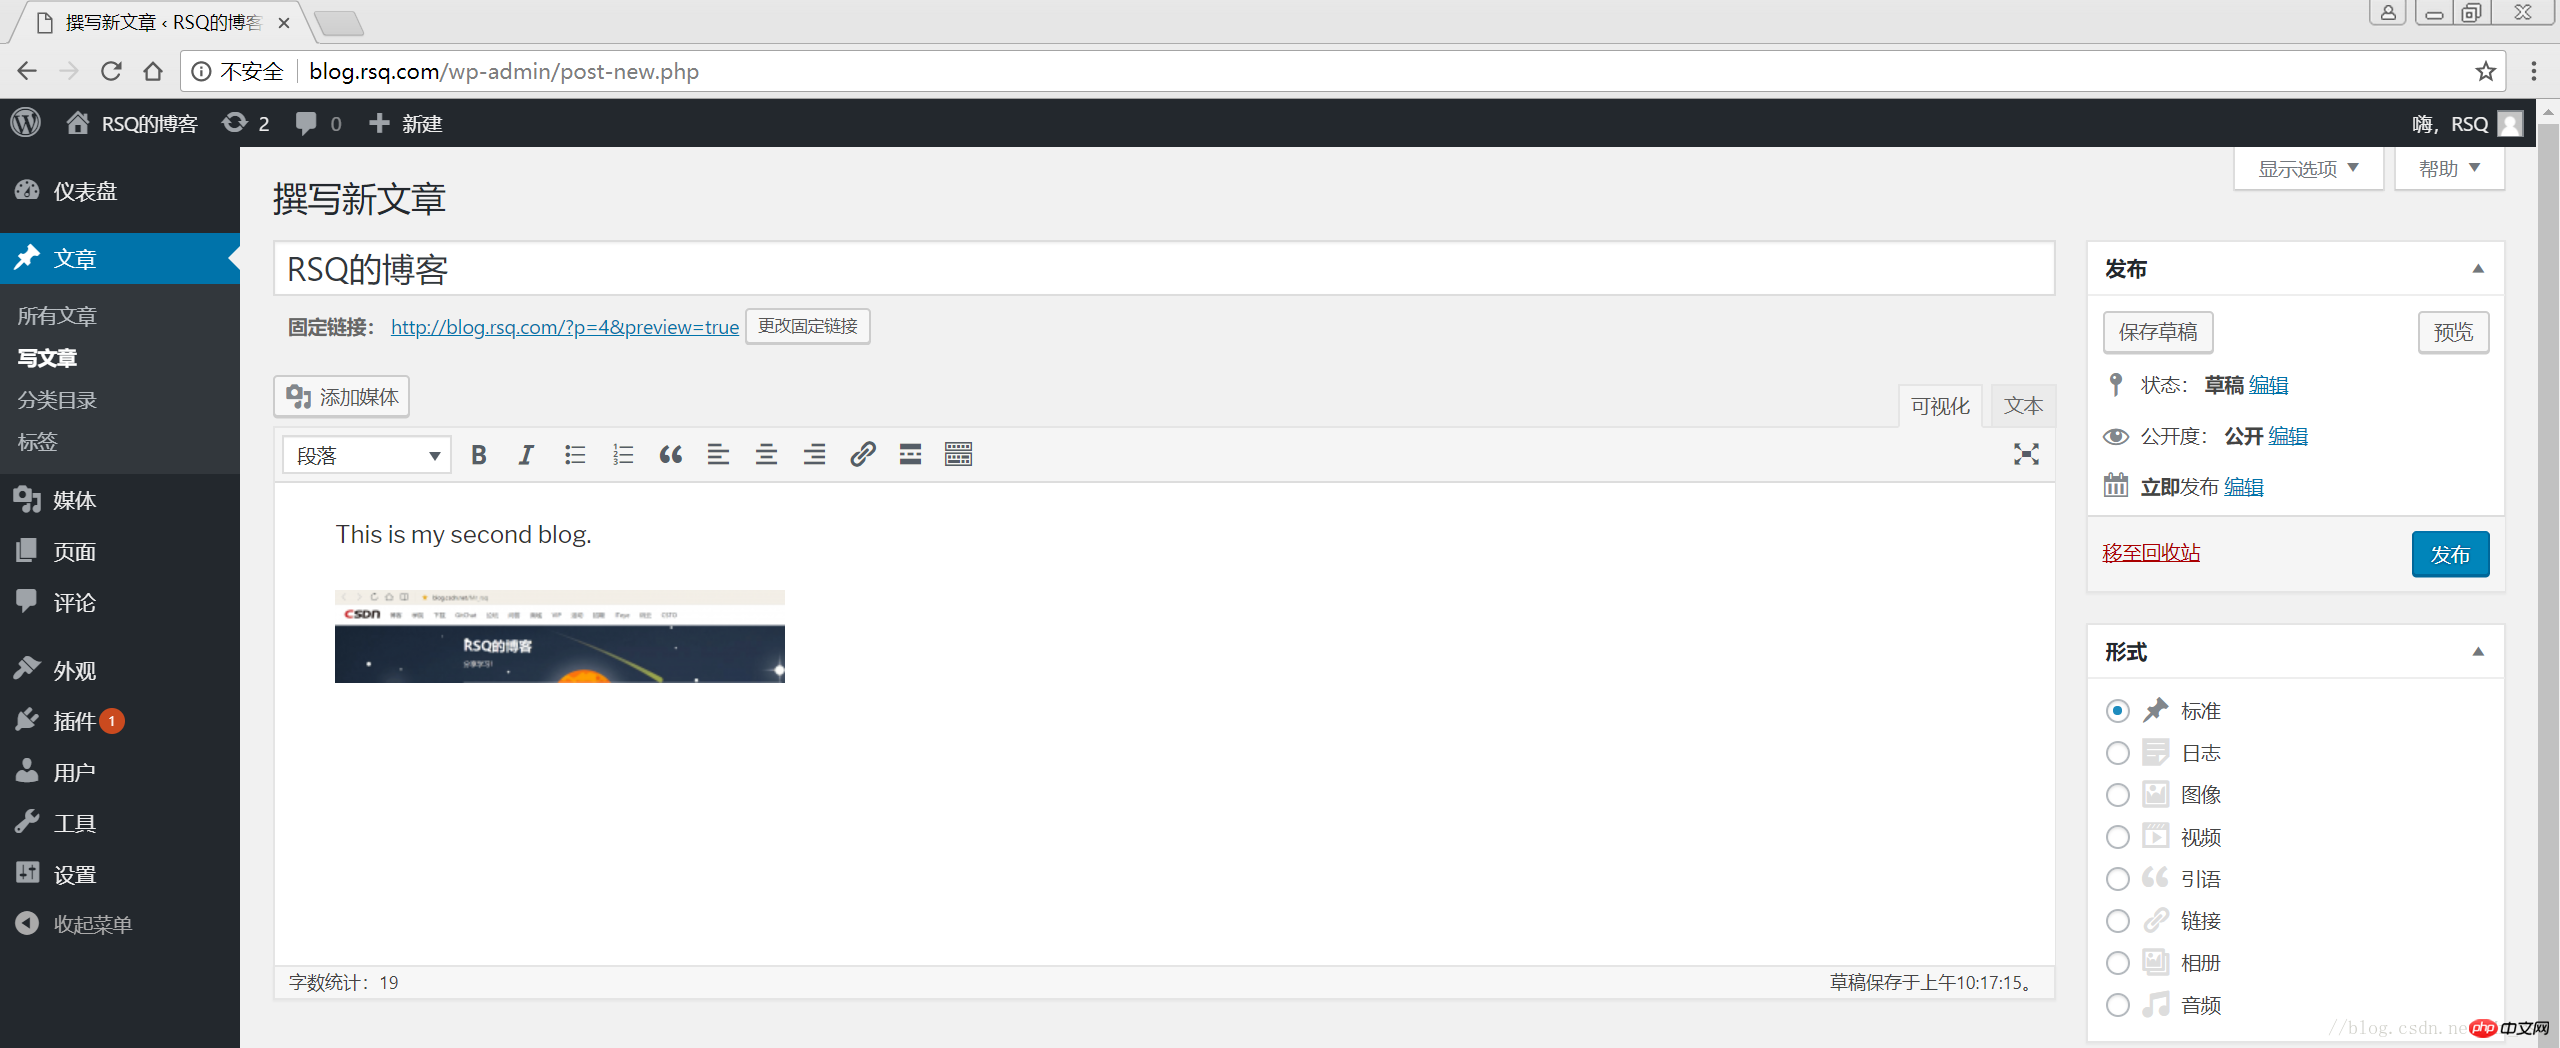
2.4 网页安装wordpress
# 客户端 hosts文件要做解析


———————————————END!
目录
1 LNMP组合
1.1 验证Nginx到php的连通性
1.2 验证php到mysql的连通性
2 LNMP之wordpress个人博客搭建
2.1 创建wordpress数据库
2.2 修改blog.conf配置文件
2.3 下载wordpress软件包
2.4 网页安装wordpress
1 LNMP组合
1.1 验证Nginx到php的连通性
在前几篇博文中所有环境都已经配置好了,下面测试Nginx和php之间的连通
LNMP之Nginx服务搭建及三种类型虚拟主机
LNMP之二进制安装mysql-5.5.54
LNMP之源码编译安装php-5.5.32
# 修改/application/nginx/conf/extra/blog.conf[root@web01 extra]# cat blog.conf
    server {        listen       80;
        server_name  blog.rsq.com;
        location / {
            root   html/blog;            index  index.html index.htm;
        }
        location ~ .*\.(php|php5)?$ {
            root html/blog;
        fastcgi_pass 127.0.0.1:9000;
        fastcgi_index index.php;
        include fastcgi.conf;
        }
    }# 重启nginx服务[root@web01 extra]# ../../sbin/nginx -tnginx: the configuration file /application/nginx-1.6.3//conf/nginx.conf syntax is ok
nginx: configuration file /application/nginx-1.6.3//conf/nginx.conf test is successful
[root@web01 extra]# ../../sbin/nginx -s reload# 在/application/nginx/html/blog/目录中写一个phpinfo文件,测试连通性[root@web01 extra]# cd /application/nginx/html/blog/[root@web01 blog]# echo "<?php phpinfo(); ?>" >test_info.php[root@web01 blog]# cat test_info.php<?php phpinfo(); ?>
# windows浏览器中做访问测试,若出现以下页面则测试成功
1.2 验证php到mysql的连通性
# 写一个简单的数据库连接脚本[root@web01 blog]# cat test_mysql.php<?php
$link_id=mysql_connect('localhost','root','oldboy123') or mysql_error(); if($link_id){ echo "Mysql successful by RSQ !";
}else{ echo mysql_error();
}?># 浏览器端测试
2 LNMP之wordpress个人博客搭建
2.1 创建wordpress数据库
# 先登录mysql,创建WordPress所需要的数据库
[root@web01 ~]# mysql -uroot -poldboy123mysql> show databases;
+--------------------+| Database           |
+--------------------+| information_schema |
| mysql              |
| performance_schema || test               |
+--------------------+4 rows in set (0.01 sec)

mysql> drop database test;          # 删除多余的test数据库
Query OK, 0 rows affected (0.02 sec)mysql> show databases;          #显示数据库
+--------------------+| Database           |
+--------------------+| information_schema |
| mysql              |
| performance_schema |+--------------------+3 rows in set (0.00 sec)

mysql> create database wordpress;           # 创建wordpress用户
Query OK, 1 row affected (0.00 sec)mysql> show databases;
+--------------------+| Database           |
+--------------------+| information_schema |
| mysql              |
| performance_schema || wordpress          |
+--------------------+4 rows in set (0.00 sec)mysql> select user();
+----------------+| user()         |
+----------------+| root@localhost |
+----------------+1 row in set (0.00 sec)mysql> select user,host from mysql.user;        #查看当前数据库用户
+------+-----------+| user | host      |
+------+-----------+| root | 127.0.0.1 |
| root | ::1       |
|      | localhost || root | localhost |
+------+-----------+4 rows in set (0.00 sec)

# 为wordpress数据库创建专门管理的wordpress用户并授予所有权限
mysql> grant all on wordpress.* to wordpress@'localhost' identified by '123456';
Query OK, 0 rows affected (0.00 sec)mysql> select user,host from mysql.user;    # 查看wordpress数据库用户是否创建
+-----------+-----------+| user      | host      |
+-----------+-----------+| root      | 127.0.0.1 |
| root      | ::1       |
|           | localhost |
| root      | localhost || wordpress | localhost |
+-----------+-----------+5 rows in set (0.00 sec)
mysql> show grants for wordpress@'localhost';   # 查看指定用户所具有的权限
mysql> flush privileges;        # 刷新一下,使用户权限生效
Query OK, 0 rows affected (0.00 sec)
2.2 修改blog.conf配置文件
# blog.conf配置文件中index新增index.html[root@web01 extra]# cat blog.conf
    server {
        listen       80;
        server_name  blog.rsq.com;
        location / {
            root   html/blog;
            index  index.php index.html index.htm;
        }
        location ~ .*\.(php|php5)?$ {
            root html/blog;
        fastcgi_pass 127.0.0.1:9000;
        fastcgi_index index.php;
        include fastcgi.conf;
        }
    }
[root@web01 tools]# /application/nginx/sbin/nginx -t nginx: the configuration file /application/nginx-1.6.3//conf/nginx.conf syntax is oknginx: configuration file /application/nginx-1.6.3//conf/nginx.conf test is successful
[root@web01 tools]# /application/nginx/sbin/nginx -s reload
2.3 下载wordpress软件包
# 先去官网查看所支持插件的版本
# 去官网下载最新的wordpress软件包[root@web01 extra]# cd /home/oldboy/tools/[root@web01 tools]# wget https://cn.wordpress.org/wordpress-4.9.4-zh_CN.tar.gz# 解压缩[root@web01 tools]# tar -xf wordpress-4.9.4-zh_CN.tar.gz# 拷贝wordpress目录下的所有内容到/application/nginx/html/blog/目录下[root@web01 tools]# cp -a wordpress/* /application/nginx/html/blog/[root@web01 tools]# ls /application/nginx/html/blog/index.php wp-blog-header.php wp-includes wp-settings.phplicense.txt wp-comments-post.php wp-links-opml.php wp-signup.phpreadme.html wp-config-sample.php wp-load.php wp-trackback.phpwp-activate.php wp-content wp-login.php xmlrpc.phpwp-admin wp-cron.php wp-mail.php# 授予权限,先暂时授予所有文件,以后再调整权限[root@web01 tools]# chown -R www.www /application/nginx/html/blog/
2.4 网页安装wordpress
# 客户端 hosts文件要做解析
相关推荐:
以上是WordPress搭建个人博客的详细内容。更多信息请关注PHP中文网其他相关文章!

 优化PHP代码:减少内存使用和执行时间May 10, 2025 am 12:04 AM
TOOPTIMIZEPHPCODEFORDUSEMEMORYUSAGEAGEAGEAGEAGEAGEANDEXECUTITIEM,关注台词:1)USEREEREFERESCENCENCINCOPYINSTEADOFCOPYINGINATATASTRUCTURESTROUCTURESTOREDUCEMORYCONSUMPTION.2)杠杆phphppphpphp'sbuilt intimpunctionslikearray_mapforfunctionslikearray_mapforfforfforfforfasterapasterexecution.3)
 PHP电子邮件:分步发送指南May 09, 2025 am 12:14 AM
phpisusedforsendendemailsduetoitsignegrationwithservermailservicesand andexternalsmtpproviders,自动化notifications andMarketingCampaigns.1)设置设置yourphpenvironcormentswironmentswithaweberswithawebserverserverserverandphp,确保themailfunctionisenabled.2)useabasicscruct
 如何通过PHP发送电子邮件:示例和代码May 09, 2025 am 12:13 AM
发送电子邮件的最佳方法是使用PHPMailer库。1)使用mail()函数简单但不可靠,可能导致邮件进入垃圾邮件或无法送达。2)PHPMailer提供更好的控制和可靠性,支持HTML邮件、附件和SMTP认证。3)确保正确配置SMTP设置并使用加密(如STARTTLS或SSL/TLS)以增强安全性。4)对于大量邮件,考虑使用邮件队列系统来优化性能。
 高级PHP电子邮件:自定义标题和功能May 09, 2025 am 12:13 AM
CustomHeadersheadersandAdvancedFeaturesInphpeMailenHanceFunctionalityAndreliability.1)CustomHeadersheadersheadersaddmetadatatatatataatafortrackingandCategorization.2)htmlemailsallowformattingandttinganditive.3)attachmentscanmentscanmentscanbesmentscanbestmentscanbesentscanbesentingslibrarieslibrarieslibrariesliblarikelikephpmailer.4)smtppapapairatienticationaltication enterticationallimpr
 使用PHP和SMTP发送电子邮件的指南May 09, 2025 am 12:06 AM
使用PHP和SMTP发送邮件可以通过PHPMailer库实现。1)安装并配置PHPMailer,2)设置SMTP服务器细节,3)定义邮件内容,4)发送邮件并处理错误。使用此方法可以确保邮件的可靠性和安全性。
 使用PHP发送电子邮件的最佳方法是什么?May 08, 2025 am 12:21 AM
ThebestapproachforsendingemailsinPHPisusingthePHPMailerlibraryduetoitsreliability,featurerichness,andeaseofuse.PHPMailersupportsSMTP,providesdetailederrorhandling,allowssendingHTMLandplaintextemails,supportsattachments,andenhancessecurity.Foroptimalu
 PHP中依赖注入的最佳实践May 08, 2025 am 12:21 AM
使用依赖注入(DI)的原因是它促进了代码的松耦合、可测试性和可维护性。1)使用构造函数注入依赖,2)避免使用服务定位器,3)利用依赖注入容器管理依赖,4)通过注入依赖提高测试性,5)避免过度注入依赖,6)考虑DI对性能的影响。
 PHP性能调整技巧和技巧May 08, 2025 am 12:20 AM
phperformancetuningiscialbecapeitenhancesspeedandeffice,whatevitalforwebapplications.1)cachingwithapcureduccureducesdatabaseloadprovesrovesponsemetimes.2)优化


热AI工具

Undresser.AI Undress
人工智能驱动的应用程序,用于创建逼真的裸体照片

AI Clothes Remover
用于从照片中去除衣服的在线人工智能工具。

Undress AI Tool
免费脱衣服图片

Clothoff.io
AI脱衣机

Video Face Swap
使用我们完全免费的人工智能换脸工具轻松在任何视频中换脸!

热门文章
热工具

SublimeText3汉化版
中文版,非常好用

安全考试浏览器
Safe Exam Browser是一个安全的浏览器环境,用于安全地进行在线考试。该软件将任何计算机变成一个安全的工作站。它控制对任何实用工具的访问,并防止学生使用未经授权的资源。

DVWA
Damn Vulnerable Web App (DVWA) 是一个PHP/MySQL的Web应用程序,非常容易受到攻击。它的主要目标是成为安全专业人员在合法环境中测试自己的技能和工具的辅助工具,帮助Web开发人员更好地理解保护Web应用程序的过程,并帮助教师/学生在课堂环境中教授/学习Web应用程序安全。DVWA的目标是通过简单直接的界面练习一些最常见的Web漏洞,难度各不相同。请注意,该软件中

mPDF
mPDF是一个PHP库,可以从UTF-8编码的HTML生成PDF文件。原作者Ian Back编写mPDF以从他的网站上“即时”输出PDF文件,并处理不同的语言。与原始脚本如HTML2FPDF相比,它的速度较慢,并且在使用Unicode字体时生成的文件较大,但支持CSS样式等,并进行了大量增强。支持几乎所有语言,包括RTL(阿拉伯语和希伯来语)和CJK(中日韩)。支持嵌套的块级元素(如P、DIV),

螳螂BT
Mantis是一个易于部署的基于Web的缺陷跟踪工具,用于帮助产品缺陷跟踪。它需要PHP、MySQL和一个Web服务器。请查看我们的演示和托管服务。

