CSS3的鼠标移入图片动态提示效果
- php中世界最好的语言原创
- 2018-03-21 09:54:343247浏览
这次给大家带来CSS3的鼠标移入图片动态提示效果,实现CSS3鼠标移入图片动态提示效果的注意事项有哪些,下面就是实战案例,一起来看一下。
第一次尝试着写博客,不好或者有误的地方希望大家多多指正呐,今天主要写的是关于CSS3的一个重要属性transform的一些用法,这些例子是之前在慕课网上学习某位老师的课程后自己敲的。
一、前言
1. transform是什么?
transform的含义是:改变,使....变形;转换
2. transform的常见属性有哪些?
transform的属性包括: translate()/rotate() / skew() / scale() /,分别还有x、y之分,比如:rotatex() 和 rotatey() ,以此类推。
transform:translate()
含义:变动,位移;例如向右位移20像素,向上位移50像素(向左向下为负值) 实例如下
.test01{-webkit-transform:translate(20px,50px);-moz-transform:translate(20px,50px)}
transform:rotate()
含义:旋转;“deg”是表示旋转的度数 例如“180deg”表示旋转“180度” 实例如下
.test02{-webkit-transform:rotate(180deg);-moz-transform:rotate(180deg)}
transform:skew()
含义:倾斜 实例如下
.test03{-webkit-transform:skew(20deg);-moz-transform:skew(20deg)}
transform:scale()
含义:比例 1.8表示以1.8的比例放大 如果是放大整数倍如放大3倍 必须写成3.0 实例如下
.test03{-webkit-transform:scale(2.5);-moz-transform:scale(2.5)}
3. transform的实例
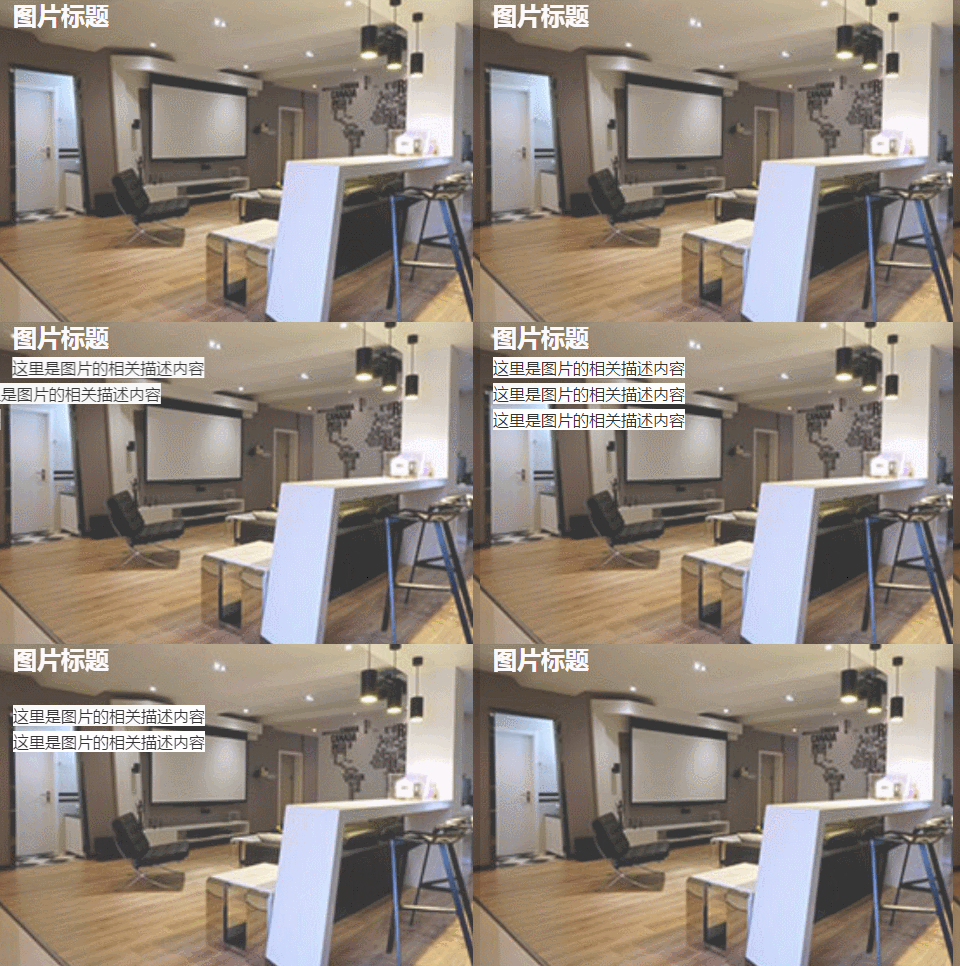
demo01 说明:鼠标移入后 图片左移 内容依次进入
步骤:
1.写好html代码并通过css设置好内容和图片的初始样式(文字内容都在图片上);
2.将描述内容通过transform属性位移到左侧 看不到为止(transform:translate(-600px,0););
3.接下来设置鼠标移入时(:hover)的样式 同样是利用transform 使内容左移的距离为0(transform:translate(0,0))这里用到transition-delay属性主要是为了让三个内容分别延迟不同的时间 形成依次进入的效果。
/*图片左移 文字依次进入*/
.test1{background: #fff;}
.test1 figcaption p{background: #fff;color:#333;margin:5px 0;transform: translate(-600px,0px);}
.test1 figcaption{padding:20px}
.test1:hover figcaption p{transform: translate(0,0);}
.test1 figcaption p:nth-of-type(1){transition-delay: 0.2s;}
.test1 figcaption p:nth-of-type(2){transition-delay: 0.3s;}
.test1 figcaption p:nth-of-type(3){transition-delay: 0.4s;}
.test1:hover img{transform: translate(-5px,0);}
        <!--移动-->
        <figure class="test1">
            <img src="img/altimg05.jpg">
            <figcaption>
                <h2>图片标题</h2>
                <p>这里是图片的相关描述内容</p>
                <p>这里是图片的相关描述内容</p>
                <p>这里是图片的相关描述内容</p>
            </figcaption>
        </figure>
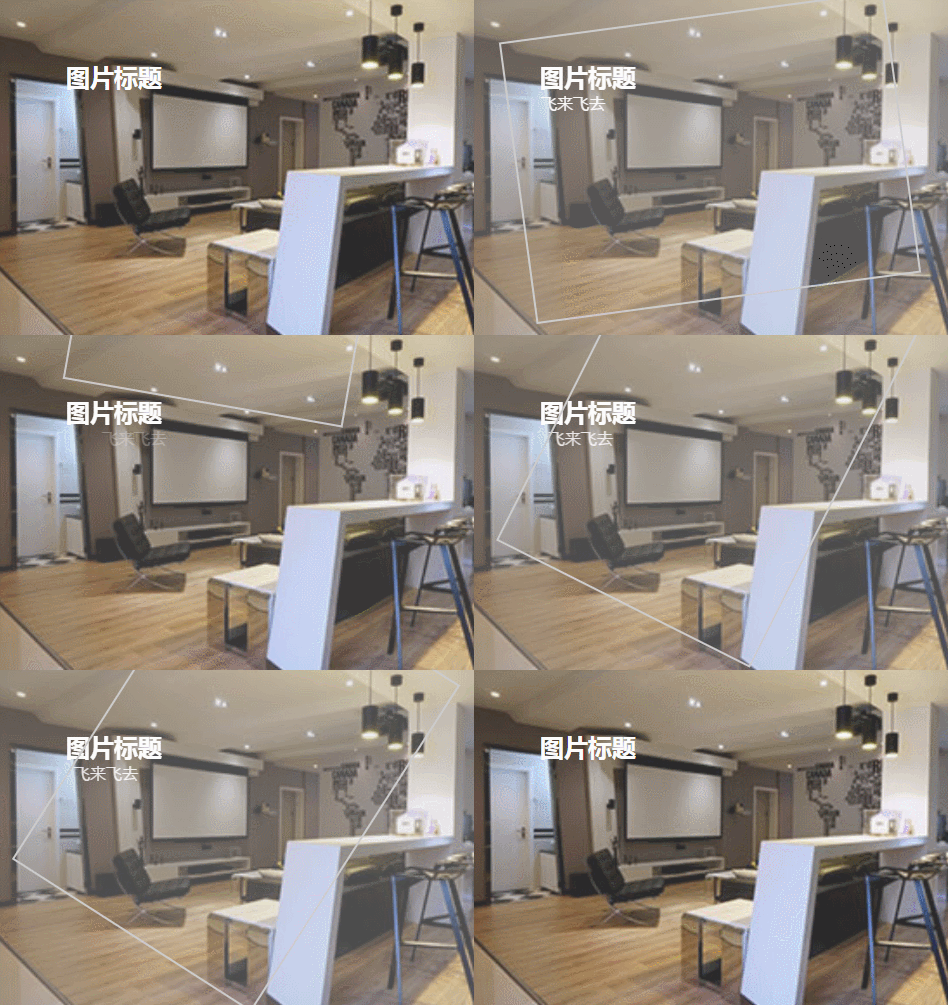
demo02 说明:鼠标移入后 图片变模糊 矩形从图片外旋转进入图片中指定位置 文字从右侧飞过来 并逐渐显示
步骤:
1.写好html代码并通过css设置好内容和图片的初始样式(矩形文字都在图片上);
2.将矩形通过transform属性位移到上方 看不到为止 并设置旋转的角度为0 transform: translate(0,-400px) rotate(0deg);
3.接下来设置鼠标移入时(:hover)的样式 位移设置为0并旋转360度 transform: translate(0,0) rotate(360deg);
/*旋转*/
.test2{background: #ccc;}
.test2 figcaption{width: 100%;height: 100%;}
.test2 figcaption h2{margin:15% 0 0 15%}
.test2 figcaption p{margin-left:15%;transform: translate(50px,0);opacity: 0;}
.test2 figcaption p{border:2px solid #ccc;width: 80%;height: 80%;position:absolute;top:10%;left:10%;transform: translate(0,-400px) rotate(0deg);}
.test2:hover figcaption p{transform: translate(0,0) rotate(360deg);}
.test2:hover img{opacity: 0.6;}
.test2:hover figcaption p{transform: translate(0,0);opacity: 1;}
        <!--旋转-->
        <figure class="test2">
            <img src="img/altimg05.jpg">
            <figcaption>
                <h2>图片标题</h2>
                <p>飞来飞去</p>
                <p></p>
            </figcaption>
        </figure>
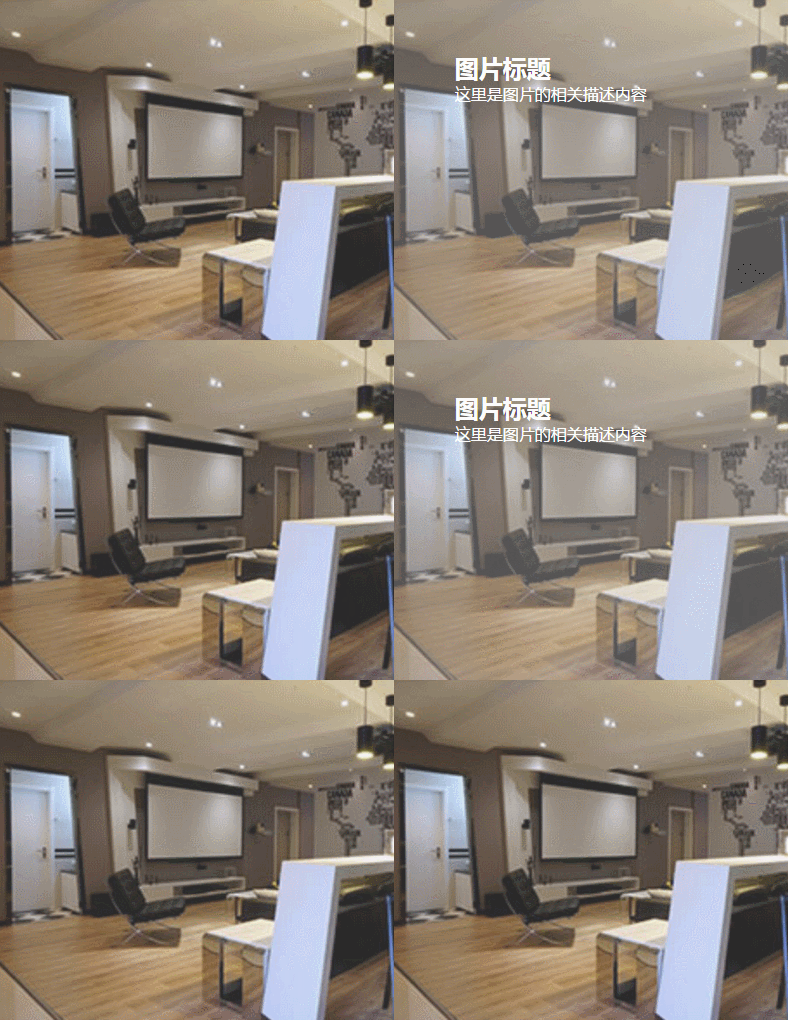
demo03 说明:鼠标移入后 扭曲的字正常显示(因为例子中扭曲了90度 所以视觉上看不到文字)
步骤:
1.写好html代码并通过css设置好内容和图片的初始样式;
2.将文字内容扭曲90度 transform: skew(90deg);
3.接下来设置鼠标移入时(:hover)的样式 将文字内容扭曲0度 transform: skew(0);
/*扭曲*/
.test3{background:#CCCCCC;}
.test3 figcaption{position: absolute;left:15%;top:15%}
.test3 figcaption h2{transform: skew(90deg);}
.test3 figcaption p{transform: skew(90deg);}
.test3:hover img{opacity: 0.6;}
.test3:hover figcaption h2{transform: skew(0);}
.test3:hover figcaption p{transform: skew(0);}
        <!--扭曲-->
        <figure class="test3">
            <img src="img/altimg05.jpg">
            <figcaption>
                <h2>图片标题</h2>
                <p>这里是图片的相关描述内容</p>
            </figcaption>
        </figure>
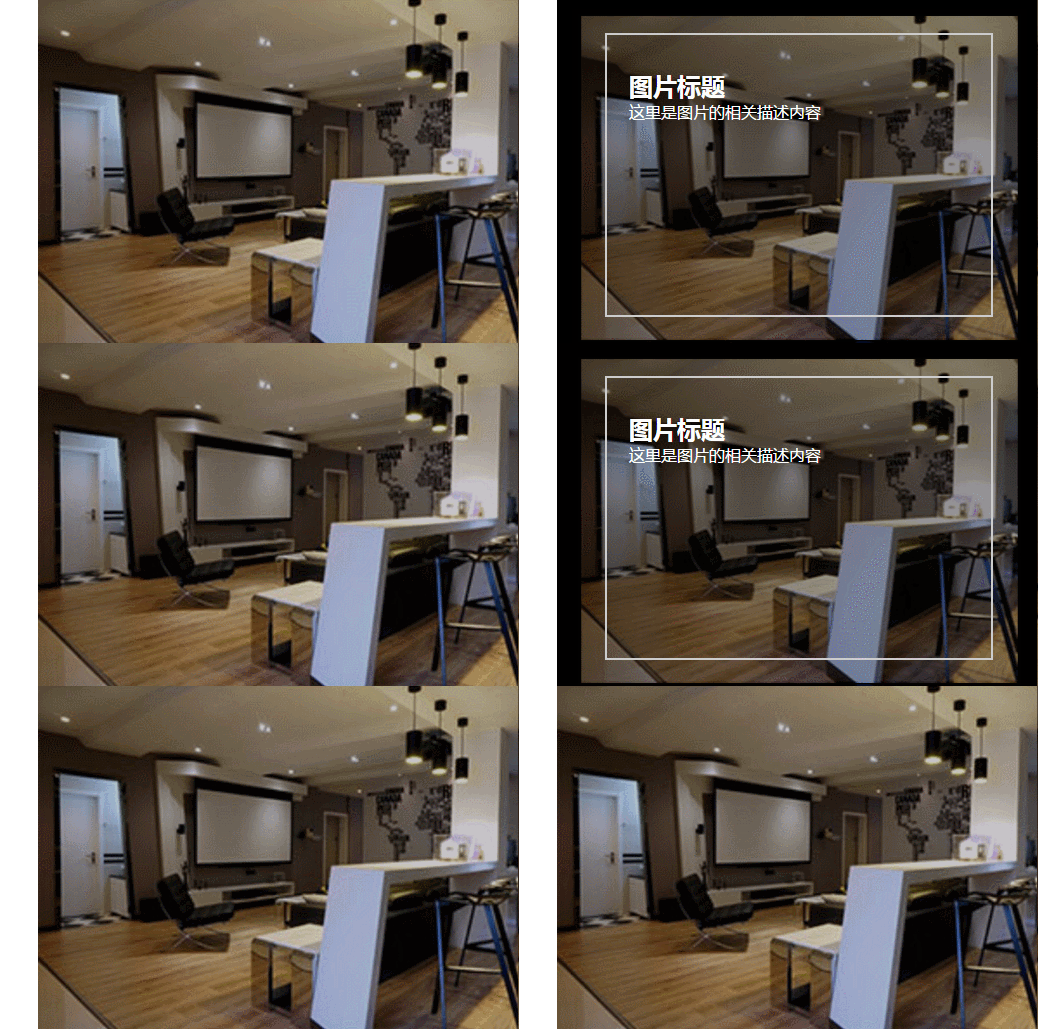
demo04 说明:鼠标移入后 矩形和文字显示并缩小 图片也缩小
步骤:
1.写好html代码并通过css设置好内容和图片的初始样式
2.将内容放大1.2倍 这是为了鼠标移入后放大倍数变成1时形成缩小的效果 内容的透明度设置为0;
3.接下来设置鼠标移入时(:hover)的样式 内容放大倍数变成1也就是原始大小 图片缩小 透明度都变成1;
/*缩放*/
.test4{background: #000;}
.test4 figcaption{width: 100%;height: 100%;}
.test4 figcaption h2{margin:15% 0 0 15%;opacity:0;transform: scale(1.2);}
.test4 figcaption p{margin-left:15%;opacity:0;transform: scale(1.2);}
.test4 figcaption p{border:2px solid #ccc;width: 80%;height: 80%;position:absolute;top:10%;left:10%;transform: scale(1.2,1.2);opacity: 0;}
.test4:hover figcaption p{transform: scale(1,1);opacity: 1;}
.test4:hover img{opacity: 0.6;transform: scale(0.9,0.9);}
.test4:hover figcaption h2{opacity: 1;transform: scale(1);}
.test4:hover figcaption p{opacity: 1;transform: scale(1);}
        <!--缩放-->
        <figure class="test4">
            <img src="img/altimg05.jpg">
            <figcaption>
                <h2>图片标题</h2>
                <p>这里是图片的相关描述内容</p>
                <p></p>
            </figcaption>
        </figure>
demo05 说明:鼠标移入后 内容显示 并出现井字格
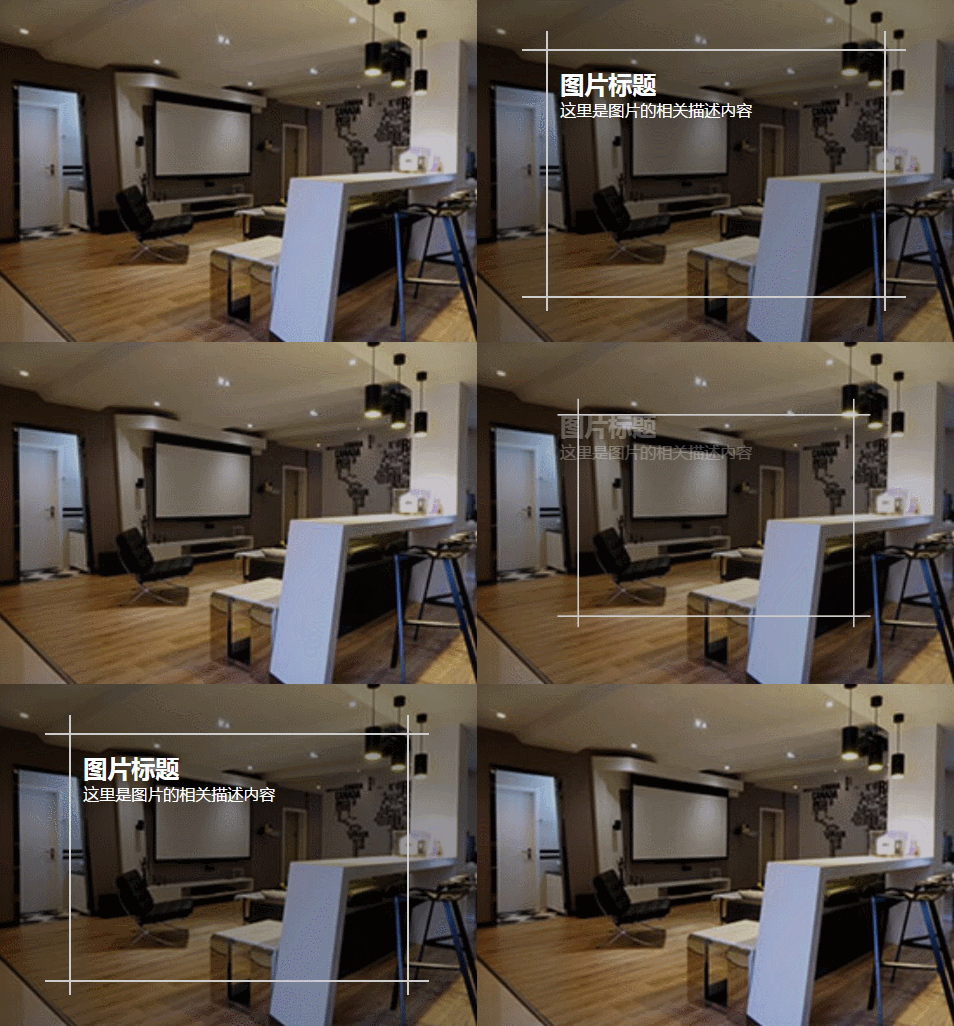
步骤:
1.写好html代码并通过css设置好内容和图片的初始样式(井字就是两个矩形的重叠)
2.将两个矩形缩小0.8 并设置透明度为0 内容也设置透明度为0;
3.接下来设置鼠标移入时(:hover)的样式 内容透明度设置为1 设置矩形缩放为1 这里利用到transition属性 主要是为了缩小放大过程逐渐变化;
/*井字格*/
.test5{background: #000;}
.test5 figcaption{width: 100%;height: 100%;}
.test5 figcaption h2{margin: 15% 0 0 18%;opacity: 0;}
.test5 figcaption p{margin-left: 18%;opacity: 0;}
.test5 figcaption p{position: absolute;}
.test5 figcaption p.p01{width: 80%;height:70%;border-top: 2px solid #ccc;border-bottom: 2px solid #ccc;left:10%;top:15%;opacity: 0;transform: scale(0.8);}
.test5 figcaption p.p02{width: 70%;height:80%;border-left: 2px solid #ccc;border-right: 2px solid #ccc;left: 15%;top:10%;opacity: 0;transform: scale(0.8);}
.test5:hover p.p01{opacity: 1;transform: scale(1);transition: transform 0.3s ease-in}
.test5:hover p.p02{opacity: 1;transform: scale(1);transition: transform 0.3s ease-in}
.test5:hover figcaption p{opacity: 1;}
.test5:hover figcaption h2{opacity: 1;}
.test5:hover img{opacity: 0.6;}
        <!--井字格-->
        <figure class="test5">
            <img src="img/altimg05.jpg">
            <figcaption>
                <h2>图片标题</h2>
                <p>这里是图片的相关描述内容</p>
                <p class="p01"></p>
                <p class="p02"></p>
            </figcaption>
        </figure>
以上是几个简单的小例子,之所以用figure和figcaption标签,主要是标签的语义化,截取动态图用到的是GifCam第一次用 挺好用的 很可爱 哈哈。
figure标签主要是用于规定独立的流内容(图片,图表,照片,代码等)而figcaption与figure标签配套使用,主要用于定义figure元素的标题
哦,对了,由于这几个例子写在一个html里面 所以提取出了部分公用的样式
body,figure,figcaption,h2,p{margin:0;padding:0;font-family: "微软雅黑";}
figure{position: relative;overflow: hidden;float: left;width:33.33%;height: 350px;}
figcaption{position: absolute;top: 0;left: 0;color:#fff;}
figure img{width:101%;height: 360px;opacity: 0.8;transition: all 0.35s}
figure figcaption p,h2,span,p{transition: all 0.35s}
@media screen and (max-width: 600px) {
    figure{width: 100%;}
}
@media screen and (min-width:601px) and (max-width: 1000px) {
    figure{width: 50%;}
}
@media screen and (min-width: 1001px) {
    figure{width: 33.33%;}
}
总结:
之所以选择写博客主要是为了锻炼自己的表达能力,培养一个总结知识点的好习惯,以前看别人写的一些好的文章时都很羡慕,自己却总是不知道从何下手,直到最近投简历的时候发现很多公司都要求注明自己的博客地址,所以有必要逼着自己写一下东西啦!
相信看了本文案例你已经掌握了方法,更多精彩请关注php中文网其它相关文章!
推荐阅读:
以上是CSS3的鼠标移入图片动态提示效果的详细内容。更多信息请关注PHP中文网其他相关文章!

