


>本教程提供了使用和微调Mistral 7b语言模型的自然语言处理任务的综合指南。 您将学会利用Kaggle进行模型访问,执行推理,应用量化技术,微调模型,合并适配器并部署到拥抱面枢纽。
>访问Mistral 7bMistral 7b可以通过各种平台访问,包括拥抱脸,顶点AI,Replicate,Sagemaker Jumpstart和Baseten。 本教程的重点是利用Kaggle的“模型”功能进行简化的访问,消除了对手动下载的需求。
>本节演示了从kaggle和执行推理加载模型。 基本图书馆更新对于防止错误至关重要:
使用BITSANDBYTES使用NF4配置进行4位量化量化量增强加载速度并降低内存使用情况:
<code>!pip install -q -U transformers
!pip install -q -U accelerate
!pip install -q -U bitsandbytes</code>
>将Mistral 7b模型添加到您的Kaggle笔记本中涉及以下步骤:
<code>from transformers import AutoTokenizer, AutoModelForCausalLM, BitsAndBytesConfig, pipeline
import torch

bnb_config = BitsAndBytesConfig(
    load_in_4bit=True,
    bnb_4bit_quant_type="nf4",
    bnb_4bit_use_double_quant=True,
)</code>>单击右图中的“添加模型”。>搜索“ Mistral 7b”,选择“ 7b-v0.1-hf”,然后添加。
- >
- 记录目录路径。
库: 使用
使用
>
transformers
<code>model_name = "/kaggle/input/mistral/pytorch/7b-v0.1-hf/1"

tokenizer = AutoTokenizer.from_pretrained(model_name)
model = AutoModelForCausalLM.from_pretrained(
        model_name,
        load_in_4bit=True,
        quantization_config=bnb_config,
        torch_dtype=torch.bfloat16,
        device_map="auto",
        trust_remote_code=True,
    )</code>
pipelineMISTRAL 7B微调
<code>pipe = pipeline(
    "text-generation",
    model=model,
    tokenizer = tokenizer,
    torch_dtype=torch.bfloat16,
    device_map="auto"
)</code>本节通过使用PEFT,4位量化和Qlora之类的技术来指导您通过>设置
<code>prompt = "As a data scientist, can you explain the concept of regularization in machine learning?"

sequences = pipe(
    prompt,
    do_sample=True,
    max_new_tokens=100,
    temperature=0.7,
    top_k=50,
    top_p=0.95,
    num_return_sequences=1,
)
print(sequences[0]['generated_text'])</code>安装了必要的库:>
导入相关模块:
使用Kaggle Secrets安全管理API密钥:guanaco-llama2-1k
基本模型,数据集和新型号名称已定义:
数据加载
<code>%%capture
%pip install -U bitsandbytes
%pip install -U transformers
%pip install -U peft
%pip install -U accelerate
%pip install -U trl</code>
加载数据集并显示样本:
><code>from transformers import AutoModelForCausalLM, AutoTokenizer, BitsAndBytesConfig,HfArgumentParser,TrainingArguments,pipeline, logging from peft import LoraConfig, PeftModel, prepare_model_for_kbit_training, get_peft_model import os,torch, wandb from datasets import load_dataset from trl import SFTTrainer</code>
<code>from kaggle_secrets import UserSecretsClient
user_secrets = UserSecretsClient()
secret_hf = user_secrets.get_secret("HUGGINGFACE_TOKEN")
secret_wandb = user_secrets.get_secret("wandb")</code>
>加载Mistral 7b
<code>!huggingface-cli login --token $secret_hf
wandb.login(key = secret_wandb)
run = wandb.init(
    project='Fine tuning mistral 7B',
    job_type="training",
    anonymous="allow"
)</code>
该模型装有4位精度:
<code>base_model = "/kaggle/input/mistral/pytorch/7b-v0.1-hf/1"
dataset_name = "mlabonne/guanaco-llama2-1k"
new_model = "mistral_7b_guanaco"</code>
加载令牌
加载和配置了令牌:
>
<code>dataset = load_dataset(dataset_name, split="train")
dataset["text"][100]</code>
添加适配器
 添加了一个lora适配器以进行有效的微调:
超参数
>培训论点是定义的:
<code>bnb_config = BitsAndBytesConfig(
    load_in_4bit= True,
    bnb_4bit_quant_type= "nf4",
    bnb_4bit_compute_dtype= torch.bfloat16,
    bnb_4bit_use_double_quant= False,
)
model = AutoModelForCausalLM.from_pretrained(
        base_model,
        load_in_4bit=True,
        quantization_config=bnb_config,
        torch_dtype=torch.bfloat16,
        device_map="auto",
        trust_remote_code=True,
)
model.config.use_cache = False
model.config.pretraining_tp = 1
model.gradient_checkpointing_enable()</code>
SFT培训
SFTTRAINER已配置并启动培训: 微调模型被保存并推到拥抱的脸上枢纽: 合并适配器 访问微型模型
<code>!pip install -q -U transformers
!pip install -q -U accelerate
!pip install -q -U bitsandbytes</code>

保存并推动模型
<code>from transformers import AutoTokenizer, AutoModelForCausalLM, BitsAndBytesConfig, pipeline
import torch

bnb_config = BitsAndBytesConfig(
    load_in_4bit=True,
    bnb_4bit_quant_type="nf4",
    bnb_4bit_use_double_quant=True,
)</code>
模型评估
使用权重和偏见评估模型性能。提供了推理示例。
>适配器与基本模型合并,并将结果模型推向拥抱的脸。
合并的模型是通过拥抱的脸和推理加载的。
结论
以上是Mistral 7B教程:使用和微调Mistral 7b的分步指南的详细内容。更多信息请关注PHP中文网其他相关文章!

 微软工作趋势指数2025显示工作场所容量应变Apr 24, 2025 am 11:19 AM
由于AI的快速整合而加剧了工作场所的迅速危机危机,要求战略转变以外的增量调整。 WTI的调查结果强调了这一点:68%的员工在工作量上挣扎,导致BUR
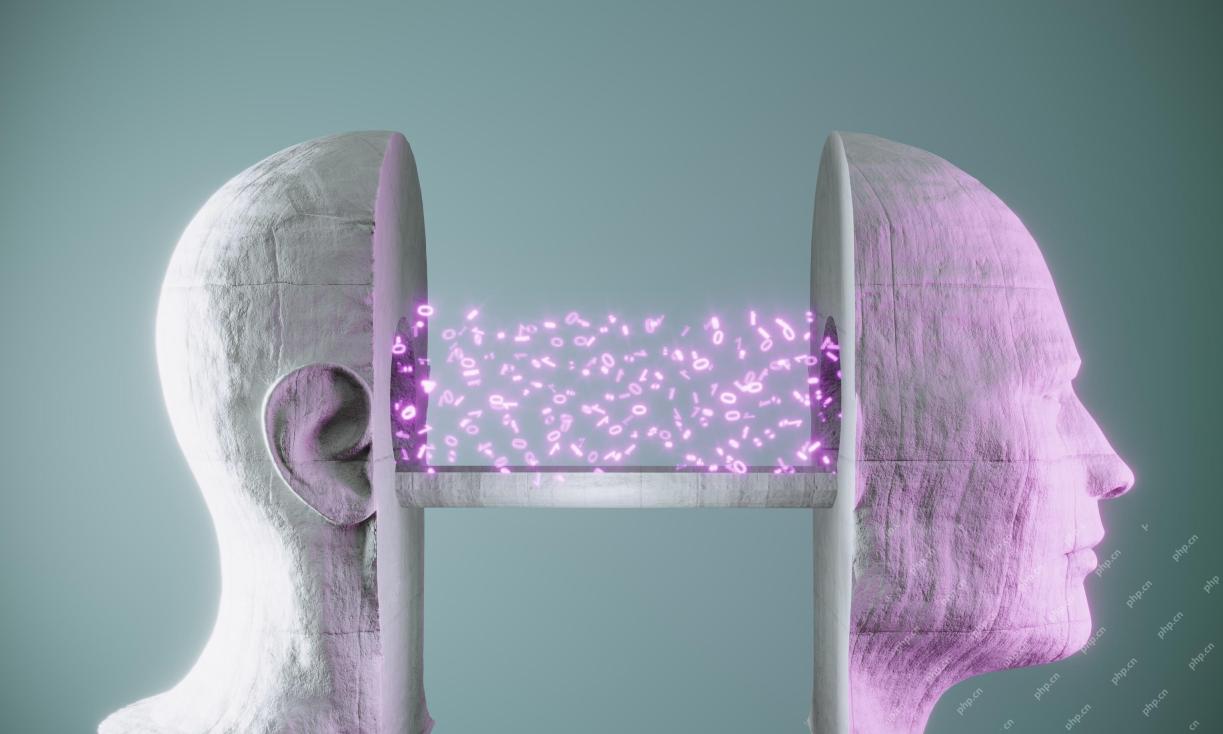
 AI可以理解吗?中国房间的论点说不,但是对吗?Apr 24, 2025 am 11:18 AM
约翰·塞尔(John Searle)的中国房间论点:对AI理解的挑战 Searle的思想实验直接质疑人工智能是否可以真正理解语言或具有真正意识。 想象一个人,对下巴一无所知
 中国的'智能” AI助手回应微软召回的隐私缺陷Apr 24, 2025 am 11:17 AM
与西方同行相比,中国的科技巨头在AI开发方面的课程不同。 他们不专注于技术基准和API集成,而是优先考虑“屏幕感知” AI助手 - AI T
 Docker将熟悉的容器工作流程带到AI型号和MCP工具Apr 24, 2025 am 11:16 AM
MCP:赋能AI系统访问外部工具 模型上下文协议(MCP)让AI应用能够通过标准化接口与外部工具和数据源交互。由Anthropic开发并得到主要AI提供商的支持,MCP允许语言模型和智能体发现可用工具并使用合适的参数调用它们。然而,实施MCP服务器存在一些挑战,包括环境冲突、安全漏洞以及跨平台行为不一致。 Forbes文章《Anthropic的模型上下文协议是AI智能体发展的一大步》作者:Janakiram MSVDocker通过容器化解决了这些问题。基于Docker Hub基础设施构建的Doc
 使用6种AI街头智能策略来建立一家十亿美元的创业Apr 24, 2025 am 11:15 AM
有远见的企业家采用的六种策略,他们利用尖端技术和精明的商业敏锐度来创造高利润的可扩展公司,同时保持控制权。本指南是针对有抱负的企业家的,旨在建立一个
 Google照片更新解锁了您所有图片的惊人Ultra HDRApr 24, 2025 am 11:14 AM
Google Photos的新型Ultra HDR工具:改变图像增强的游戏规则 Google Photos推出了一个功能强大的Ultra HDR转换工具,将标准照片转换为充满活力的高动态范围图像。这种增强功能受益于摄影师
 Descope建立AI代理集成的身份验证框架Apr 24, 2025 am 11:13 AM
技术架构解决了新兴的身份验证挑战 代理身份集线器解决了许多组织仅在开始AI代理实施后发现的问题,即传统身份验证方法不是为机器设计的
 Google Cloud Next 2025以及现代工作的未来Apr 24, 2025 am 11:12 AM
(注意:Google是我公司的咨询客户,Moor Insights&Strateging。) AI:从实验到企业基金会 Google Cloud Next 2025展示了AI从实验功能到企业技术的核心组成部分的演变,


热AI工具

Undresser.AI Undress
人工智能驱动的应用程序,用于创建逼真的裸体照片

AI Clothes Remover
用于从照片中去除衣服的在线人工智能工具。

Undress AI Tool
免费脱衣服图片

Clothoff.io
AI脱衣机

Video Face Swap
使用我们完全免费的人工智能换脸工具轻松在任何视频中换脸!

热门文章
热工具

EditPlus 中文破解版
体积小,语法高亮,不支持代码提示功能

记事本++7.3.1
好用且免费的代码编辑器

SublimeText3汉化版
中文版,非常好用

Dreamweaver Mac版
视觉化网页开发工具

MinGW - 适用于 Windows 的极简 GNU
这个项目正在迁移到osdn.net/projects/mingw的过程中,你可以继续在那里关注我们。MinGW:GNU编译器集合(GCC)的本地Windows移植版本,可自由分发的导入库和用于构建本地Windows应用程序的头文件;包括对MSVC运行时的扩展,以支持C99功能。MinGW的所有软件都可以在64位Windows平台上运行。

