


虽然Windows 11拥有各种吸引人的功能,但它也存在一些令人不安的错误。 Windows“开始”菜单不起作用是常见问题之一。升级到 Windows 11 后,您可能会发现“开始”菜单无法打开、卡住或冻结。不用担心。本文将带您了解修复 Windows 11 开始菜单更新后不起作用的 8 种方法。
![[Fixed] Windows 11 Start Menu Not Working after Update](https://img.php.cn/upload/article/000/000/000/172256080846666.jpg?x-oss-process=image/resize,p_40)
- 方式 1:重新启动 Windows 资源管理器
- 方式2:锁定电脑并重新登录
- 方法 3:重新启动电脑
- 方式4:使用新帐户登录
- 方法5:以安全模式运行Windows
- 方式6:运行DISM和SFC
- 方法 7:更新你的显卡驱动程序
- 方法 8:重置你的电脑
如果开始菜单在 Windows 11 中不起作用怎么办?
方式1:重新启动Windows资源管理器
Window Explorer 是 Windows 操作系统的图形文件管理实用程序。它可以控制各种服务,包括开始菜单、任务栏等。当您发现Windows 11开始菜单更新后不起作用时,您可以先尝试重新启动Windows资源管理器。
第1步:按 Ctrl + Shift + ESC进入任务管理器。
第 2 步:选择 Windows 资源管理器,然后点击右下角的重新启动。
![[Fixed] Windows 11 Start Menu Not Working after Update](https://img.php.cn/upload/article/000/000/000/172256081069031.png?x-oss-process=image/resize,p_40)
方法 3:重新启动电脑
当您的Windows 11电脑出现问题时,您想到的第一个解决方案就是重新启动电脑。通常,如果您重新启动电脑,所有服务和进程也将被迫重新启动。因此,重新启动电脑可以重新启动“开始”菜单,这可能会修复 Windows 11“开始”菜单不起作用的问题。
第 1 步:按 Alt + F4 运行关闭 Windows
第 2 步:展开下拉菜单以选择 重新启动。
第 3 步:点击 确定 重新启动 Windows 11。
![[Fixed] Windows 11 Start Menu Not Working after Update](https://img.php.cn/upload/article/000/000/000/172256081244547.png?x-oss-process=image/resize,p_40)
方式4:使用新帐户登录
如果您的帐户内部存在一些问题,也可能导致您的Windows 11开始菜单无法工作。解决此问题的简单方法是注销当前帐户并使用新的本地管理员帐户登录。
第 1 步:按 Windows 键 + I 进入“设置”。然后点击帐户名称并选择家庭和其他用户选项。 ![[Fixed] Windows 11 Start Menu Not Working after Update](https://img.php.cn/upload/article/000/000/000/172256081443044.png?x-oss-process=image/resize,p_40)
第 2 步:在其他用户 部分下,您可以点击 添加帐户来创建新帐户。
![[Fixed] Windows 11 Start Menu Not Working after Update](https://img.php.cn/upload/article/000/000/000/172256081538535.png?x-oss-process=image/resize,p_40)
第 3 步:点击我没有此人的登录信息。
![[Fixed] Windows 11 Start Menu Not Working after Update](https://img.php.cn/upload/article/000/000/000/172256081628851.png?x-oss-process=image/resize,p_40)
第 4 步:选择添加没有 Microsoft 帐户的用户。
![[Fixed] Windows 11 Start Menu Not Working after Update](https://img.php.cn/upload/article/000/000/000/172256081879514.png?x-oss-process=image/resize,p_40)
第五步:设置您的账户名和密码。然后点击 下一步完成新帐户的创建。您可以使用这个新帐户登录,看看它是否可以修复您的开始菜单在 Windows 11 上不起作用的问题。
![[Fixed] Windows 11 Start Menu Not Working after Update](https://img.php.cn/upload/article/000/000/000/172256082177280.png?x-oss-process=image/resize,p_40)
方法5:以安全模式运行Windows
安全模式用于对崩溃、无法正确启动的系统进行故障排除。如果在安全模式下未出现问题,则默认设置和基本设备驱动程序不是原因。因此,该问题可能是由您电脑上的第三方软件引起的。要修复 Windows 11 开始菜单不起作用,您可以先运行安全模式。
Step 1: Press Windows Key + I to go to settings. Then choose System > Select Recovery. Under Recovery options, click on Restart now.
![[Fixed] Windows 11 Start Menu Not Working after Update](https://img.php.cn/upload/article/000/000/000/172256082425666.png?x-oss-process=image/resize,p_40)
Step 2: Choose Troubleshoot > Advanced options > Startup Settings. Then click on Restart.
![[Fixed] Windows 11 Start Menu Not Working after Update](https://img.php.cn/upload/article/000/000/000/172256083036902.png?x-oss-process=image/resize,p_40)
Step 3: Press 4 or F4 to run Windows in a safe mode.
![[Fixed] Windows 11 Start Menu Not Working after Update](https://img.php.cn/upload/article/000/000/000/172256083289886.png?x-oss-process=image/resize,p_40)
If your Start Menu works in safe mode, the problem may be caused by your third-party apps on PC. To fix Start Menu not working on your Windows 11, you can try to uninstall the third-party apps related to your Start Menu customization and see if the problem can be solved.
Way 6: Run DISM and SFC
DISM (Deployment Imaging and Servicing Management and SFC (System File Checker) are the tools to repair your system file. If your Start Menu not working on Windows 11 is caused by the damaged or incorrect system file, you may fix it by running DISM and SFC:
Step 1: Press Windows Key + R. When Run Windows appears, enter cmd. Then hold Ctrl + Shift + Enter together, an Administrator Command Prompt will open up.
![[Fixed] Windows 11 Start Menu Not Working after Update](https://img.php.cn/upload/article/000/000/000/172256083370654.png?x-oss-process=image/resize,p_40)
Step 2: In the Administrator Command Prompt, type DISM /Online /Cleanup-Image /RestoreHealth and hit Enter on the keyboard. Wait for running DISM to check and repair the damaged system image with a clean one.
![[Fixed] Windows 11 Start Menu Not Working after Update](https://img.php.cn/upload/article/000/000/000/172256083841174.png?x-oss-process=image/resize,p_40)
Step 3: Enter SFC /scannow in Command Prompt window and hit Enter button to run the SFC command. This step will check the integrity of Windows system files and repair them if required. After finished, reboot your PC.
![[Fixed] Windows 11 Start Menu Not Working after Update](https://img.php.cn/upload/article/000/000/000/172256083971404.png?x-oss-process=image/resize,p_40)
Way 7: Update your graphics drivers
Outdated graphics drivers may lead to your Windows 11 Start Menu not working. Thus, you can try to update your graphics drivers in this way:
Step 1: Press Windows key + X and select Device Manager.
Step 2: Expand Display adapters. Then you can right-click the Display adapters and select Update driver.
![[Fixed] Windows 11 Start Menu Not Working after Update](https://img.php.cn/upload/article/000/000/000/172256084281262.png?x-oss-process=image/resize,p_40)
Step 3: Select Search automatically for drivers and wait until the best drivers is found and installed on PC.
![[Fixed] Windows 11 Start Menu Not Working after Update](https://img.php.cn/upload/article/000/000/000/172256084320993.png?x-oss-process=image/resize,p_40)
Step 4: Click Search for updated drivers on Windows Update option. When your driver is updated successfully, quit the Windows to check if it works.
![[Fixed] Windows 11 Start Menu Not Working after Update](https://img.php.cn/upload/article/000/000/000/172256084537083.png?x-oss-process=image/resize,p_40)
Way 8: Reset your PC
If none of the ways above can fix your Start Menu not working on Windows 11, here you can try to reinstall your Windows PC. Fortunately, you have an option to reset your Windows system but keep your personal files. Here come the steps.
Step 1: Press Windows + I to open Settings.
Step 2: Go to System > Recovery. Under Recovery options, click on Reset PC.
![[Fixed] Windows 11 Start Menu Not Working after Update](https://img.php.cn/upload/article/000/000/000/172256084871626.png?x-oss-process=image/resize,p_40)
Step 3: Choose Keep my files, and you can remove your apps and settings on Windows but keep your personal files. After resetting, your Start Menu may work normal on Windows 11 again.
![[Fixed] Windows 11 Start Menu Not Working after Update](https://img.php.cn/upload/article/000/000/000/172256085012267.png?x-oss-process=image/resize,p_40)
That's all the ways to fix Windows 11 Start Menu not working after update. Hopefully, with the ways above, you can make your Start Menu work on Windows 11 as soon as possible and customize your Start Menu according to your preference.
以上是[修复] Windows 11 开始菜单更新后不工作的详细内容。更多信息请关注PHP中文网其他相关文章!

 如何用没有鼠标右键单击Apr 18, 2025 pm 12:03 PM
鼠标是在PC上完成工作的重要组成部分。但是,当您陷入错误的鼠标时,您可能会遇到一些问题,包括无法右键单击。但是好消息是,肯定有一些方法
 5个错误会破坏您的窗户体验Apr 18, 2025 am 06:01 AM
保持干净有效的Windows体验对于最佳性能至关重要。 以下是一些常见的陷阱: 1。超载启动应用程序:太多的启动应用程序大大减慢了启动时间和整体系统的渗透
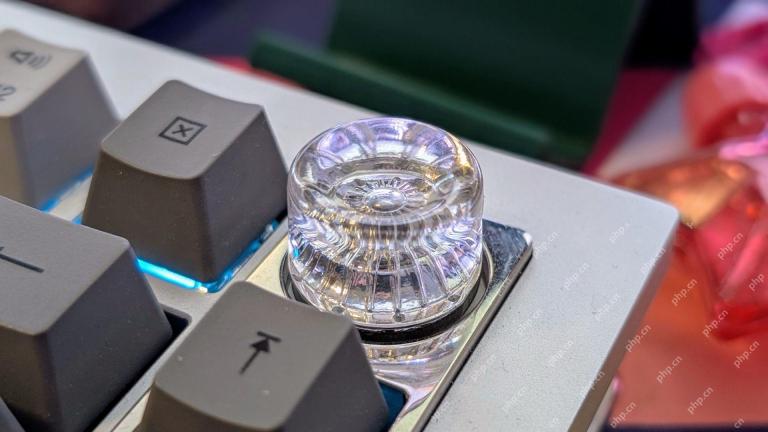 您的键盘需要一个大的OL'音量旋钮Apr 18, 2025 am 03:04 AM
在当今的触摸屏世界中,身体控制的令人满意的触觉反馈是一个可喜的变化。 这就是为什么具有较大音量旋钮的键盘令人惊讶地吸引人的原因。我最近亲身经历了这是一个启示。 为了
 Windows 11将使您在屏幕上复制任何文本Apr 18, 2025 am 03:01 AM
Windows 11剪裁工具获得了强大的新OCR功能:说再见到手动文本选择! Windows 11的剪切工具刚刚获得了重大升级,增加了光学角色识别(OCR)功能。这允许用户从V中选择文本
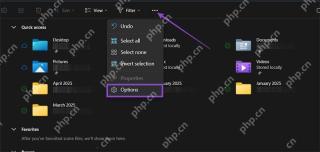 如何以及为什么更改默认文件Explorer文件夹Apr 17, 2025 pm 10:01 PM
本指南说明了如何更改Windows 11和10中文件资源管理器的默认打开位置。默认的“ HOME”视图虽然方便一些,但可能会损害隐私或工作流程效率。 本教程提供了三种方法
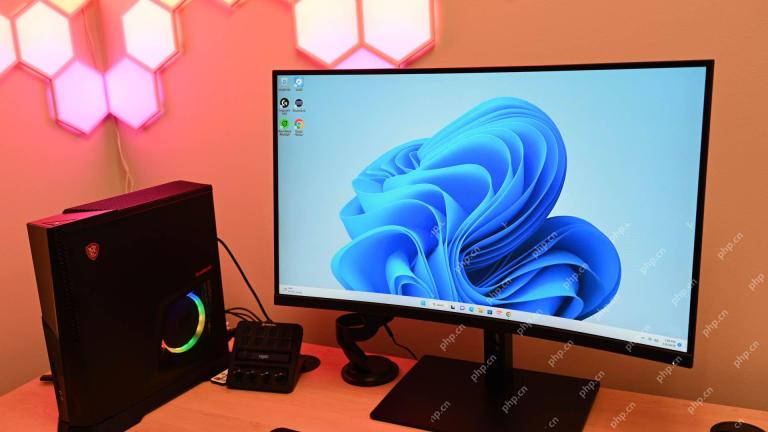
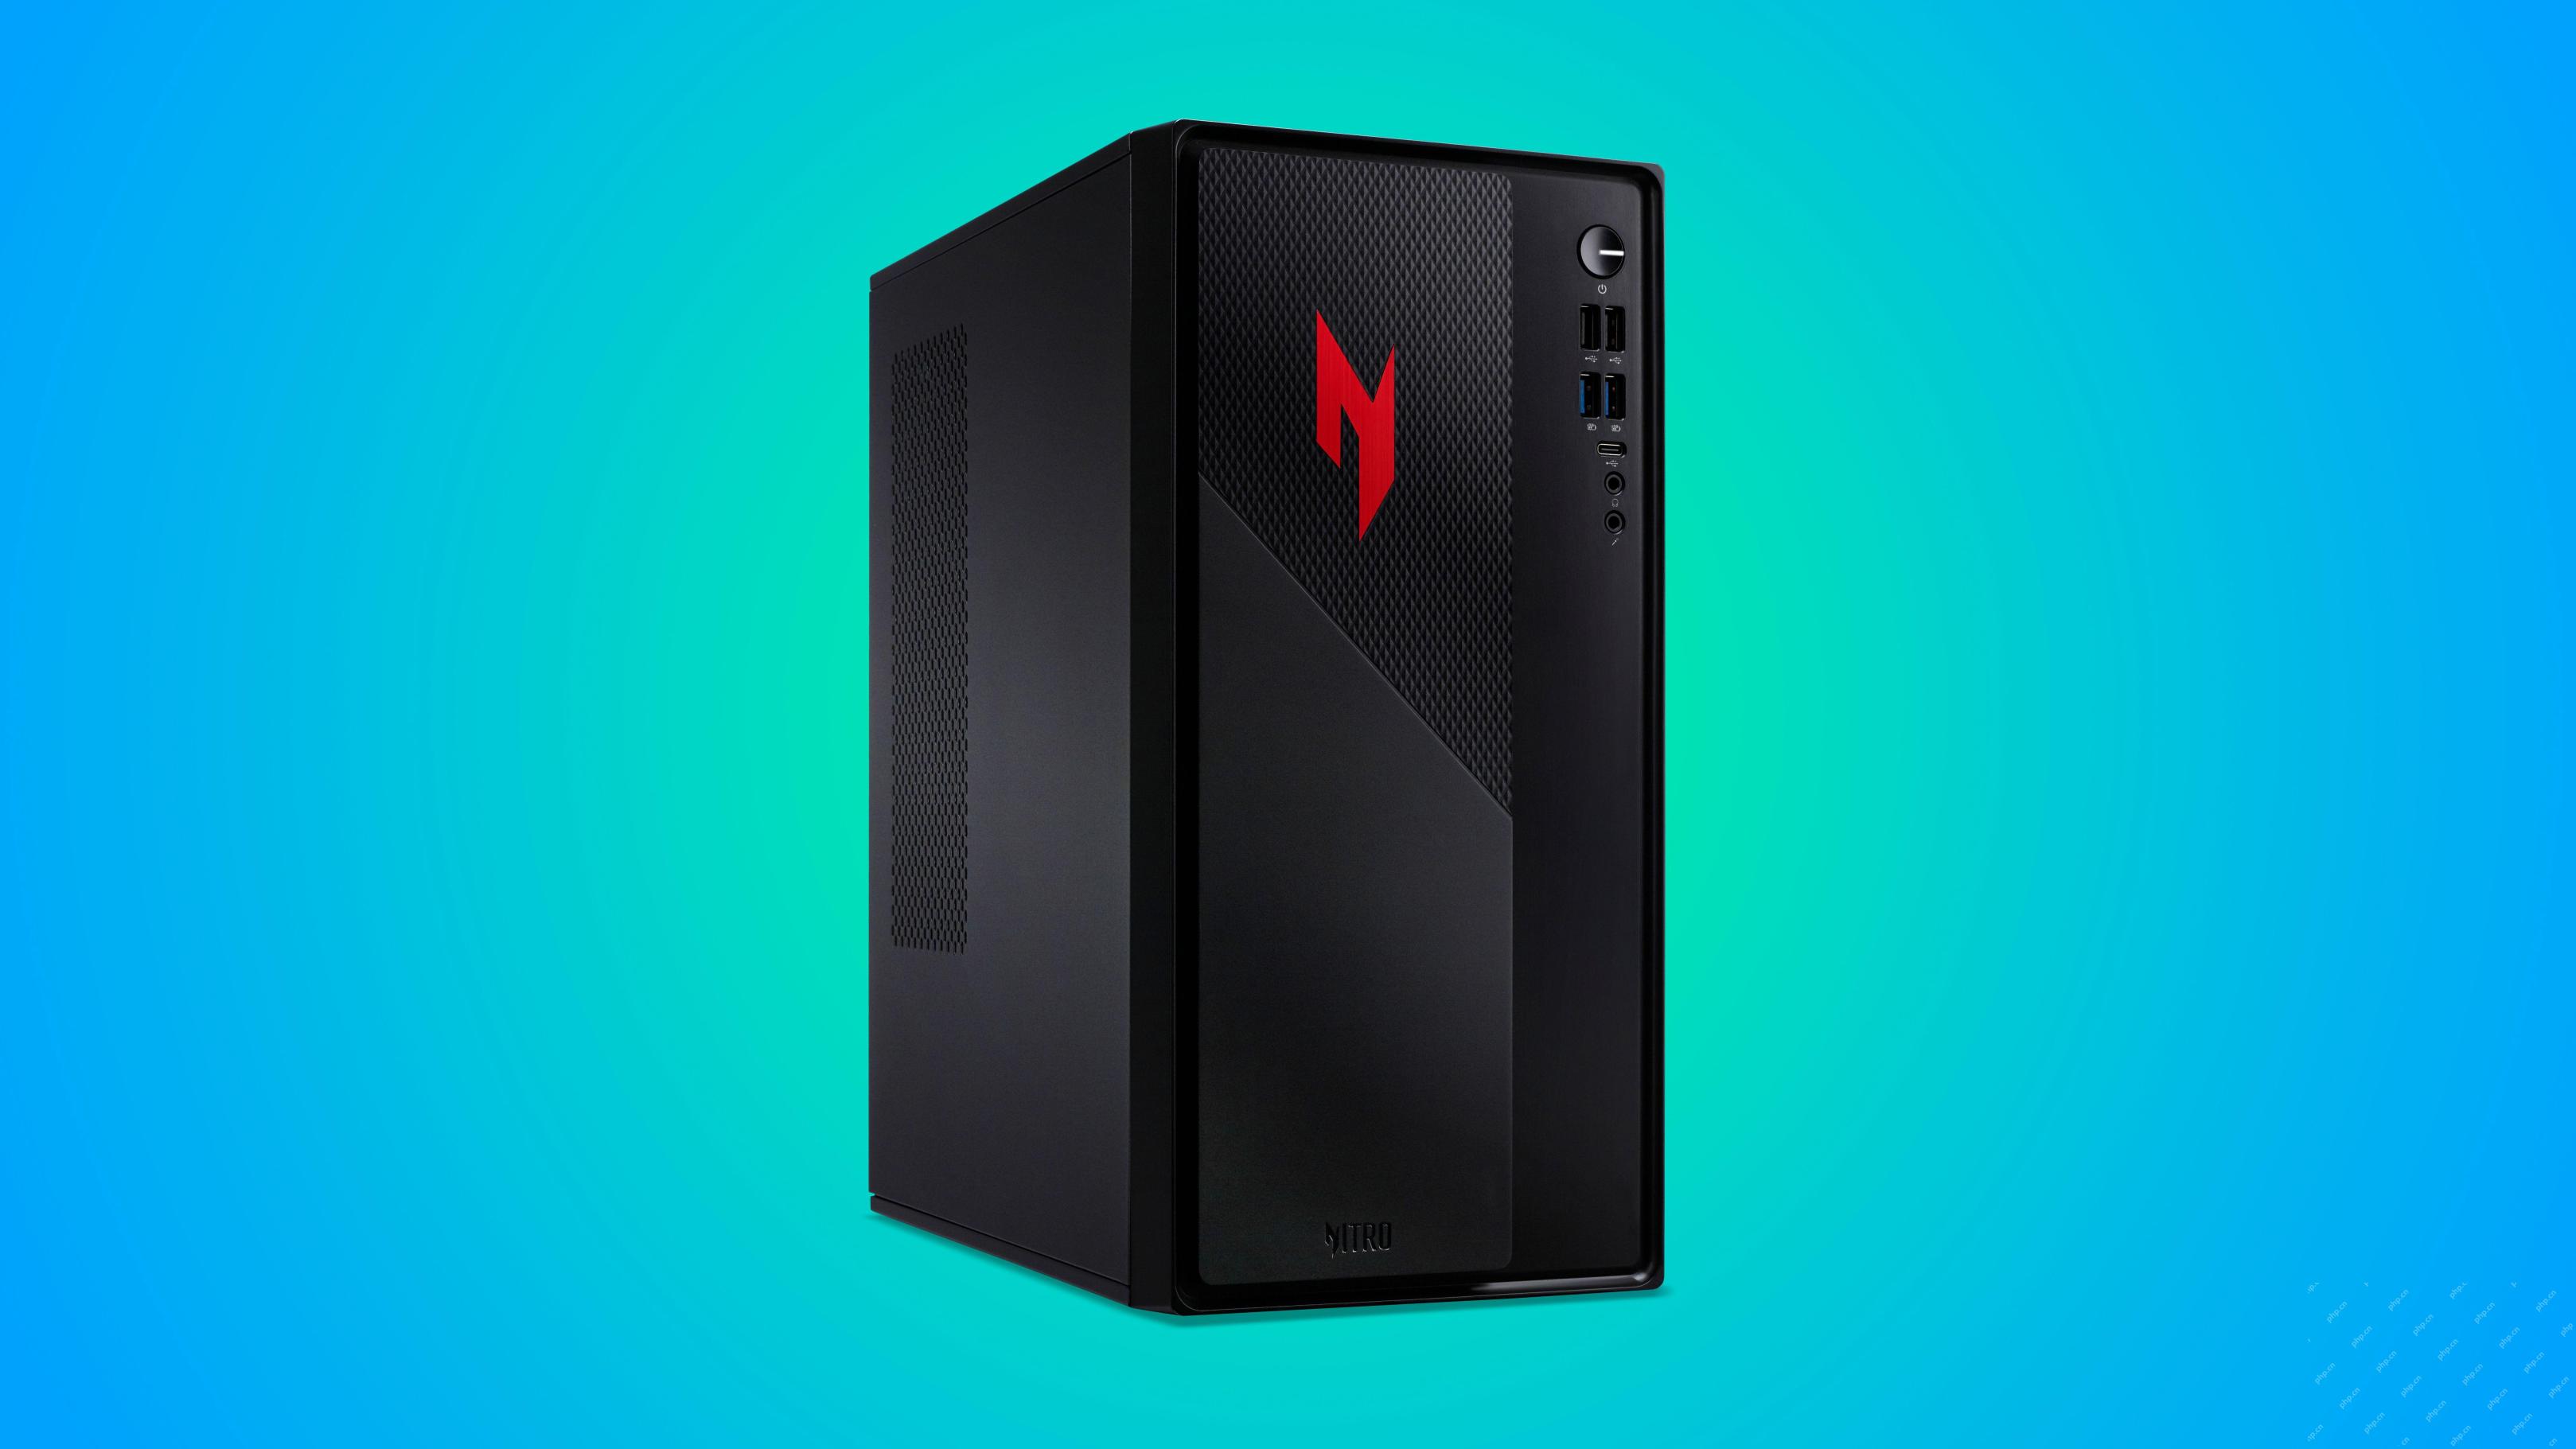 这款Acer桌面PC具有笔记本电脑规格,出于某种原因Apr 17, 2025 am 06:03 AM
Acer最新游戏笔记本电脑系列令人惊艳,但该公司还推出了一款台式电脑,这款电脑在Acer的产品线中位置尴尬,与其他小型台式电脑相比,它也有其自身的优缺点。 Acer今日在其广受欢迎的Nitro游戏系列中增加了四款新笔记本电脑和一款重新设计的紧凑型台式电脑。不过,让我们先谈谈台式电脑,因为它最独特。它的独特之处在于它使用了笔记本电脑规格。Nitro 20 N20-100采用AMD Ryzen AI 9 365处理器,或者也可以选择Intel Core i5-13420H台式机处理器。显卡最高可配备
 这个限量版' Doom'发行在一个运行' Doom'的盒子中。Apr 17, 2025 am 06:02 AM
限量运行游戏正在发布限量版的《厄运II:它会运行版》盒装,这是对持久的“可以运行厄运吗?”的嬉戏点头。模因。 此奢侈的集合包括前两个厄运游戏的重新制作版本,可玩AC
 Nanoleaf想要改变您的技术收费Apr 17, 2025 am 01:03 AM
Nanoleaf的Pegboard Desk Dock:时尚且功能型的桌子组织者 厌倦了相同的旧充电设置? NanoLeaf的新Pegboard Desk Dock提供了一种时尚且功能性的替代方案。 这款多功能桌配件拥有32个全彩RGB


热AI工具

Undresser.AI Undress
人工智能驱动的应用程序,用于创建逼真的裸体照片

AI Clothes Remover
用于从照片中去除衣服的在线人工智能工具。

Undress AI Tool
免费脱衣服图片

Clothoff.io
AI脱衣机

AI Hentai Generator
免费生成ai无尽的。

热门文章
热工具

PhpStorm Mac 版本
最新(2018.2.1 )专业的PHP集成开发工具

适用于 Eclipse 的 SAP NetWeaver 服务器适配器
将Eclipse与SAP NetWeaver应用服务器集成。

SublimeText3 英文版
推荐:为Win版本,支持代码提示!

Atom编辑器mac版下载
最流行的的开源编辑器

Dreamweaver Mac版
视觉化网页开发工具

