
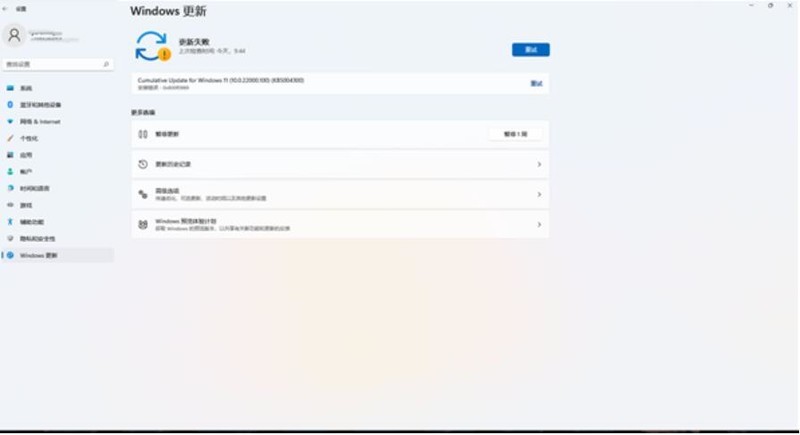
Windows11安裝10.0.22000.100跳出0x80242008錯誤解決方法

- WBOYWBOYWBOYWBOYWBOYWBOYWBOYWBOYWBOYWBOYWBOYWBOYWB轉載
- 2024-05-08 15:50:541082瀏覽
遇到 Windows 11 安裝過程中惱人的 0x80242008 錯誤?別擔心! php小編草莓為您帶來了一個全面的指南,一步步引導您輕鬆解決此問題,讓您順利升級到 Windows 11。請繼續閱讀,以取得詳細的故障排除步驟和有效解決方案。
1、啟動【開始】選單,輸入【cmd】,右鍵點選【指令提示字元】,選擇以【管理員身分】執行。
2、依序輸入下方指令(小心複製貼上):
SC config wuauserv start= auto,按回車
SC config bits start= auto,按回車
SC config cryptsvc start= auto,按回車
SC config trustedinstaller start= auto ,按回車
SC config wuauserv type=share ,按回車
net stop wuauserv,按回車
net stop cryptSvc,按回車
net stop bits,按回車
net stop msiserver,按回車
ren C:WindowsSoftwareDistribution SoftwareDistribution.old,按回車
ren C:WindowsSystem32catroot2 catroot2.old,按回車
net start wuauserv,按回車
net start cryptSvc,按回車
net start bits,按回車
net start msiserver,按回車
netsh winsock reset,按回車子
3、重啟機器,再看看效果。
4、如果問題依然持續,請下載並執行微軟官方《Microsoft Fix it》。
 #
#
以上是Windows11安裝10.0.22000.100跳出0x80242008錯誤解決方法的詳細內容。更多資訊請關注PHP中文網其他相關文章!