
Nginx主機網域設定如何實現

- PHPz轉載
- 2023-06-03 13:13:042089瀏覽
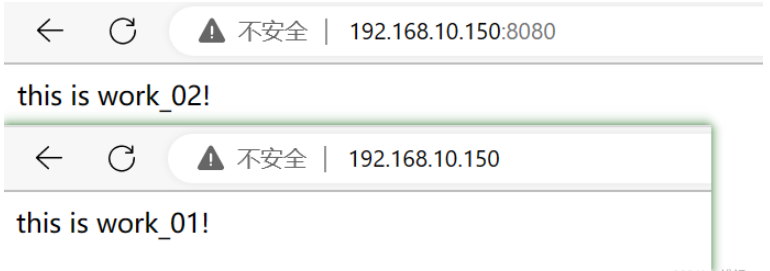
一、配置多個端口訪問不同文件
相同域名,不同端口,不同文件
#两个不同文件夹,分别存放不同文件
[root@nginx ~]# mkdir /www/work_01 -p
[root@nginx ~]# mkdir /www/work_02
[root@nginx ~]# vim /www/work_01/index.html
this is work_01!
[root@nginx ~]# vim /www/work_02/index.html
this is work_02!
#編輯其中server模組,把端口80的站點指向一個文件夾,再複製這個server到下面,修改端口
[root@nginx ~]# vim /usr/local/nginx/conf/nginx.conf
worker_processes  1;
events {
    worker_connections  1024;
}
http {
    include       mime.types;
    default_type  application/octet-stream;
    sendfile        on;
    keepalive_timeout  65;
#80端口,指向work_01的文件夹
    server {
        listen       80;
        server_name  localhost;
        location / {
            root   /www/work_01;
            index  index.html index.htm;
        }
        error_page   500 502 503 504  /50x.html;
        location = /50x.html {
            root   html;
        }
    }
#8080端口,指向work_02的文件夹
    server {
    listen 8080;
    server_name localhost;
    location / {
    root /www/work_02;
    index index.html index.htm;
    }
    error_page 500 502 503 504 /50x.html;
    location = /50x.html {
        root html;
    }
}
}
#瀏覽器訪問
#二、配置不同域名訪問不同文件
相同端口,不同域名,不同文件
#四個資料夾,分別對應不同文件內容
[root@nginx ~]# cd /www/
[root@nginx www]# mkdir work_03
[root@nginx www]# mkdir work_04
[root@nginx www]# echo "This is work_03" > work_03/index.html
[root@nginx www]# echo "This is work_04" > work_04/index.html
[root@nginx www]# ls
work_01  work_02  work_03  work_04
#修改設定檔
[root@nginx www]# vim /usr/local/nginx/conf/nginx.conf
worker_processes  1;
events {
    worker_connections  1024;
}
http {
    include       mime.types;
    sendfile        on;
    keepalive_timeout  65;
#通配符在后的域名
    server {
        listen       80;
        server_name  www.haha.*;
        location / {
            root   /www/work_01;
            index  index.html index.htm;
        }
        error_page   500 502 503 504  /50x.html;
        location = /50x.html {
            root   html;
        }
    }
#精确域名
    server {
    listen 80;
    server_name www.haha.com;
    location / {
    root /www/work_02;
    index index.html index.htm;
    }
    error_page 500 502 503 504 /50x.html;
    location = /50x.html {
        root html;
    }
}
#通配符在前的域名
    server {
        listen 80;
        server_name *.haha.com;
    location / {
        root /www/work_03;
        index index.html index.htm;
    }
    error_page 500 502 503 504 /50x.html;
    location = /50x.html {
        root html;
    }
}
#正则表达式域名
    server {
        listen 80;
        server_name ~\w+.com;
    location / {
        root /www/work_04;
        index index.html index.htm;
    }
    error_page 500 502 503 504 /50x.html;
    location = /50x.html {
        root html;
    }
}
}
[root@nginx www]# systemctl restart nginx
#設定宿主機host文件,在" C:\Windows\System32\drivers\etc\hosts"

#存取結果
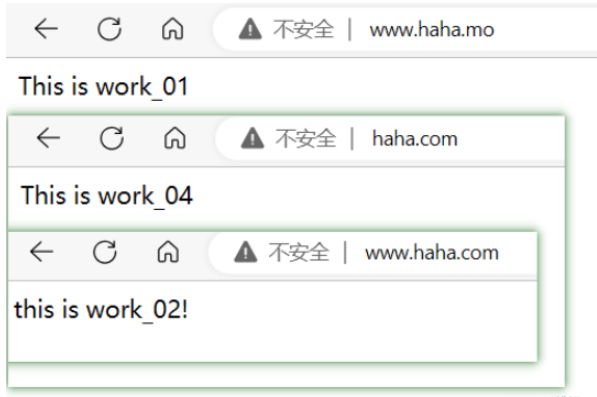
- 精準匹配
- 通配符開頭,例如*.example.com
- 萬用字元結尾,例如www.example.*
- 正規表示式
- #預設值 ##三、配置不同域名存取同個檔案
相同端口,不同域名,同個檔案
[root@nginx ~]# vim /usr/local/nginx/conf/nginx.conf
worker_processes  1;
events {
    worker_connections  1024;
}
http {
    include       mime.types;
    default_type  application/octet-stream;
    sendfile        on;
    keepalive_timeout  65;
#只需要在server_name再添加一个域名,不需要在复制一个server_name
    server {
        listen       80;
        server_name  www.xixi.com www.qiqi.com;
        location / {
            root   /www/work_01;
            index  index.html index.htm;
        }
        error_page   500 502 503 504  /50x.html;
        location = /50x.html {
            root   html;
        }
    }
}
[root@nginx ~]# systemctl restart nginx
#該宿主機的host檔
 訪問結果如下:
#
以上是Nginx主機網域設定如何實現的詳細內容。更多資訊請關注PHP中文網其他相關文章!
陳述:
本文轉載於:yisu.com。如有侵權,請聯絡admin@php.cn刪除