
Windows如何安裝MySQL8.0.28.0.msi

- WBOYWBOYWBOYWBOYWBOYWBOYWBOYWBOYWBOYWBOYWBOYWBOYWB轉載
- 2023-06-02 21:10:131944瀏覽
1、下載
官網:https://dev.mysql.com/downloads/installer/
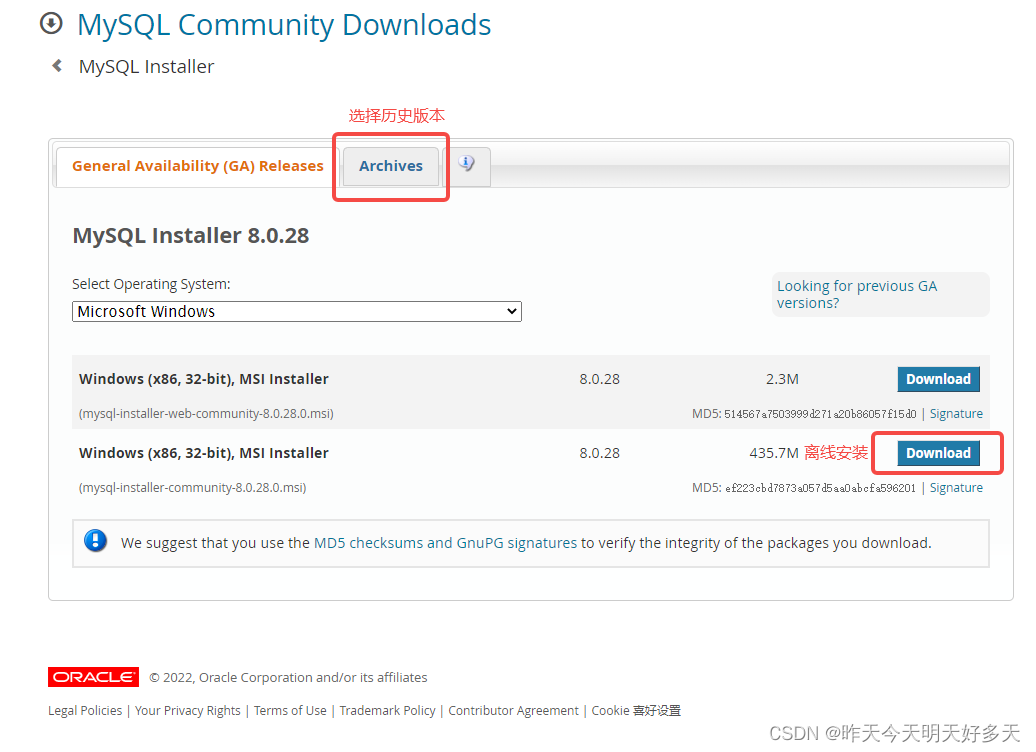
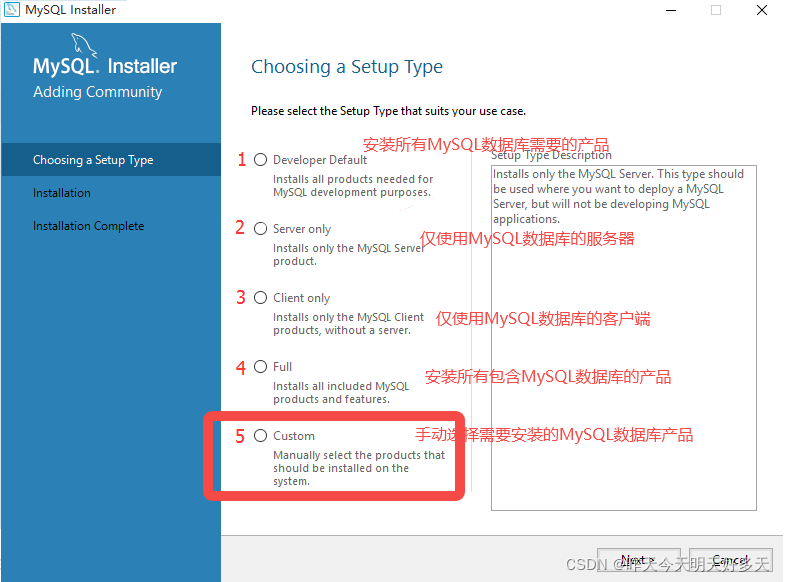
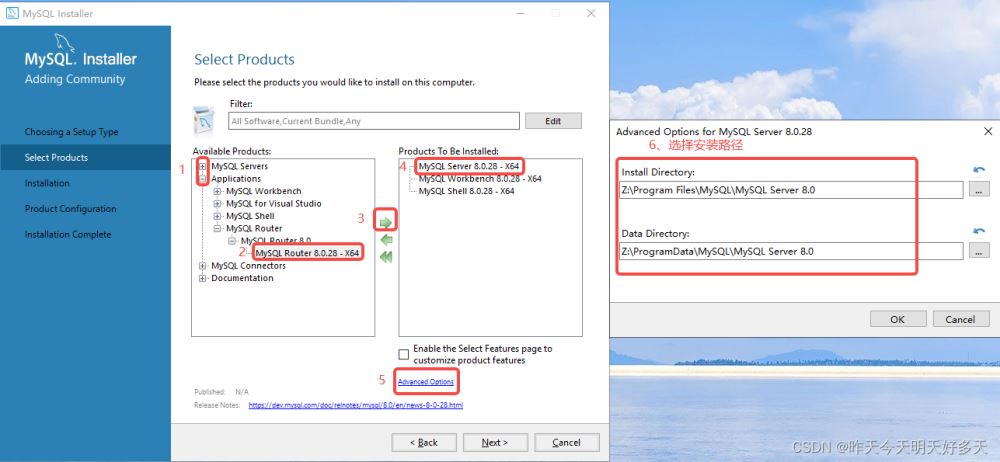
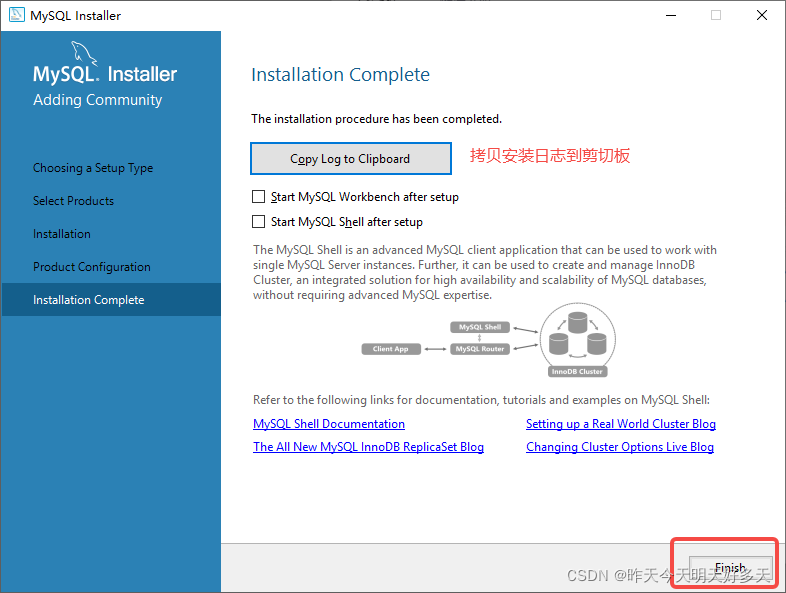
點擊具體產品,會出現
Adcanced Options,自訂此產品的安裝路徑安裝完後發現有遺漏,需要添加新的產品,重新雙擊mysql-installer-community-8.0.28.0.msi再來一次即可
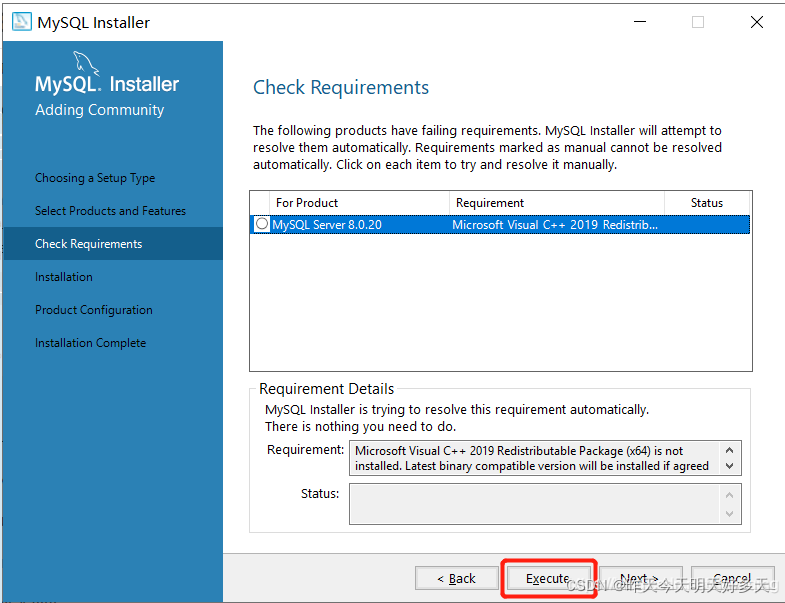
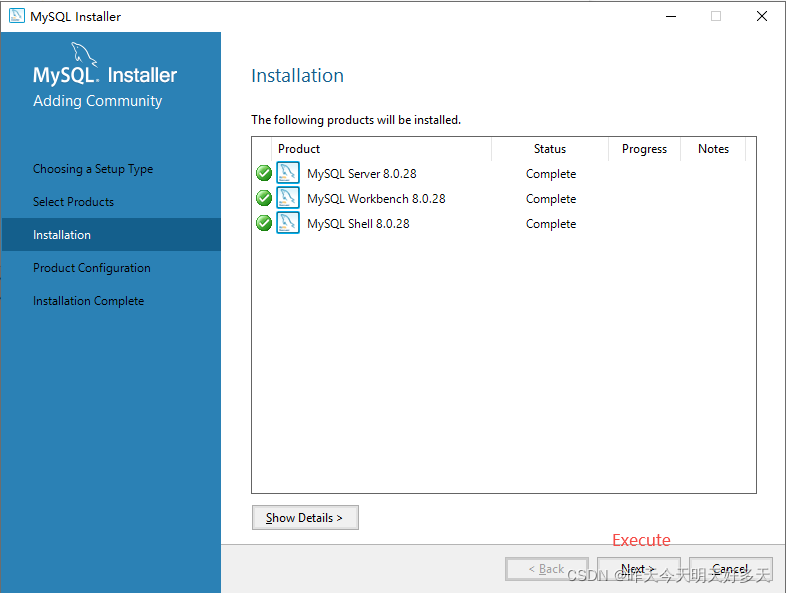
MySQL這邊會檢驗有沒有安裝Visual C 等,如果沒有則會自動安裝
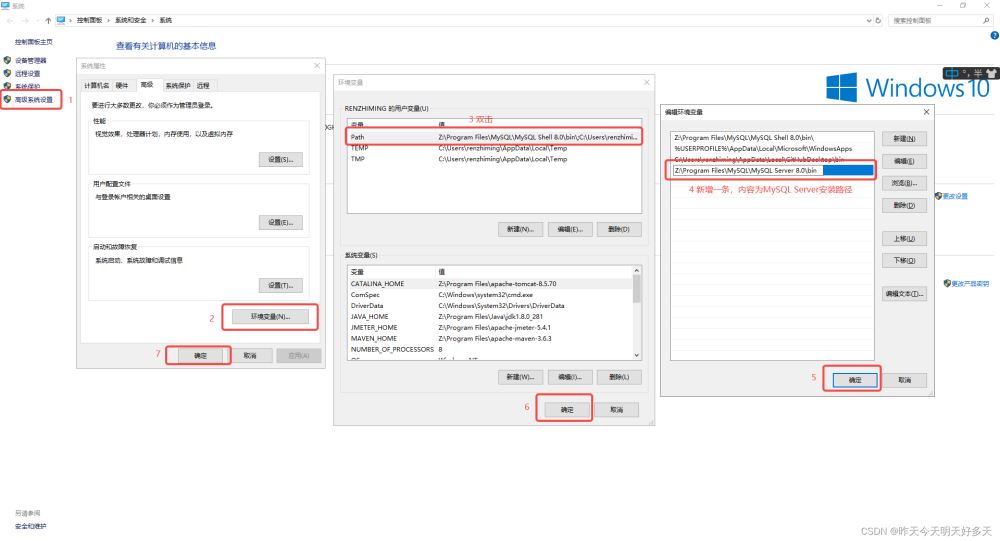
(1)右鍵點選「我的電腦” → “搞基系統設定” → "環境變數"
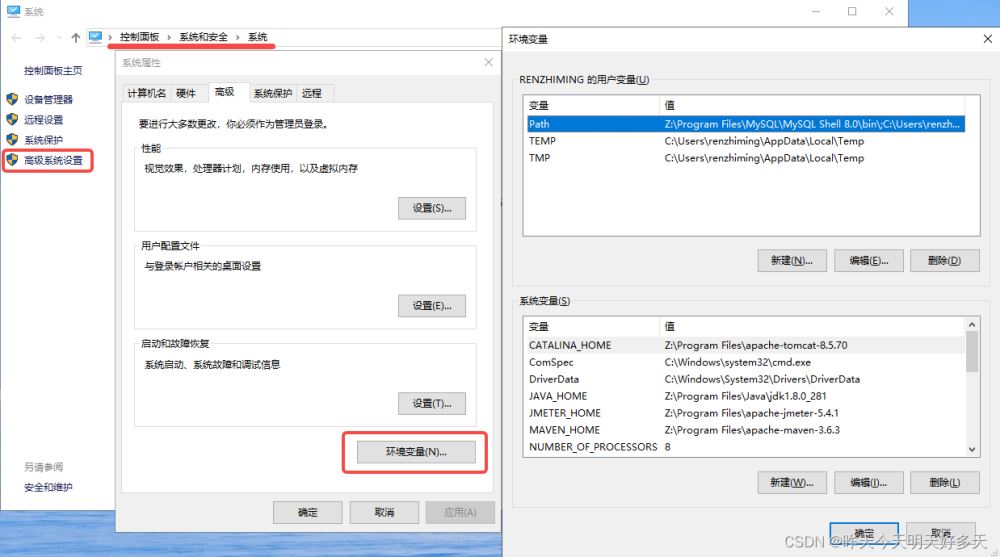
#(2)新增一條環境變數
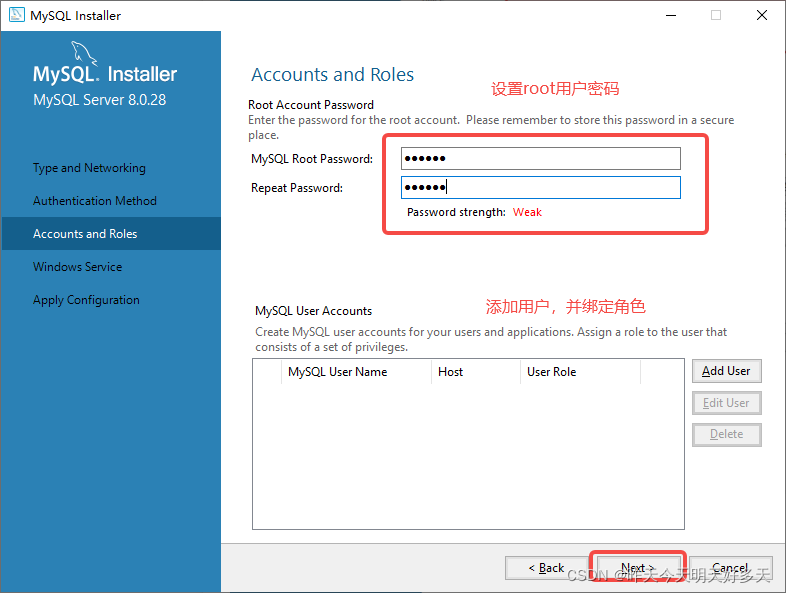
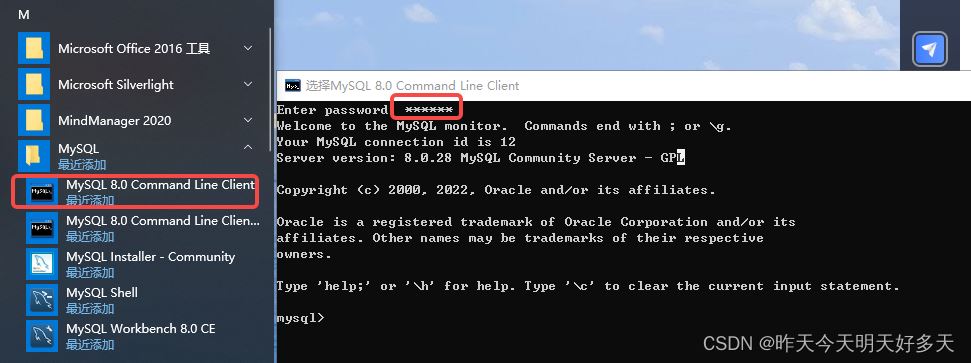
(3)校驗:在cmd中輸入mysql -uroot -p,然後輸入密碼
##
以上是Windows如何安裝MySQL8.0.28.0.msi的詳細內容。更多資訊請關注PHP中文網其他相關文章!
陳述:
本文轉載於:yisu.com。如有侵權,請聯絡admin@php.cn刪除
上一篇:如何修改mysql的路徑下一篇:如何修改mysql的路徑