前言
對於第三方元件,如何在保持第三方元件原始功能(屬性props、事件events、插槽slots、方法methods)的基礎上,優雅地進行功能的擴充了?
以Element Plus的el-input為例:
很有可能你以前是這樣玩的,封裝一個MyInput元件,把要使用的屬性props、事件events和插槽slots 、方法methods根據自己的需要再寫一遍:
// MyInput.vue
<template>
<div class="my-input">
<el-input v-model="inputVal" :clearable="clearable" @clear="clear">
<template #prefix>
<slot name="prefix"></slot>
</template>
<template #suffix>
<slot name="suffix"></slot>
</template>
</el-input>
</div>
</template>
<script setup>
import { computed } from 'vue'
const props = defineProps({
modelValue: {
type: String,
default: ''
},
clearable: {
type: Boolean,
default: false
}
})
const emits = defineEmits(['update:modelValue', 'clear'])
const inputVal = computed({
get: () => props.modelValue,
set: (val) => {
emits('update:modelValue', val)
}
})
const clear = () => {
emits('clear')
}
</script>可過一段時間後,需求變更,又要在MyInput組件上添加el-input組件的其它功能,可el-input組件總共有20個多屬性,5個事件,4個插槽,那該怎麼辦呢,難道一個個傳進去,這樣不僅繁瑣而且可讀性差。
在Vue2中,我們可以這樣處理,點擊這裡查看封裝Vue第三方組件
此文詣在幫助大家做一個知識的遷移,探究如何使用Vue3 CompositionAPI優雅地封裝第三方元件~
一、對於第三方元件的屬性props、事件events
在Vue2中
$attrs: 包含了父作用域中不作為prop 被識別(且獲取) 的attribute 綁定(class 和style 除外)。當一個元件沒有宣告任何prop 時,這裡會包含所有父作用域的綁定(class 和style 除外),並且可以透過v-bind="$attrs" 傳入內部元件
- ##$listeners:包含了父作用域中的(不含 .native 修飾器的) v-on 事件監聽器。它可以透過 v-on="$listeners" 傳入內部元件
- ##$attrs:包含了父作用域中不作為元件 props 或自訂事件的attribute 綁定和事件(包括 class 和 style和自訂事件),同時可以透過v-bind="$attrs" 傳入內部元件。
- $listeners 物件在 Vue 3 中已移除。事件監聽器現在是 $attrs 的一部分。
- 在
下面我們來看看Vue3文件對inheritAttrs的解釋
預設情況下父作用域的不被認定props 的attribute 綁定(attribute bindings) 將會「回退」且作為普通的HTML attribute 應用在子元件的根元素上。當撰寫包裹一個目標元素或另一個元件的元件時,這可能不會總是符合預期行為。透過設定 inheritAttrs 到 false,這些預設行為將會被去掉。而透過實例 property $attrs 可以讓這些 attribute 生效,且可以透過 v-bind 顯性的綁定到非根元素上。
於是,我們對於第三方元件的屬性props、事件events處理,可以寫成如下程式碼:
// MyInput.vue
<template>
<div class="my-input">
<el-input v-bind="attrs"></el-input>
</div>
</template>
<script>
export default {
name: 'MyInput',
inheritAttrs: false
}
</script>
<script setup>
import { useAttrs } from 'vue'
const attrs = useAttrs()
</script>二、對於第三方元件的插槽slots
Vue3中
- $slots:我們可以透過其拿到父元件傳入的插槽
- Vue3中移除了$scopedSlots,所有插槽都透過 $slots 作為函數來揭露
- 在
//MyInput.vue
<template>
<div class="my-input">
<el-input v-bind="attrs">
<template v-for="k in Object.keys(slots)" #[k] :key="k">
<slot :name="k"></slot>
</template>
</el-input>
</div>
</template>
<script>
export default {
name: 'MyInput',
inheritAttrs: false
}
</script>
<script setup>
import { useAttrs, useSlots } from 'vue'
const attrs = useAttrs()
const slots = useSlots()
</script>如果不滿足以上條件的話,咱還得老實在子元件中手動新增需要的第三方元件的插槽~
三、對於第三方元件的方法methods
對於第三方元件的方法,我們透過ref來實作。首先在MyInput元件中的el-input元件上加入一個ref="elInputRef"屬性,然後透過defineExpose把elInputRef暴露出去給父元件呼叫。
子元件:MyInput.vue
// MyInput.vue
<template>
<div class="my-input">
<el-input v-bind="attrs" ref="elInputRef">
<template v-for="k in Object.keys(slots)" #[k] :key="k">
<slot :name="k"></slot>
</template>
</el-input>
</div>
</template>
<script>
export default {
name: 'MyInput',
inheritAttrs: false
}
</script>
<script setup>
import { useAttrs, useSlots } from 'vue'
const attrs = useAttrs()
const slots = useSlots()
const elInputRef = ref(null)
defineExpose({
elInputRef // <script setup>的组件里的属性默认是关闭的,需通过defineExpose暴露出去才能被调用
})
</script>父親頁面:Index.vue的呼叫程式碼如下:
// Index.vue
<template>
<my-input v-model='input' ref="myInput">
<template #prefix>姓名</template>
</my-input>
</template>
<script setup>
import MyInput from './components/MyInput.vue'
import { ref, onMounted } from 'vue'
const input = ref('')
const myInput = ref(null) // 组件实例
onMounted(()=> {
myInput.value.elInputRef.focus() // 初始化时调用elInputRef实例的focus方法
})
</script>以上是Vue3 Composition API怎麼優雅封裝第三方元件的詳細內容。更多資訊請關注PHP中文網其他相關文章!
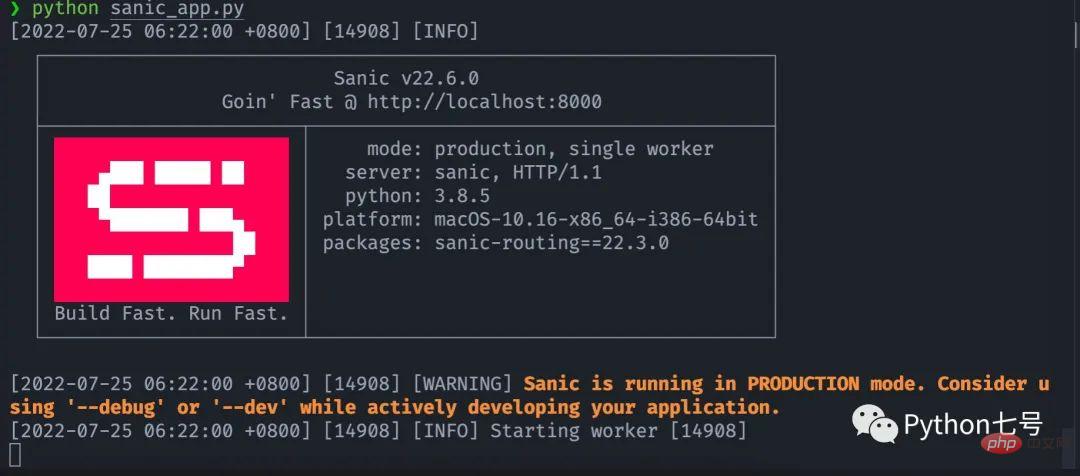 如何快速把你的 Python 代码变为 APIApr 14, 2023 pm 06:28 PM
提到API开发,你可能会想到DjangoRESTFramework,Flask,FastAPI,没错,它们完全可以用来编写API,不过,今天分享的这个框架可以让你更快把现有的函数转化为API,它就是Sanic。Sanic简介Sanic[1],是Python3.7+Web服务器和Web框架,旨在提高性能。它允许使用Python3.5中添加的async/await语法,这可以有效避免阻塞从而达到提升响应速度的目的。Sanic致力于提供一种简单且快速,集创建和启动于一体的方法
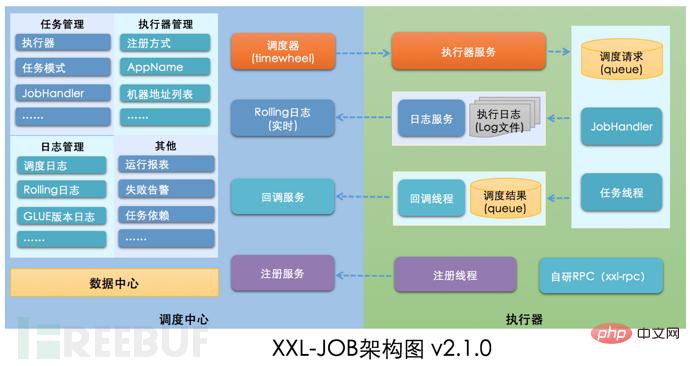 如何进行XXL-JOB API接口未授权访问RCE漏洞复现May 12, 2023 am 09:37 AM
XXL-JOB描述XXL-JOB是一个轻量级分布式任务调度平台,其核心设计目标是开发迅速、学习简单、轻量级、易扩展。现已开放源代码并接入多家公司线上产品线,开箱即用。一、漏洞详情此次漏洞核心问题是GLUE模式。XXL-JOB通过“GLUE模式”支持多语言以及脚本任务,该模式任务特点如下:●多语言支持:支持Java、Shell、Python、NodeJS、PHP、PowerShell……等类型。●WebIDE:任务以源码方式维护在调度中心,支持通过WebIDE在线开发、维护。●动态生效:用户在线通
 PHP8.0中的API客户端库:GuzzleMay 14, 2023 am 08:54 AM
随着网络技术的发展,Web应用程序和API应用程序越来越普遍。为了访问这些应用程序,需要使用API客户端库。在PHP中,Guzzle是一个广受欢迎的API客户端库,它提供了许多功能,使得在PHP中访问Web服务和API变得更加容易。Guzzle库的主要目标是提供一个简单而又强大的HTTP客户端,它可以处理任何形式的HTTP请求和响应,并且支持并发请求处理。在
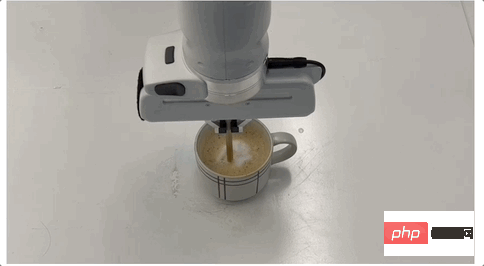 让机器人学会咖啡拉花,得从流体力学搞起!CMU&MIT推出流体模拟平台Apr 07, 2023 pm 04:46 PM
机器人也能干咖啡师的活了!比如让它把奶泡和咖啡搅拌均匀,效果是这样的:然后上点难度,做杯拿铁,再用搅拌棒做个图案,也是轻松拿下:这些是在已被ICLR 2023接收为Spotlight的一项研究基础上做到的,他们推出了提出流体操控新基准FluidLab以及多材料可微物理引擎FluidEngine。研究团队成员分别来自CMU、达特茅斯学院、哥伦比亚大学、MIT、MIT-IBM Watson AI Lab、马萨诸塞大学阿默斯特分校。在FluidLab的加持下,未来机器人处理更多复杂场景下的流体工作也都
 Vue3 Composition API怎么优雅封装第三方组件May 11, 2023 pm 07:13 PM
前言对于第三方组件,如何在保持第三方组件原有功能(属性props、事件events、插槽slots、方法methods)的基础上,优雅地进行功能的扩展了?以ElementPlus的el-input为例:很有可能你以前是这样玩的,封装一个MyInput组件,把要使用的属性props、事件events和插槽slots、方法methods根据自己的需要再写一遍://MyInput.vueimport{computed}from'vue'constprops=define
 设计API接口时,要注意这些地方!Jan 09, 2023 am 11:10 AM
本篇文章给大家带来了关于API的相关知识,其中主要介绍了设计API需要注意哪些地方?怎么设计一个优雅的API接口,感兴趣的朋友,下面一起来看一下吧,希望对大家有帮助。
 Windows 11 正在获得一项新的 API 支持的功能来解决网络问题Apr 20, 2023 pm 02:28 PM
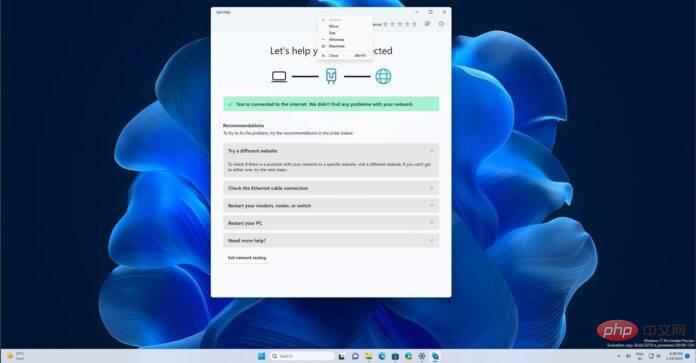
当您的WindowsPC出现网络问题时,问题出在哪里并不总是很明显。很容易想象您的ISP有问题。然而,Windows笔记本电脑上的网络并不总是顺畅的,Windows11中的许多东西可能会突然导致Wi-Fi网络中断。随机消失的Wi-Fi网络是Windows笔记本电脑上报告最多的问题之一。网络问题的原因各不相同,也可能因Microsoft的驱动程序或Windows而发生。Windows是大多数情况下的问题,建议使用内置的网络故障排除程序。在Windows11
 SpringBoot怎么实现api加密May 15, 2023 pm 11:10 PM
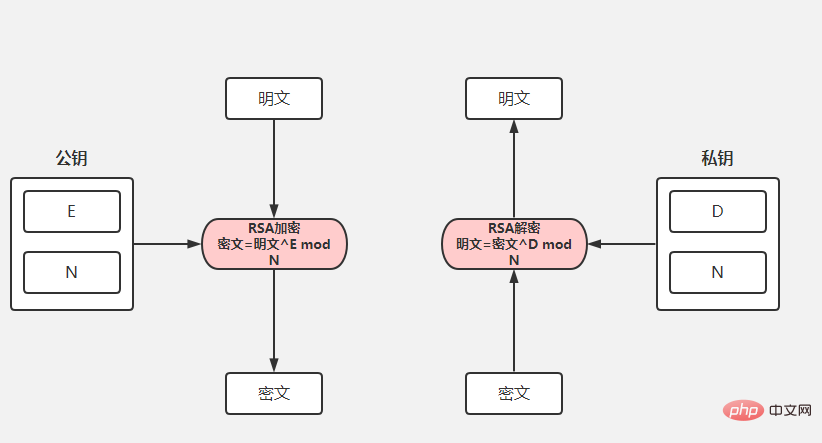
SpringBoot的API加密对接在项目中,为了保证数据的安全,我们常常会对传递的数据进行加密。常用的加密算法包括对称加密(AES)和非对称加密(RSA),博主选取码云上最简单的API加密项目进行下面的讲解。下面请出我们的最亮的项目rsa-encrypt-body-spring-boot项目介绍该项目使用RSA加密方式对API接口返回的数据加密,让API数据更加安全。别人无法对提供的数据进行破解。SpringBoot接口加密,可以对返回值、参数值通过注解的方式自动加解密。什么是RSA加密首先我


熱AI工具

Undresser.AI Undress
人工智慧驅動的應用程序,用於創建逼真的裸體照片

AI Clothes Remover
用於從照片中去除衣服的線上人工智慧工具。

Undress AI Tool
免費脫衣圖片

Clothoff.io
AI脫衣器

AI Hentai Generator
免費產生 AI 無盡。

熱門文章

熱工具

ZendStudio 13.5.1 Mac
強大的PHP整合開發環境

SAP NetWeaver Server Adapter for Eclipse
將Eclipse與SAP NetWeaver應用伺服器整合。

EditPlus 中文破解版
體積小,語法高亮,不支援程式碼提示功能

DVWA
Damn Vulnerable Web App (DVWA) 是一個PHP/MySQL的Web應用程序,非常容易受到攻擊。它的主要目標是成為安全專業人員在合法環境中測試自己的技能和工具的輔助工具,幫助Web開發人員更好地理解保護網路應用程式的過程,並幫助教師/學生在課堂環境中教授/學習Web應用程式安全性。 DVWA的目標是透過簡單直接的介面練習一些最常見的Web漏洞,難度各不相同。請注意,該軟體中

Atom編輯器mac版下載
最受歡迎的的開源編輯器


