
Java Spring中的讀寫操作實例分析

- PHPz轉載
- 2023-05-07 13:31:16757瀏覽
儲存bean物件
之前我們儲存bean物件時,需要在設定檔中加入一行bean才能進行注入

這種注入方式並不好,如果設定檔出了錯,程式是不會顯示錯誤訊息的。這對初學者來說很不友善。
1.建立專案
建立啟動類別和main方法

引入依賴

<dependencies>
   <dependency>
        <groupId>org.springframework</groupId>
        <artifactId>spring-context</artifactId>
        <version>5.2.3.RELEASE</version>
    </dependency>

    <dependency>
        <groupId>org.springframework</groupId>
        <artifactId>spring-beans</artifactId>
        <version>5.2.3.RELEASE</version>
    </dependency>
</dependencies>
建立設定檔
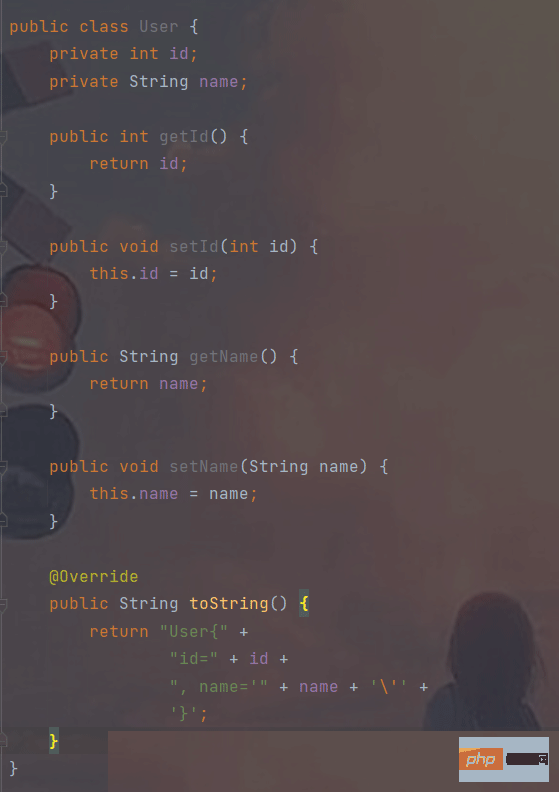
#我們約定好建立的bean物件放在com.bean套件下:

<dependencies>
<dependency>
<groupId>org.springframework</groupId>
<artifactId>spring-context</artifactId>
<version>5.2.3.RELEASE</version>
</dependency>
<dependency>
<groupId>org.springframework</groupId>
<artifactId>spring-beans</artifactId>
<version>5.2.3.RELEASE</version>
</dependency>
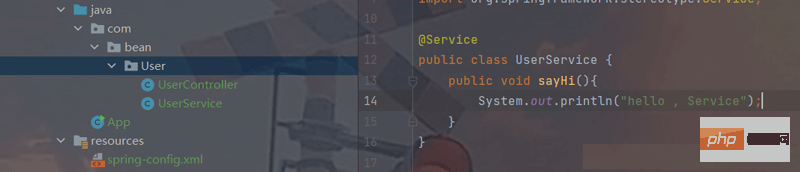
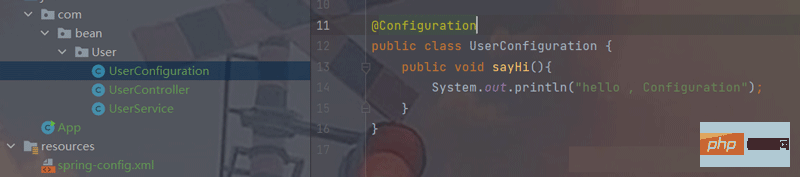
</dependencies>2.添加註解將bean存入容器中
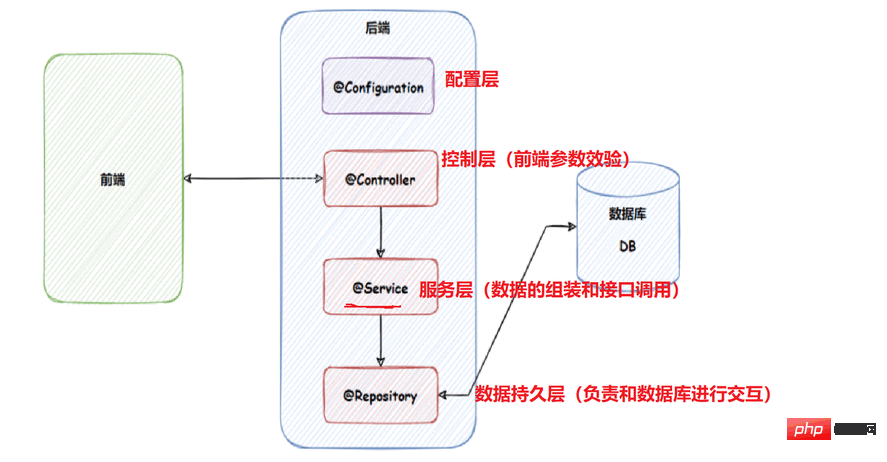
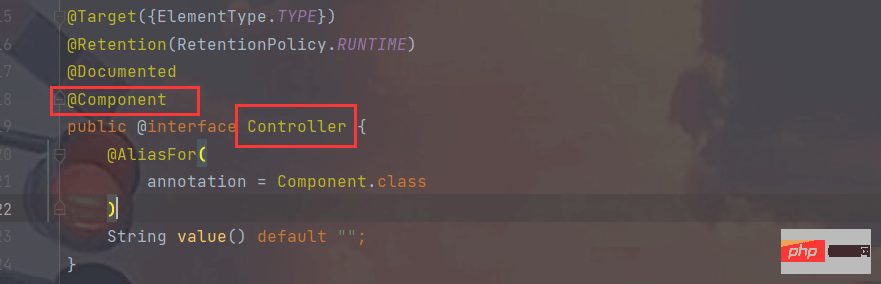
使用Spring的核心就是使用註解,我們學習的註解有5個
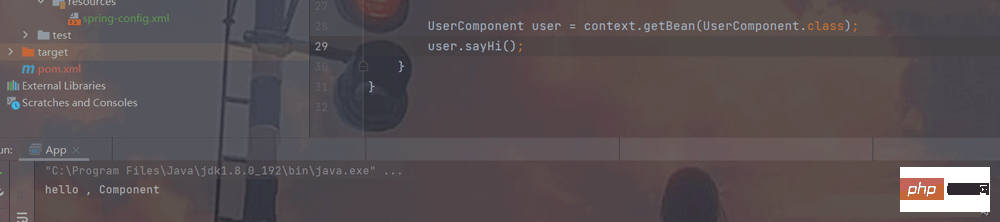
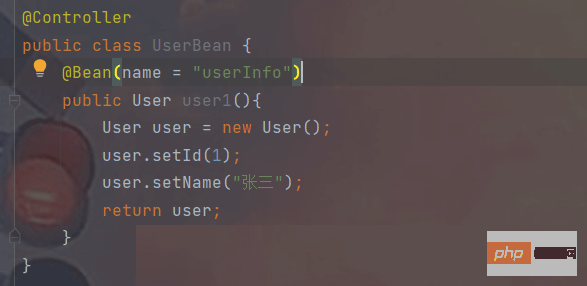
@Controller 【控制器】@Service 【服務】@Repository 【倉庫】@Configuration 【設定/佈局】@Component 【元件】 2.1 controller
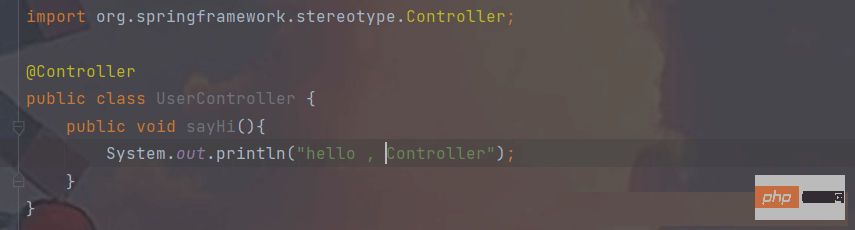
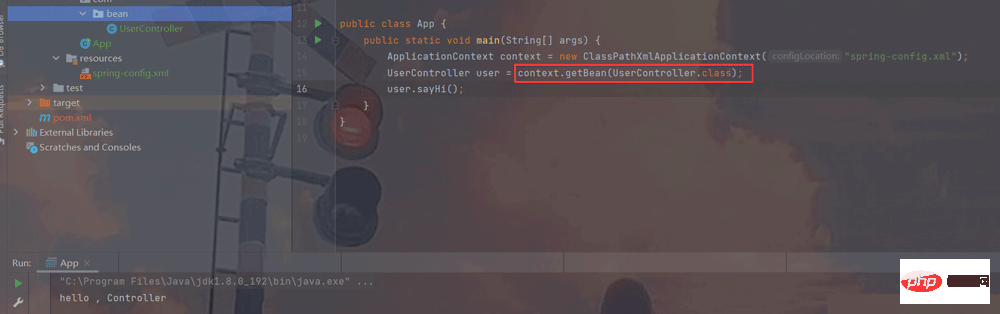
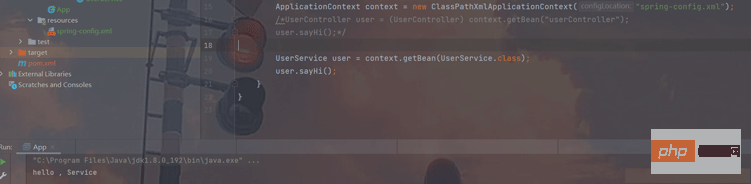
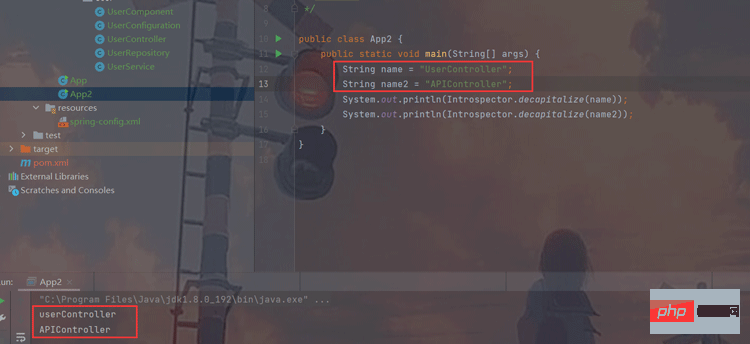
#我們之前能夠透過傳入id參數來取得對象,但那是加了一行bean手動加入的id,但現在我們使用了註解,難道就只能使用類別類型來獲取嗎?
我們使用註解注入bean物件時,id其實預設是類別名稱的小駝峰形式:
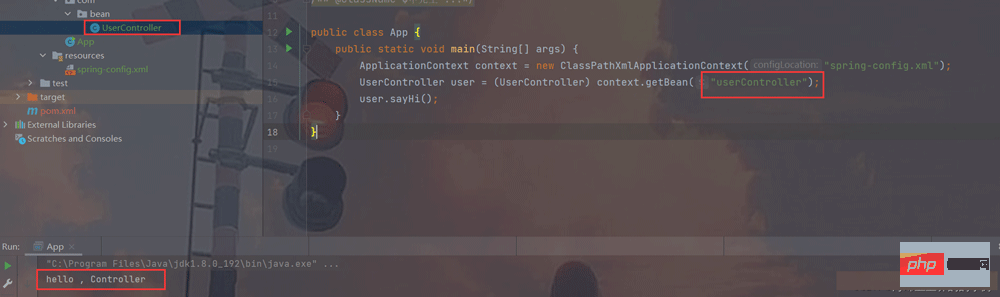
原因先不解釋,後面會說。
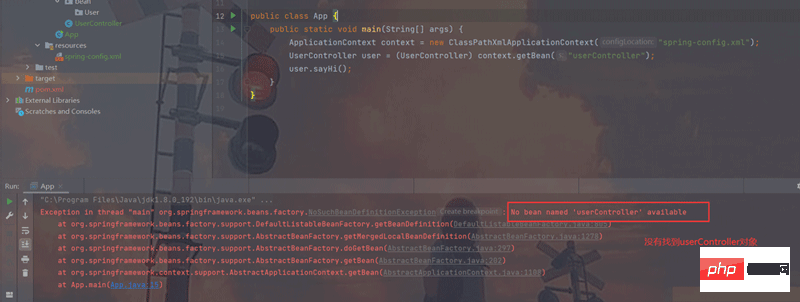
容易犯的錯誤:
我們之前在設定檔中加入了bean物件尋找的根目錄,意味著會從這個目錄開始向下搜索,但不會向上:
下級目錄


上級目錄

2.2 Service
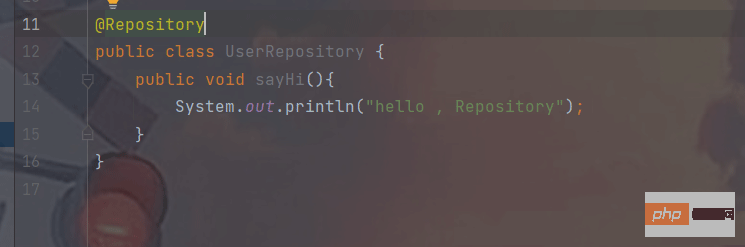
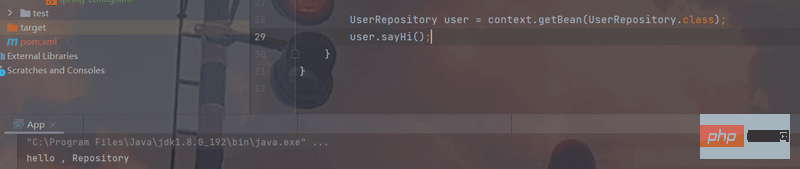
2.3 Repository
2.4 Configuration


們使用全域搜尋:
找出AnnotationBeanNameGenerator:
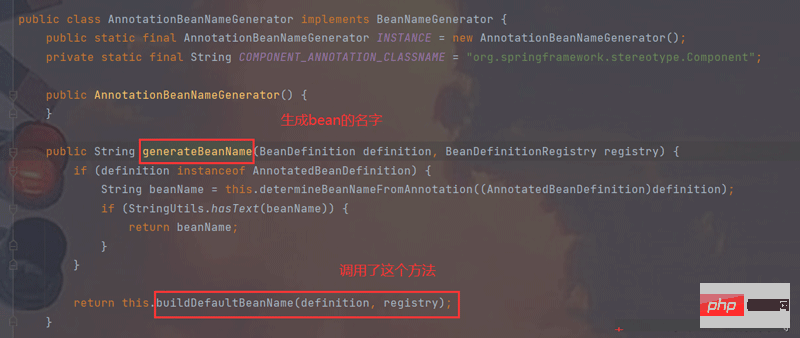
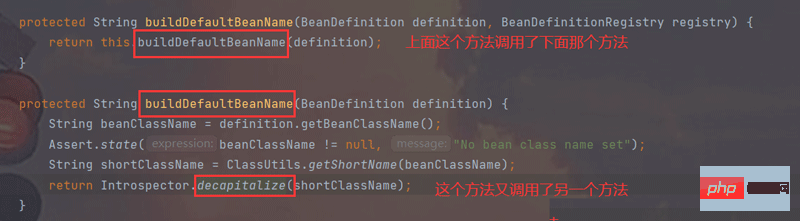

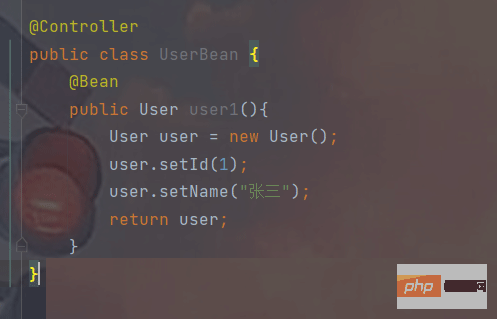
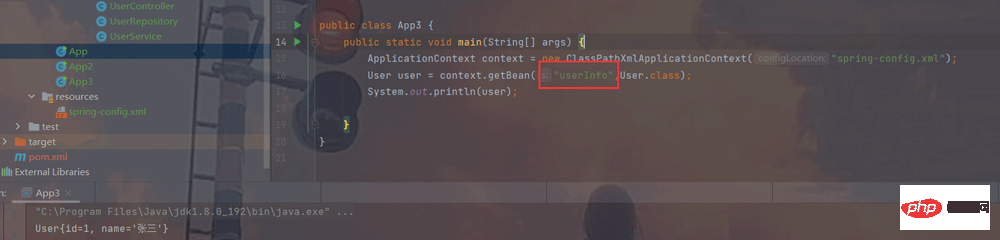

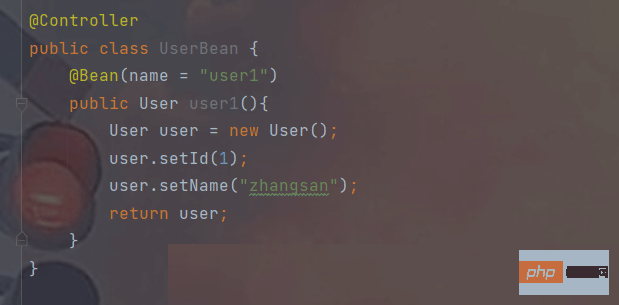
id就是方法名稱。
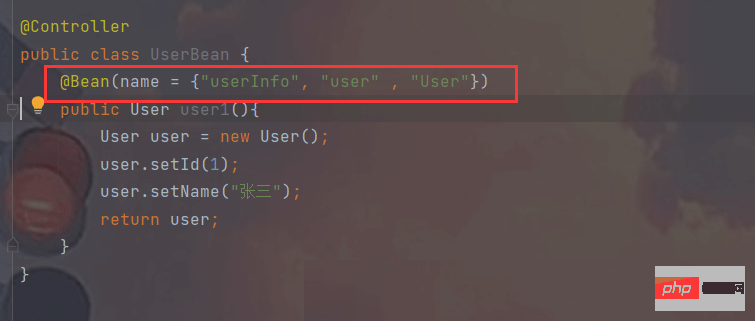
2.8.1 bean重新命名
- #2.8.2重新命名多個
:當使用name屬性重新命名後,原本的方法名稱會失去作用,也就是說只能用那麼修改後的名字作為id了。
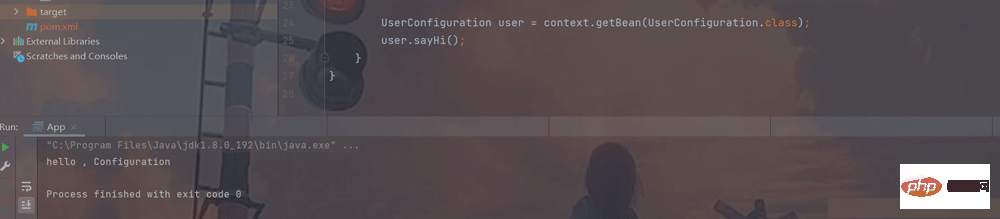
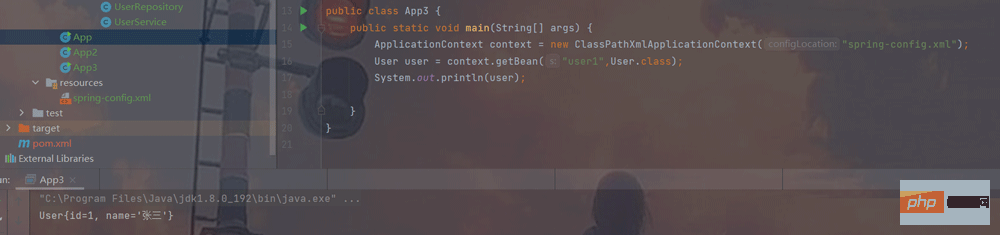
取得bean物件
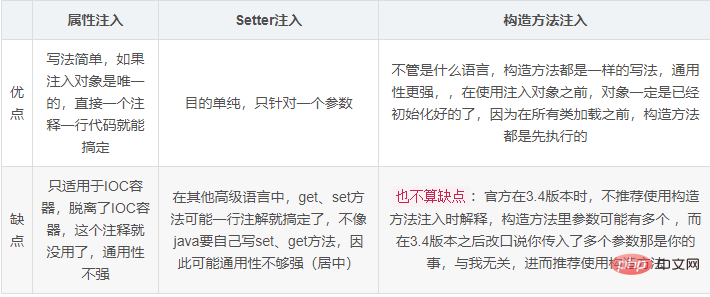
 取得bean物件也叫物件注入,其有以下3種方法:
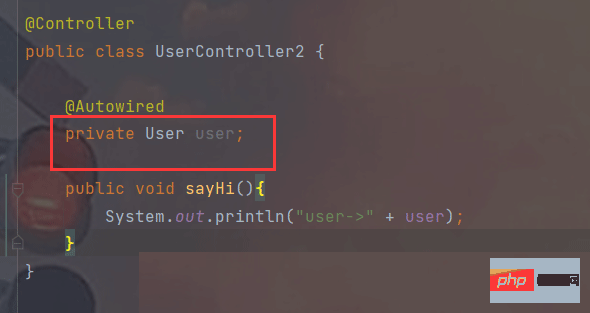
屬性注入
建構方法注入
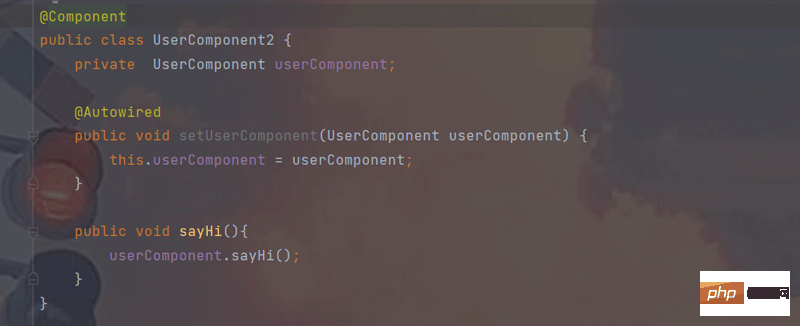
 Setter注入
1.1 Autowired
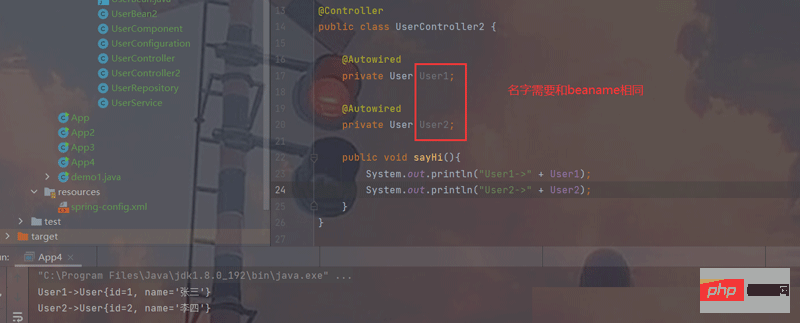

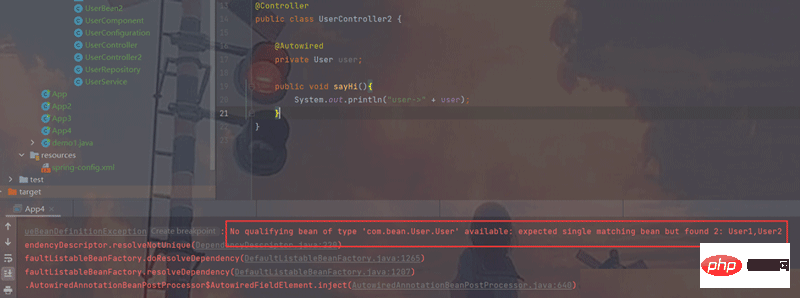
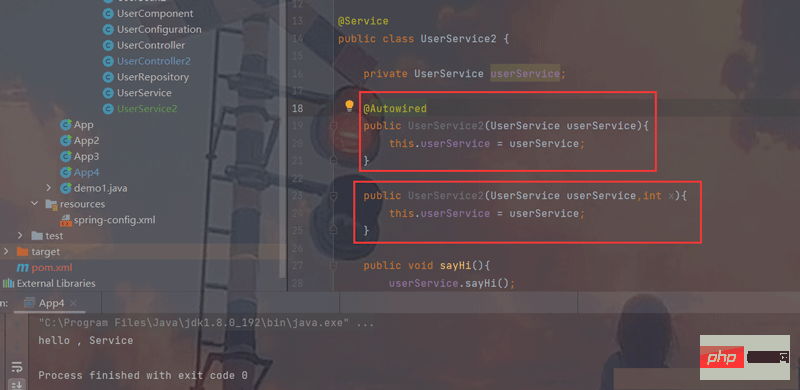
 #此時就需要精準定位所選的物件了,需要
:
1.3二者區別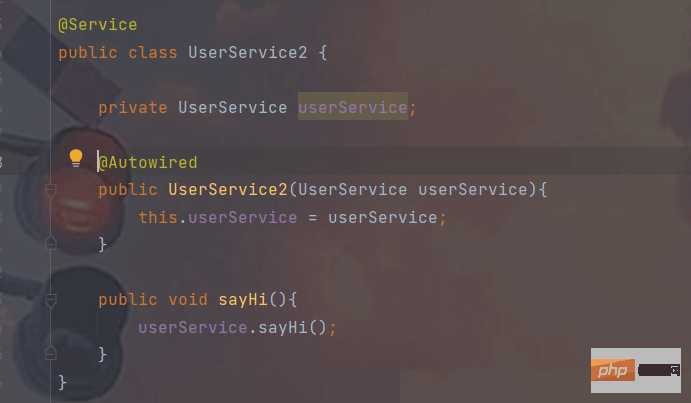

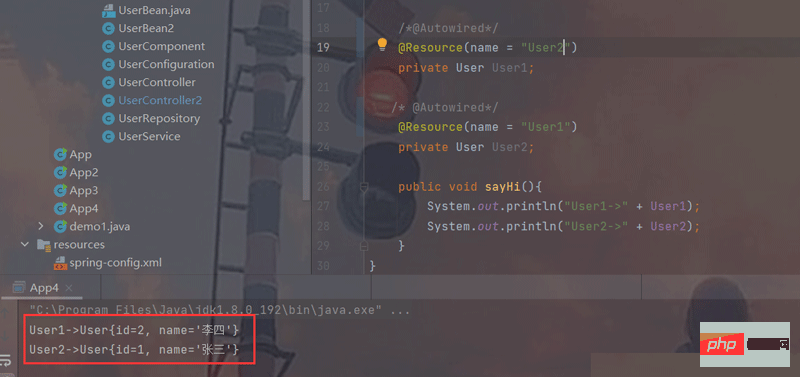
但Autowired也有搭配註解,@Qualifier,一樣可以指定選擇的bean對象,所以二者之間嘛,我覺得打成平手
 ps
ps
Setter注入
還是透過Autowired

以上是Java Spring中的讀寫操作實例分析的詳細內容。更多資訊請關注PHP中文網其他相關文章!
陳述:
本文轉載於:yisu.com。如有侵權,請聯絡admin@php.cn刪除