


本篇文章帶大家繼續angular的學習,簡單了解一下angular中的自訂服務 notification,希望對大家有幫助!

在先前的文章中,我們有提到:
service 不但可以用來處理API 請求,還有其他的用處
例如,我們這篇文章要講到的notification 的實作。 【相關教學推薦:《angular教程》】
#效果圖如下:

UI 這個可以後期調整
So,我們一步步來分解。
新增服務
我們在app/services 中新增notification.service.ts 服務檔案(請使用指令行生成),加入相關的內容:
// notification.service.ts
import { Injectable } from '@angular/core';
import { Observable, Subject } from 'rxjs';
// 通知状态的枚举
export enum NotificationStatus {
Process = "progress",
Success = "success",
Failure = "failure",
Ended = "ended"
}
@Injectable({
providedIn: 'root'
})
export class NotificationService {
private notify: Subject<NotificationStatus> = new Subject();
public messageObj: any = {
primary: '',
secondary: ''
}
// 转换成可观察体
public getNotification(): Observable<NotificationStatus> {
return this.notify.asObservable();
}
// 进行中通知
public showProcessNotification() {
this.notify.next(NotificationStatus.Process)
}
// 成功通知
public showSuccessNotification() {
this.notify.next(NotificationStatus.Success)
}
// 结束通知
public showEndedNotification() {
this.notify.next(NotificationStatus.Ended)
}
// 更改信息
public changePrimarySecondary(primary?: string, secondary?: string) {
this.messageObj.primary = primary;
this.messageObj.secondary = secondary
}
constructor() { }
}是不是很容易理解...
我們將notify 變成可觀察物體,之後發佈各種狀態的訊息。
建立元件
我們在 app/components 這個存放公用元件的地方新建 notification 元件。所以你會得到下面的結構:
notification
├── notification.component.html                     // 页面骨架
├── notification.component.scss                     // 页面独有样式
├── notification.component.spec.ts                  // 测试文件
└── notification.component.ts                       // javascript 文件
我們定義notification 的骨架:
<!-- notification.component.html -->

<!-- 支持手动关闭通知 -->
<button (click)="closeNotification()">关闭</button>
<h1 id="提醒的内容-nbsp-nbsp-message-nbsp">提醒的内容: {{ message }}</h1>
<!-- 自定义重点通知信息 -->
<p>{{ primaryMessage }}</p>
<!-- 自定义次要通知信息 -->
<p>{{ secondaryMessage }}</p>
接著,我們簡單修飾下骨架,加入下面的樣式:
// notification.component.scss

:host {
  position: fixed;
  top: -100%;
  right: 20px;
  background-color: #999;
  border: 1px solid #333;
  border-radius: 10px;
  width: 400px;
  height: 180px;
  padding: 10px;
  // 注意这里的 active 的内容,在出现通知的时候才有
  &.active {
    top: 10px;
  }
  &.success {}
  &.progress {}
  &.failure {}
  &.ended {}
}
success, progress, failure, ended 這四個類別名稱對應notification service 定義的列舉,可以依照自己的喜好加入相關的樣式。
最後,我們加入行為 javascript 程式碼。
// notification.component.ts

import { Component, OnInit, HostBinding, OnDestroy } from '@angular/core';
// 新的知识点 rxjs
import { Subscription } from 'rxjs';
import {debounceTime} from 'rxjs/operators';
// 引入相关的服务
import { NotificationStatus, NotificationService } from 'src/app/services/notification.service';

@Component({
  selector: 'app-notification',
  templateUrl: './notification.component.html',
  styleUrls: ['./notification.component.scss']
})
export class NotificationComponent implements OnInit, OnDestroy {

  // 防抖时间,只读
  private readonly NOTIFICATION_DEBOUNCE_TIME_MS = 200;

  protected notificationSubscription!: Subscription;
  private timer: any = null;
  public message: string = ''

  // notification service 枚举信息的映射
  private reflectObj: any = {
    progress: "进行中",
    success: "成功",
    failure: "失败",
    ended: "结束"
  }

  @HostBinding('class') notificationCssClass = '';

  public primaryMessage!: string;
  public secondaryMessage!: string;

  constructor(
    private notificationService: NotificationService
  ) { }

  ngOnInit(): void {
    this.init()
  }

  public init() {
    // 添加相关的订阅信息
    this.notificationSubscription = this.notificationService.getNotification()
      .pipe(
        debounceTime(this.NOTIFICATION_DEBOUNCE_TIME_MS)
      )
      .subscribe((notificationStatus: NotificationStatus) => {
        if(notificationStatus) {
          this.resetTimeout();
          // 添加相关的样式
          this.notificationCssClass = `active ${ notificationStatus }`
          this.message = this.reflectObj[notificationStatus]
          // 获取自定义首要信息
          this.primaryMessage = this.notificationService.messageObj.primary;
          // 获取自定义次要信息
          this.secondaryMessage = this.notificationService.messageObj.secondary;
          if(notificationStatus === NotificationStatus.Process) {
            this.resetTimeout()
            this.timer = setTimeout(() => {
              this.resetView()
            }, 1000)
          } else {
            this.resetTimeout();
            this.timer = setTimeout(() => {
              this.notificationCssClass = ''
              this.resetView()
            }, 2000)
          }
        }
      })
  }

  private resetView(): void {
    this.message = ''
  }

  // 关闭定时器
  private resetTimeout(): void {
    if(this.timer) {
      clearTimeout(this.timer)
    }
  }

  // 关闭通知
  public closeNotification() {
    this.notificationCssClass = ''
    this.resetTimeout()
  }

  // 组件销毁
  ngOnDestroy(): void {
    this.resetTimeout();
    // 取消所有的订阅消息
    this.notificationSubscription.unsubscribe()
  }

}在這裡,我們引入了rxjs 這個知識點,RxJS 是使用Observables 的響應式程式設計的函式庫,它使編寫非同步或基於回調的程式碼更容易。這是一個很棒的函式庫,接下來很多的文章你會接觸到它更多的內容。
這裡我們使用了debounce 防手震函數,函數防手震,就是指觸發事件後,在n 秒後只能執行一次,如果在n 秒內又觸發了事件,則會重新計算函數的執行時間。簡單來說:當一個動作連續觸發,只執行最後一次。
ps:
throttle節流函數:限制一個函數在一定時間內只能執行一次。
在面試的時候,面試官很喜歡問...
呼叫
因為這個一個全域的服務,我們在app.component.html 中呼叫此元件:
// app.component.html

<router-outlet></router-outlet>
<app-notification></app-notification>
為了方便演示,我們在user-list.component.html 中新增按鈕,方便觸發演示:
// user-list.component.html

<button (click)="showNotification()">click show notification</button>
觸發相關的程式碼:
// user-list.component.ts

import { NotificationService } from 'src/app/services/notification.service';

// ...
constructor(
  private notificationService: NotificationService
) { }

// 展示通知
showNotification(): void {
  this.notificationService.changePrimarySecondary('主要信息 1');
  this.notificationService.showProcessNotification();
  setTimeout(() => {
    this.notificationService.changePrimarySecondary('主要信息 2', '次要信息 2');
    this.notificationService.showSuccessNotification();
  }, 1000)
}至此,大功告成,我們成功模擬了notification 的功能。相關的服務元件我們可以依照實際的需求進行修改,滿足業務需求自訂。如果我們是開發內部使用的系統的話,建議使用成熟的 UI 庫,它們已經幫我們封裝好各種元件和服務,大量節省我們的開發時間。
【完】✅
更多程式相關知識,請造訪:程式設計教學! !
以上是Angular學習之聊notification(自訂服務)的詳細內容。更多資訊請關注PHP中文網其他相關文章!

 5个常见的JavaScript内存错误Aug 25, 2022 am 10:27 AM
JavaScript 不提供任何内存管理操作。相反,内存由 JavaScript VM 通过内存回收过程管理,该过程称为垃圾收集。
 实战:vscode中开发一个支持vue文件跳转到定义的插件Nov 16, 2022 pm 08:43 PM
vscode自身是支持vue文件组件跳转到定义的,但是支持的力度是非常弱的。我们在vue-cli的配置的下,可以写很多灵活的用法,这样可以提升我们的生产效率。但是正是这些灵活的写法,导致了vscode自身提供的功能无法支持跳转到文件定义。为了兼容这些灵活的写法,提高工作效率,所以写了一个vscode支持vue文件跳转到定义的插件。

 Node.js 19正式发布,聊聊它的 6 大特性!Nov 16, 2022 pm 08:34 PM
Node 19已正式发布,下面本篇文章就来带大家详解了解一下Node.js 19的 6 大特性,希望对大家有所帮助!

 聊聊如何选择一个最好的Node.js Docker镜像?Dec 13, 2022 pm 08:00 PM
选择一个Node的Docker镜像看起来像是一件小事,但是镜像的大小和潜在漏洞可能会对你的CI/CD流程和安全造成重大的影响。那我们如何选择一个最好Node.js Docker镜像呢?

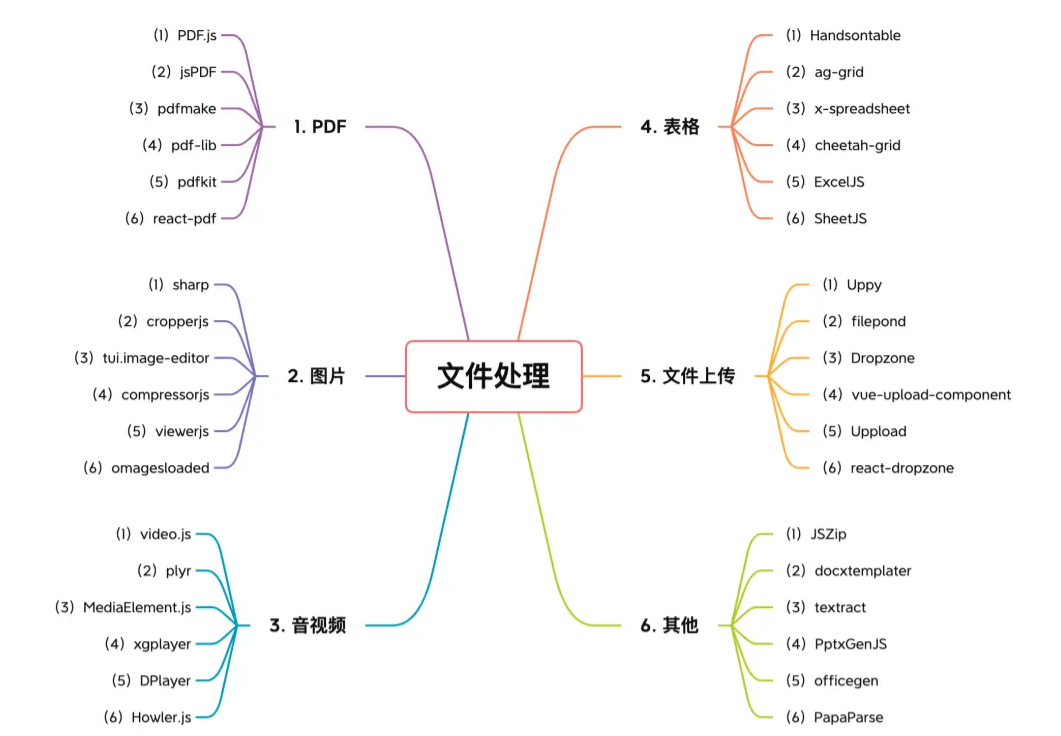 【6大类】实用的前端处理文件的工具库,快来收藏吧!Jul 15, 2022 pm 02:58 PM
本篇文章给大家整理和分享几个前端文件处理相关的实用工具库,共分成6大类一一介绍给大家,希望对大家有所帮助。


熱AI工具

Undresser.AI Undress
人工智慧驅動的應用程序,用於創建逼真的裸體照片

AI Clothes Remover
用於從照片中去除衣服的線上人工智慧工具。

Undress AI Tool
免費脫衣圖片

Clothoff.io
AI脫衣器

AI Hentai Generator
免費產生 AI 無盡。

熱門文章
熱工具

WebStorm Mac版
好用的JavaScript開發工具

Dreamweaver Mac版
視覺化網頁開發工具

Safe Exam Browser
Safe Exam Browser是一個安全的瀏覽器環境,安全地進行線上考試。該軟體將任何電腦變成一個安全的工作站。它控制對任何實用工具的訪問,並防止學生使用未經授權的資源。

VSCode Windows 64位元 下載
微軟推出的免費、功能強大的一款IDE編輯器

記事本++7.3.1
好用且免費的程式碼編輯器

