
使用 vue-i18n 切換中英文的效果

- 不言原創
- 2018-07-04 11:31:331560瀏覽
這篇文章主要介紹了使用vue-i18n 切換中英文效果,非常不錯,具有一定的參考借鑒價值,需要的朋友可以參考下
vue-i18n 倉庫地址:https:// github.com/kazupon/vue-i18n
相容性:
支援Vue.js 2.x 以上版本
安裝方法:(此處只示範npm)
npm install vue-i18n
使用方法:
#1、在main.js 中引入vue-i18n (前提是要先引入vue)
import VueI18n from 'vue-i18n'
Vue.use(VueI18n)
2、準備本地的翻譯資訊
const messages = {
zh: {
message: {
hello: '好好学习,天天向上!'
}
},
en: {
message: {
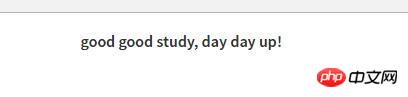
hello: 'good good study, day day up!'
}
}
}3、建立有選項的VueI18n 實例
const i18n = new VueI18n({
 locale: 'en', // 语言标识
 messages
})
4、把i18n 掛載到vue 根實例上
const app = new Vue({
 router,
 i18n,
 ...App
}).$mount('#app')
5、在HTML 模板中使用
<p id="app">
 <h1 style="font-size: 16px; text-align: center;">{{ $t("message.hello") }}</h1>
 </p>
查看運行效果:
我們剛才選定的語言標識是「en」 英語,現在改成「zh」 中文,並查看效果
const i18n = new VueI18n({
 locale: 'zh', // 语言标识
 messages
})
這樣就可以輕鬆實現國際化了,實際開發中,頁面內容肯定是很多的,我們可以把對應語言的資訊保存為不同的json物件
const i18n = new VueI18n({
locale: 'en', // 语言标识
messages: {
'zh': require('./common/lang/zh'),
'en': require('./common/lang/en')
}
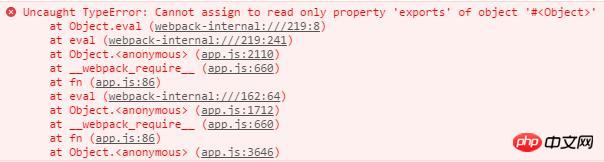
})zh.js
// 注意:一定是 exports,不是 export,否则会报错,报错信息是下列的中的内容不是 string
module.exports = {
message: {
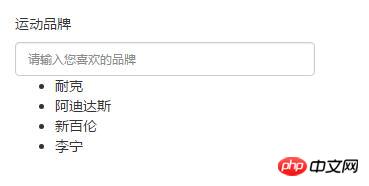
title: '运动品牌'
},
placeholder: {
enter: '请输入您喜欢的品牌'
},
brands: {
nike: '耐克',
adi: '阿迪达斯',
nb: '新百伦',
ln: '李宁'
}
}en.js
module.exports = {
message: {
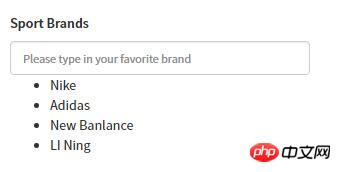
title: 'Sport Brands'
},
placeholder: {
enter: 'Please type in your favorite brand'
},
brands: {
nike: 'Nike',
adi: 'Adidas',
nb: 'New Banlance',
ln: 'LI Ning'
}
}接下來,在HTML 範本中使用,要特別注意在js 中的國際化寫法
// HTML
<p id="app">
<p style="margin: 20px;">
<h1>{{$t("message.title")}}</h1>
<input style="width: 300px;" class="form-control" :placeholder="$t('placeholder.enter')">
<ul>
<li v-for="brand in brands">{{brand}}</li>
</ul>
</p>
</p>
// JS
data () {
return {
brands: [this.$t('brands.nike'), this.$t('brands.adi'), this.$t('brands.nb'), this.$t('brands.ln')]
}
},查看編譯效果:
#現在換成英文的:
##在上面的操作中,我們都是透過手動修改locale 的屬性值來切換語言,實際上,更希望瀏覽器自動識別,這裡可以藉助於cookie
1、新建一個cookie.js 文件,用於讀取cookie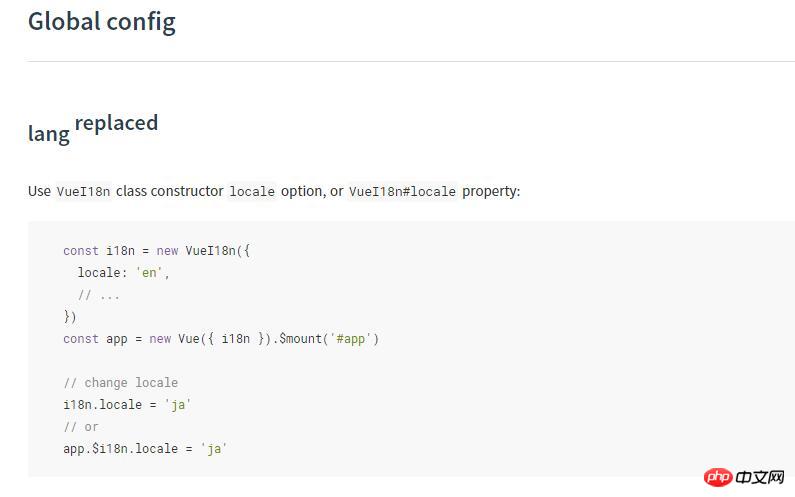
function getCookie(name,defaultValue) {
 var arr, reg = new RegExp("(^| )" + name + "=([^;]*)(;|$)");
 if (arr = document.cookie.match(reg))
 return unescape(arr[2]);
 else
 return defaultValue;
}
export {
 getCookie
}
2、在main.js 中引入這個js,並透過PLAY_LANG 屬性來取得瀏覽器的語言const i18n = new VueI18n({
locale: getCookie('PLAY_LANG','zh'), // 语言标识
messages: {
'zh': require('./common/lang/zh'),
'en': require('./common/lang/en')
}
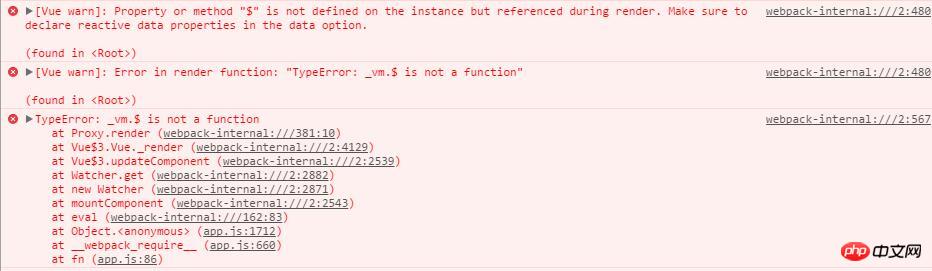
})這裡需要注意兩個極易出錯的地方:(1)、將$t() 寫成了$()
vue-i18n 提供了一個全域設定參數叫做“locale”,透過改變locale 的值可以實作不同語種的切換
#下面的案例借用了Element UI 的彈出式樣式,上面的步驟不再贅述,直接上核心程式碼
// template
<h2>{{$t('test')}}</h2>
<button type="button" class="btn btn-success" @click="changeLocale">中文/EN</button>
// js方法
changeLocale () {
this.$confirm(this.$t('layer.toggle'), this.$t('layer.tips'), {
confirmButtonText: this.$t('button.ok'),
cancelButtonText: this.$t('button.cancel'),
type: 'warning'
}).then(() => {
let locale = this.$i18n.locale
locale === 'zh' ? this.$i18n.locale = 'en' : this.$i18n.locale = 'zh'
}).catch(() => {
this.$message({
type: 'info',
})
})
},效果:
以上就是本文的全部內容,希望對大家的學習有所幫助,更多相關內容請關注PHP中文網! 相關推薦:
######vue-cli專案根據線上環境分別打出測試包和生產包的方法############### Vue使用Redux的方法###############vue路由攔截及頁面跳轉設定的方法介紹##################以上是使用 vue-i18n 切換中英文的效果的詳細內容。更多資訊請關注PHP中文網其他相關文章!
陳述:
本文內容由網友自願投稿,版權歸原作者所有。本站不承擔相應的法律責任。如發現涉嫌抄襲或侵權的內容,請聯絡admin@php.cn