在vue中如何實作父元件點擊觸發子元件事件
- 亚连原創
- 2018-06-07 11:27:215937瀏覽
下面我就為大家分享一篇vue父元件點擊觸發子元件事件的實例講解,具有很好的參考價值,希望對大家有幫助。
最近在學習Vue父子元件通訊的問題,剛好遇到一個父子之間事件事件派發與接收,在這裡記錄一下,這裡我使用的是ref
給子元件註冊引用資訊。 官網是這樣解釋的
ref 被用來給元素或子元件註冊引用資訊。引用資訊將會註冊在父組件的 $refs 物件上。如果在普通的DOM 元素上使用,引用指向的就是DOM 元素; 如果用在子元件上,引用就指向元件實例:
父元件app.vue
<template>
<p id="app">
<!--父组件-->
<input v-model="msg">
<button v-on:click="notify">广播事件</button>
<!--子组件-->
<popup ref="child" ></popup>
</p>
</template>
<script>
import popup from '@/components/popup'
export default {
name: 'app',
data: function () {
return {
msg: ''
}
},
components: {
popup
},
methods: {
notify: function () {
if (this.msg.trim()) {
this.$refs.child.parentMsg(this.msg)
}
}
}
}
</script>
<style>
#app {
font-family: 'Avenir', Helvetica, Arial, sans-serif;
-webkit-font-smoothing: antialiased;
-moz-osx-font-smoothing: grayscale;
text-align: center;
color: #2c3e50;
margin-top: 60px;
}
</style>子元件popup.vue
<template>
<p>
<ul>
<li v-for="item in messages">父组件输入了:{{item}}</li>
</ul>
</p>
</template>
<style>
body {
background-color: #ffffff;
}
</style>
<script>
export default{
name: 'popup',
data: function () {
return {
messages: []
}
},
methods: {
parentMsg: function (msg) {
this.messages.push(msg)
}
}
}
</script>我把這個實例分為幾個步驟解讀:
1、父元件的button元素綁定click事件,此事件指向notify方法
2、給子元件註冊一個ref="child"
3、父元件的notify的方法在處理時,使用了$refs.child把事件傳遞給子元件的parentMsg方法,同時帶著父元件中的參數msg
4、子元件接收到父元件的事件後,呼叫了parentMsg方法,把接收到的msg放到message陣列中
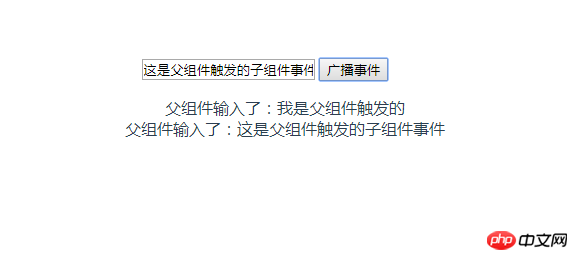
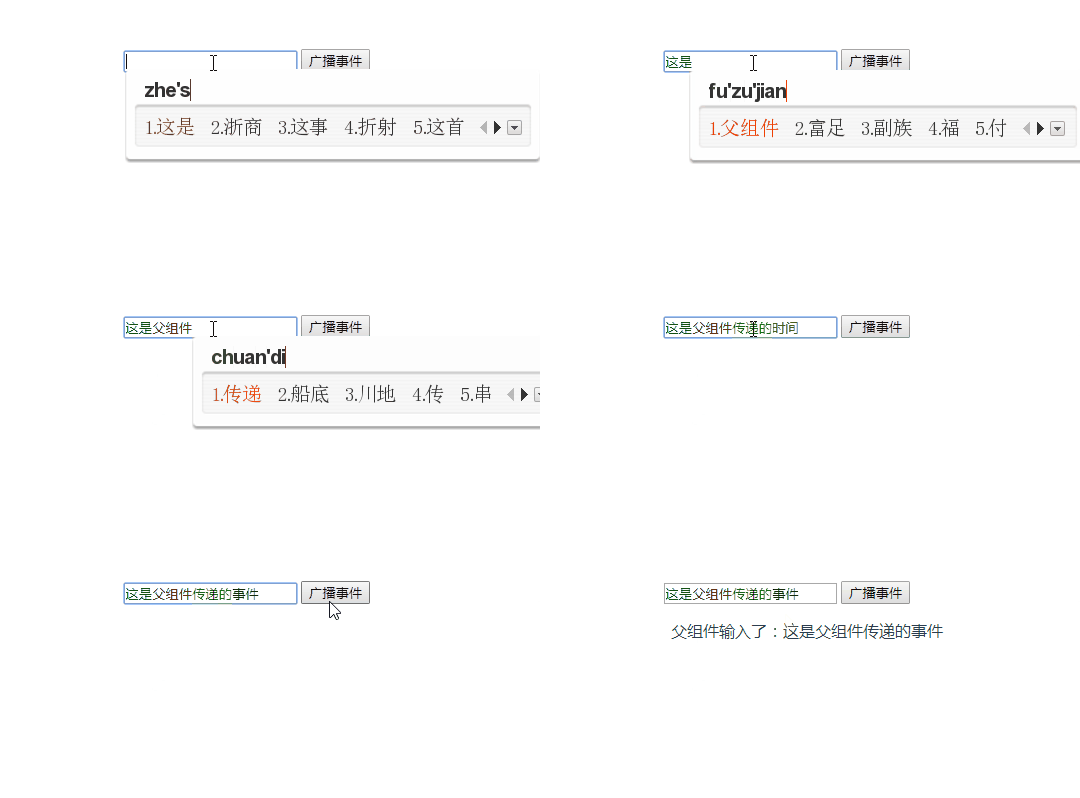
運行結果如下:


上面是我整理給大家的,希望今後對大家有幫助。
相關文章:
#以上是在vue中如何實作父元件點擊觸發子元件事件的詳細內容。更多資訊請關注PHP中文網其他相關文章!
陳述:
本文內容由網友自願投稿,版權歸原作者所有。本站不承擔相應的法律責任。如發現涉嫌抄襲或侵權的內容,請聯絡admin@php.cn

