vue2.0選取active後其他選項互斥實現步驟
- php中世界最好的语言原創
- 2018-04-28 13:52:501415瀏覽
這次帶給大家vue2.0選中active後其他選項互斥實現步驟,vue2.0選中active後其他選項互斥的注意事項有哪些,下面就是實戰案例,一起來看一下。
在正常的js中。我們如果要實現點擊選中active然後其他取消的效果,我們可以定義一個類,當點擊的時候給給多有的dom取消active的類,給當前元素加上這個類名,說的很囉嗦,直接來看程式碼說話吧(表示樓主用的是jq):
 <style>
  * {
   margin: 0;
   padding: 0;
  }
  li {
   list-style: none;
   width: 100px;
   margin-top: 10px;
   border: 1px solid red;
  }
  li:active {
   cursor: pointer;
  }
  .active {
   background-color: aqua;
  }
 </style>
 <script src="http://g.ydbcdn.com/jquery/latest/jquery.min.js"></script>
</head>
<body>
<ul>
 <li>this is pne</li>
 <li>this is two</li>
 <li>this is three</li>
</ul>
</body>
<script>
 $(() => {
  $("li").click((e) => {
   $("li").removeClass("active");
   $(e.target).addClass("active");
  })
 })
</script>
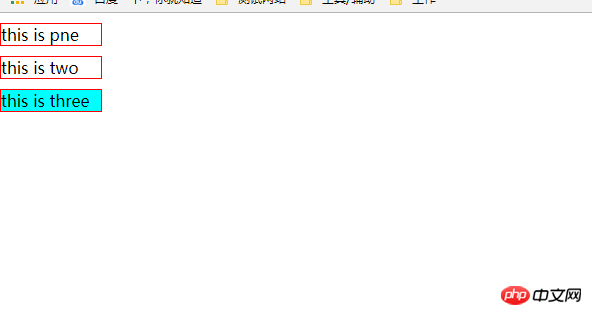
效果如下圖所示:

但是在vue裡面,是不提倡進行dom操作的,如果非進行dom的話,vue2.0裡面有一個ref的屬性,是可以達到dom的效果的。那麼接下來我們不接住dom來進行操作:
由於習慣了webpack和vue-cli腳手架,所以樓主所有vue的程式碼都是放在webpack的腳手架當中進行,還使用了pug和scss的預處理器,vue的程式碼如下:
<template lang="pug">
 ul
  li(v-for="(item,index) in classArr", @click="result(index)", :class="resultNum === index?'active':''") this is {{item}}
</template>
<style lang="scss">
 li {
  list-style: none;
  width: 100px;
  margin-top: 10px;
  border: 1px solid red;
  &:hover {
   cursor: pointer;
  }
 }
 .active{
  background-color: aqua;
 }
</style>
<script>
 export default{
  data(){
   return {
    classArr: ["one", "two", "three"],
    num:"",
   }
  },
  methods: {
    result(index){
     this.num = index;
    }
  },
  computed:{
    resultNum(){
     return this.num;
   }
  }
 }
</script>
想法如下:
這段程式碼使用的是index這個關鍵字,還使用了computed這個計算屬性,噹噹前的index索引與點擊的當前元素的下標相同的時候,便會觸發active這個類別名稱。說的很簡練,不懂的可以加博主一起探討
相信看了本文案例你已經掌握了方法,更多精彩請關注php中文網其它相關文章!
推薦閱讀:
以上是vue2.0選取active後其他選項互斥實現步驟的詳細內容。更多資訊請關注PHP中文網其他相關文章!
陳述:
本文內容由網友自願投稿,版權歸原作者所有。本站不承擔相應的法律責任。如發現涉嫌抄襲或侵權的內容,請聯絡admin@php.cn
上一篇:vue render開發實例詳解下一篇:vue render開發實例詳解

