微信開發實戰之頂部導覽列(選項卡)
- 零下一度原創
- 2018-05-14 09:36:393784瀏覽
這篇文章主要為大家詳細介紹了微信小程式實戰之頂部導航欄的相關程式碼,具有一定的參考價值,有興趣的小夥伴們可以參考一下
本文實例為大家分享了微信小程式頂部導覽列的具體程式碼,供大家參考,具體內容如下
需求:頂部導覽列

xml:
<!--导航条-->
<view class="navbar">
<text wx:for="{{navbar}}" data-idx="{{index}}" class="item {{currentTab==index ? 'active' : ''}}" wx:key="unique" bindtap="navbarTap">{{item}}</text>
</view>
<!--首页-->
<view hidden="{{currentTab!==0}}">
tab_01
</view>
<!--搜索-->
<view hidden="{{currentTab!==1}}">
tab_02
</view>
<!--我-->
<view hidden="{{currentTab!==2}}">
tab_03
</view>
wxss:
page{
 display: flex;
 flex-direction: column;
 height: 100%;
}
.navbar{
 flex: none;
 display: flex;
 background: #fff;
}
.navbar .item{
 position: relative;
 flex: auto;
 text-align: center;
 line-height: 80rpx;
}
.navbar .item.active{
 color: #FFCC00;
}
.navbar .item.active:after{
 content: "";
 display: block;
 position: absolute;
 bottom: 0;
 left: 0;
 right: 0;
 height: 4rpx;
 background: #FFCC00;
}
js:
var app = getApp()
Page({
 data: {
 navbar: ['首页', '搜索', '我'],
 currentTab: 0
 },
 navbarTap: function(e){
 this.setData({
  currentTab: e.currentTarget.dataset.idx
 })
 }
})
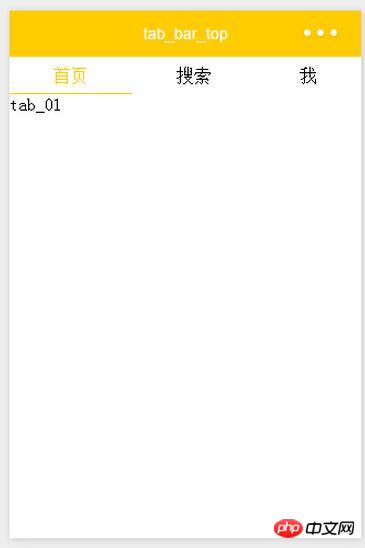
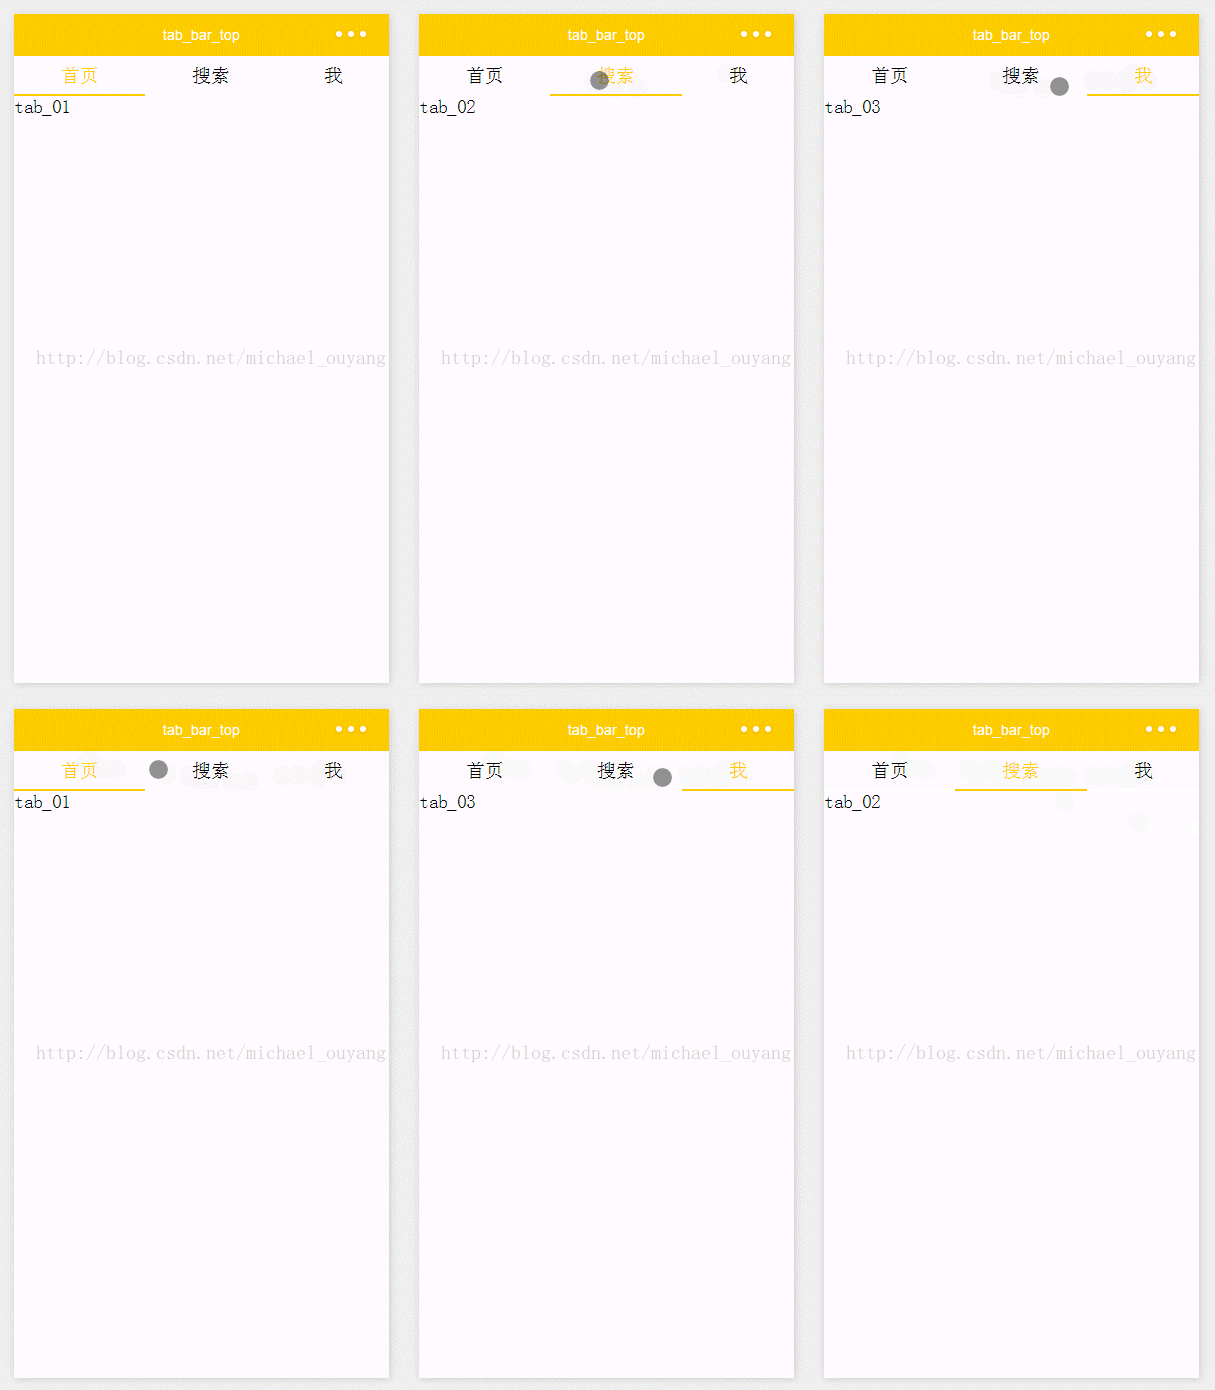
執行:

小豬cms(PigCms)微型電器系統營運版(獨立微店商城+三級經銷系統)
#3. 4.以上是微信開發實戰之頂部導覽列(選項卡)的詳細內容。更多資訊請關注PHP中文網其他相關文章!
陳述:
本文內容由網友自願投稿,版權歸原作者所有。本站不承擔相應的法律責任。如發現涉嫌抄襲或侵權的內容,請聯絡admin@php.cn

