
Mysql資料庫安裝和使用教學課程

- Y2J原創
- 2017-05-16 13:07:452077瀏覽
在Python網路爬蟲中,通常是透過TXT純文字方式存儲,其實也是可以儲存在資料庫中的;同時在WAMP(Windows、Apache、MySQL、PHP或Python)開發網站中,也可以透過Python構建網頁的,所以這篇文章主要講述Python調用MySQL資料庫相關程式設計知識
在Python網路爬蟲中,通常是透過TXT純文字方式存儲,其實也是可以儲存在資料庫中的;同時在WAMP( Windows、Apache、MySQL、PHP或Python)開發網站中,也可以透過Python建立網頁的,所以這篇文章主要講述Python呼叫MySQL資料庫相關程式設計知識。從以下幾個方面來說明:
1.設定MySLQ
2.SQL語句基礎知識
3.Python操作MySQL基礎知識
4.Python呼叫MySQL範例
一.設定MySQL
已下載mysql-5.0.96-winx64, 安裝流程如下所示。
1.安裝MySQL 5.0
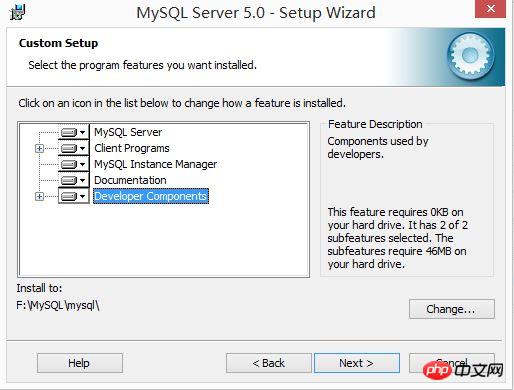
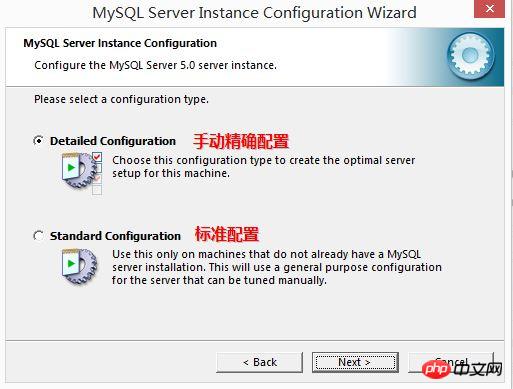
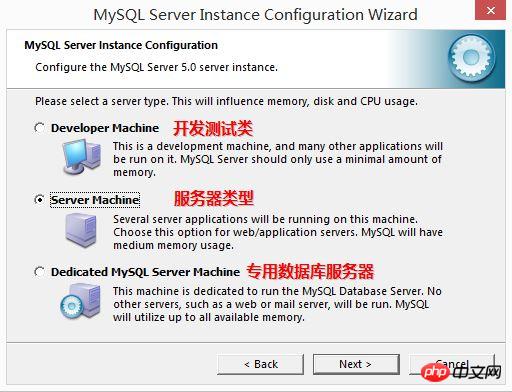
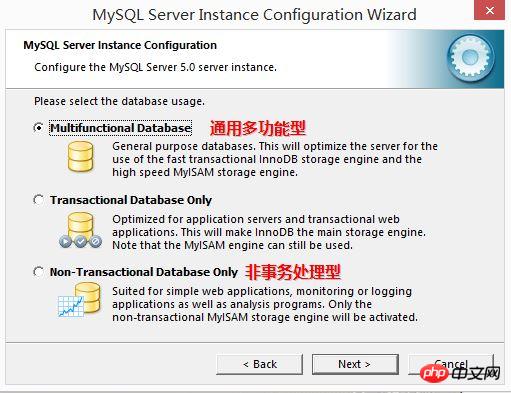
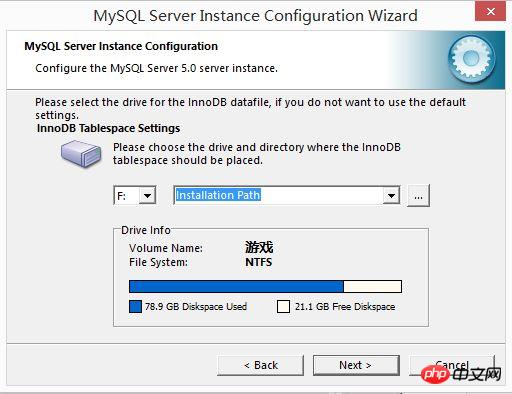
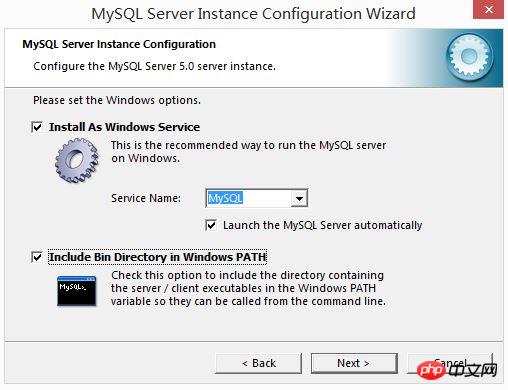
## 2.選擇手動設定、服務類型、一般多功能型與安裝路徑
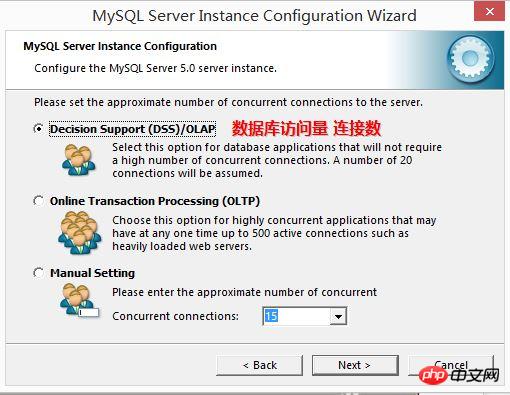
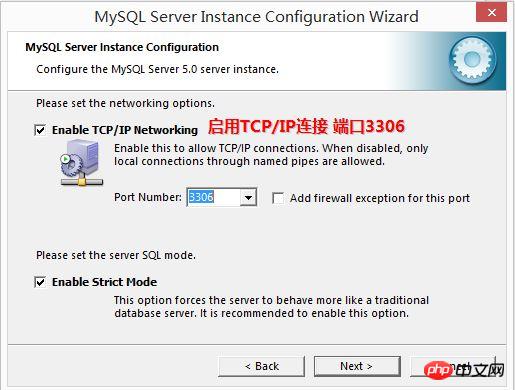
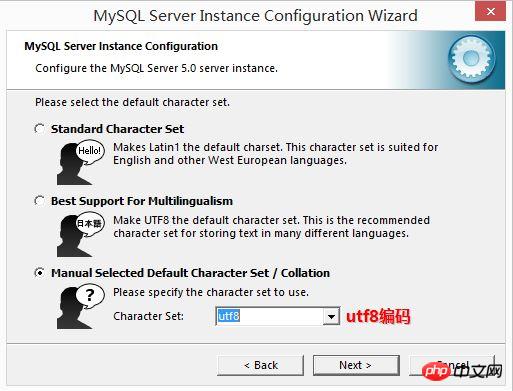
# 3.設定資料庫存取量連線數為15、連接埠為3306(程式碼中設定URL用至) 、編碼方式為utf-8
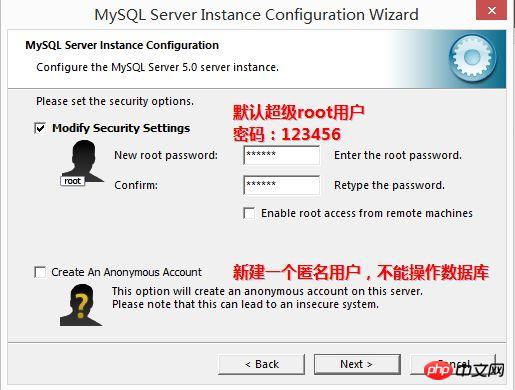
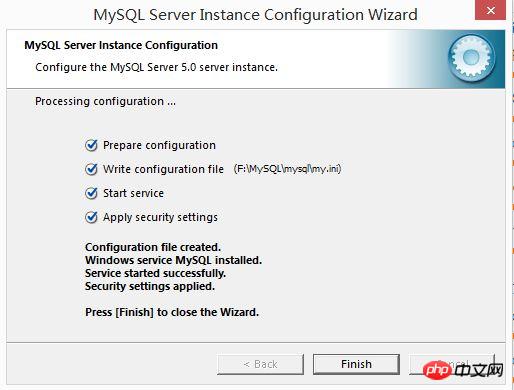
4.設定預設超級root使用者的使用者名稱及密碼,最後安裝成功
二. SQL語句基礎
安裝MySQL 5.0成功後,進行資料庫的簡單操作。
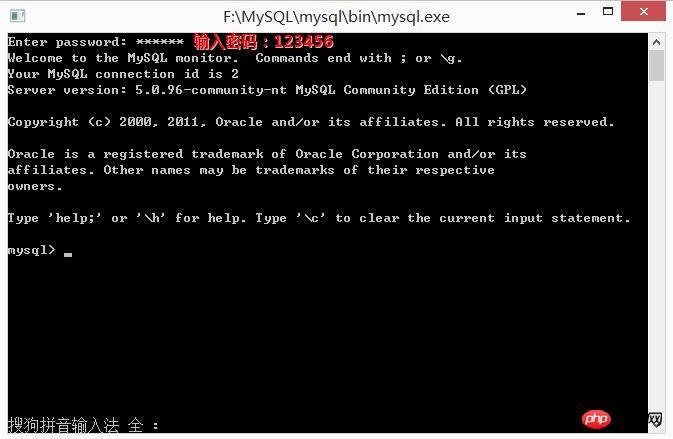
1.執行MySQL輸入預設使用者密碼123456
2.
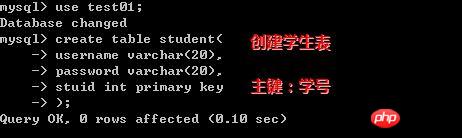
建立資料庫test01與使用資料庫(第二次呼叫直接use database) create database test01;

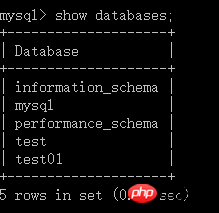
顯示資料庫中包含的資料庫: databases;# database
create table student(username varchar(20),passww
## varchar(20),stuid int primary
key);
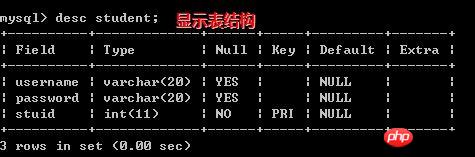
4.顯示表格結構,使用語句desc student
5.插入資料表
並顯示
查詢的資料
6.刪除表:drop table student;

更新 7.
更新 7.
更新 7.
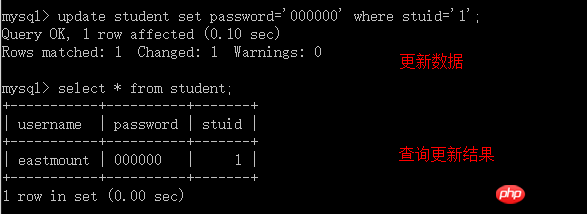
student 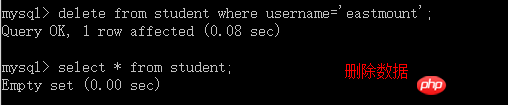 set
set
# 8.刪除資料
#
from student where username='eastmount;
你同樣可以實現資料庫的增刪改查、事務、預存程序
等操作,建議安裝可視化的軟體來取代黑框,或使用Navicat
for
MySQL軟體即可。程式碼如下:
Enter password: ******
mysql> show databases;
+--------------------+
| Database      |
+--------------------+
| information_schema |
| mysql       |
| performance_schema |
| test        |
| test01       |
+--------------------+
5 rows in set (0.00 sec)

mysql> use test01;
Database changed
mysql> show tables;
Empty set (0.00 sec)

mysql> create table student(username varchar(20),
  ->         password varchar(20),
  ->         stuid int primary key);
Query OK, 0 rows affected (0.33 sec)

mysql> show tables;
+------------------+
| Tables_in_test01 |
+------------------+
| student     |
+------------------+
1 row in set (0.00 sec)

mysql> desc student;
+----------+-------------+------+-----+---------+-------+
| Field  | Type    | Null | Key | Default | Extra |
+----------+-------------+------+-----+---------+-------+
| username | varchar(20) | YES |   | NULL  |    |
| password | varchar(20) | YES |   | NULL  |    |
| stuid  | int(11)   | NO  | PRI | NULL  |    |
+----------+-------------+------+-----+---------+-------+
3 rows in set (0.03 sec)

mysql> insert student(username, password, stuid)
  -> values('eastmount','123456',1)
  -> ;
Query OK, 1 row affected (0.05 sec)

mysql> select * from student;
+-----------+----------+-------+
| username | password | stuid |
+-----------+----------+-------+
| eastmount | 123456  |   1 |
+-----------+----------+-------+
1 row in set (0.00 sec)

mysql> update student set password='000000' where stuid='1';
Query OK, 1 row affected (0.10 sec)
Rows matched: 1 Changed: 1 Warnings: 0

mysql> select * from student;
+-----------+----------+-------+
| username | password | stuid |
+-----------+----------+-------+
| eastmount | 000000  |   1 |
+-----------+----------+-------+
1 row in set (0.00 sec)

mysql> delete from student where username='eastmount';
Query OK, 1 row affected (0.08 sec)

mysql> select * from student;
Empty set (0.00 sec)

mysql>
三. Python呼叫MySQL基礎知識
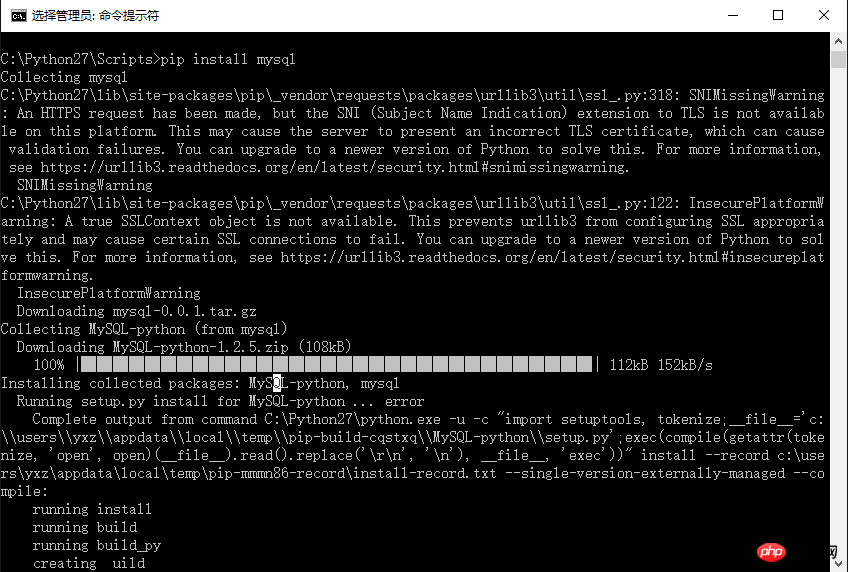
常見錯誤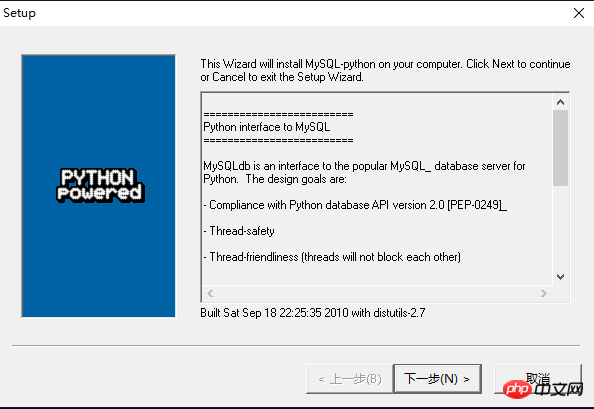 如:
如:
mysql.c(42) : fatal error C1083: Cannot open include file: 'config-win .h': No such file or directory這些可能是驅動程式等問題。 正確安裝方法:
建議下載一個MySQL-python-1.2.3.win-amd64-py2.7.exe檔進行安裝。 官網位址:pypi.python.org/pypi/MySQL-python/下載位址:www.jb51.net/softs/73369.html
##下面我們要詳細了解Python資料庫
API。從Python中存取資料庫需要介面程序,介面程式是一個Python模組,它提供資料庫客戶端庫(通常是C語言
寫成的)的介面供你存取。注意:Python介面程式都一定要遵守Python DB-API規格。
物件
和資料庫存取方式,以便為各種各樣的底層資料庫系統和多種多樣的資料庫介面程式提供一致的存取介面。 DB-API為不同的資料庫提供了一致的存取接口,在不同的資料庫之間移植代碼成為一件輕鬆的事情。以下簡單介紹DB-API的使用方法。
1.模組屬性
DB-API規格裡的下列特性和屬性必須提供。一個DB-API相容模組定義如下所示:
apilevel:模块兼容的DB-API版本号
threadsafety:线程安全级别
paramstyle:支持sql语句参数风格
connect():连接数据库
Python呼叫MsSQL需要匯入MySQLdb函式庫,如下:
import MySQLdb
#
函數
user:Username
password:Password
host:Hostname
database:DatabaseName
dsn:Data source name
注意並非所有的介面程式都嚴格遵守此格式,如MySQLdb。 ############
import MySQLdb
conn = MySQLdb.connect(host='localhost', db='test01', user='root', passwd='123456', port=3306, charset='utf8')
###connect()物件方法如下:############
close():关闭数据库连接,或者关闭游标对象
commit():提交当前事务
rollback():取消当前事务
cursor():创建游标或类游标对象
errorhandler(cxn,errcls,errval):作为已给游标的句柄
###注意,執行close()方法則上述的連接物件方法不能再使用,否則發生異常。 commit()、rollback()、cursor()或許更對於支援事務的資料庫更有意義。 ###資料庫交易(Database Trans##action###) ,是指作為單一邏輯工作單元執行的一系列操作,要麼完整地執行,要麼完全地不執行。 一旦你完成了資料庫連接,關閉了遊標對象,然後在執行commit()提交你的操作,然後關閉連接。 ###
3.游标对象
上面说了connect()方法用于提供连接数据库的接口,如果要对数据库操作那么还需要使用游标对象。游标对象的属性和方法:
fetchone():可以看作fetch(取出) one(一个),也就是得到结果集的下一行(一行)。
fetchmany(size):可以看作fetch(取出)many(多个),这里的参数是界限,得到结果集的下几行(几行)
fetchall():顾名思义,取得所有。
execute(sql):执行数据库操作,参数为sql语句。
close():不需要游标时尽可能的关闭
下面通过简单的示例进行讲解。
四. Python调用MySQL示例
在前面数据库中我们创建了数据库“test01”和表“student”,同时插入了数据。那么,怎样通过Python来显示呢?
1.查询所有数据库
首先,我们查看本地数据库中所包含的数据库名称,通过“show databases”语句。
import MySQLdb

try:
  conn=MySQLdb.connect(host='localhost',user='root',passwd='123456',port=3306)
  cur=conn.cursor()
  res = cur.execute('show databases')
  print res
  for data in cur.fetchall():
    print '%s' % data
  cur.close()
  conn.close()
except MySQLdb.Error,e:
   print "Mysql Error %d: %s" % (e.args[0], e.args[1])
其中通过链接数据库代码为:
conn=MySQLdb.connect(host='localhost',user='root',passwd='123456',port=3306)
访问root超级用户,其密码为“123456”,端口为“3306”,其结果如下:
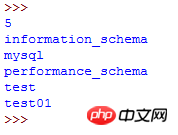
如果不知道本地数据库的名称,可以通过该方法,先查询数据库中包含哪些数据库,然后再连接该数据库进行相关的操作。
2.查询表
下面介绍查询表student中数据,代码如下,代码的具体含义是通过connect()连接数据库,通过conn.cursor()定义游标,然后调用游标的excute(sql)执行数据库操作,此处为查询操作,再通过fetchall()函数获取所有数据。
# coding:utf-8
import MySQLdb
try:
conn=MySQLdb.connect(host='localhost',user='root',passwd='123456',port=3306, db='test01', charset='utf8')
cur=conn.cursor()
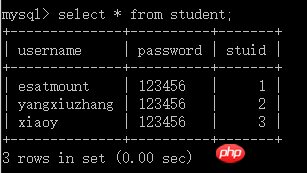
res = cur.execute('select * from student')
print u'表中包含',res,u'条数据\n'
print u'数据如下:(姓名 密码 序号)'
for data in cur.fetchall():
print '%s %s %s' % data
cur.close()
conn.close()
except MySQLdb.Error,e:
print "Mysql Error %d: %s" % (e.args[0], e.args[1])输出结果如图所示:
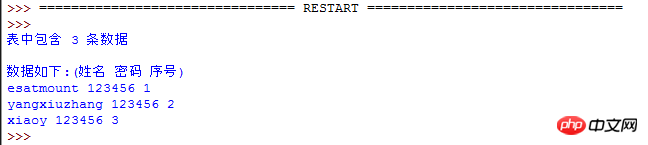
对应的MySQL中的结果是一致的,下图是对应的结果。
3.创建表
下面这段代码是创建一张教师表,主要是通过commit()提交数据。
# coding:utf-8
import MySQLdb
try:
conn=MySQLdb.connect(host='localhost',user='root',passwd='123456',port=3306, db='test01', charset='utf8')
cur=conn.cursor()
#查看表
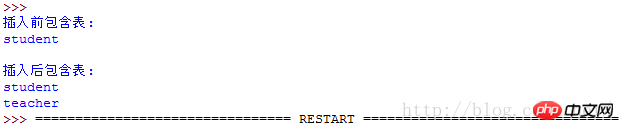
print u'插入前包含表:'
cur.execute('show tables')
for data in cur.fetchall():
print '%s' % data
#插入数据
sql = '''create table teacher(id int not null primary key auto_increment,
name char(30) not null,
sex char(20) not null
)'''
cur.execute(sql)
#查看表
print u'\n插入后包含表:'
cur.execute('show tables')
for data in cur.fetchall():
print '%s' % data
cur.close()
conn.commit()
conn.close()
except MySQLdb.Error,e:
print "Mysql Error %d: %s" % (e.args[0], e.args[1])输出结果如下所示,插入教师表,包含字段:教师序号(id)、教师名称(name)、教师性别(sex)。
插入数据也可以通过execute(sql)方法实现,如:
cur.execute("insert into student values( 'yxz', '111111', '10')")
但插入的新数据通常是通过变量进行赋值,而不是固定的,所以要对这条语句中的值做修改。我们可以做如下修改:
# coding:utf-8
import MySQLdb

try:
  conn=MySQLdb.connect(host='localhost',user='root',passwd='123456',port=3306, db='test01')
  cur=conn.cursor()

  #插入数据
  sql = '''insert into student values(%s, %s, %s)'''
  cur.execute(sql, ('yxz','111111', '10'))

  #查看数据
  print u'\n插入数据:'
  cur.execute('select * from student')
  for data in cur.fetchall():
    print '%s %s %s' % data
  cur.close()
  conn.commit()
  conn.close()
except MySQLdb.Error,e:
   print "Mysql Error %d: %s" % (e.args[0], e.args[1])
输出结果如下所示:
>>>
插入数据:
esatmount 123456 1
yangxiuzhang 123456 2
xiaoy 123456 3
yxz 111111 10
>>>
同样,对数据库的增删改插都可以进行,请读者自行阅读。
推荐资料:python使用mysql数据库 - 虫师
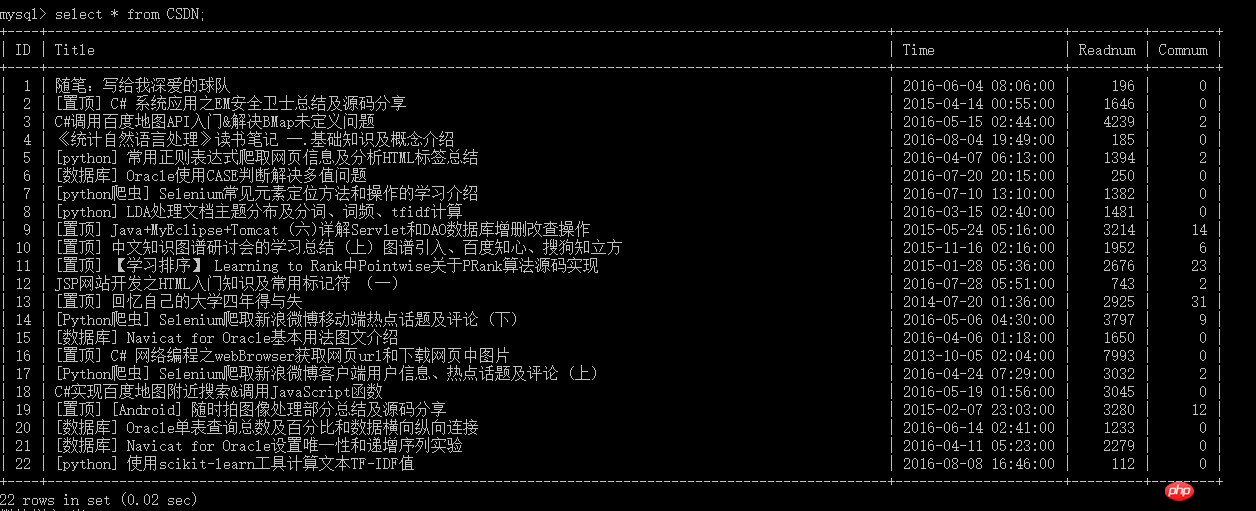
后面我会结合Python爬虫讲述,如何将爬取的内容存储在数据库中,如我CSDN的博客,爬取博客标题、发布时间、阅读量和评论数。
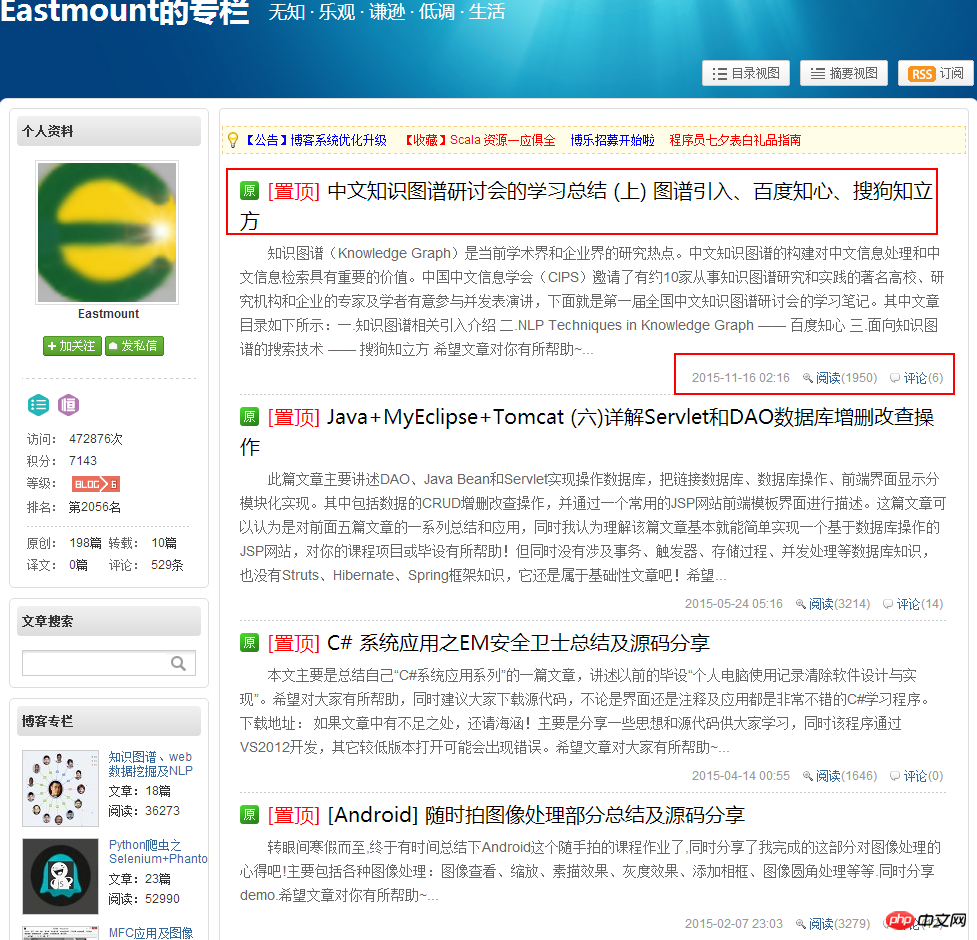
MySQL数据库中结果如下图所示:
【相关推荐】
1. 特别推荐:“php程序员工具箱”V0.1版本下载
2. Python免费视频教程
3. Python基础入门教程
以上是Mysql資料庫安裝和使用教學課程的詳細內容。更多資訊請關注PHP中文網其他相關文章!