PS網頁設計教學XXIX-如何在PS中設計一個畫廊佈局
- 高洛峰原創
- 2017-02-14 09:28:467940瀏覽
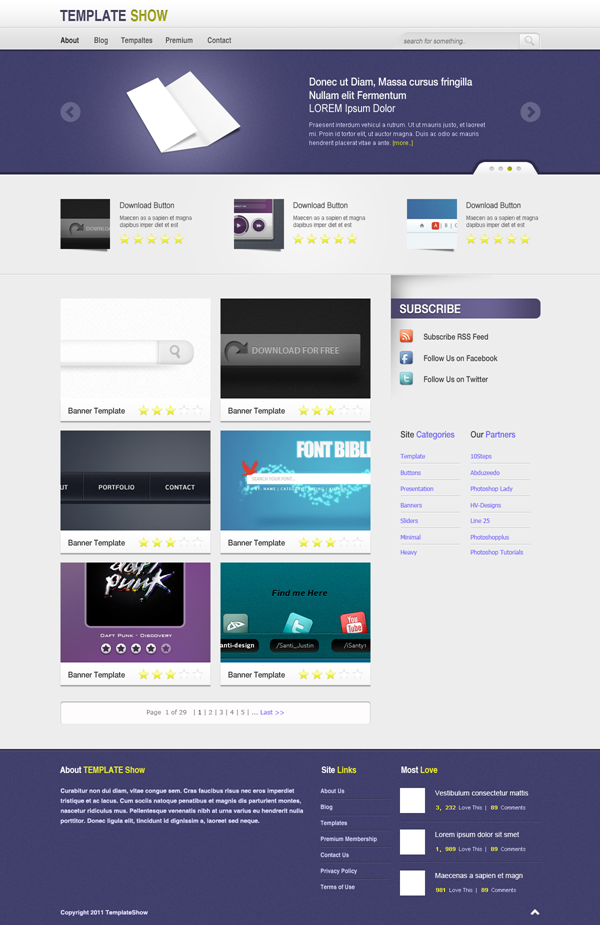
作為編碼者,美工基礎是偏弱的。我們可以參考一些成熟的網頁PS教程,提升自身的設計能力。套用一句話,「熟讀唐詩三百首,不會作詩也會吟」。
本系列的教程來自網路上的PS教程,都是國外的,全英文的。本人嘗試翻譯這些優秀的教學。因為翻譯能力有限,翻譯的細節上還有待推敲,希望廣大網友不吝賜教。
約定:
1、本文的軟體是Photoshop CS5版本
2、原教程的截圖是英文的,本人在重新製作的基礎上,重新截了中文版的圖
3、原文中有些操作沒有給定參數。本人在反覆測試的情況下測定了一些參數,以紅色的文字顯示。有些錯誤的參數,直接以紅色文字顯示正確的參數
例如:(90,22,231,77),表示矩形的左上角的座標是(90,22),寬231,高77
例如:(90,22),表示矩形的左上角的座標是(90,22),矩形的其他兩個參數教程裡已經指定
4、在教程的最後會附上本人的心得。有些是對教程中的一些步驟的最佳化等。
In this week's tutorial we will create a gallery layout. I will not be using the 960 grid in this tutorial, the purbose s sign purler . We will also tackle how to create and use patterns and using mask and filters.
在這個每週教程中,我們要創建一個畫廊的網頁佈局。我將在本教程中不使用960網格系統,目的是給初學者展示標尺工具在PS中開始設計網頁是多麼重要。我們也會示範如何建立使用圖案、使用蒙版和濾鏡
Step 1: Setting up the Document
步驟1:設定文件
1050 月
Photoshop.開始於在PS中新建文檔,尺寸:1200px*1850px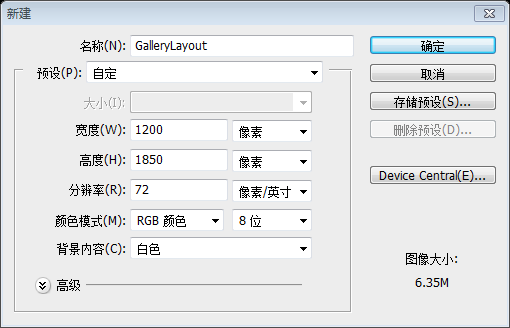
標尺工具
。確保標尺和參考線都是打開的Rulers: Ctrl + R
- Guides: Ctrl + ;
- Also one thing important in using Ruler Tool is the Info(Information) Panel. The use of this is when you are measuring using the ruler the information will this is when you are measuring using the ruler the information will be shown the information that showny s that shown be s片panels at the right. If it is not shown you can access this by going to Windows – Info.此外在使用 標尺工具
- 中重要的一件事是
資訊面板
。它的用途是當你正在測量時,將標尺資訊顯示在 資訊面板
視窗 > 訊息
去顯示它。The total width of your site will be 960px. So, let's create our first guide by going to View – New Guide, set the value to 120pide. Repeat value 0 value value 120pide , valuef this will make a total of 960px in the center of our canvas.你的網頁的總寬度會是960px。所以,讓我們建立我們第一條參考線,點擊:視圖 > 新參考線,設定值為120px。重複步驟建立一條參考線,不過把數值改為1080px,這會使你的畫布的中間部分一共有960px寬。
Step 2: Creating the Header 步驟2:建立頭部區域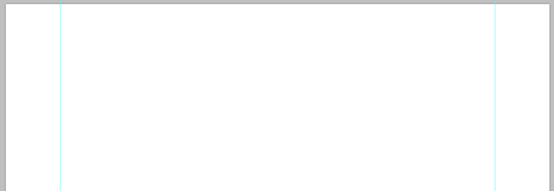
. is to create a folder name it Header and inside of it create sub folders and name them Logo, Navigation, and Search. It is important that you group all the things you do properly in order to be organized and easiasily locate you do properture for order to be organized and easiasily locate thing 區 in dis .
頭部區域包含LOGO、導覽列、搜尋列。首要的事是你需要建立一個名為Header的資料夾,並在其中建立名為Logo、Navigation、Search的子資料夾。把各項分組是非常重要的,以便正確的組織元素和將來編碼的時候很容易定位元素。
Inside Header folder create a new layer and name it bg. Using Rectangle Tool create a 100% x 100px. By looking at the Info Panel you can view the dimension of shape that that you can view the dimension of shape that that you can view the dimension of shape that that youcan this by creating a new guide by going to View – New Guide – 100px Horizontal. It's up to you what way you choose.
在Header資料夾裡新建bg圖層。用矩形工具建立100%*100px的矩形。查看資訊面板時,你可以看見你所創造的形狀的尺寸。或者你可以新建一條參考線來完成這件事,點選:視圖 > 新參考線,參數設定為:水平100px。這取決於你用什麼方法來完成。

Add this Blending Option
加入如下的混合選項
ffGradient Overlay: #ffffy, #ffffff
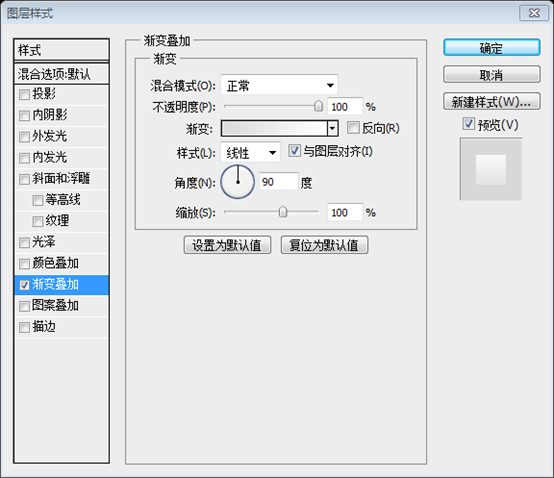 接下來的事你要用直線創建直線
((0,55,1200,1)、(0,56,1200,1))
,距離頂部55px。不過我建議你使用矩形選框工具
讓直線的像素完美Line 1: #cfcfcf
Line 2: #ffffff- Line 2: #ffffff
#ffffff
- As you can see in the preview of our header there is a pattern above the lines。 cfcfcf create a pattern as shown in the screenshot below. When you are done go to Edit – Define Pattern and name it whatever you wish to call it.
鉛筆工具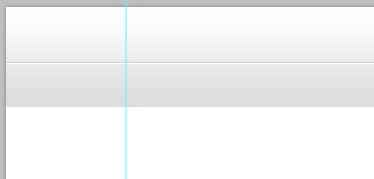 按照下面的截圖建立圖案,填滿顏色: #cfcfcf。完成後,點選:
,取個你想取的名字。
Using Paint Bucket Tool instead of foreground change it to pattern and select the pattern we made. Apply this pattern by making a selection and fill with pattern peraling?並把填滿內容替換為我們之前創建的圖案。建立一個選取範圍,用油漆桶工具
填滿圖案以完成添加圖案的工作。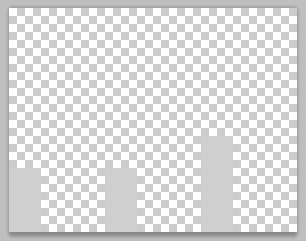
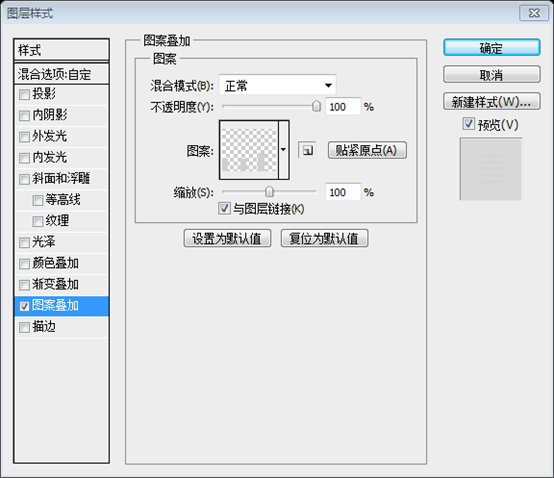
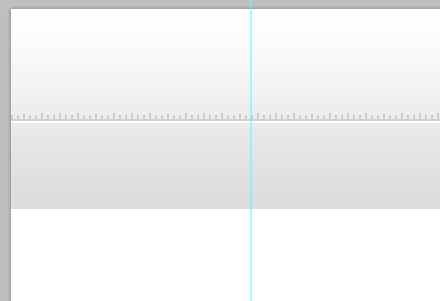
長方形工具
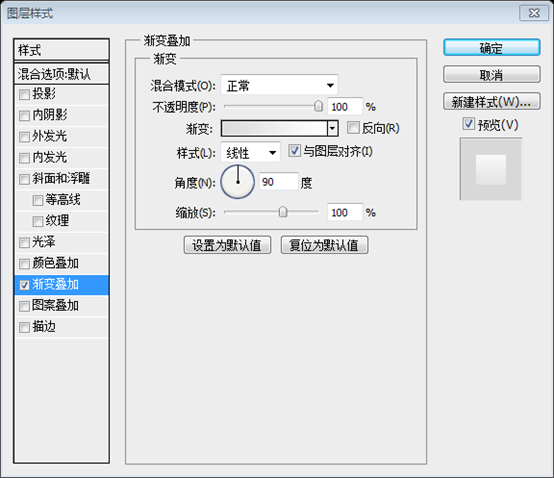
建立一個長方形(0,48,1200,7),填入0,加上以下的圖案疊加的圖層樣式
3: Creating Logo
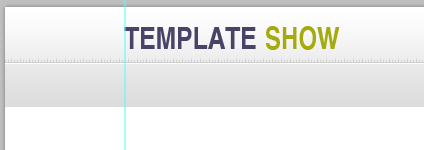
This is just a simple site name logo. Start by using Text Tool and type your desired site name.
這只是簡單的網站名字LOGO。用文字工具並輸入你期望的網站的名字
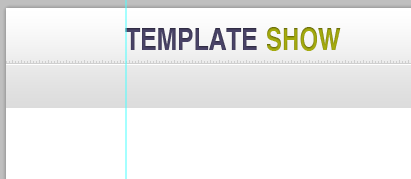
字體:Helvetica BOLD,字號:30px,TEMPLATE的顏色: #494367;SHOW的顏色: #A5AB0D
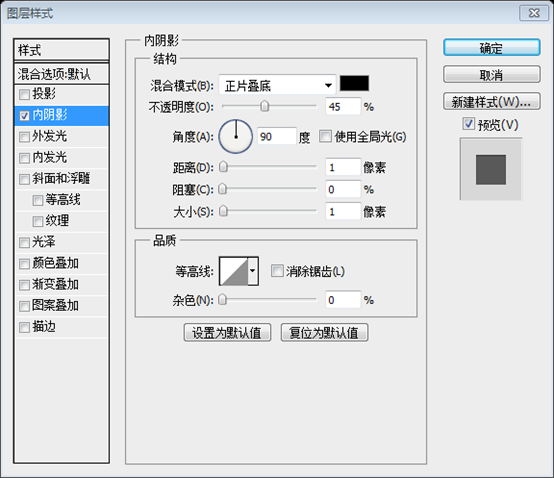
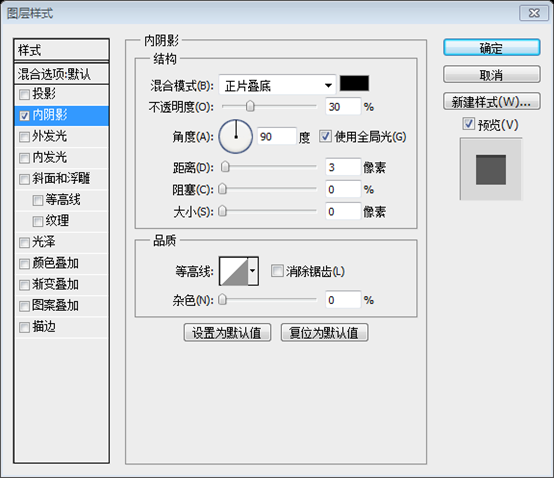
- 內陰影: #000000
-
:
 步驟4:建立導航選單
Again using Text Tool lets place our navigation links.
再用文字工具擺放我們的導航連結
再用文字工具擺放我們的導覽連結
的顏色: #555555Add this Blending Option
加如下的混合選項

Step 5: Creating Search
步驟5:建立搜尋列
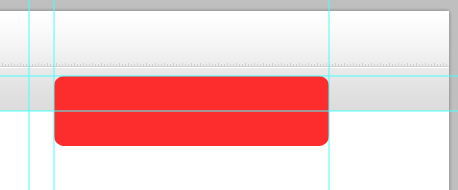
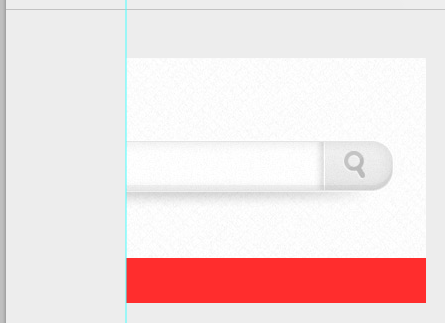
 To create our search bar Rounded inster shgle Tool and set the s To
用 圓角矩形工具
建議先新建四條參考線:垂直780、垂直805、水平65、水平100
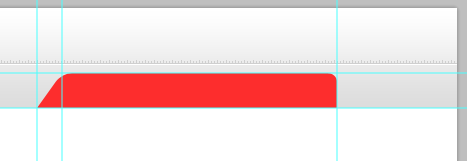
As you can see in the preview above, the left side of our search you can see in the preview above, the left side of our search you can sap bar. layer and press Ctrl + T then Right Click to the work area and select Distort.
如你所見的預覽圖中,我們搜尋欄中的左邊是斜的。所以,我們要變換我們的形狀,選則圖層並按Ctrl + T,然後在工作區域右鍵,選擇扭曲。
依照下圖變形,高度設定70是適當的,只要寬度變成325px,左邊就剛好穿過交點。
Next we need to mask the bottom part of our shape to be equal in our header. First set the foreground to #000000, the mour select the layheader of While ) the mile While 的it is selected select the shape of our search the press the Mask Icon in the layers panel area beside the fx icon. Just refer to the screenshot below.
下一步,我們需要遮罩掉我們的形狀的底部,使其等於我們的頭部區域。首先設定前景色為 #000000,然後在我們的頭部區域的bg圖層做出一個選區。當它被選中,選擇我們搜尋列的形狀,然後在圖層面板中區fx圖示(新增圖層樣式圖示)旁邊的蒙版圖示。參考下面的截圖。

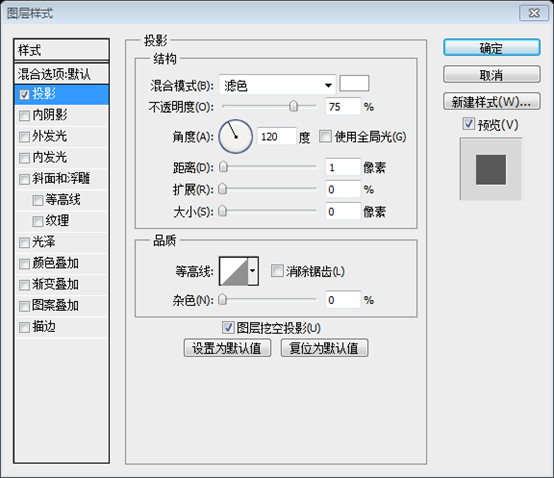
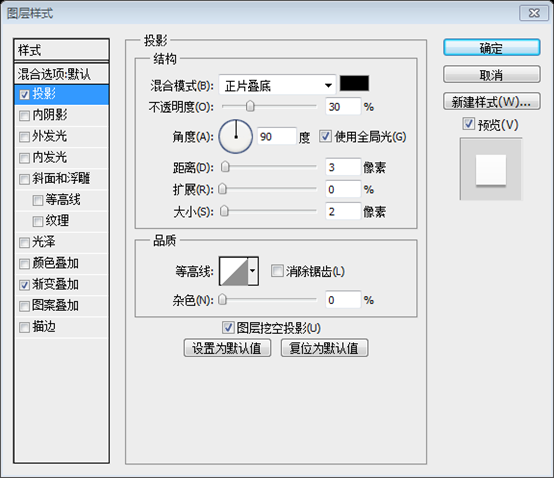
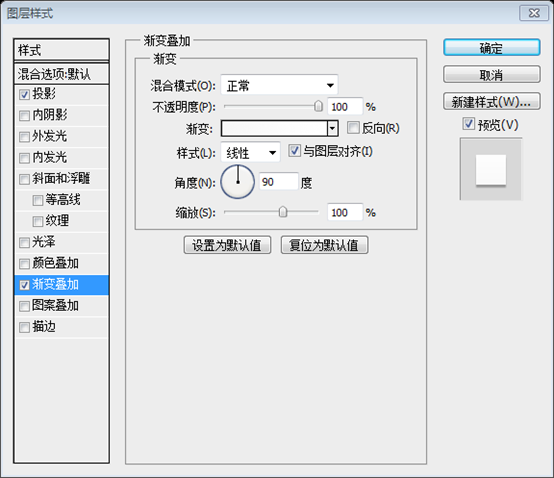
Add this Blending Option
加入以下的混合選項
- Gradient Overlay: #e6e6e6, # dcdcdc
- 內陰影: #000000
- 內發光: #ffffff
- 漸層疊加: #e6e6e6,#a
Now let's create the search button. Make a selection of the search bar, contract it by 2px, and fill it with any color. To contract go to Select – Modify – Contract.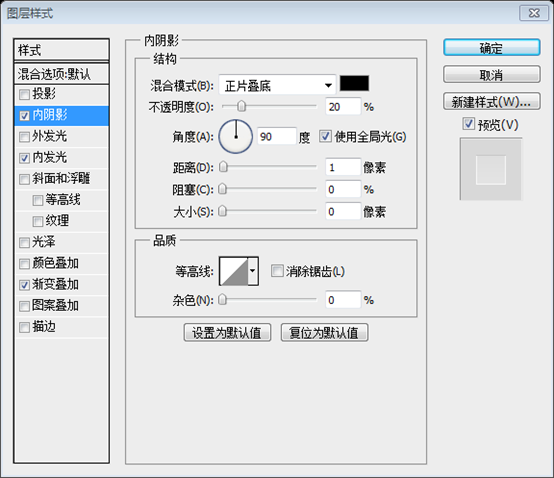
新建圖層,然後用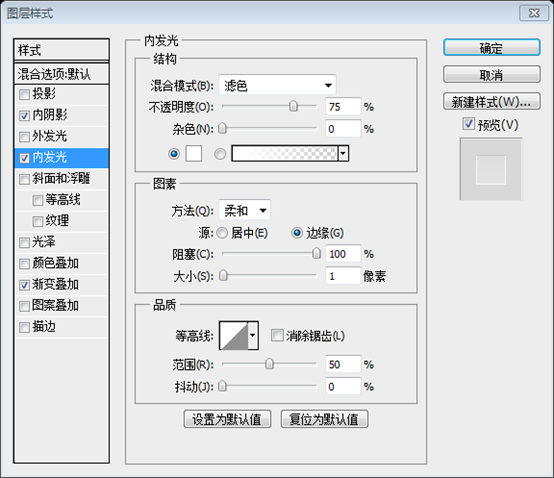 油漆桶工具
油漆桶工具
)。點選: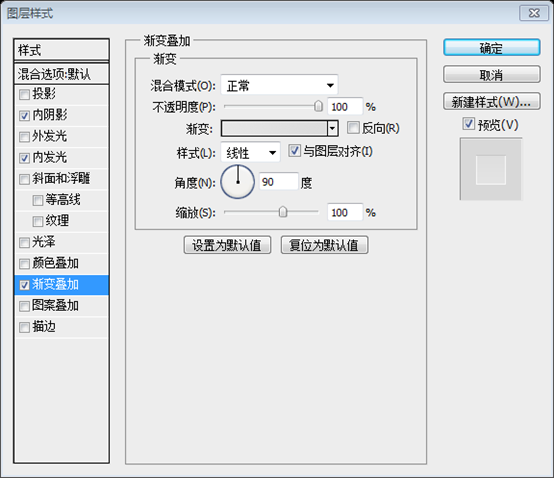 選擇> 修改> 收縮
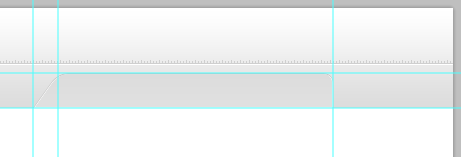
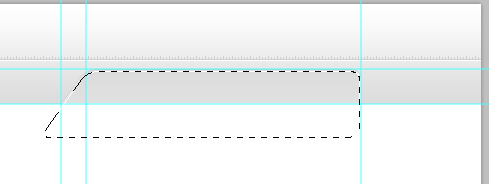
o you is a - sign beside the selection pointer, this sign means to deselect selection. Now you can deselect the section you want to deselect.
選擇矩形選擇工具,按住Alt鍵,你可以注意到在選擇遊標一側有一個減號,這個減號意味著去除選區。現在你可以移除你想移除的選取範圍
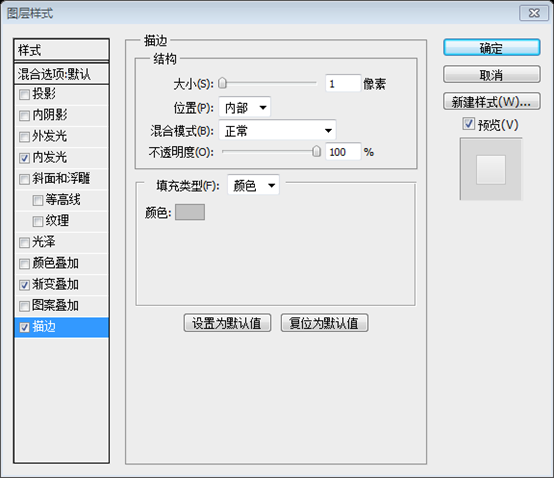
Add this Blending Option
加入以下的混合選項
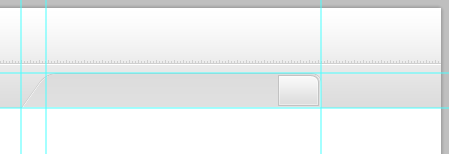
Stroke: #c2c2c2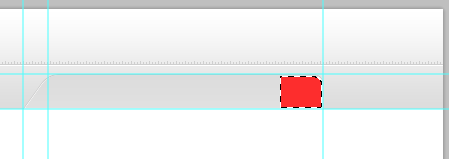
-


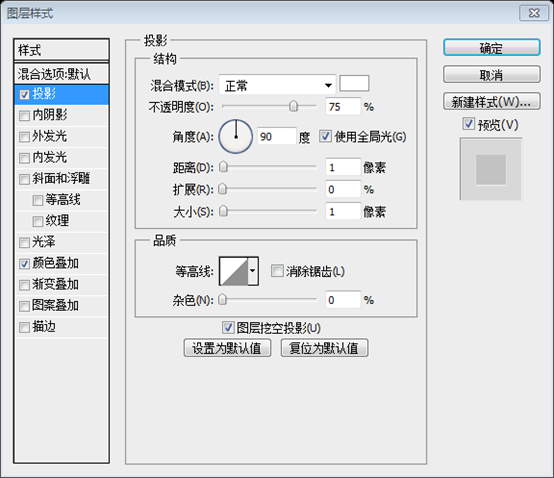
Open up the search icon, align it and add a 1px drop shadow #ffffff.
打開search,自己的顏色,因此,再為圖示加上顏色疊加: #c2c2c2,以使風格統一

再給搜尋欄新增文字:search for something..。字體:Arial 斜體,字號:14px,顏色: #666666

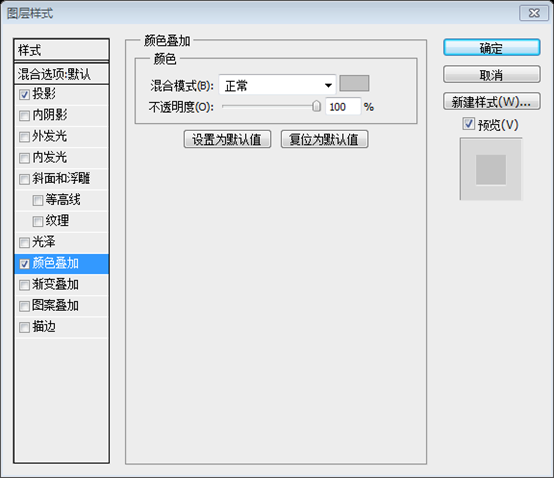
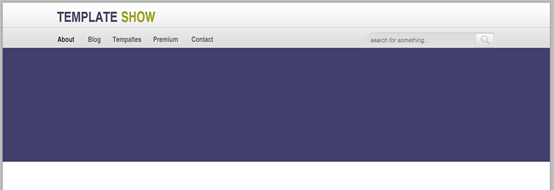
Create a folder above Header folder and name it Slider. Using Rectangle Tool with a fill color of #413f6b create a 100% by 250px.在Header資料夾上新建Slider資料夾。用
長方形工具建立一個寬100%高250px的長方形(0,99,1200,250)
,填滿顏色: #413f6b選項
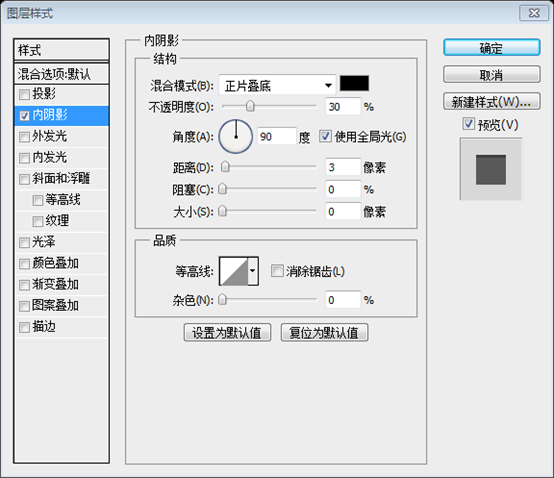
Inner Shadow: #ffffff
內陰影: #ffffff
Fil
Fil
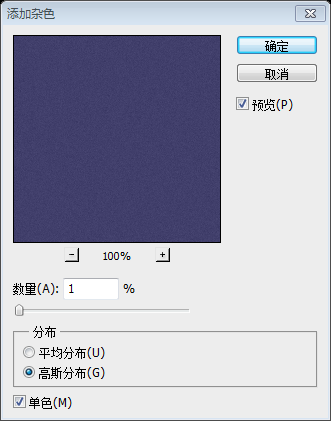
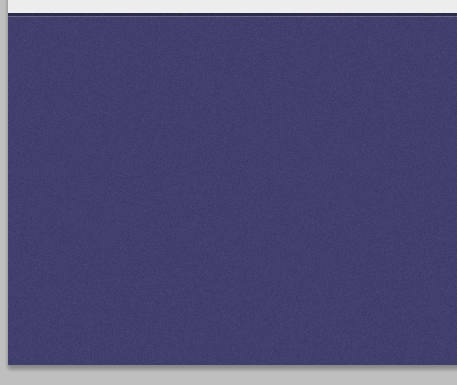
Fil. to filter again and add noise透過點擊:- 濾鏡> 轉換為智慧型濾鏡
- 把該形狀圖層轉換為智慧型物件。現在,再點擊一次:
濾鏡> 加雜色

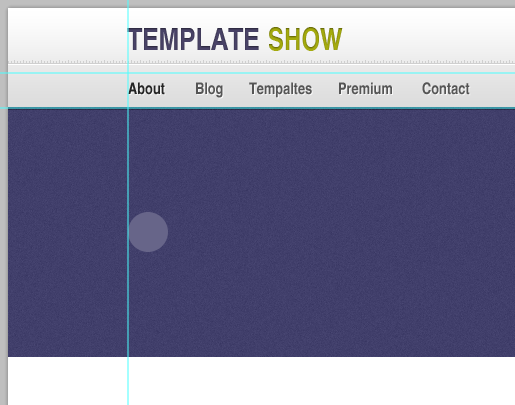
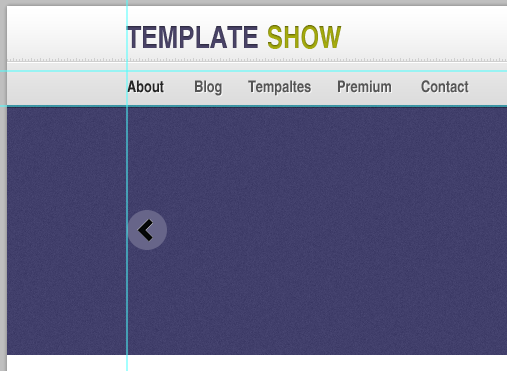
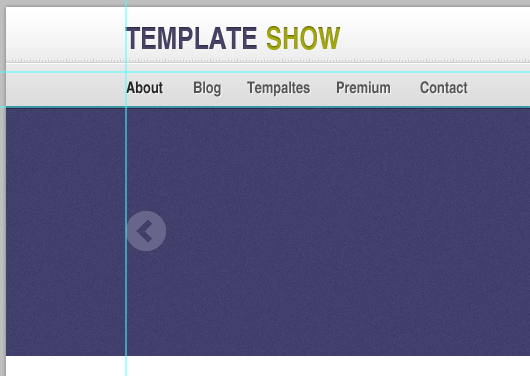
der inside Slider and name it Controls. Controls should have sub folders named: NextPrev and Slider Control. Inside NextPrev let's create our Next and Previous buttons start by selecting Ellipse Tool with a fill color of #676589 and create a shape 40px xdp. Controls有兩個子資料夾:NextPrev和Slider Control。在NextPrev中,我們用橢圓工具創建我們的Next和Previous按鈕,顏色填充: #676589,形狀尺寸:40px * 40px。 (120,204,40,40)

Download the arrow icon provided in the resources and place it on our canvas. Resize and position it as shown in the screenshot below.
下載。 。調整大小並依照下面的截圖擺放

We are going to mask the shape, first set the foreground color to #000000, next make a selection of the arrow the selection by pressing Ctrl + Shift + I. While it is selected select the Ellipse shape and press the Mask Icon beside the fx icon in the layers panel.
我們打算給形狀添加遮罩,首先設置前景色為#000000接下來透過在圖層上按Ctrl + Click建立箭頭的選區,並按Ctrl + Shift + I翻轉選區。當出現選取範圍時,選擇橢圓形狀圖層然後按在圖層面板中區fx圖示(新增圖層樣式圖示)旁邊的蒙版圖示。 然後把箭頭圖層隱藏。

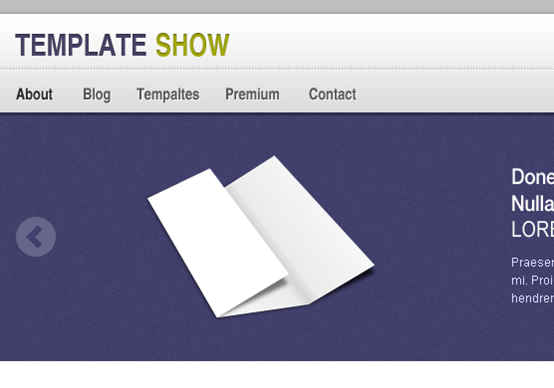
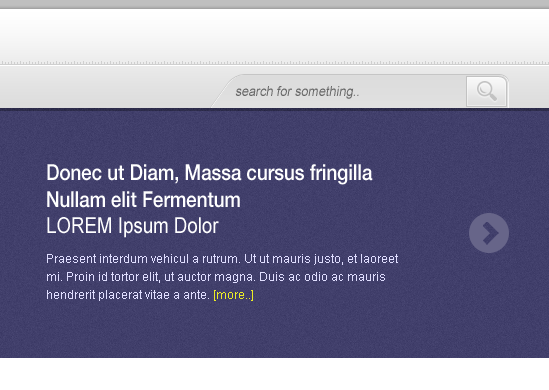
Duplicate the shape and place it on the other side. Grab some sample images to put in our slide. Also, using text Tool add text texts Tool the some texttle Tool the some texttle Tool some text the text as shown in the screenshot below.
複製該形狀並擺放到另一邊(1040,204,40,40)。取得一些範例圖片放在我們的圖片滑動欄上。並,用文字工具添加一些文字:按照下面截圖上的文字格式的一個範例標題和一些內容文字。

標題字體:Helvetica BOLD,字號:22px,顏色:#ffffff;
段落字體:Arial,字號:12px,顏色: #E0DEFF;黃色的more的顏色:#EAEC25N we are going to work on our Slider Controls. Using Rounded Rectangle Tool with a 10px radius create a shape as shown in the screenshot below. Transform the shape the same as we did in our Search bar.欄的導覽按鈕。用
圓角矩形工具,設定半徑為10px,並依照下圖建立一個圓角矩形。像和之前做搜尋欄一樣進行變換
Also mask the layer as we did previously, refer to Step: 5 Creating Search.
給這個圖層添加蒙版,就像之前做的,查看步驟5:建立搜尋列
這個步驟比較省略,因此在這兒補充完整
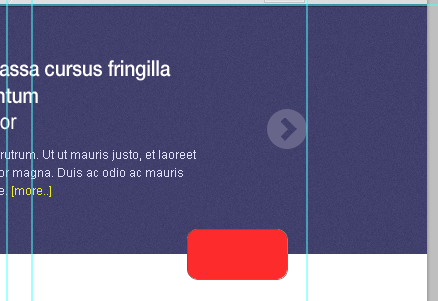
用圓角矩形工具,半徑10px,創建一個圓角矩形(960,324,100,50)

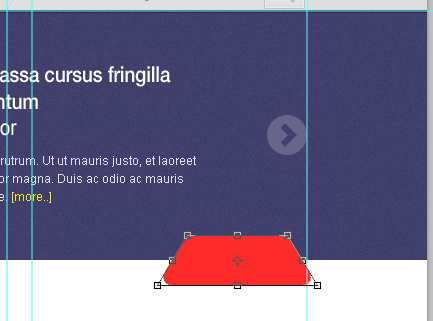
按Ctrl + T自由變換,在形狀上右鍵選擇扭曲,按住Shift鍵,往右拖曳右下角的控制塊,直到寬度變成130;再按住Shift鍵往左拖曳左下角的控制塊,直到寬度變為160。

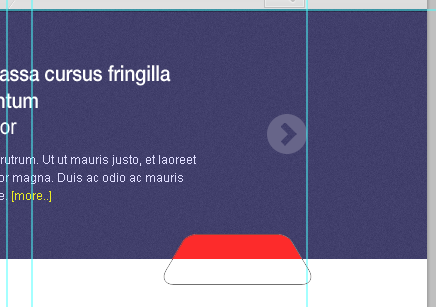
在紫色背景層上按Ctrl + Click,取得長方形選取範圍,然後選取紅色形狀的圖層,依圖層板上的蒙版按鈕

Add this Blending Option
- Add this Blending Option 新增如下的
混合選項
Gradient Overlay: #dcdcdc, #ffffff
漸變疊加: #ffffffff

ate a shape as shown in the screenshot below .
用
橢圓工具
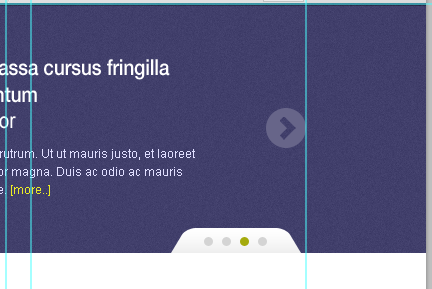
創建如下面截圖所示的形狀(978,333,9,9)、(996,333,9,9)、(1014,333,9,9)、(1032, 333,9,9)
灰色的顏色: #D4D4D4,綠色的顏色: #A5AB0D
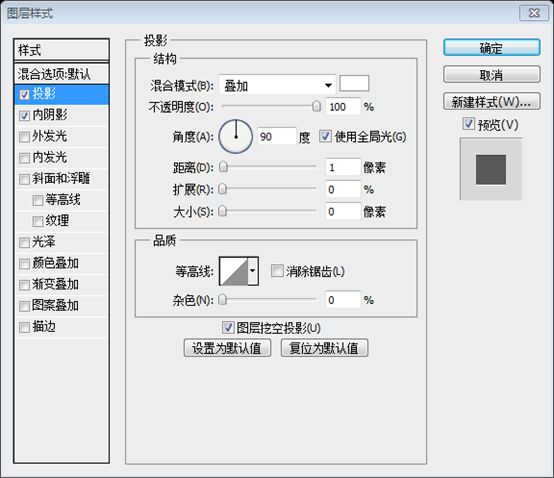
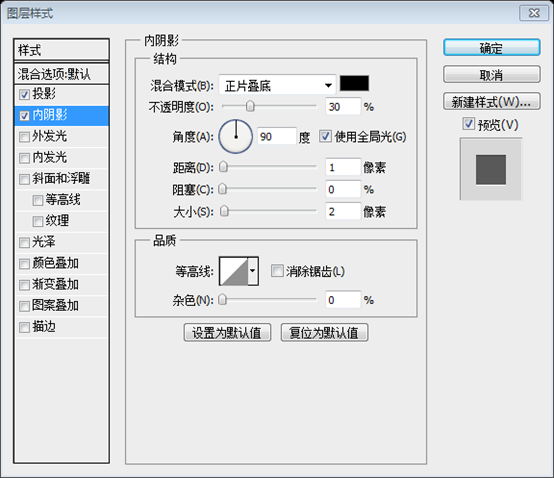
Add this Blending Option
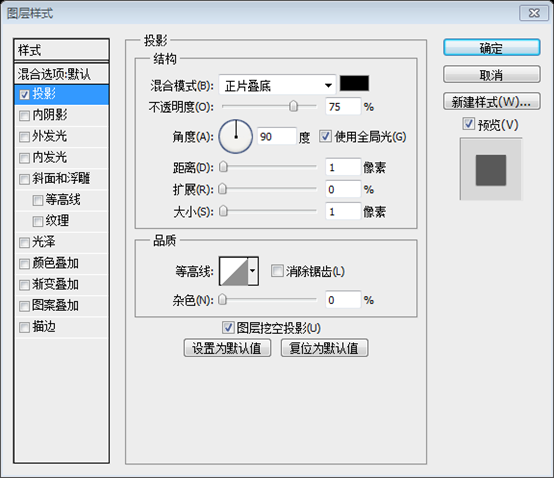
添加如下的混合選項 Drop Shadow: # ffffff
- Inner Shadow: #000000
- 投影: #ffffff
- This will be the result.這是最終的效果

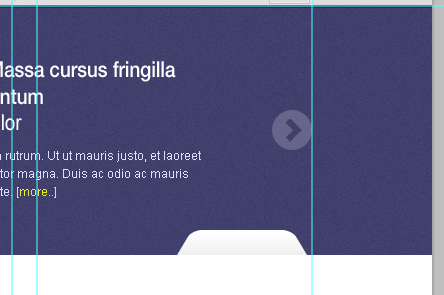
建立一個寬100%高5px的矩形 Using Rectangle Tool with a fill color of #000000 create a 100% by 5px shape, then set the layer mode to multiply and opaleft
 (0,344,1200,5)
,填充色: #000000,然後在圖層面板中設定圖層模式為正片疊底,不透明度30%
Make a selection of the slider control shape and expand it by 5px by going to Select – Modify – Expand.> 擴充程式的選取5px。
新建圖層,命名為Border,以黑色填充,圖層模式改為正片疊底,不透明度改為30%
 選取紫色背景圖層,按「trl + Clicklick再選取Border圖層,點選圖層板上的蒙版鈕
左右有兩個深色色塊,不和諧,繼續修改。在Border圖層上右鍵選擇轉換為智慧型物件。 在先前的橫條矩形圖層上按Ctrl + Click建立選取範圍,並按Ctrl + Shift + I反選選取區

然後選取Border圖層,點選圖層板上的蒙版按鈕
然後選取Border圖層,點選圖層板上的蒙版按鈕

然後選取Border圖層,點選圖層板上的蒙版按鈕
然後選取Border圖層,點選圖層板上的蒙版按鈕然後選取Border圖層,點選圖層由
ffffff color and set the blend mode to Soft Light in the layers panel.
畫筆工具 最後為我們的滑動欄添加高亮效果。首先為我們的滑動欄建立選取範圍,然後選擇
,設定硬度0%、尺寸400px。在單獨的圖層填滿顏色: #ffffff,然後在圖層面板裡設定混合模式為柔光
Step 7: Featured Gallery
7: Featured
77:精選畫廊 Create a new folder and name it Featured Gallery. Using Rectangle Tool with a fill color of #ededed create a shape 100% by 200px. Also, create two 1px lines, fffirst will color ffirst s top ffirst wills, fffirst. shape and the second line color #c2c2c2 will be on the bottom.
建立新的資料夾Featured Gallery。用矩形工具建立一個矩形(0,349,1200,200)
(0,349,1200,1) ,寬100%,高200px,顏色: #ededed。並,建立兩條1px的直線,第一條直線擺放在矩形的頂部
,顏色: #ffffff,第二條直線擺放在矩形的底部(0, 548,1200,1),顏色: #c2c2c2。
可以看出,在滑動欄的控制塊的底部有一條白線。在控制區塊圖層上按Ctrl + Click,建立選區,按Ctrl + Shift + I反向選取範圍。選取白色直線的圖層,點選圖片層面板上的遮色鈕
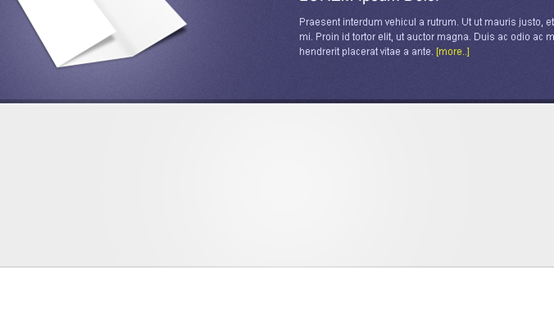
 Create a new layer above the shape and name it highlight. Then, make a new layer above the shape and name it highlight. Then, make a rushection of shoolape. Urush Brush. fill color of #ffffff brush in the center of the selection then, set the layer mode to Soft Light.
在形狀的圖層上新建圖層highlight。然後,創建形狀的選區。用
畫筆工具在選區的中央填充白色,並設定圖層的混合模式為柔光
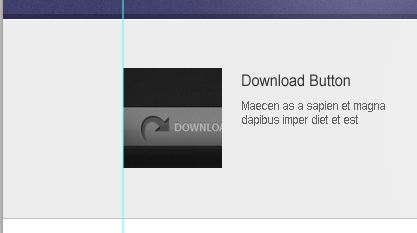
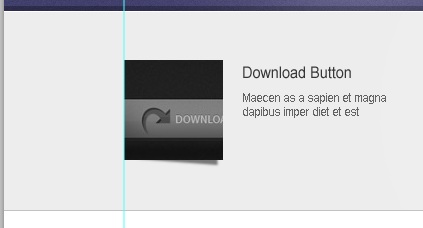
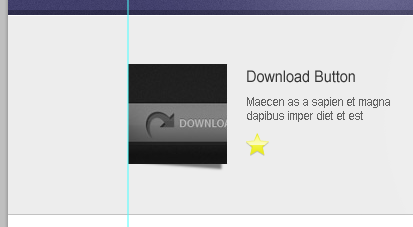
Now let's work on our sample post for our featured gcreery., postd postd )fe a 100px x 100px sample thumbnail on our canvas. Also, Using Text Tool add a Title and Content.🎜🎜現在讓我們建立精選畫廊中的範例清單。首先,建立一個資料夾post,然後在我們畫布上擺放一個100px*100px的範例縮圖,用🎜文字工具🎜添加一個標題和內容🎜🎜標題字體:Arial,字號:16px,顏色: #363636;內容字體:Arial,字號:12px,顏色: #636363🎜
? in the layers panel.
在縮圖的下面創建一個新的圖層shadow,用鋼筆工具按照截圖創建形狀。然後,點擊:
濾鏡> 模糊> 高斯模糊
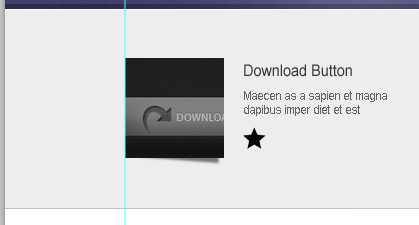
,單位1px,並在圖層面板中設置不透明度為50%Create a new folder and name it rate. Now, open up the star icon and place it to our canvas and place it as shown in the screenshot below.
建立新的資料夾rate。現在,打開star圖示並按照下面截圖擺放到我們的畫布上
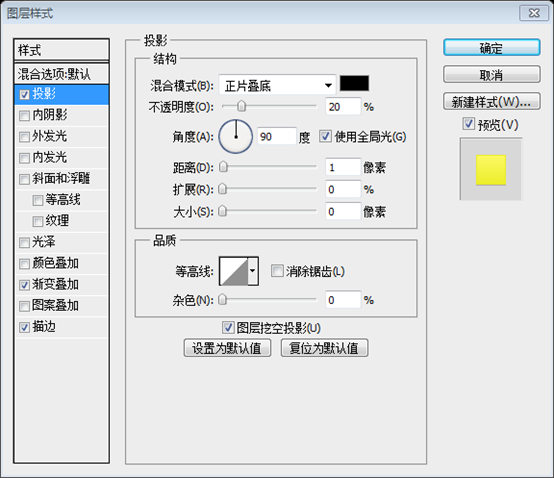
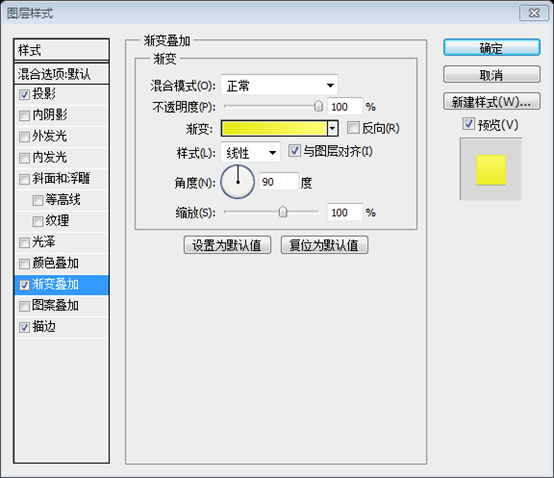
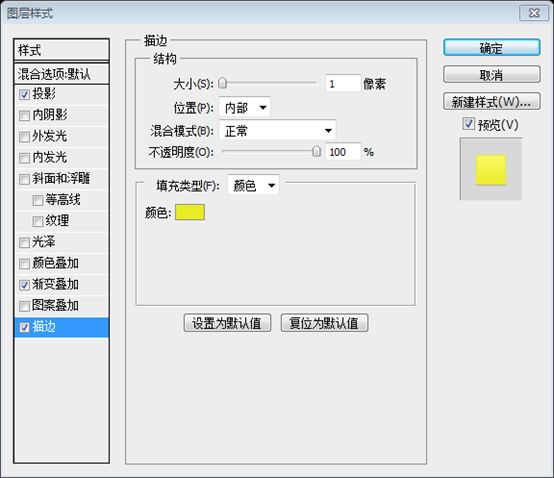
Add this Blending Option
添加如下的混合選項dow
3:005 #e7e918, #fffd76
- Stroke: #eaec25
- 投影: #000000
- 252535:33538
- Make a selection of the star and deselect starting from the middle to bottom and in a separate layer fill it with Linear Gradient #ffff to Transparent then, 7%給star圖層創建選區,去除star中間到底部的選區,在單獨的一個圖層裡用線性漸變填充,從#ffffff到透明,在圖層面板裡設置不透明度為70%
 This will be the result.
這是結果

Duplicate the star four times.複製star posts awwe; as shown in the screenshot below .複製post資料夾兩次並依照下面的截圖擺放

Step 8: er with #ededed . Create a new folder and name it Body Posts, create a sub folder and name it post. Now, create a sample 300px by 200px image thumbnail for our post and place it in our canvas。 fill it with any color. Just refer to the screenshot below.
填滿背景圖層,顏色: #ededed。建立新資料夾Body Posts,建立一個子資料夾post。現在,建立一個我們清單的300px*200px的縮圖在我們的畫布上。用矩形工具建立一個300px*45px的矩形,用任意色填滿。參考下面的截圖

Add this Blending Option
添加如下的混合選項
Drop Shaffff: #000000078
- 投影: # 000000
- 漸變疊加: #f7f7f7, #ffffff
 . so, using Text Tool create a sample title, just follow the settings in the screenshot below.
從featured gallery複製rote資料夾(評價星)到post資料夾,並擺放到合適位置。並且,用
創建一個範例標題,按照下面的截圖設定標題文字,字體:Helvetica,字號:16px,顏色: #363636 文字工具
文字工具stard ient Overy和 replace it with Inner Shadow.
沒有標示的星星的樣式是去掉漸變疊加,然後替換為內陰影,
還得去掉投影和描邊和添加白色的顏色疊加。

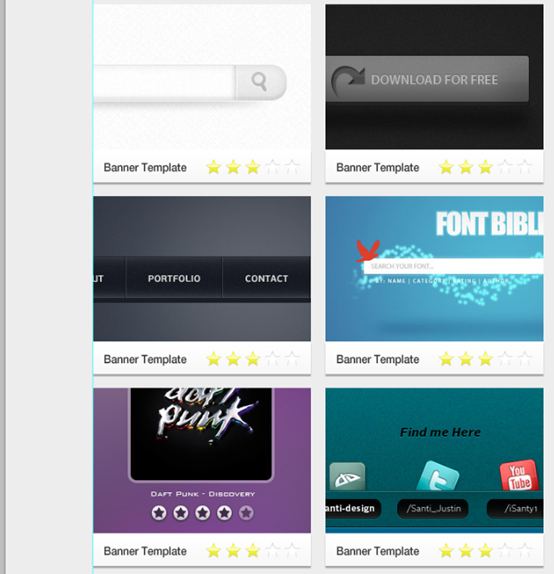
Duplicate post folder five times and align it as shown in the screenshot below.複製品
Step 9: Pagination 步驟9:分頁按鈕
Select Rounded 選擇
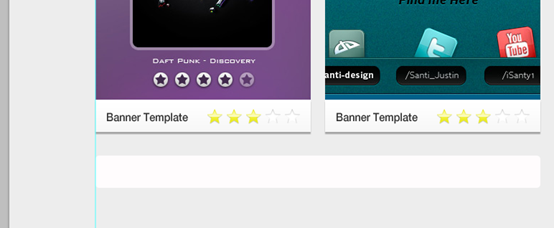
圓角長方形工具,半徑5px,建立一個620px*45px的圓角矩形(120,1403,620,45)
在清單的下面,顏色: #fffcfd
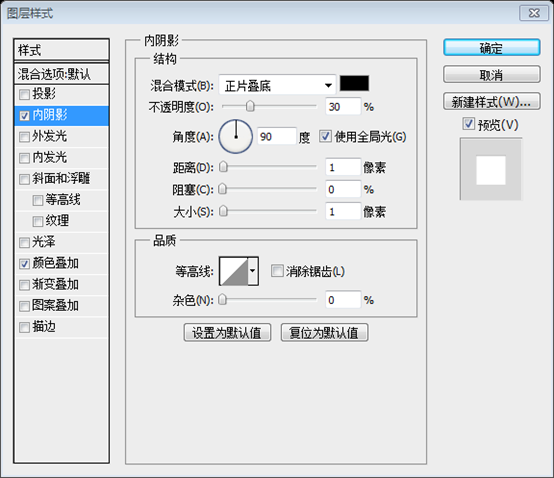
加入以下的混合選項Inner Shadow: #000000
內陰影: #000000
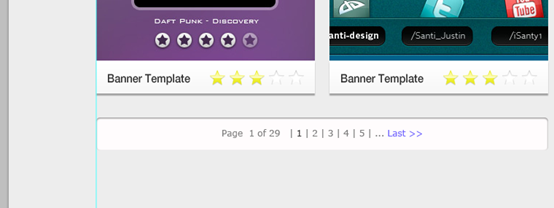
screenshot below.用
文字工具
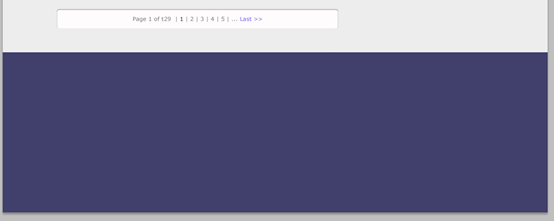
按照下面的截圖書寫頁碼- 文字字體:Verdana,字號:12px。頁碼文字的顏色: #7E7E7E,頁碼1的顏色: #363636,Last的顏色: #7266FE

Step 10: Sidebar
步驟10:側邊欄
Create 12 月the tip faded using Brush Tool with a fill color of #000000. You may have something that looks like the screenshot below.
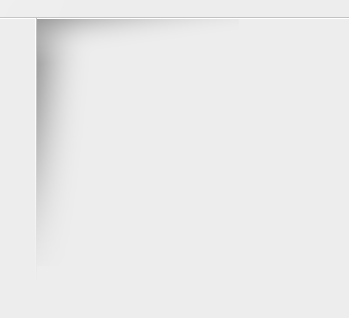
距離我們的列表40px創建一條直線(780,549,1,300),顏色: #c2c2c2,給直線版2,給直線版,作出一個淡出的效果,用畫筆工具,填滿顏色: #000000。你做的東西就像下面的截圖一樣
作出淡出的效果,建議用,點擊:圖層 > 向量蒙版 > 顯示全部。然後自下而上用漸變工具填充,從黑色到透明

Duplicate the line and move it to the left and change the color toffffffff Create a Horizontal color the Horizon. it as shown in the screenshot below.
複製這條直線並移動到左邊,並改顏色為#ffffff。用相同的顏色建立一條水平直線並按照下面的截圖擺放。

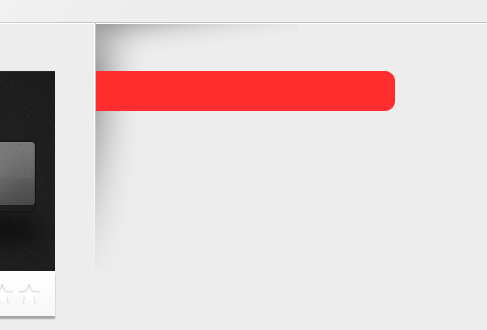
Next, create a new layer below those lines we have just created and name it shadow. Using Selection, Gradient Tool, and Eras Tool per 集區Multiply, Opacity to 50%.
接下來,在這些直線下面新建圖層shadow。用選取工具、漸層工具、和橡皮擦工具搭配使用,就像你看到的截圖一樣。設定shadow圖層為正片疊底,不透明度為50%
Duplicate the layer and place it on the top as shown in the screenshot below. It's up to you to make adjustments, just thatase the portion' t like.
複製該圖層並按照下面的截圖擺放到頂部。這取決於你的調整,擦除你不喜歡的部分
建議新建選區,然後用漸變工具水平和垂直方向各劃一下,然後添加和豎直直線一樣的蒙版

Select Rounded Rectangle Tool then set the radius to 10px. Create a shape as shown in the screenshot below. The width of the shape is the remaining width of our canvas and the height will be 40345%工具
,設定半徑為10px。依照下圖建立一個形狀(760,597,320,40),形狀的寬度是我們畫布剩下的寬度,高度40px用
矩形選框工具,創建一個選區(780,500, 350,200),然後在選取矩形的圖層,點選圖片圖層板上的蒙版按鈕
Add this Blending Option加, #6b6393, #494367 漸變疊加: #494367, #6b6393, #494367
- 用 文字工具
- 加上一個標題。字體:Helvetica,字號:24px,顏色: #ffffff。
並加入投影樣式
- 內陰影: #ffffff
- 應該是#000000
- 最終要添加版權資訊和回到頂部按鈕。打開arrow圖示並旋轉,使之箭頭朝上
- Add this Blending Option添加如下的混合選項
- Drop Shadow: #0000000fffffff 投影: #000000
- 漸變疊加: #dcdcdc, #ffffff


Next open up the social icons and place them on our canvas, align them as shown in the screenshot below, 與媒體圖示並將它們擺放到我們的畫布,按照下面的截圖擺放,並用
文字工具給每個圖示添加對應的說明文字。字型:Helvetica,字號:16px,顏色: #363636

Create two new folders and name them: Categories and Oursing. Using reate two new folders and name them: Categories and Ourets can per Tool and you perper Tool's perperkper Tooln unper Tool 和 youfpercon Tools pperper Tools.建立兩個新的資料夾:Categories和Our Partners。用
文字工具和
直線工具搭配使用,就像下面的截圖一樣標題的字體:Helvetica,字號:18px,左邊文字的顏色: #363636,右邊文字的顏色: #655DF3字體:Tohoma,字號:12px,顏色: #7266FE
分割線:上面的顏色: #C2C2C3,下面的顏色: #FFFFFF

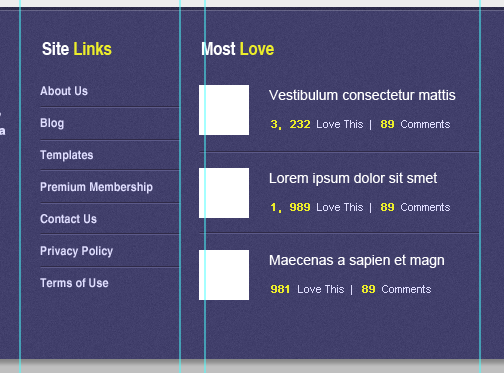
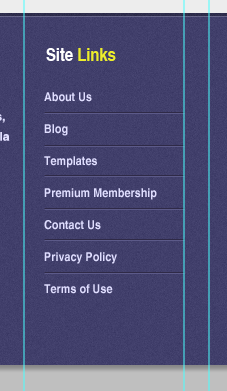
1 11頁腳Create a new folder and name it Footer. Inside footer there are sub folders named: About, Most Love, and Site Links. Using Rectangle Tool with a fill color of 133fill that 13fill that 133fill that 1355 to you.
新建資料夾Footer。在Footer檔案裡有這些子資料夾:About、Most Love、Site Links。用
矩形工具創建一個合適頁腳的矩形(0,1498,1200,352),顏色: #413f6b

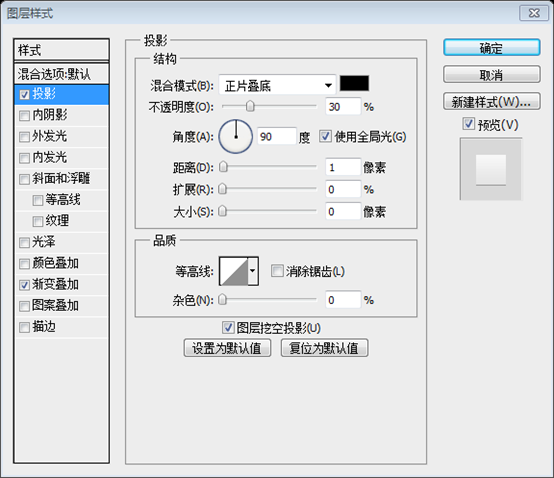
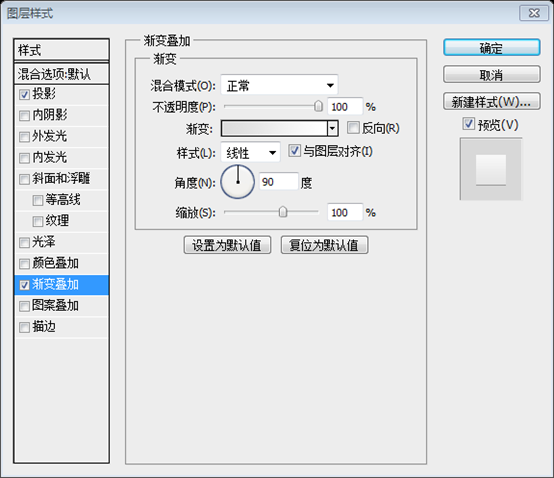
Add this Blending Option
添加如下的混合選項
- Inner Shadow : #ffffff
ing Filgoter Filgoter
 到gain and add noise.透過點擊:
濾鏡> 轉換為智慧濾鏡,轉換該形狀為智慧對象,再次點擊濾鏡,添加雜色

並添加一條白色的水平直線(0,1501, 1200,1),不透明度設定為20%

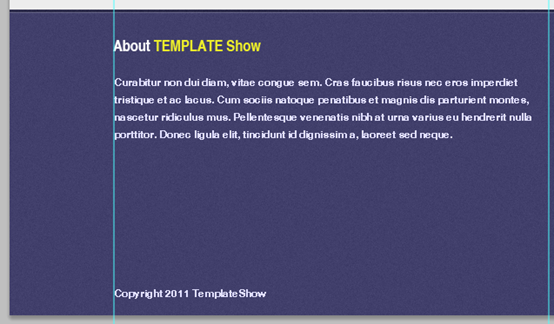
We were going to add info text in our about folder. Using Text Tool put in some dummy text and for the pting folder. Using Text Tool put in some dummy text and for the matting of the text 著色below.我們要在about資料夾裡加入一些資訊文字。用
文字工具添加一些文字,並按照下面的截圖設定文字的格式
🎜標題:字體:Helvetica,字號:18px,About的顏色: #FFFFFF;右邊文字的顏色: #ECED2B🎜段落及版權資訊文字:字型:Helvetica,字號:12px,文字顏色: #E0DEFF

Using Text Tool 12px,文字顏色夾添加文字
標題:字體:Helvetica,字號:18px,Site的顏色: #FFFFFF;右邊文字的顏色: #ECED2B列表文字:字體:Helvetica,字號:12px,文字顏色: #E0DEFF線:上面的直線顏色: #2F2A47;下面直線的顏色: #5C5A89
Using Text Tool add a Post, Love this, and comments. Create al a 50pxso 50p p in the screenshot below.
文字工具 用
用加上清單標題,Love this,comments。建立50*50的縮圖並按照下面的截圖擺放
標題:字體:Helvetica,字號:18px,Most的顏色: #FFFFFF;右邊文字的顏色: #ECED2B
列表標題:字號:14px,顏色: #FFFFFF下面的小文字:字體:Arial,字號:11px,顏色: #ECED2B、#E0DEFF
分割線:上面的直線顏色: #2F2A47;下面直線的顏色:55C5A89

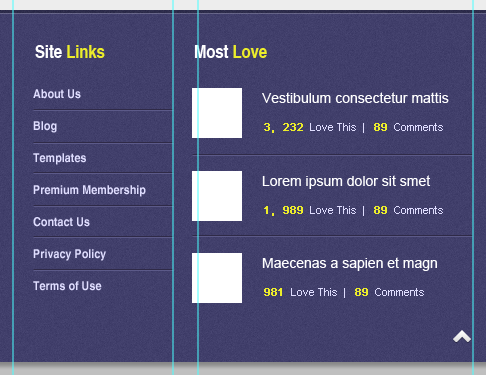
Final steps are adding copyright and back to top button. Open up the arrow icon and rotate it facing top.


最後我們完成了
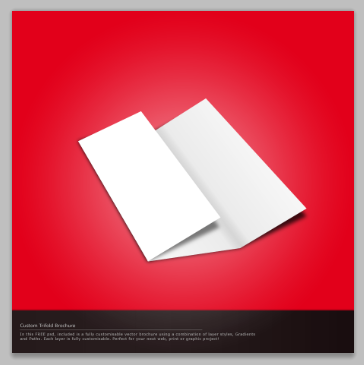
後記:這是一篇很好的教學。大量的運用了蒙版的技術。整體配色簡潔和諧,讓人賞心悅目。 在網路上查閱到這篇教學的時候,只剩下文字說明和無效的死連結。感謝這個網站 WayBack Marchine 讓我查到了這篇教學的備份,得以順利的完成本教學的翻譯。 同時,再介紹一個網站TinEYE 它能根據你上傳的圖片找出類似的圖片(新功能還包括,根據你指定顏色的比例來找尋相關的圖片)下圖就是我把教程中的摺紙上傳之後,找到的PSD素材,很好很強。
更多PS網頁設計教程XXIX——如何在PS中設計一個畫廊佈局 相關文章請關注PHP中文網!

- 把該形狀圖層轉換為智慧型物件。現在,再點擊一次:



 Using Rectangle Tool with a fill color of #000000 create a 100% by 5px shape, then set the layer mode to multiply and opaleft
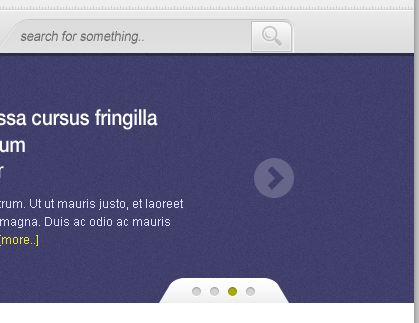
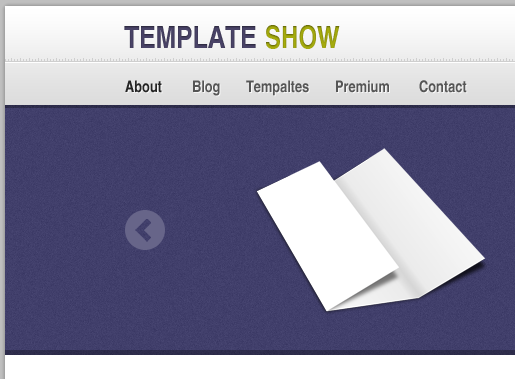 選取紫色背景圖層,按「trl + Clicklick再選取Border圖層,點選圖層板上的蒙版鈕
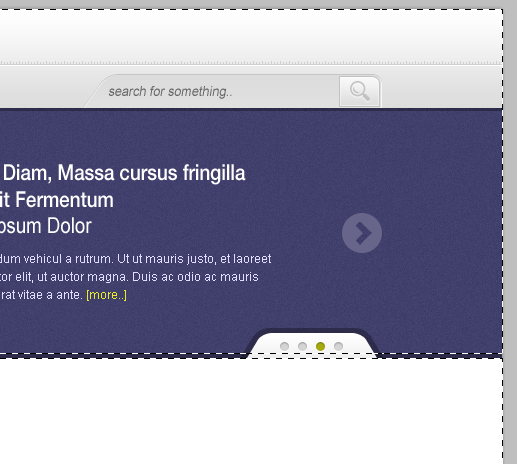

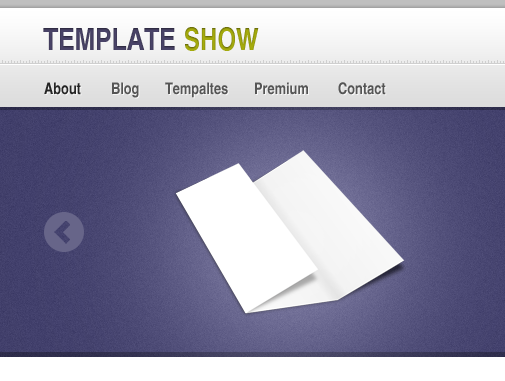 最後為我們的滑動欄添加高亮效果。首先為我們的滑動欄建立選取範圍,然後選擇
 ,寬100%,高200px,顏色: #ededed。並,建立兩條1px的直線,第一條直線擺放在矩形的頂部
 Create a new layer above the shape and name it highlight. Then, make a new layer above the shape and name it highlight. Then, make a rushection of shoolape. Urush Brush. fill color of #ffffff brush in the center of the selection then, set the layer mode to Soft Light.
 This will be the result.
 . so, using Text Tool create a sample title, just follow the settings in the screenshot below.
 文字工具
文字工具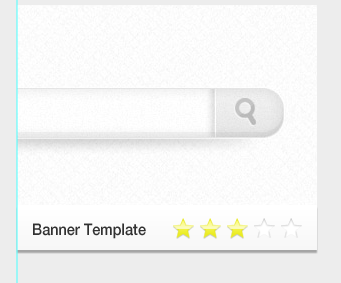




 Filgoter
 用
用