AbsoluteLayout (absolute layout)
Introduction to this section
We have already introduced the five major layouts in Android. In this section, we will explain the sixth layout, AbsoluteLayout (absolute layout). The reason why I put this at the end is because we basically don’t use absolute layout. Of course, you can also skip this section directly. This is a blog post, but as a programmer who likes growth postures, we can still understand this AbsoluteLayout layout, I believe most people who have studied Java know that we have used this absolute layout in Java swing (not spring), but Android The reason why we use less of this is because the applications we develop need to be adapted to many models. If you If you use this absolute layout, the display may be normal on a 4-inch mobile phone, but if you switch to a 5-inch mobile phone, the display may be offset. and deformation, so it is not recommended to use this. Of course, if you don’t know how to write code and want to play with android, then write When laying out, you can drag the required components to the interface through ADT! This AbsoluteLayout is directly based on the X and Y coordinates. Control the position of the component in the Activity! In addition, the unit of this one is dp!
1. The four major control attributes (the units are all dp):
①Control size:android:layout_width:Component width android:layout_height:Component height②Control position:android:layout_x:Set the X coordinate of the component android:layout_y:Set the Y coordinate of the component
2. Usage example:
A simple login interface, all interfaces are dragged directly on ADT, the code I won’t post it anymore:
① Set it to AbsoluteLayout first:
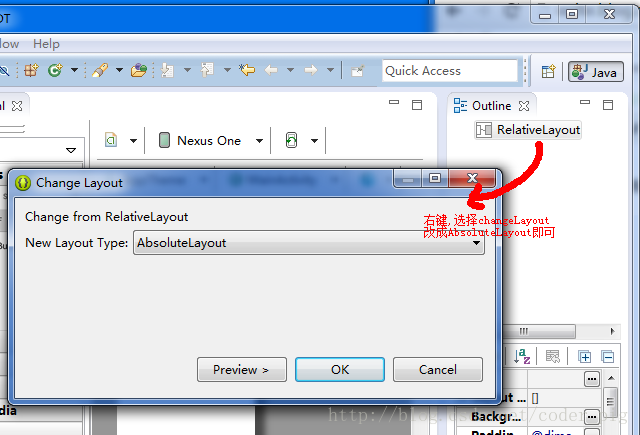
② Drag two TextView and EditText and a button from the left to the interface. Drag it around until it looks better
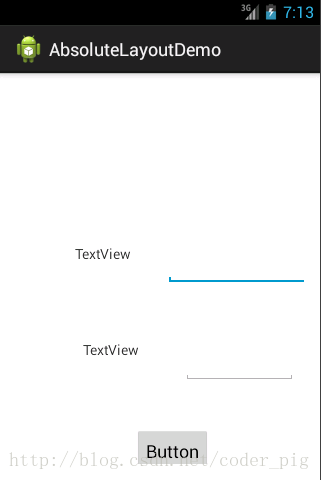
Drag it around, but it still looks like this in the end. It is probably an ADT problem. Next you can: ① Enter the code to modify the coordinates until they look better. ② Of course, you can also set the coordinates directly on the right:
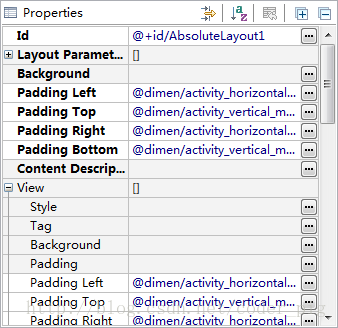
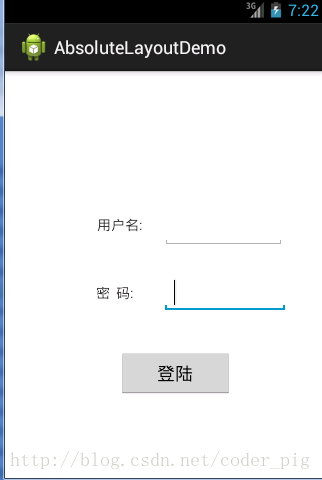
After modification:
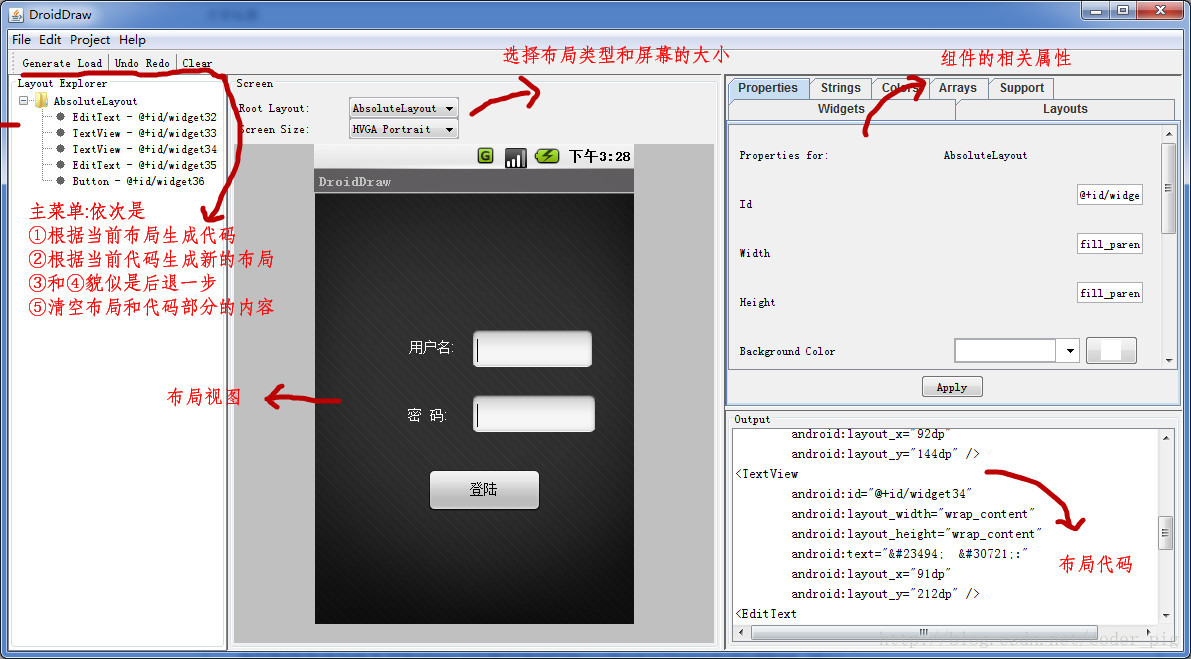
Of course, maybe the above I don’t like either method. You want to directly generate the correct code after dragging~! ok, no problem, I recommend you to use a tool introduced to you in the previous interface prototype: DroidDraw
Summary of this section
Okay, now that I have introduced the six major layouts in Android, it is still recommended to use: LinearLayout’s weight attribute+ RelativeLayout to build our interface~ Well, that’s it, thank you~


