Node.js installation configuration
Node.js installation and configuration
In this chapter we will introduce to you how to install Node.js on window and Linux.
This installation tutorial takes the Node.js v4.4.3 LTS (long-term support version) version as an example.
Node.js installation package and source code download address is: https://nodejs.org/en/download/.

#You can choose the Node.js installation package you need according to different platform systems.
Node.js historical version download address: https://nodejs.org/dist/
Note: Install Node.js on Linux Python 2.6 or 2.7 needs to be installed. It is not recommended to install Python 3.0 or above.
Installing Node.js on Window
You can install it in the following two ways.
1. Windows installation package (.msi)
32-bit installation package download address: https://nodejs.org/dist/v4.4.3/node-v4.4.3 -x86.msi
64-bit installation package download address: https://nodejs.org/dist/v4.4.3/node-v4.4.3-x64.msi
The example in this article takes the v0.10.26 version as an example. Other versions are similar. Installation steps:
Step 1: Double-click the downloaded installation package v0.10.26, as shown below:
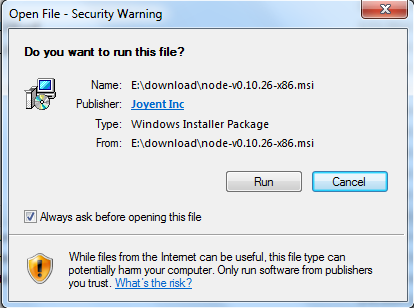
Step 2: Click Run above, the following interface will appear:
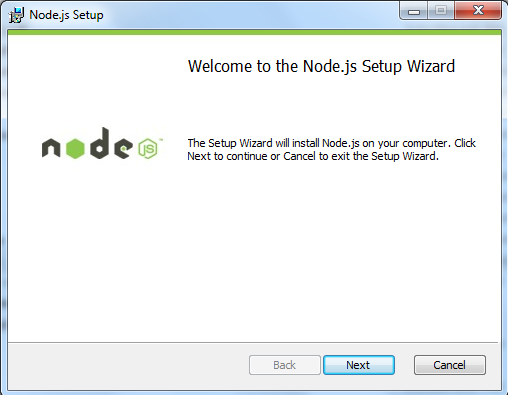
Step 3: Check the Accept Agreement option and click the next button:

Step 4: The default installation directory of Node.js is "C:\Program Files\nodejs\", you can modify the directory and click next:

Step 5: Click the tree icon to select the installation mode you need, then click next
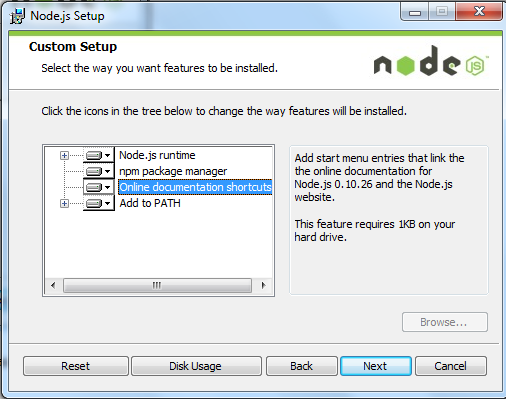
Step 6: Click Install to start installing Node.js. You can also click Back to modify the previous configuration. Then click next:
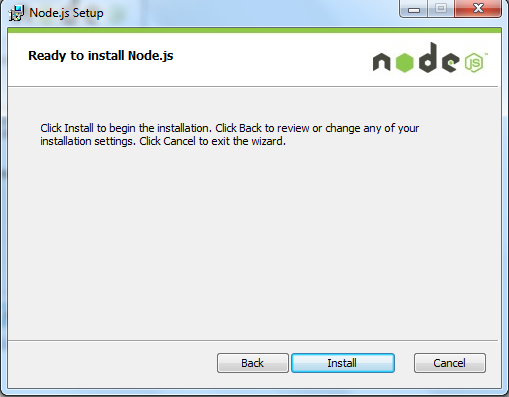
Installation process:

Click the Finish button to exit the installation Wizard.

Check whether the PATH environment variable is configured with Node.js, click Start=》Run=》Enter "cmd" => Enter the command "path", and the following results are output:
PATH=C:\oraclexe\app\oracle\product.2.0\server\bin;C:\Windows\system32;C:\Windows;C:\Windows\System32\Wbem;C:\Windows\System32\WindowsPowerShell\v1.0\;
c:\python32\python;C:\MinGW\bin;C:\Program Files\GTK2-Runtime\lib;C:\Program Files\MySQL\MySQL Server 5.5\bin;C:\Program Files\nodejs\;
C:\Users\rg\AppData\Roaming\npm
We can see that the environment variable has included C:\Program Files\nodejs\
Check the Node.js version

2. Windows binary file (.exe) installation
32-bit installation package download address: http://nodejs.org/dist/v0.10.26/node.exe
64-bit installation package download address: http://nodejs.org/dist/v0.10.26/x64/node.exe
Installation steps
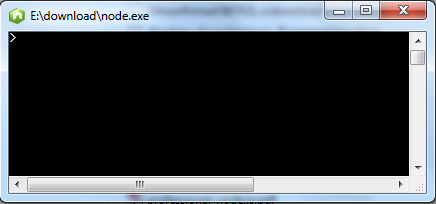
Step 1: Double-click the downloaded installation package Node.exe, the following interface will appear:

Click the Run button and a command line window will appear:
Version test
Enter the directory where node.exe is located, as shown below:

If If you get the above output, it means you have successfully installed Node.js.
Installing Node.js on Ubuntu
Node.js source code installation
In the following sections we will introduce the installation of Node.js under Ubuntu Linux. For other Linux systems, such as Centos, the installation steps are similar to the following.
Get the Node.js source code on Github:
$ sudo git clone https://github.com/nodejs/node.gitCloning into 'node'...
Modify directory permissions:
$ sudo chmod -R 755 node
Use ./configure Create the compiled file and follow:
$ cd node
$ sudo ./configure
$ sudo make
$ sudo make install
to check the node version:
 $ node --version
v0.10.25
Ubuntu apt-get command installation
The command format is as follows:
sudo apt-get install nodejs
sudo apt-get install npm
Installing Node.js under CentOS
1. Download the source code, you need to https://nodejs.org/en/download/Download the latest Nodejs version. This article takes v0.10.24 as an example:
cd /usr/local/src/wget http://nodejs.org/dist/v0.10.24/node-v0.10.24.tar.gz
2. Unzip the source code
tar zxvf node-v0.10.24.tar.gz
3. Compile and install
cd node-v0.10.24./configure --prefix=/usr/local/node/0.10.24make
make install
4. Configure NODE_HOME, enter profile to edit environment variables
vim /etc/profile
Set nodejs environment variables, add the following content above the export PATH USER LOGNAME MAIL HOSTNAME HISTSIZE HISTCONTROL line:
#set for nodejsexport NODE_HOME=/usr/local/node/0.10.24export PATH=$NODE_HOME/bin:$PATH
:wq save and exit, compile /etc/profile to make the configuration effective
source /etc/profile
Verify whether the installation and configuration are successful
node -v
Output v0.10.24 indicates that the configuration is successful
npm module installation path
/usr/local/node/0.10.24/lib/node_modules/
Note: Nodejs official website provides compiled Linux binary packages, you can also download them and apply them directly.


