Rumah >rangka kerja php >Laravel >Penjelasan terperinci tentang cara laravel memasang FFmpeg dan memproses fail video
Penjelasan terperinci tentang cara laravel memasang FFmpeg dan memproses fail video
- 藏色散人ke hadapan
- 2021-08-02 14:34:323254semak imbas
Ubuntu 18.04 Pasang FFmpeg
1. Muat turun kod sumber, susun dan pasang
1.1 Muat turun kod sumber
alamat github: github.com/PHP-FFMpeg/PHP-FFMpeg
1.2 Pasang perpustakaan bergantung
Terdapat tiga pemasangan utama: yasm, sdl1 .2 dan sdl2.0
安装 yasmsudo apt-get install yasm
安装sdl1.2sudo apt-get install libsdl1.2-dev
安装 sdl2.0sudo apt-get install libstdl2-devsudo apt-get install libstdl2-dev
Jika terdapat ralat dalam pemasangan sdl2.0, anda boleh memilih kaedah penyusunan dan pemasangan:
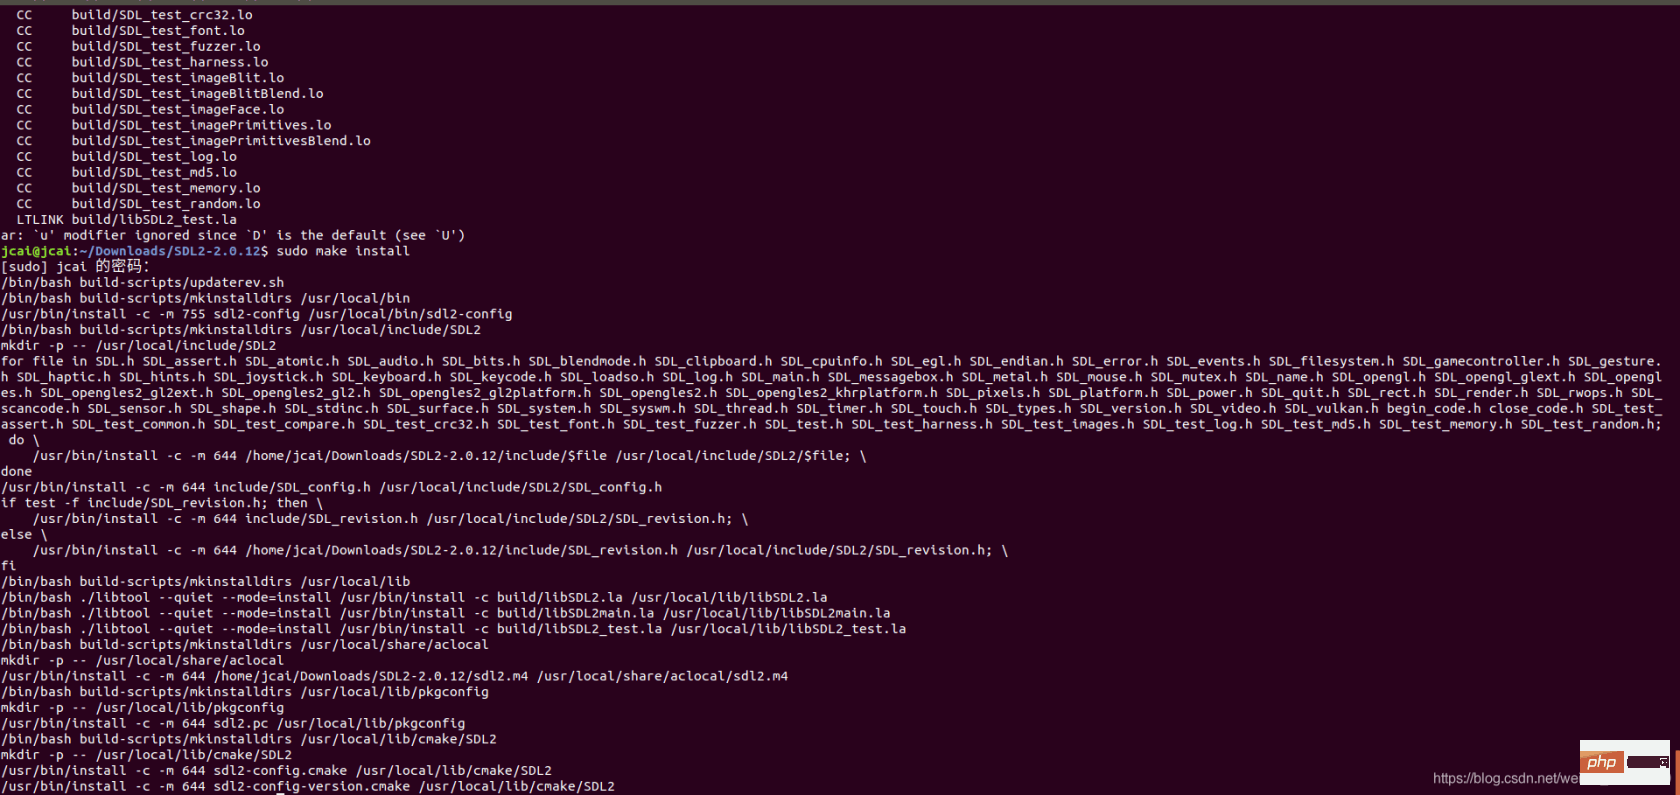
Muat turun versi terkini daripada laman web rasmi: www.libsdl.org/download-2.0.php
Selepas penyahmampatan, masukkan direktori dan laksanakan arahan berikut mengikut urutan:
./configure
make
sudo make install

1.3 Susun dan pasang ffmpeg
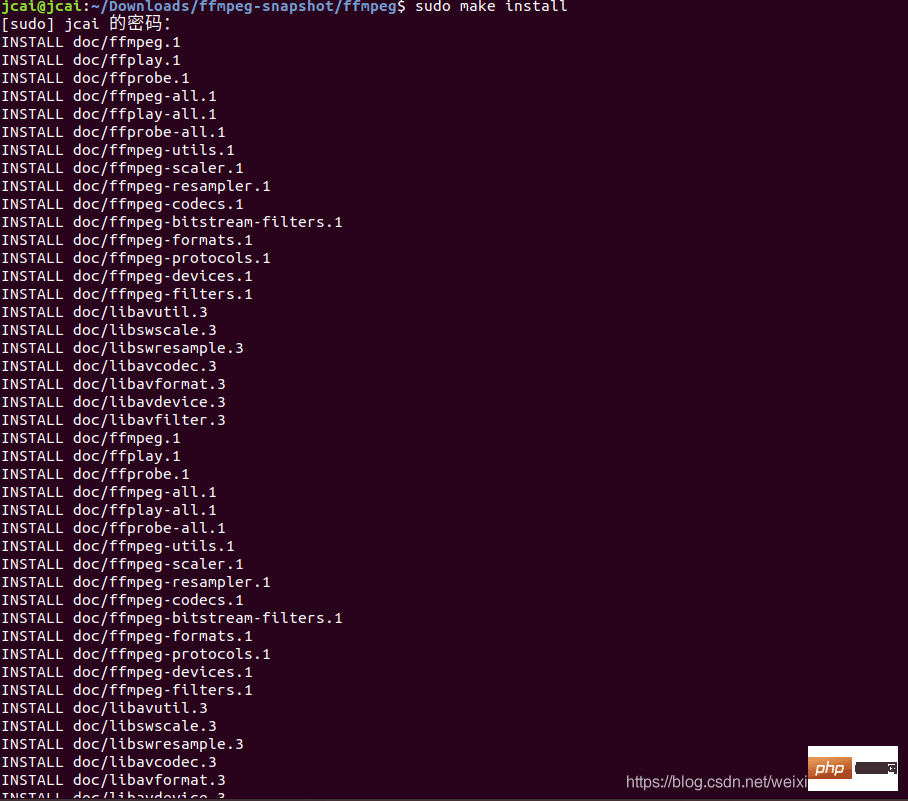
Masukkan folder ffmpeg dan laksanakan arahan berikut mengikut urutan: 
./configuremakesudo make install
Sisipkan penerangan gambar di sini
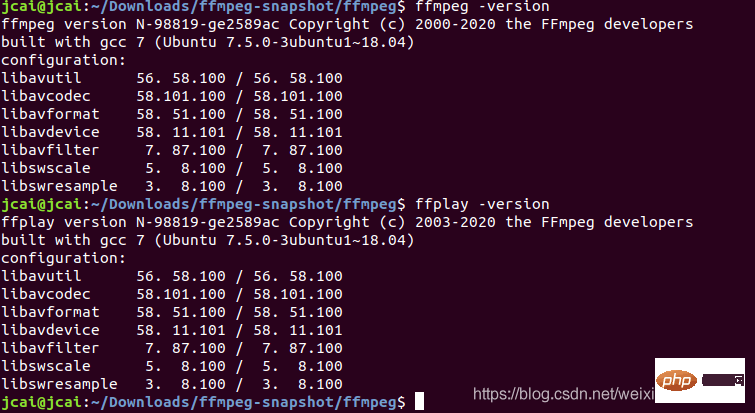
1.4 Uji sama ada pemasangan berjaya
ffmpeg -version
ffplay -version

pemasangan laravelPHP-FFMpegSambungan
composer require php-ffmpeg/php-ffmpeg
Penggunaan asas
1.1, pengenalan kepada projek
pengenalan selesai, ia perlu merumuskan dua maklumat fail konfigurasi untuk kita gunakan secara normal, iaitu ffmpeg yang disebutkan di atas Dan ffprobe
1.2, konfigurasi global
tambah kod AppServiceProvider.php
    public function boot()
    {
        $this->registerSingleObject();
    }
     private function registerSingleObject()
    {//       $ffmpeg = FFMpeg::create(array(//           'ffmpeg.binaries'  => '/usr/local/ffmpeg/ffmpeg',//           'ffprobe.binaries' => '/usr/local/ffmpeg/ffprobe',//           'timeout'          => 3600, // The timeout for the underlying process//           'ffmpeg.threads'   => 12,   // The number of threads that FFMpeg should use//       ));
        $this->app->singleton('ffmpeg', function ($app) {
            return FFMpeg::create([
                'ffmpeg.binaries'  => '/usr/local/ffmpeg/ffmpeg',
                'ffprobe.binaries' => '/usr/local/ffmpeg/ffprobe',
            ]);
        });
        $this->app->singleton('ffprobe', function ($app) {
            return FFProbe::create([
                'ffprobe.binaries' => '/usr/local/ffmpeg/ffprobe',
            ]);
        });
    }
untuk untuk menggunakan mod tunggal untuk mendapatkan FFMpeg dan FFProbe objek, di mana exec('which ffmpeg') ialah Dapatkan maklumat lokasi program untuk mencipta kelas
Pakej asas
Contoh:
- Detik pertama video ialah muka depan
- Dapatkan maklumat asas video
<?php
namespace AppHelpers;use FFMpegCoordinateTimeCode;use IlluminateSupportStr;class FFMpegUtil{
// 获取视频信息
public static function getVideoInfo($streamPath)
{
$ffprobe = app('ffprobe');
$stream = $ffprobe->streams($streamPath)->videos()->first();
return $stream ? $stream->all() : [];
}
// 截取
public static function getCover($streamPath, $fromSecond)
{
$ffmpeg = app('ffmpeg');
$video = $ffmpeg->open($streamPath);
$frame = $video->frame(TimeCode::fromSeconds($fromSecond)); //提取第几秒的图像
$fileName = 'video/' . Str::random(12) . '.jpg';
if (!is_dir(storage_path("video"))) {
mkdir(storage_path("video"), 0777);
}
$frame->save(storage_path($fileName));
return $fileName;
}}
Penggunaan perniagaan
Terima video yang dihantar oleh objek Request sebagai contoh
public function saveVideotoQiniu($file)
    {
        Auth::loginUsingId(1);
        if ($user = getUser()) {

            // 1.判断是否存在此视频
            $path  = $file->getRealPath();
            $hash  = md5_file($path);
            $video = Video::firstOrNew(['json->hash' => $hash]);
            if ($video->id) {
                $video->touch();
                return $video;
            }

            // 2.保存到 云
            $cdn_path = $this->saveFile($file);
            $db_path  = getPath($cdn_path);

            // 3.获取截图
            $fileName = FFMpegUtil::getCover($path, 1);
            $image    = $this->saveImage(new UploadedFile(storage_path($fileName), 'file.jpg'));

            //4.设置视频信息
            $data     = [];
            $data     = FFMpegUtil::getVideoInfo($path);
            $duration = array_get($data, 'duration');
            $duration = $duration > 0 ? ceil($duration) : $duration;

            $video->path    = $db_path;
            $video->user_id = $user->id;
            $video->setJsonData('width', array_get($data, 'width'));
            $video->setJsonData('height', array_get($data, 'height'));
            $video->duration = $duration;
            $video->setJsonData('cover', $image->path);
            $video->save();
        }
    }
saveImage dalam contoh ialah fungsi yang memuat naik imej ke awan dan mengembalikan imej yang dimuat naik URL
Untuk lebih banyak artikel teknikal laravel, sila lawati lajur tutorial laravel!
Atas ialah kandungan terperinci Penjelasan terperinci tentang cara laravel memasang FFmpeg dan memproses fail video. Untuk maklumat lanjut, sila ikut artikel berkaitan lain di laman web China PHP!
Artikel berkaitan
Lihat lagi- Bagaimana untuk menyelesaikan masalah pautan pilih laravel-admin
- Mari bercakap tentang Bekas Perkhidmatan dalam laravel
- Mari bercakap tentang mekanisme penyiaran laravel7.0, sentiasa ada apa yang anda mahukan!
- Menganalisis cara melaksanakan reka bentuk berlapis pengesahan borang Laravel dan aplikasi senario pengesahan

