Rumah >pembangunan bahagian belakang >PHP8 >详解Nginx1.19 php8.0 源码编译安装
详解Nginx1.19 php8.0 源码编译安装
- 藏色散人ke hadapan
- 2021-03-31 17:10:583090semak imbas
推荐学习:《PHP8教程》
准备好centos7及以上的版本
第一步
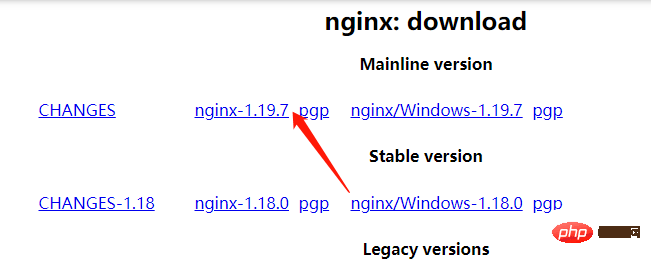
下载nginx包放置在指定目录下一般放置mnt目录:
下载地址 : nginx.org/en/download.html

解压nginx压缩包
tar zxvf nginx-1.19.7.tar.gz
准备依赖包:
yum -y install zlib-devel pcre-devel openssl-devel
准备nginx用户:
useradd -M -s /sbin/nologin nginx
源码编译与安装:
./configure --prefix=/usr/local/nginx --with-http_stub_status_module --with-http_ssl_module --with-http_random_index_module --with-http_sub_module

make
make install
设置配置文件:
user nginx;
服务管理:
1.检测配置语法
/usr/local/nginx/sbin/nginx -t
2.启动服务
/usr/local/nginx/sbin/nginx
3.重载服务
/usr/local/nginx/sbin/nginx -s reload
pkill -HUP nginx
4.关闭服务
/usr/local/nginx/sbin/nginx -s stop
pkill nginx
5.开机启动
vi /etc/rc.local/usr/local/nginx/sbin/nginx
进程管理:
pstree |grep nginx
ps -ef |grep nginx
ps aux |grep nginx
端口管理:
netstat -tunpl |grep nginx
客户端测试:(输入你的公网IP)
http://192.168.2.1
nginx 重载
[root@wml sbin]# pkill -HUP nginx
php8.0 源码编译安装
一 安装php8的依赖
yum -y install autoconf freetype gd libpng libpng-devel libjpeg libxml2 libxml2-devel zlib curl curl-devel net-snmp-devel libjpeg-devel php-ldap openldap-devel openldap-clients freetype-devel gmp-devel libzip libzip-devel sqlite-devel
二 安装php8的依赖包
1.解压
tar -zxvf oniguruma-6.9.4.tar.gz
2.切换目录
cd oniguruma-6.9.4/
3生成configure
./autogen.sh
4.生成编译配置文件
./configure --prefix=/usr
5.编译并安装
make && make install
2.编译PHP8主包
1.解压
tar xzf php-8.0.0.tar.gz
2.切换目录
cd php-8.0.0/
3.生成编译配置文件
./configure --prefix=/usr/local/php --with-config-file-path=/usr/local/php/etc --enable-fpm --with-fpm-user=nginx --with-fpm-group=nginx --enable-mysqlnd --with-mysqli --with-pdo-mysql --enable-opcache --with-pcre-jit --enable-gd --with-jpeg --with-freetype --with-gettext --with-curl --with-openssl --enable-sockets --enable-mbstring --enable-xml --with-zip --with-zlib --with-snmp --with-mhash --enable-ftp --enable-bcmath --enable-soap --enable-shmop --enable-sysvsem --enable-pcntl --with-gmp
4.编译并安装
make && make install
error 编译安装遇到的错误

解决办法 yum install automake

解决办法 执行 yum install libtool

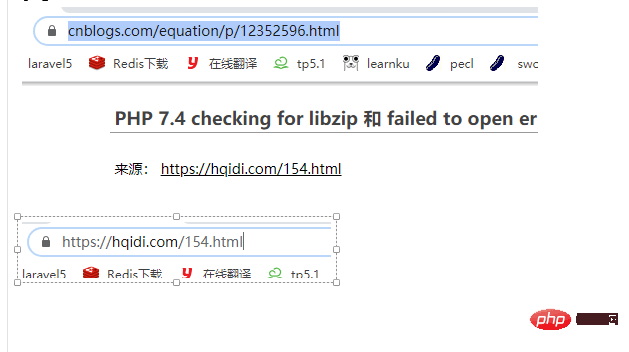
解决办法 参考 下图

Atas ialah kandungan terperinci 详解Nginx1.19 php8.0 源码编译安装. Untuk maklumat lanjut, sila ikut artikel berkaitan lain di laman web China PHP!
Kenyataan:
Artikel ini dikembalikan pada:learnku.com. Jika ada pelanggaran, sila hubungi admin@php.cn Padam
Artikel sebelumnya:php开发中常用到的函数Artikel seterusnya:聊聊PHP8的一些语法新特性

