Rumah >pembangunan bahagian belakang >PHP7 >centos yum安装php7的方法详解
centos yum安装php7的方法详解
- 藏色散人asal
- 2020-07-08 10:58:593849semak imbas
centos yum安装php7的方法:首先将yum仓库包升级更换成PHP7的rpm包;然后使用yum命令安装基本PHP组件;接着安装“PHP-fpm”并启动“php-fpm”;最后查看版本以检测是否安装成功。

一、安装准备
使用以下命令将yum仓库包升级更换成PHP7的rpm包
rpm -Uvh https://dl.fedoraproject.org/pub/epel/epel-release-latest-7.noarch.rpmrpm -Uvh https://mirror.webtatic.com/yum/el7/webtatic-release.rpm

二、开始安装
1.先使用yum命令安装基本PHP组件,以后要用到啥再安装啥
yum -y install php70w.x86_64 php70w-cli.x86_64 php70w-common.x86_64 php70w-gd.x86_64 php70w-ldap.x86_64 php70w-mbstring.x86_64 php70w-mcrypt.x86_64 php70w-mysql.x86_64 php70w-pdo.x86_64

2.再安装PHP-fpm(进程管理器,提供PHP进程管理方式,可以有效控制内存和进程、平滑重载PHP配置)
yum -y install php70w-fpm php70w-opcache

3.安装完之后启动php-fpm
systemctl start php-fpm
4.查看版本以检测是否安装成功
php -v

三、检测PHP是否能与Nginx互通
1.在Nginx的默认HTML文件夹里(/usr/local/webserver/nginx/html/)新建一个index.php,内容如下:
<?php phpinfo();?>
2.修改Nginx的配置文件(可使用find /|grep nginx.conf搜索配置文件位置)Nginx.conf,修改新增如下:
        # proxy the PHP scripts to Apache listening on 127.0.0.1:80
        #
        #location ~ \.php$ {
        #    proxy_pass   http://127.0.0.1;        #}

        # pass the PHP scripts to FastCGI server listening on 127.0.0.1:9000
        #        location ~ \.php$ {
            root           html;
            fastcgi_pass   127.0.0.1:9000;
            fastcgi_index  index.php;
            fastcgi_param  SCRIPT_FILENAME  $document_root$fastcgi_script_name;
            include        fastcgi_params;
        }
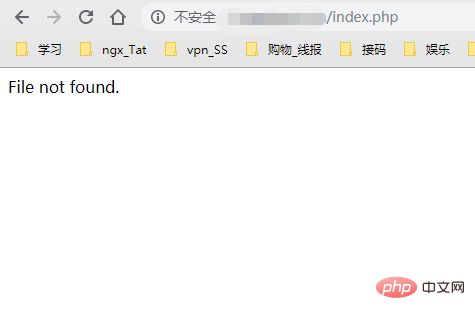
要将原属性修改成蓝色字体部分,不然访问index.php会出现以下情况(php-fpm找不到原SCRIPT_FILENAME里执行的php文件)

3.重启Nginx
/usr/local/webserver/nginx/sbin/nginx -s reload
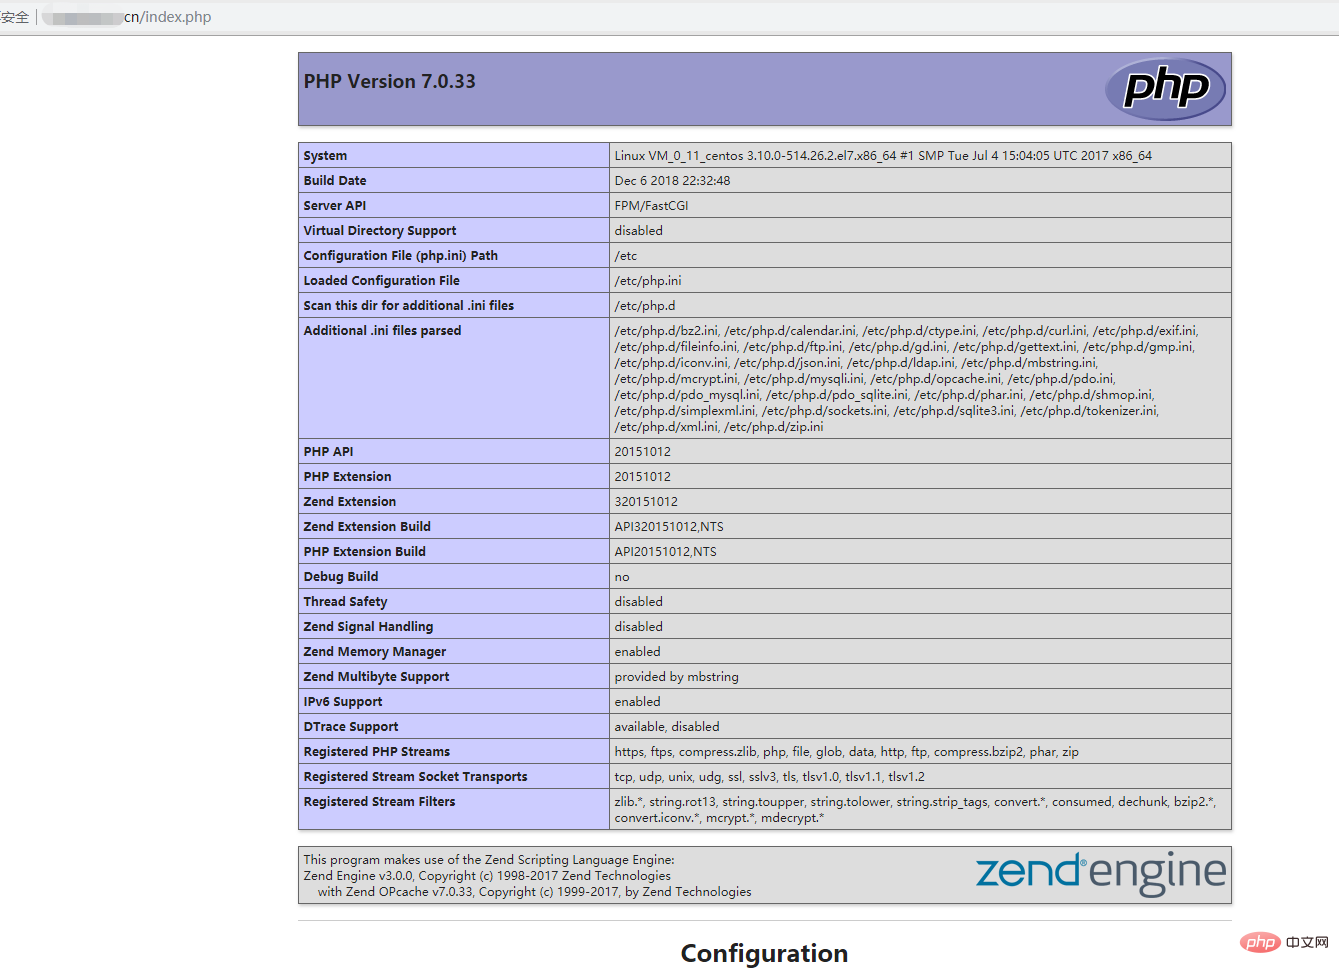
4.访问域名(IP)/index.php出现以下内容即为配置成功

四、检测PHP是否能与mysql互通
将上一份index.PHP内容修改如下
<?php // 创建连接 $test = mysqli_connect('localhost','root','qq1234');//数据库服务器地址,账号名,密码 // 检测 if (!$test) echo "连接失败,请检查mysql服务以及账户密码"; echo "数据库连接成功!"; ?>
修改完之后直接访问index.php,无需重启Nginx

Atas ialah kandungan terperinci centos yum安装php7的方法详解. Untuk maklumat lanjut, sila ikut artikel berkaitan lain di laman web China PHP!

