Rumah >pembangunan bahagian belakang >Tutorial Python >OpenCV+python实现摄像头的调用
OpenCV+python实现摄像头的调用
- 零到壹度asal
- 2018-04-14 11:01:456918semak imbas
本篇文章给大家分享的内容是关于OpenCV+python实现摄像头的调用 ,有着一定的参考价值,有需要的朋友可以参考一下
-
使用opencv自带的VideoCapture()函数定义摄像头对象,其参数0表示第一个摄像头,一般就是笔记本的内建摄像头。
cap = cv2.VideoCapture(0)
-
在while循环中,利用摄像头对象的read()函数读取视频的某帧,并显示,然后等待1个单位时间,如果期间检测到了键盘输入q,则退出,即关闭窗口。
while(1):
    # get a frame
    ret, frame = cap.read()
    # show a frame
    cv2.imshow("capture", frame)
    if cv2.waitKey(1) & 0xFF == ord('q'):
        break
-
调用release()释放摄像头,调用destroyAllWindows()关闭所有图像窗口。
cap.release()
cv2.destroyAllWindows()
-
完整代码
import cv2
import numpy as np

cap = cv2.VideoCapture(0)
while(1):
    # get a frame
    ret, frame = cap.read()
    # show a frame
    cv2.imshow("capture", frame)
    if cv2.waitKey(1) & 0xFF == ord('q'):
        break
cap.release()
cv2.destroyAllWindows()
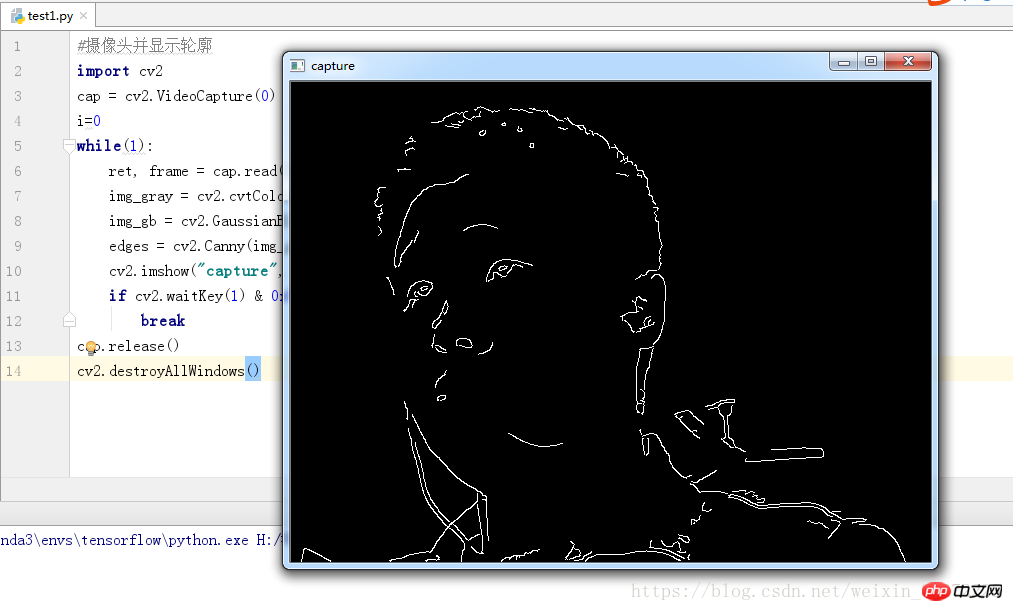
对获取的图像进行初步处理
#摄像头并显示轮廓
import cv2
cap = cv2.VideoCapture(0)
i=0
while(1):
    ret, frame = cap.read()
    img_gray = cv2.cvtColor(frame, cv2.COLOR_BGR2GRAY)
    img_gb = cv2.GaussianBlur(img_gray, (5, 5), 0)
    edges = cv2.Canny(img_gb, 100 , 200)
    cv2.imshow("capture", edges)
    if cv2.waitKey(1) & 0xFF == ord('q'):
        break
cap.release()
cv2.destroyAllWindows()
Atas ialah kandungan terperinci OpenCV+python实现摄像头的调用. Untuk maklumat lanjut, sila ikut artikel berkaitan lain di laman web China PHP!
Kenyataan:
Kandungan artikel ini disumbangkan secara sukarela oleh netizen, dan hak cipta adalah milik pengarang asal. Laman web ini tidak memikul tanggungjawab undang-undang yang sepadan. Jika anda menemui sebarang kandungan yang disyaki plagiarisme atau pelanggaran, sila hubungi admin@php.cn
Artikel sebelumnya:如何在python环境下操作excelArtikel seterusnya:三种常用的python中文分词工具

